5 tips for stitching with metallic threads
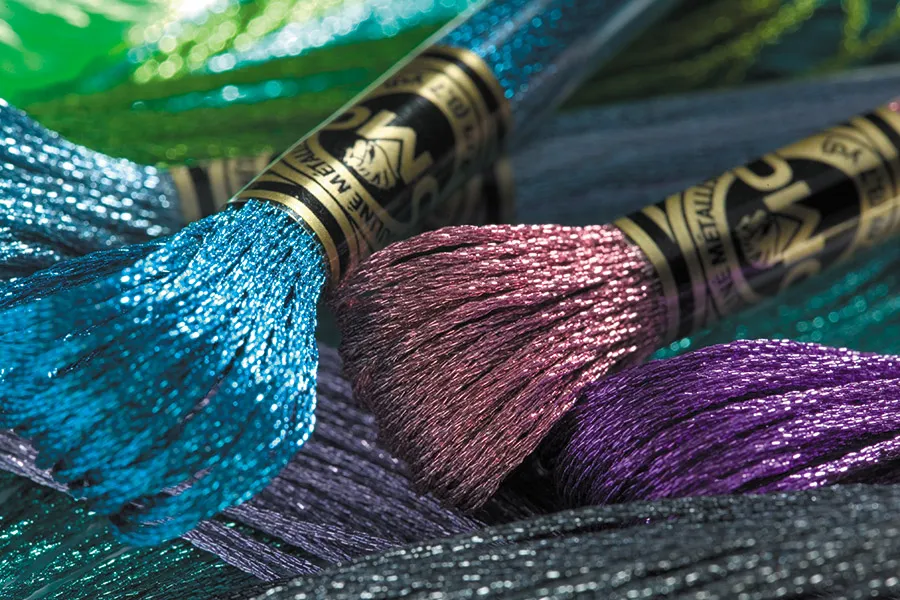
Christmas is a fantastic time to break out the metallic threads and add sparkle to your stitched cards and gifts. The special threads catch in the glow of fairy lights, and really twinkle! You can use your metallic threads with many projects, including cross stitch and embroidery, to add that extra sparkle.
As an end result, metallic thread within a project can look incredible and really will take your stitching to the next level; however, it doesn't come without its challenges. We've put together our top 5 tips for using metallic thread, so you don't run into frustration when using them. Hopefully, our tips will lead you to metallic success. At the end of the article, we have also reviewed our favourite metallic threads available on the market.
If you are new to cross stitch and want to get the basics down before you tackle using metallic thread, take a look at this guide on how to cross stitch, and this helpful resource about cross stitch needle sizes, these two guides will get you started today on this fun and therapeutic craft.
Are you looking for some fun and creative cross stitch patterns to try today? Try these Christmas cross stitch patterns, where you'll find over 150 patterns to inspire.
If you want the newest freebies straight to your inbox, sign up for our cross stitch newsletter.
5 tips for stitching with metallic threads
1. Snip shorter lengths
With metallic threads, cut a slightly shorter length of thread than you would normally use, and stitch slowly to ensure that the thread lies neatly for the best reflection of light.
2. Start with a loop
When using two strands, secure the thread on your needle by doubling the thread to make a loop, then pass the loop through the eye of the needle. Take the loop over the tip of the needle, then pull the thread to form a small knot right at the needle’s eye.
3. Secure your thread
Make sure the thread is thoroughly secured at the back of your stitching - leave a slightly longer ‘tail’ than you would normally use – metallic threads are springy, so more likely to slip and break free.
4. Use a larger needle
Use a needle one size larger than you would normally use, as the larger eye helps to open up the fabric hole slightly, letting the metallic thread pass through without causing it to fray.
5. Unwind every few stitches
To reduce twisting and tangling, let the needle hang every few stitches to unwind. Using a conditioner such as Thread Magic can also help to make metallics more manageable to work with.
Best metallic threads to buy
DMC Mouliné Light Effects
DMC have a wide selection of metallic and glittery threads. They are available individually, so you can pick and choose which colours you need.
Find the DMC Mouliné Light Effects threads

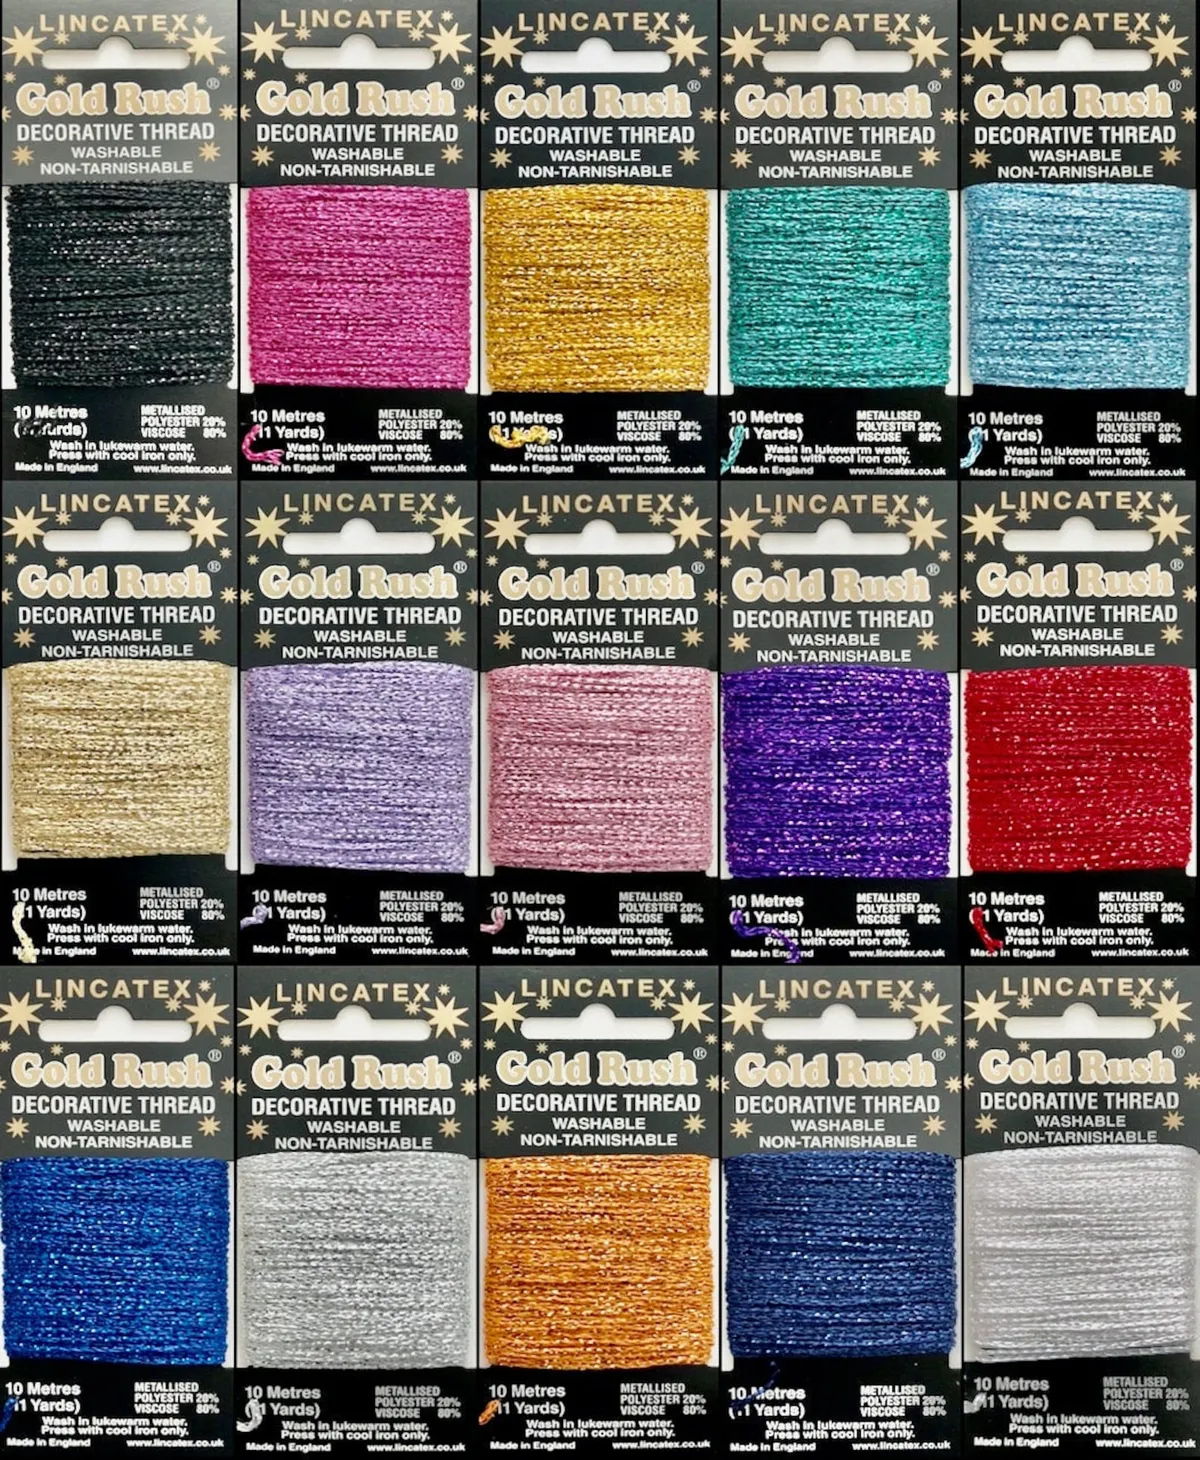
Lincatex Gold Rush Decorative Metallic Glitter Thread
Choose from a large selection of colours, each of which can be purchased individually, so you can get the exact colours you need, rather than a set of mixed colours.
Find the Lincatex Gold Rush Decorative Metallic Glitter Thread on Etsy
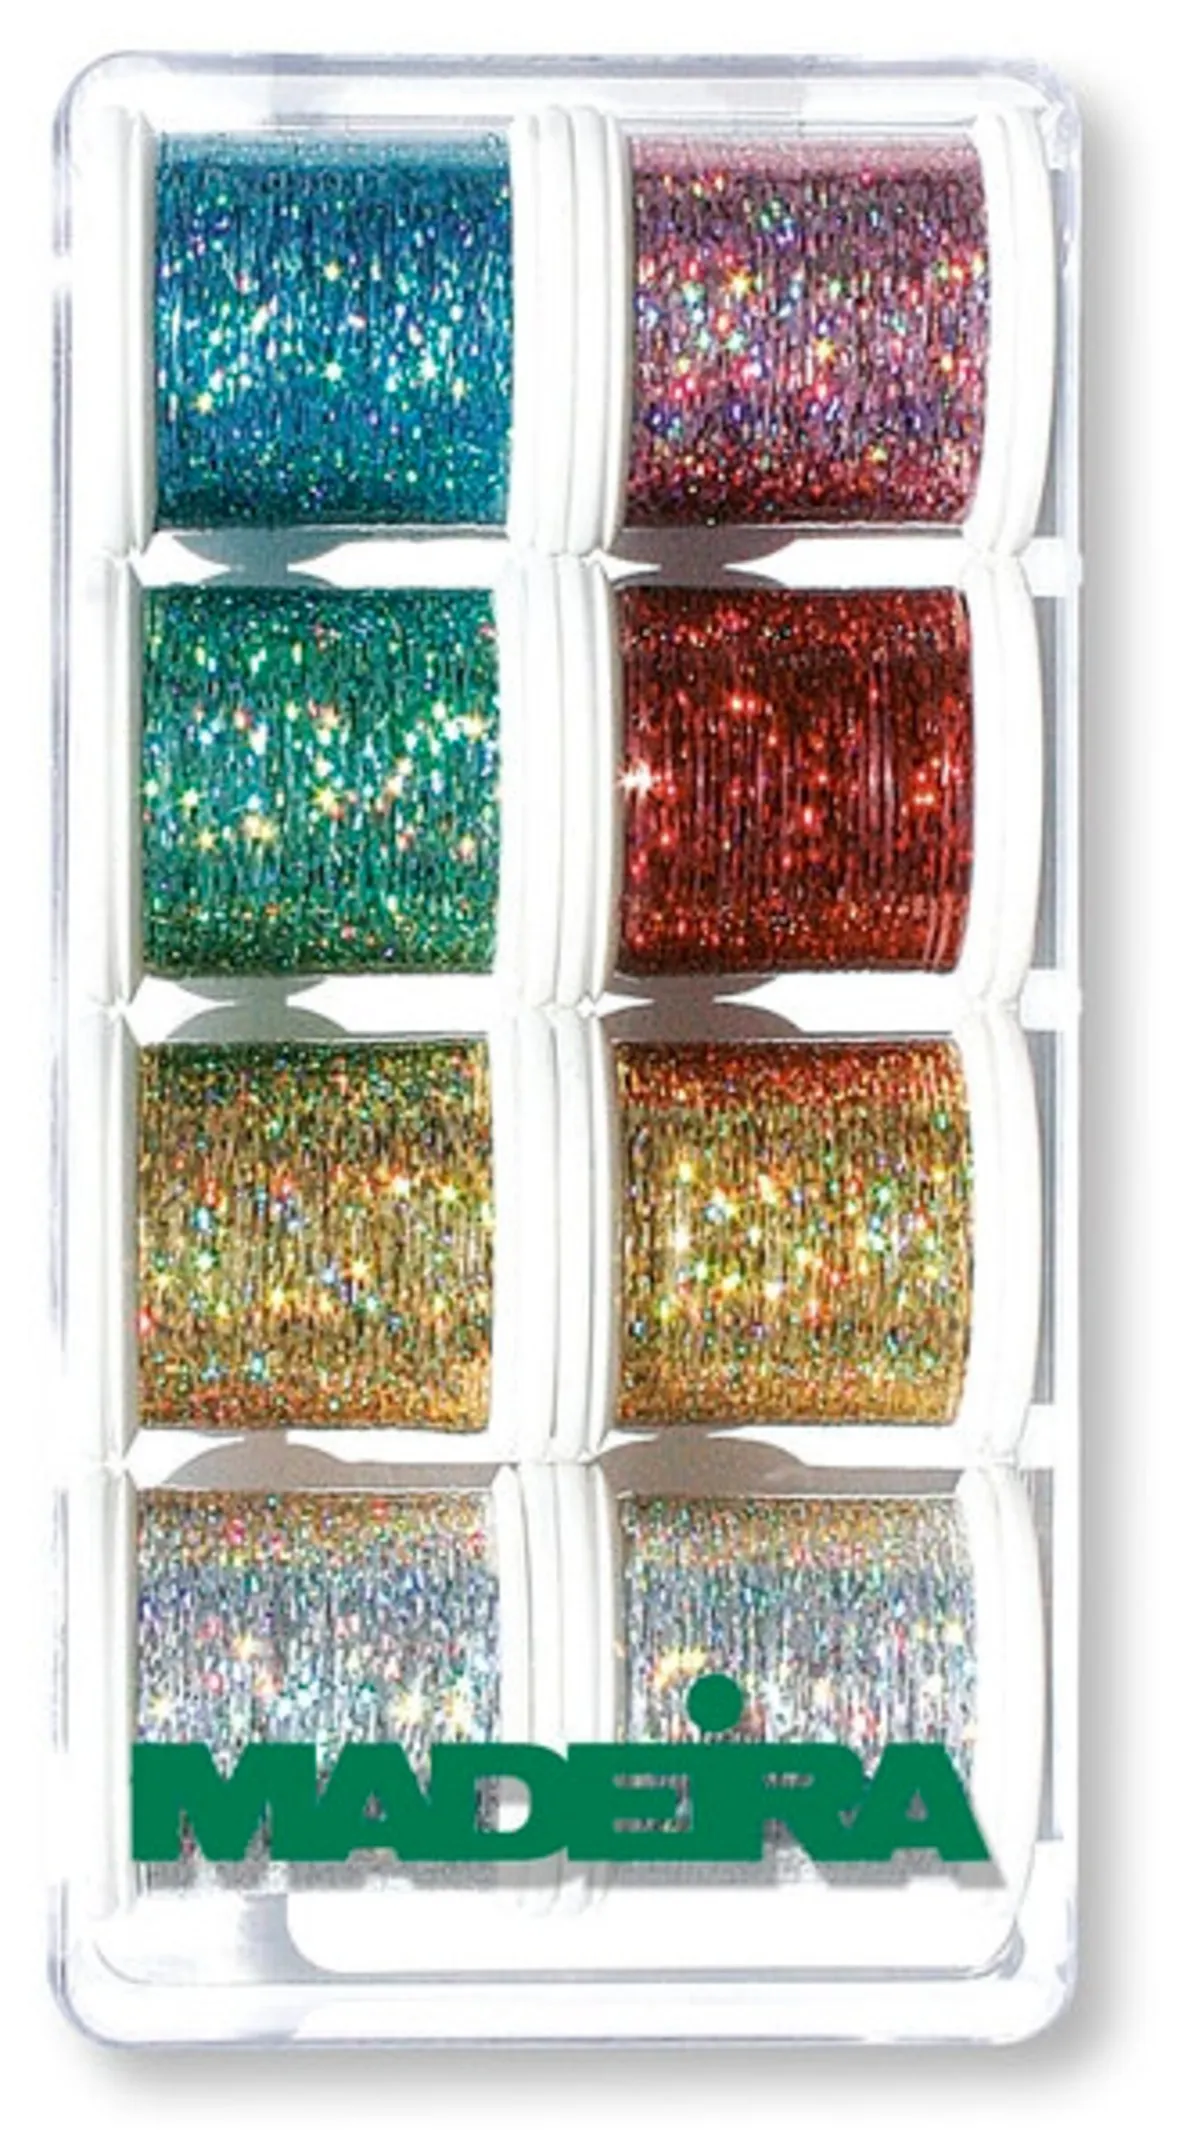
Spectra holographic metallic threads
These threads will add an extra dimension to your work. The beautiful holographic thread will catch the light and look so unique on any project. These threads can be used by both machine and by hand, so however you create your projects, it is easy to add a touch of sparkle!
Find the Holographic metallic threads on Amazon
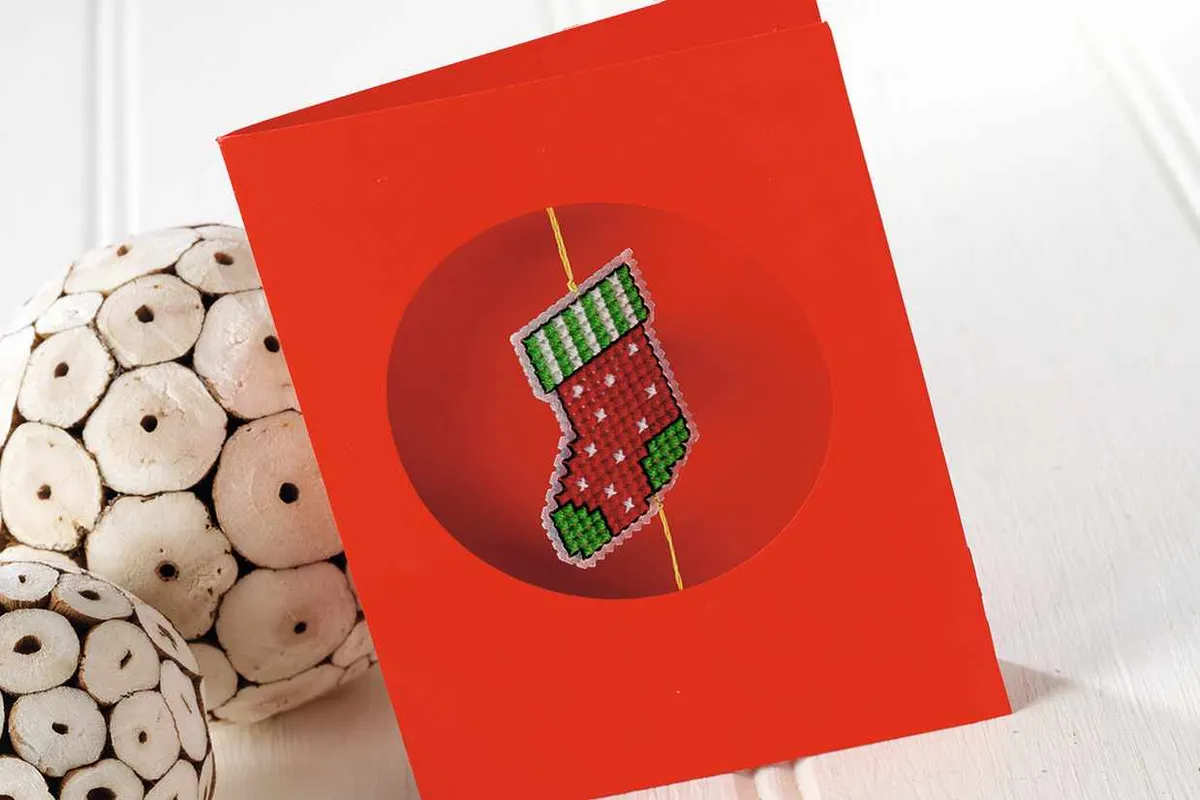
Spruce up your Christmas stitching with metallic thread
If you're stitching for Christmas cards or decorations, try incorporating metallic thread for an extra special sparkle!
Get your next Christmas cross stitch
If you love shiny threads and are itching to start your next project, check out these festive cross stitch, try these amazing 150 cross stitch patterns.