All products were chosen independently by our editorial team. This review contains affiliate links and we may receive a commission for purchases made. Please read our affiliates FAQ page to find out more.

How to make your own cross stitch pattern

Learn how to make your own cross stitch pattern in our ultimate guide to creating your own bespoke patterns.

6 issues of The World of Cross Stitching magazine for £9.99|Save 75%

Published: April 2, 2024 at 8:00 am

You'll find loads of free cross stitch designs to try here on Gathered, but sometimes you might want to make your own cross stitch pattern and stitch exactly what you want when you want! You just need a little imagination and anyone can give it a try.

The DIY method of creating your own cross stitch pattern is by using graph paper - all you need are some basic supplies to hand-draw your design with coloured pencils or pens on some gridded 10x10 graph paper.

A shade card or skeins of your chosen thread colours is useful too, for picking the colours and combinations. Then simply match these to your coloured pencils or pens, and you can start drawing!

undefined

Though you might think that designing your own cross stitch digitally is only for professionals, did you know there's another way you can make your own cross stitch using a program you probably already have on your computer?

That’s right, there’s no need to splash out on expensive design software if you have Microsoft Excel to hand - say goodbye to spreadsheets and hello to a whole new world of cross stitch pattern making! If you don’t have Microsoft Excel you can also follow the same principle online using Google Sheets (you just need a free Google account).

Both methods require only a basic understanding of cross stitch and we’ll talk you through the steps involved to design your own cross stitch pattern to start today.

Small cross stitch patterns

Quick cross stitch

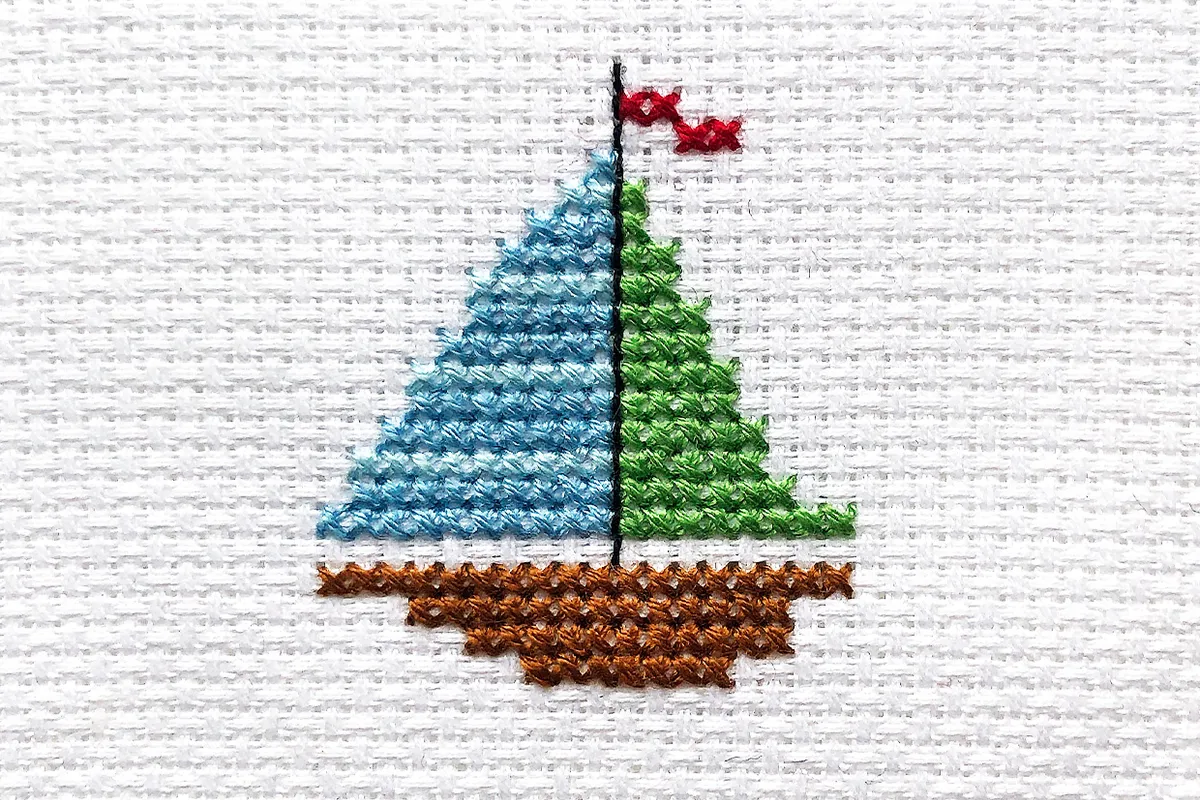
Looking for a pattern that you can easily make in a weekend? Take a look at 10 of our favourite small cross stitch patterns.


How to make your own cross stitch pattern

Take your cross stitch designing up a level by making a digital chart using readily-available computer software. Microsoft Excel and Google Sheets can both be used to make your own cross stitch pattern instead.

Below you’ll find an easy-to-follow step-by-step guide to make your own cross stitch pattern. Then, just let your imagination run wild to create your own.

We’re going to use the desktop version of Microsoft Excel for this guide, but the same process can be used in Google Sheets, although be aware some tools or visuals may differ.

For this example, we’re going to show you how to make your own cross stitch pattern of a simple sailing ship.

The finished stitch

You will need:

  • A computer
  • Excel
  • graph paper (Optional)
  • A pencil
  • Coloured pencils
  • Ruler
  • skeins of thread ((or a shade card))

Total time:

1 hr

Depends on the size of your design

Step 1

Set up your worksheet: Open a new document sheet in Excel - you’ll want to change the rectangular cells into squares to look like a standard cross stitch chart. Each square will represent one stitch.

Click the box in the top left-most corner of the worksheet space (or use the keyboard shortcut Control+A). This selects all the rows and columns in the entire sheet.

With the sheet highlighted, hover your cursor between the numbers listed down the left side of the sheet until a double-ended arrow appears, click to grab hold of the sheet cells and adjust it until the cell size indicator shows 10 pixels. Do the same for the width along the top row of letters. This adjusts the height and width of all cells in the sheet to 10 pixels square.

make your own cross stitch 1 – excel sheet blank


Step 2

Add a grid: You may think there’s already one there on screen, but the grid of squares you’ve just created is really just for cell position purposes – you’ll need to add in another darker grid on top for it to stay viewable through the coloured squares of your design.

To do this, select your design area to highlight it, then go to ‘Borders’ and click ‘All Borders’ to add a black grid to your chart.

make your own cross stitch 2 – creating the grid


Step 3

Select your colours: We recommend using a thread shade card, or actual skeins or bobbins of your intended threads, to choose your combinations from.

In this example, we’re going to be using green, light and dark blue, brown and red.

make your own cross stitch 3 – selecting colours


Step 4

Start designing: To colour the squares, you simply need to select the ones you want to fill with a particular colour.

To start, select the squares to fill the hull of the ship as shown, then go to ‘Fill Colour’ and choose a suitable brown from the ‘More Colours’ menu wheel.

Don’t worry if you make a mistake – simply select your squares to delete and click ‘No Fill’ from within the ‘Fill Colour’ menu. Continue with the sails and flag at the top.

Remember to select only the areas you wish you fill with each individual colour.

make your own cross stitch 4a – designing
make your own cross stitch 4b
make your own cross stitch 4c


Step 5

Add backstitch: If you wish, you can use the border tools to add an outline to your cross stitches or to add extra details, as we’ve done with the ship’s mast.

To do this, select the squares between your two sails and click the ‘Borders’ tool again to bring up the drop-down menu.

In this instance, you’ll want to select to make it thicker and more visible against the gridlines by selecting ‘More Borders’ at the bottom of the drop-down list and choosing the thickest Line Style option. Then, click on the relevant borderline under the ‘Border’ options – in this example, you’ll want to select the left border.

make your own cross stitch 5a
make your own cross stitch 5b


Step 6

Make a key: It’s a good idea to assign your chosen thread shades to the coloured squares you created – the best way to do this and remember what they are between stitching sessions is to create a key.

Add a square of each colour you used down the side of the chart grid, then type your thread shade next to it.

cross stitch patterns – ship


Step 7

Stitch: Give your creation a once over to check for any mistakes or changes you’d like to make. It’s always good to give it a check even if it’s a simple design – it’s much easier to make changes now before you start stitching.

Once you’re happy with it, it’s time to thread your needle, find the centre of your piece of fabric and start stitching!

make your own cross stitch main

Once you’ve mastered the basics, you can make your own cross stitch pattern in the same way as our sailing ship example. It helps to have a picture of what you’re trying to design for reference, but you could make something totally new up too!


Make your own cross stitch pattern using graph paper

Prefer to stick with the old-school way to make your own cross stitch pattern? No problem!

For a quick and easy way to design your own cross stitch pattern you just need some basic supplies, including graph paper and some coloured pencils or pens. You may find a ruler useful too if intending to include backstitch lines.

A lot of charts count in 10 squares, so 10×10 gridded paper is the best option for designing your patterns, as it’s already divided up into sections to make it easier to read and stitch from. You can get freebie printable graph paper over at Stitch Point.

  1. Lightly draw your design outline onto the grid paper using a pencil, making sure to keep to the square corners of the boxes when drawing angles or curved lines. Use an eraser to rub out mistakes if needed.
  2. Once you’re happy with your rough outline, you can start colouring in the squares using coloured pens or pencils. You should work neatly to keep the colours within the gridlines for easy reading.
  3. When you’ve finished colouring in the squares, draw on any backstitch lines using dark coloured pens and a ruler if required. Make sure to draw lines through the corners of the grid squares to correspond with the stitch corners you’ll work the thread through.
  4. Once complete, find the centre of your pattern and mark it at the edges of your chart for reference. We recommend starting to stitch from the centre of a pattern in the middle of your piece of fabric
  5. Create your own key down the side of the graph paper (or on a separate piece of paper but remember to keep them stored together) listing your chosen thread shades, along with a sample swatch of the colour that they correspond to.
  6. When you’re happy with the finished result, you’re ready to begin stitching and using your own cross stitch pattern to work from.
calico cat cross stitch

Purrr-fect stitches

If you're a fan of furry felines, try our cute cat cross stitch patterns on Gathered.


What will you make with your cross stitch pattern?

Now that you know how to make your own cross stitch pattern, you just need to decide what you want to make! It's worth trying a few simple designs first to build your confidence, or you could try adding some custom lettering to an existing pattern. Before you know it you'll be designing your own patterns like a pro!

Top tips for epic cross stitch

Whether you're creating your own epic design or taking on a challenging pattern, check out our top tips for stitching large designs with Gathered.

How to cross stitch large designs