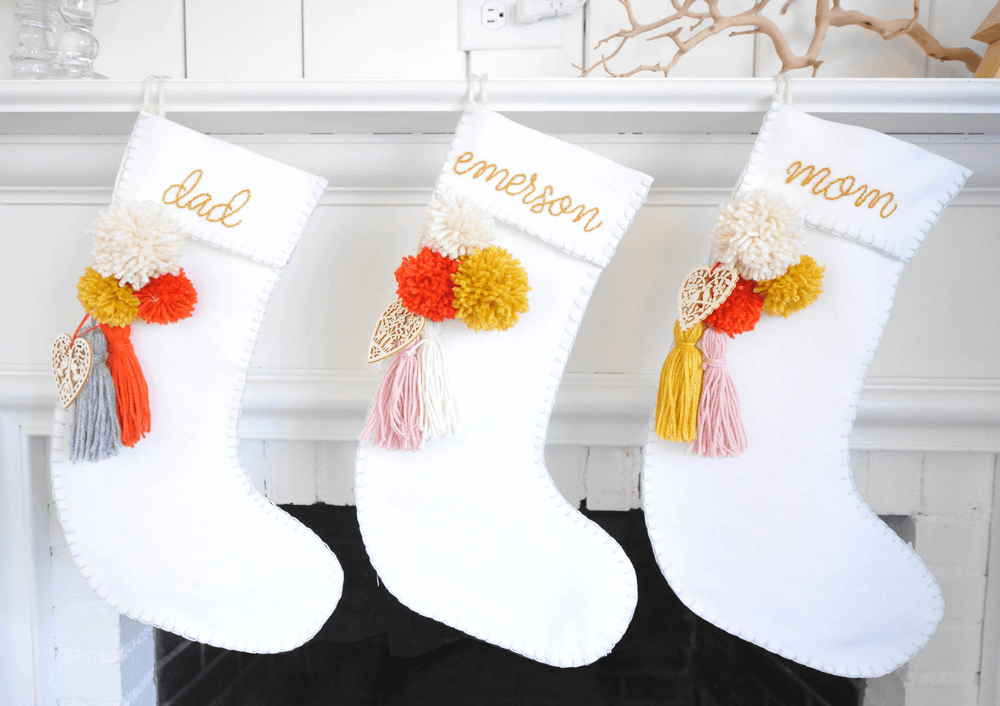
Step 1
Cut out your Christmas tree design using the template
Cut out four stocking shapes from the calico fabric using the template.
Step 2
Transfer your designs from the front piece
Select your front piece and transfer the designs onto the fabric. Not sure how to transfer your template? Take a look at our embroidery transfer tutorial.
Step 3
Mount your Christmas tree design
Mount the first design in your hoop as per the image below. As your hoop will not be big enough to cover the whole design at once, you will need to move your hoop around as your stitch.
Step 4
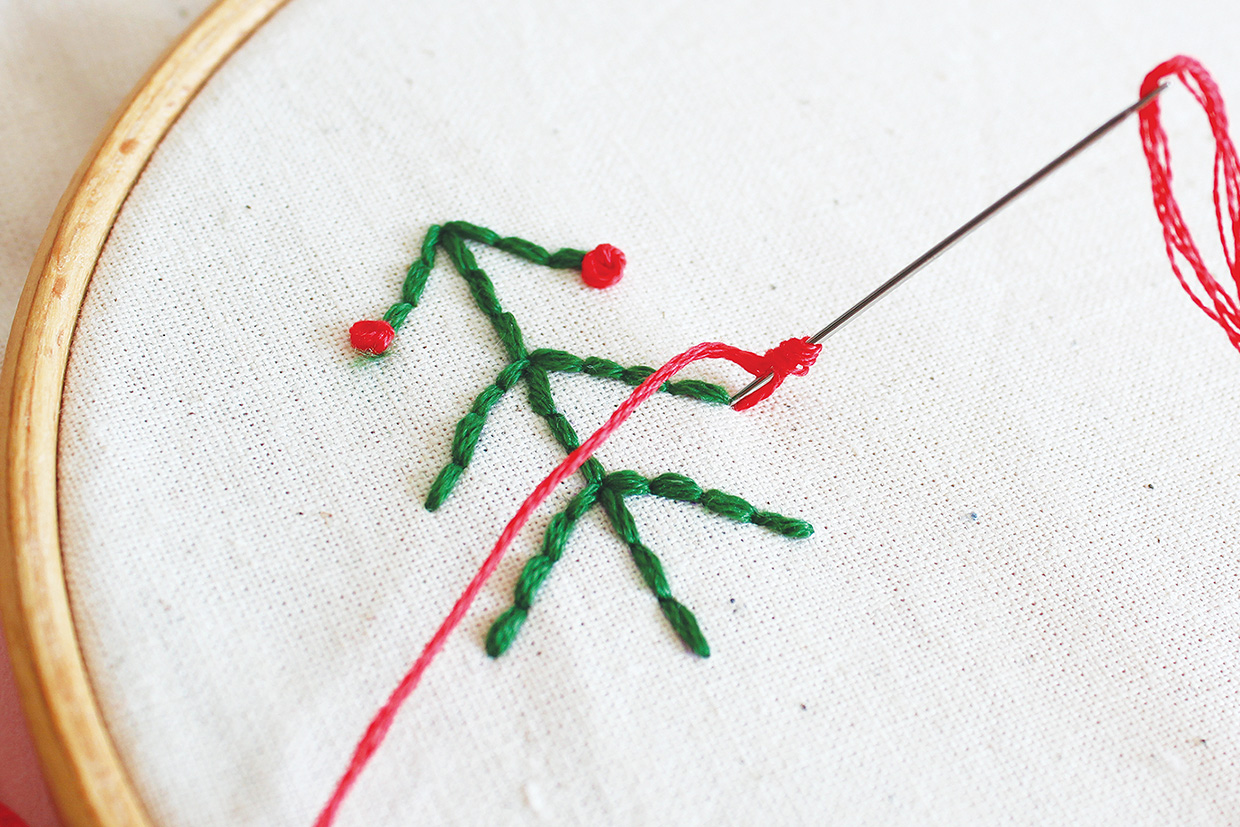
Stitching the first Christmas tree
For the first tree, work the outline in backstitch using six strands of green. Then, work a french knot in six strands of coral at the end of each branch.
Step 5
Stitching the second tree
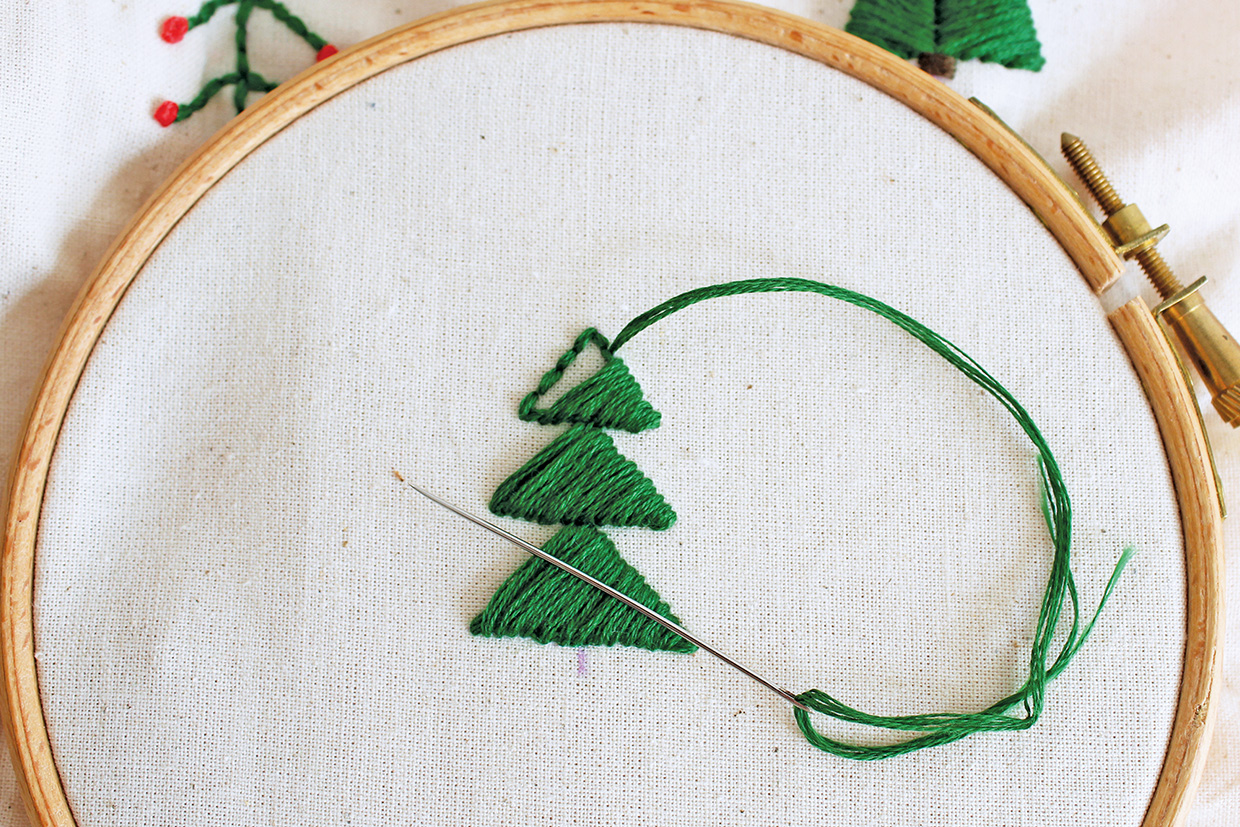
Using six strands, outline the second three with backstitch and fill with leaf stitch in green. Use satin stitch to add a brown trunk.
Step 6
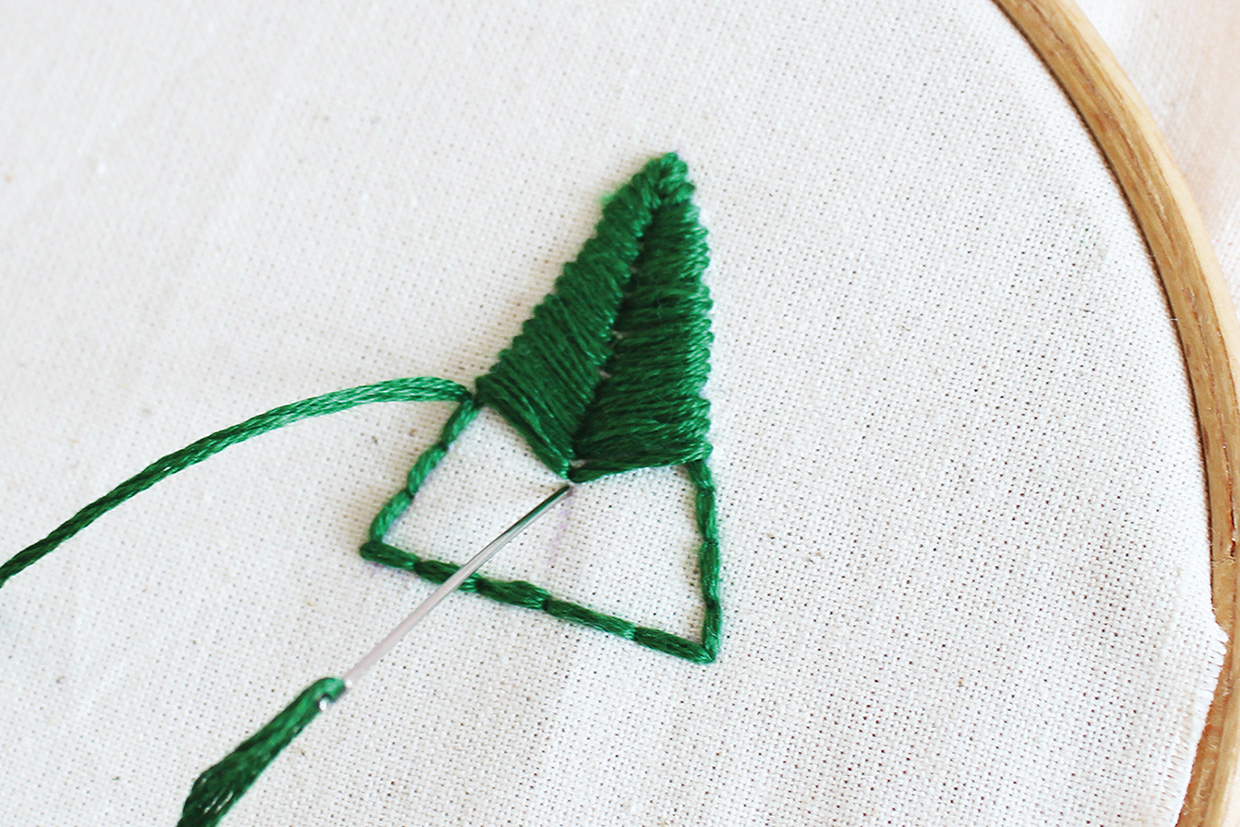
Stitching the third (and final) Christmas tree
Moving onto the third motif, fill the shape using a diagonal satin stitch in six strands of green. Finish by adding the trunk in backstitch using four strands of brown.
Step 7
It’s time to stitch the neon stars
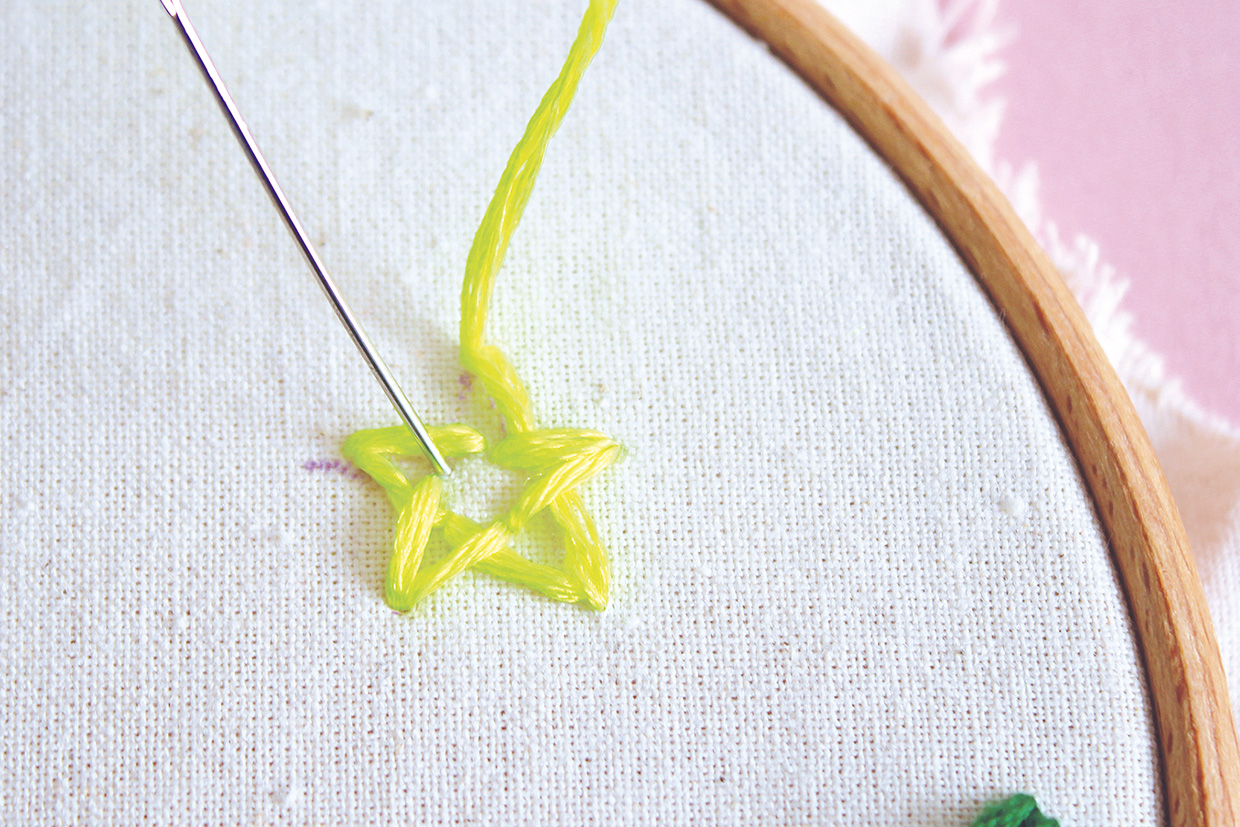
Using backstitch add each sparkling star using six strands of your neon yellow thread.
Top tip: Want to make it extra special? Add the recipient’s name or initials to the design in golden thread.
Step 8
Remove your hoop
Remove your hoop and press on the reverse of the fabric.
Looking for more homemade stocking inspiration?
Discover a range of stocking styles from traditional to modern, created from a variety of techniques, including quilting, cross stitch, crochet and knitting.
Find your favourite DIY Christmas stocking idea and kick off your Christmas crafting today!
Step 9
Sewing your stocking together
The next step is to sew your stocking into place. In this article, the terms RS means right side and WS means the wrong side. You might already be familiar with this if you’re a keen sewer.
Pin in place
Pin the front and back pieces together with RS facing each other, inserting a loop of ribbon into the seam along the top-left side.
Sew your stocking
Sew together with a 1cm seam allowance, leaving the top edge open.
Clip the curves, then repeat with the lining pieces, leaving a 5cm gap along one side.
Turn the lining RS out and insert it into the outer stocking, with RS together and the top edges aligned. Sew them together around the top.
Step 10
Turn it back the right way
Turn through the lining gap, then close the gap. Push the lining inside and press.
Step 11
Blanket stitch around the top
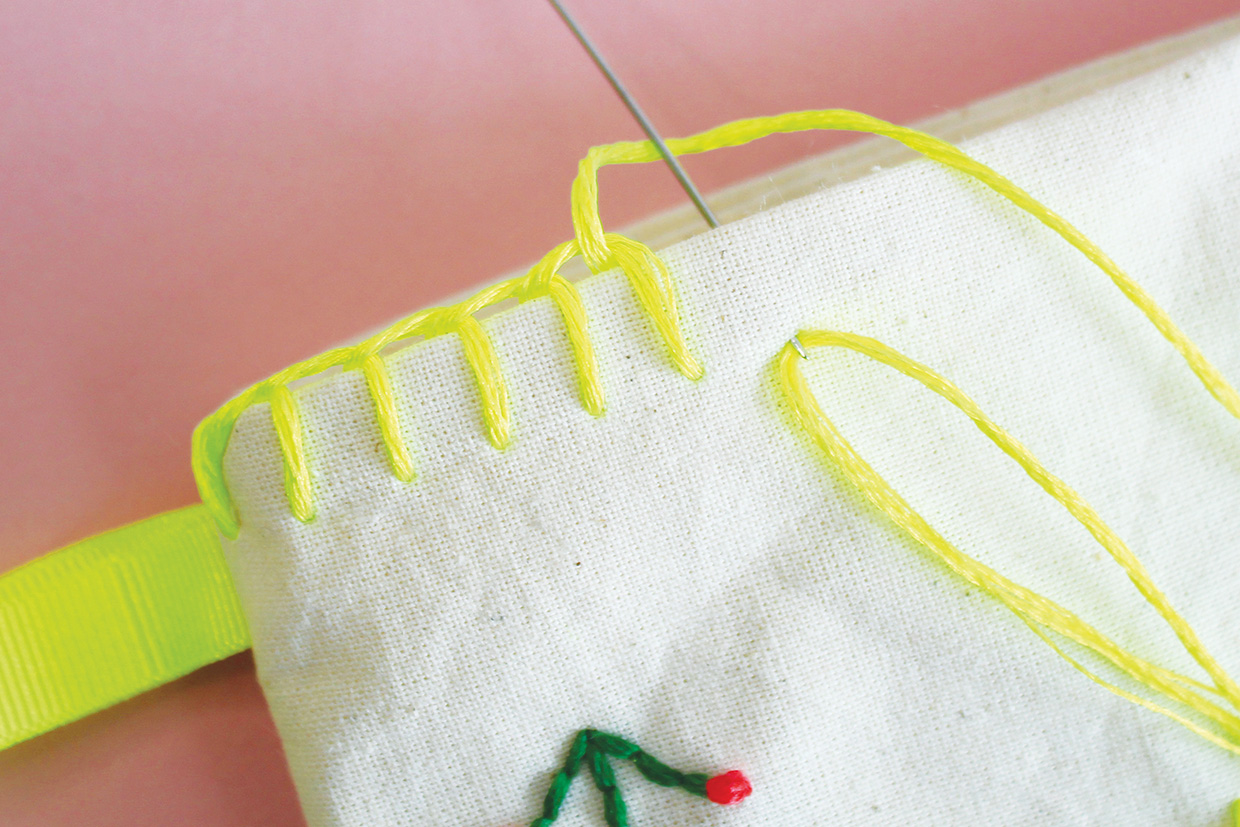
Work Blanket Stitch around the top using six strands of neon yellow.
Step 12
Creating a tassel
To make the tassel, wrap the coral thread around a 9x5cm rectangle of cardboard until you have achieved your desired thickness. Loop a short length of thread through the threads at the top and tie them together.
Remove the cardboard, then wrap the neon yellow thread around the bundle, towards the top end, and tie it tightly. Trim, then attach the tassel to the ribbon loop.
We have a helpful video guide on how to create a tassel for a more in-depth tutorial.
