Refashion a blanket into embroidered Christmas stockings

How to make a soft wool blanket into an embroidered Christmas stocking? Dye it frosty blue, stitch snowflake motifs and add a pom pom snowball, like Juliet Bawden.

6 issues of Simply Sewing magazine for £14.99|Save 78%!

Published: November 22, 2020 at 4:03 pm

This is a great way to recycle old woollen blankets, or you can use woollen fabric to make your embroidered Christmas stocking. Upcycle an old cot blanket that's seen better days into an embroidery Christmas stocking for your little to use throughout their childhood. You can use tapestry wool for the embroidery but we used a leftover ball of white double knitting wool.

This design was originally published in Simply Sewing issue 62.

Download our embroidery template

You can find the pattern for this project in the PDF Templates from Simply Sewing magazine – issue 62

You will need:

  • wool blanket
  • Dylon hand dye and salt (Optional)
  • Wool (White double knitting wool)
  • Tapestry needle
  • Fabric marker (An erasable fabric pen or pencil)
  • Pom pom maker
  • Matching thread
  • Basic sewing kit

Step 1

From the wool blanket cut:

Stocking outer: two using the template from Simply Sewing 62

If you don’t like the colour of your original wool blanket, you can dye it. We cut out our stocking shapes before dyeing them. It is worth noting that when dyeing wool, the colour will be more muted than when dyeing cotton or silk. Following the instructions, mix a dye bath and add the salt. Dye the two stocking pieces. Rinse well and leave them to dry.

embroidery christmas stocking step 1


Step 2

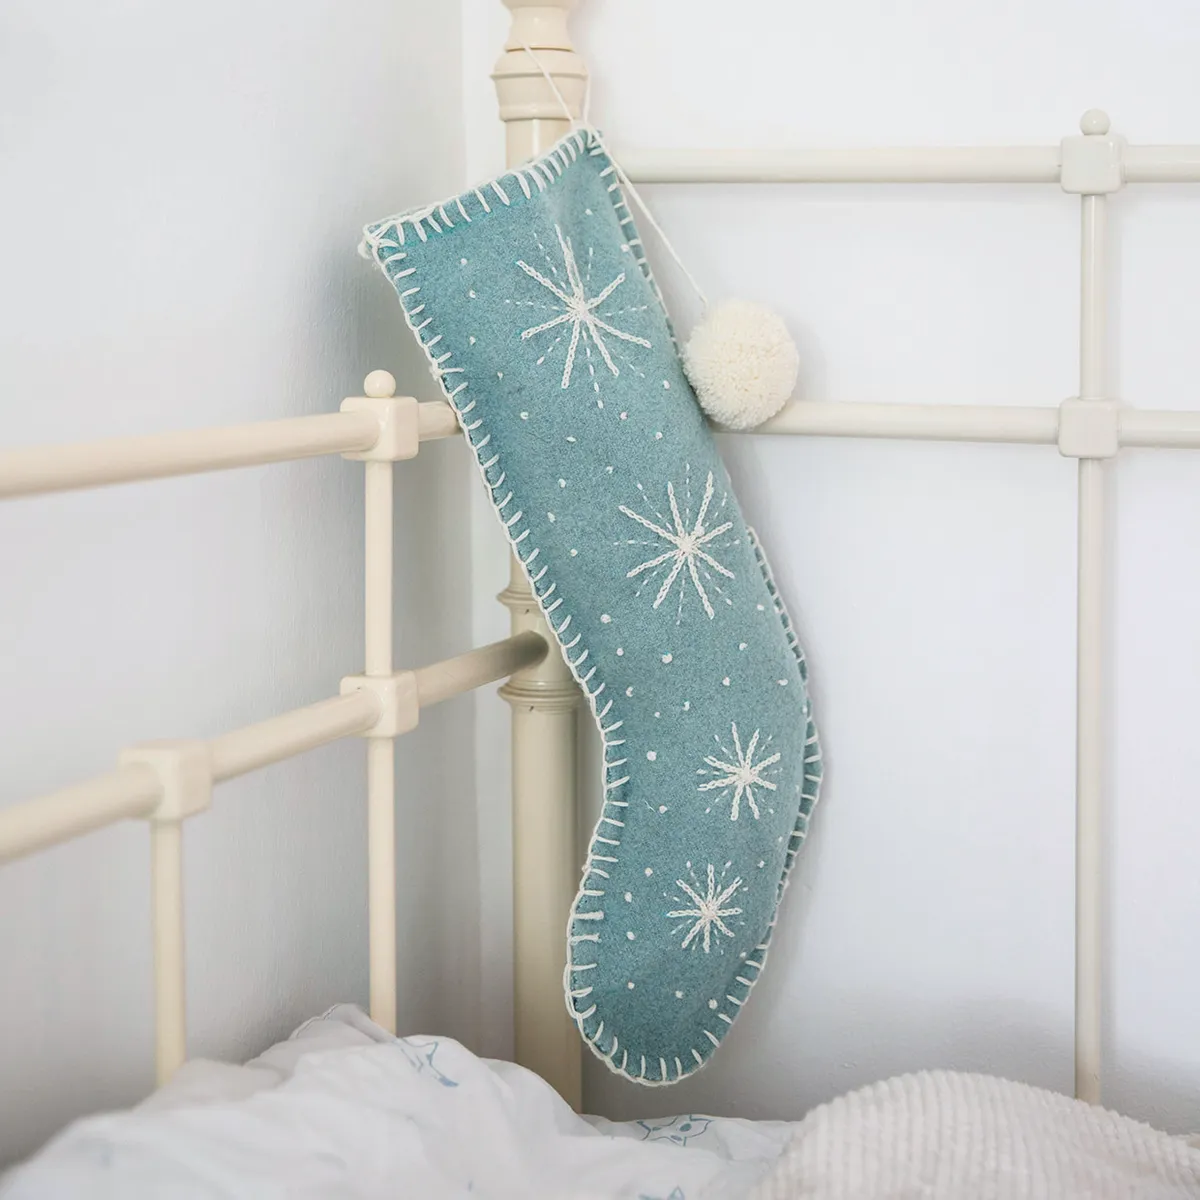
Transfer the pattern from the template to the stocking using the erasable fabric marker. To draw the snowflakes, simply draw a cross at right angles and then another cross between the first set of right angles.

embroidery christmas stocking 2

Step 3

Using a single thread, follow the lines with a chain stitch. When you have done one line, tie off the ends of the thread and, starting from the back, sew a second line. Repeat until all the lines have been covered.

embroidered christmas stocking step 3

Step 4

Cut a long piece of wool and tie the ends together. Using the double thickness thread, sew lines of running stitches in between the chain stitch lines. 

Add extra detail by sewing scattered French knots all over the stocking.

embroidery chrisoms stocking

Step 5

Pin the front and back of the stocking wrong sides together around the outer edge, 1cm (3/8in) from the raw edges. Starting at the top and using a double thickness of wool, sew a blanket stitch around the top of the stocking front and then the back. Using blanket stitch, sew the sides together. 

embroidery christmas stocking 5

Step 6

Make a pom pom and then attach a piece of braided wool to the pom and stitch this to the corner of the stocking. 

Braid three strands of wool to make a loop. Sew to the corner of the stocking.

embroidery christmas stocking 6

Looking for more brilliant upcycling ideas? Try our How to make a rag rug article and our tshirt yarn projects to give new textiles a fresh finish with craft! For another Christmas upcycling project, take a look at our Christmas calligraphy upcycled crate.

embroidery christmas stocking more