How to do punch needle embroidery
Punch needle embroidery is a simple, therapeutic craft that uses a punch needle tool, yarn and fabric to create textured designs. It is easy to learn, making it ideal for beginners, and the repetitive motion makes punch needle embroidery a relaxing and mindful activity.
The punch needle itself is similar to a traditional sewing needle but features a comfortable handle and a hollow shaft. Unlike standard needles, the eye sits at the tip, allowing you to punch through the fabric and form loops on the surface.
Punch needle embroidery can be worked on loose weave fabrics using yarn, fabric strips or embroidery thread. As you punch the needle through the fabric, it creates a distinctive raised texture made up of soft loops and stitches, giving finished pieces a bold, tactile look.
This punch needle embroidery tutorial is designed by Lucy Davidson and was originally published in Love Embroidery magazine issue 5.
What is punch needle embroidery?
Punch needle embroidery is a popular craft for beginners, and the possibilities of projects are endless. As opposed to usual embroidery techniques, where the needle goes through the fabric, with punch needle embroidery, the needle stays on the surface. When the needle is punched through the fabric, it leaves a lovely textured design. You'll see the similarities between it and rug making.
Materials you'll need for punch needle embroidery:
- Monk's cloth or high-quality hessian fabric: 60x50cm
- Wooden frame or embroidery hoop
- Chunky wool: beige, light blue, medium blue, brown, cream, pink, teal, yellow
- Punch needle
- Wool needle
- Wooden dowel: 60cm
- Marker pen
- Basic embroidery kit
- Flower pot punch needle embroidery template
How to needle punch
First things first, you'll need to know the basics of needle punching. Follow this easy 4-step guide to master your new craft.
Step 1
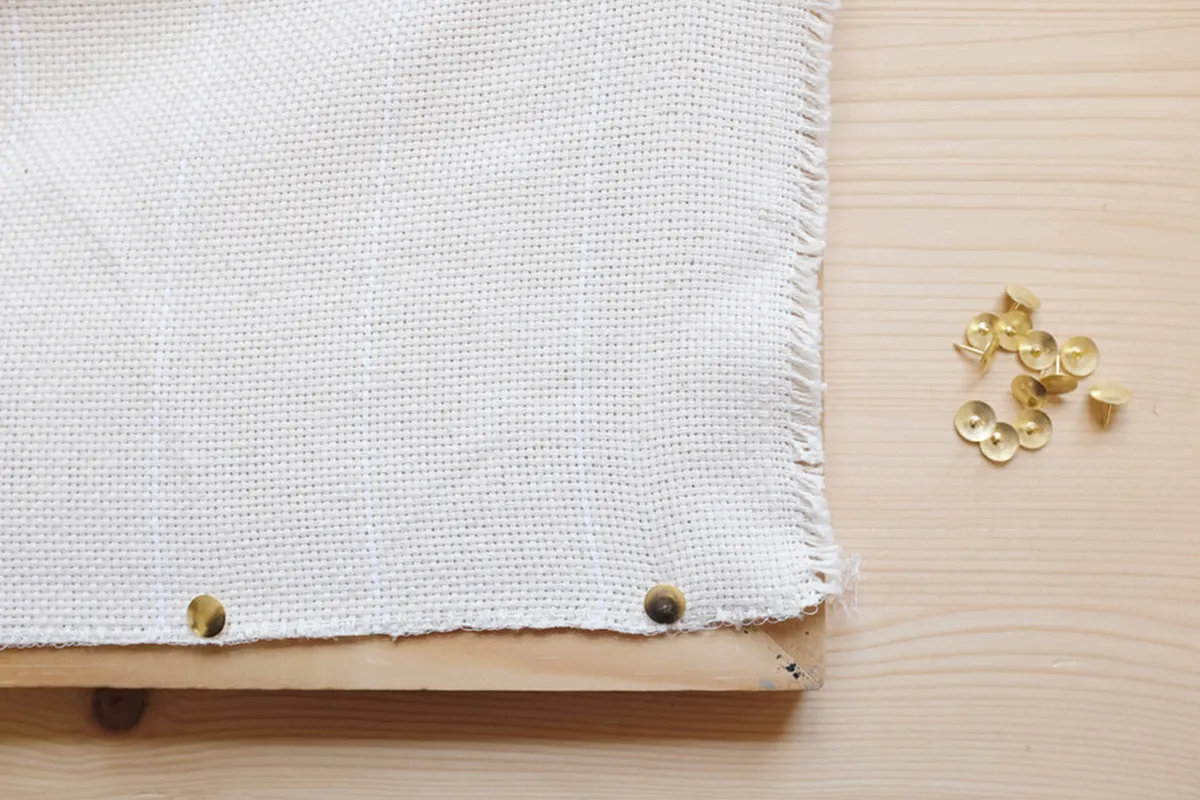
To start off, it’s best to secure your fabric to a wooden frame using drawing pins or a staple gun. If you don’t have a wooden frame, you can use a large embroidery hoop, but make sure your fabric is nice and tight as you need a good tension for needle punching. Make sure you keep the grain lines of the fabric straight, too, for a neater and more even finish.
Step 2
Thread one end of the yarn through the hole at the end of the punch needle from the open shaft side and out through the flat side, pulling about 30cm through it. Take the other end of the yarn, which is attached to the skein or ball and pull it down into the slot in the handle. Keep pulling it until the yarn lies inside the slot, and you have about 3cm of yarn coming out of the eye.
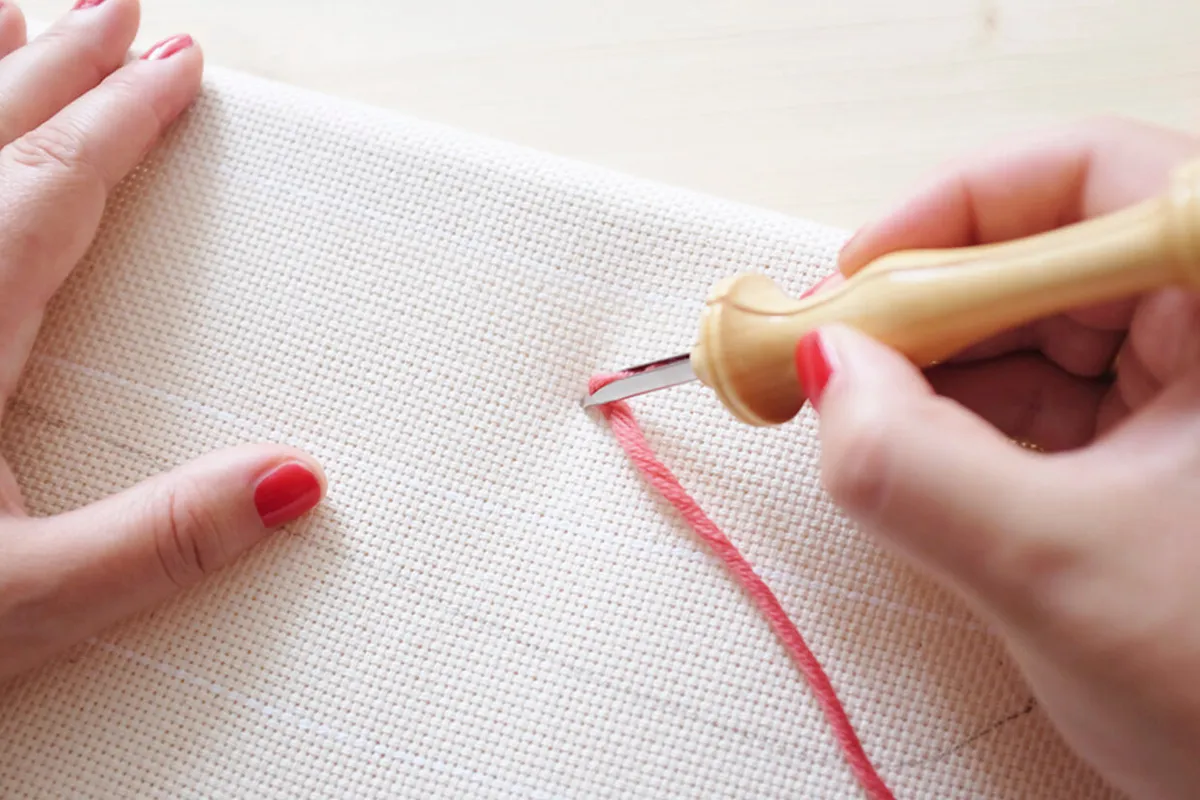
Step 3
Hold the punch needle like a pencil and punch it straight down into the fabric so that the shaft of the needle has gone all the way down and the handle meets the fabric. This forms the start of the first stitch as the punch needle makes a loop of yarn on the reverse side of the fabric. The loops are held in place by the tension of the fabric, so make sure you keep this taut.
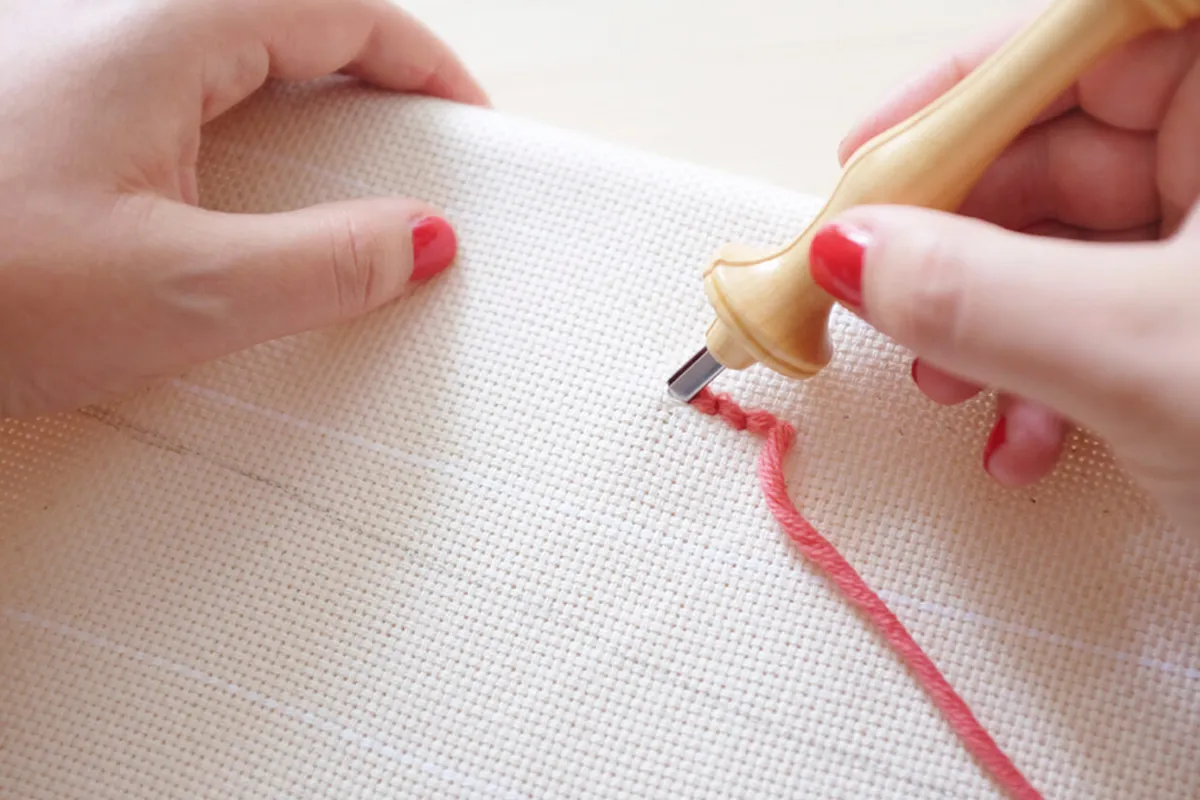
Step 4
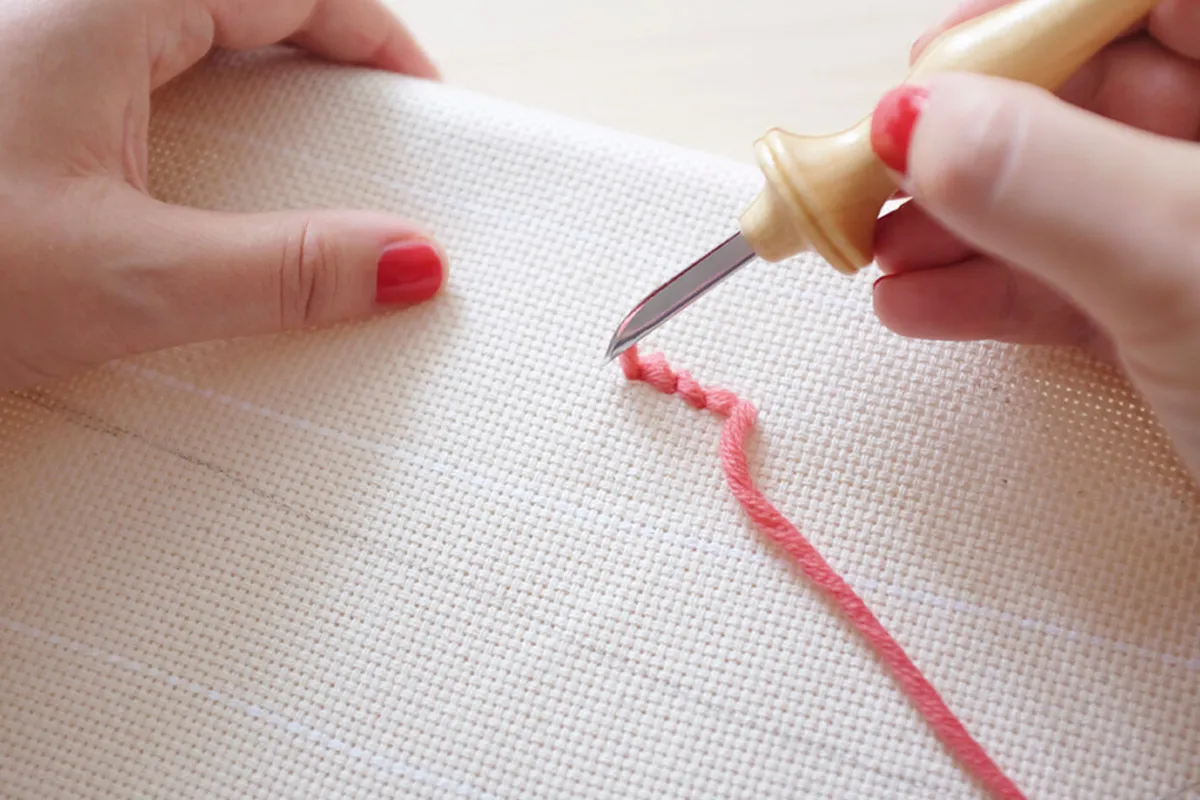
Bring the needle back out and move along roughly 5mm. Take care not to bring the needle out too far, as you will pull the loop out. Move the needle along the design line or area you want to fill, making small running stitches as you go. Needle punching can be worked from the reverse of the fabric so loops are created on the front, or from the front to create small stitches.
Punch needle embroidery flower pot
Now you've mastered the technique, it's time to try your hand at this flower pot punch needle embroidery design designed by Lucy Davidson.
Step 1

Secure the fabric to a wooden frame or mount it into an embroidery hoop. Transfer the template onto the fabric using your preferred method. We taped the template onto the back of the fabric, then placed it against a window so the light shone through, and then traced with a marker pen. You could use a lightbox and a pencil if you prefer.
Start needle punching sections of your design, sewing the ends through to the other side using a wool needle as you go. This stops them from getting caught in subsequent stitching, which will make the finished design untidy. Always start by needle punching the outline of each area, then working inwards to the centre before you move onto the next.
Work the big vase in light blue with medium blue details and the small vase in beige with yellow details. Work the stems and leaves are worked in teal. Work all these elements before you move on to the loopy flowers.
Step 2

Turn your frame or hoop over and trim off all the ends so they are the same length as the loops. Draw the circles for the flowers on the wrong side of the fabric so you have a guide for the next step.
Needle punch the flowers from the reverse side so the loops appear on the front of your design. To create longer loops for the larger flowers, catch the yarn with the hand that’s not holding the needle, hold on to the yarn and pull to the length you want. Vary the length of the loops to create extra texture and detail. Work the large flower on the left and the small flowers in pink, then work the large flower on the right in brown.
Step 3

Draw a rectangle around your design measuring 40x30cm with the design placed centrally. Fill in the area around the edges of the design and up to the drawn rectangle lines with cream stitches. When you have finished, remove the frame or hoop.
Step 4

Trim the fabric to leave a 2cm border all the way around the edge of the cream stitched rectangle.
Step 5

Fold the fabric edges over twice so they meet the edge of the cream stitches on the reverse. Thread a wool needle with cream yarn and oversew all around the turned-over edges to bind and create a neat edge.
Step 6

Place the dowel on the top edge and work a few oversewing stitches through the top of the bound edge and around the dowel. Work three sets of these, spaced evenly, across the top edge. You can now hang your finished design.
And that’s it! All the basic steps you need to get started with punch needle embroidery. There are boundless options with punch needle embroidery and plenty of designs to choose from.
A satisfying technique to explore
Punch needle embroidery is a fun, tactile craft that delivers bold texture with minimal setup. Once you’ve got the hang of the rhythm, it’s easy to experiment with patterns, colours and projects, making it a great technique to return to again and again.
Try a punch needle kit
If you're new to this craft, take a look at our punch needle embroidery kits. You'll find a roundup of our favourite kits, which contain everything you need to create your first punch needle embroidery designs.