How to make embroidery earrings

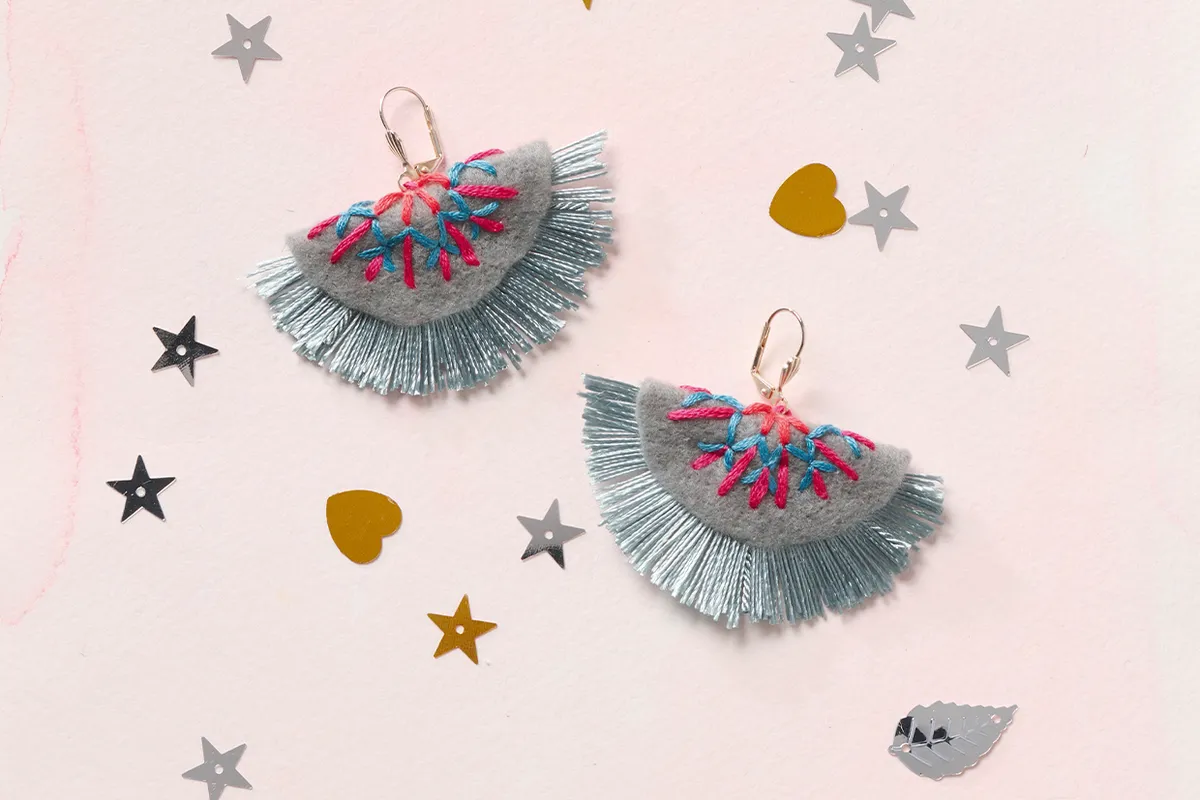
Transform a tassel into these homemade fan embroidery earrings, decorated with bright and easy straight stitches designed by Laura Strutt.

Try 6 issues of Love Embroidery magazine for just £9.99| SAVE 77%

Published: December 12, 2021 at 10:00 am

These fabulous embroidery earrings are the perfect way to get the party started! Well, the party outfit that is. If you want a pair of striking earrings to wear to your New Years Eve party (or Christmas party for that matter) then these gorgeous earrings might be just the right project for you!

The beauty of these earrings is they only use one stitch, this means they are really quick and easy, even for beginners! So you can easily whip up a pair for yourself and even a pair for your friends if you wish, they do make lovely and thoughtful gifts. Follow along with our step by step guide below and Laura Strutt will show you exactly how to put these earrings together, they should only take an afternoon, so brilliant if you just want to relax for a few hours.

If you are totally new to embroidery, check out our helpful guide to embroidery for beginners which contains everything you need to get started on the embroidery earrings pattern.

Stitches key for the embroidery earrings

What you'll need for the embroidery earrings

  • Felt fabric: 20x20cm, grey
  • Stranded cotton: 1 skein each of coral, pink and turquoise
  • Leverback earring findings: x2
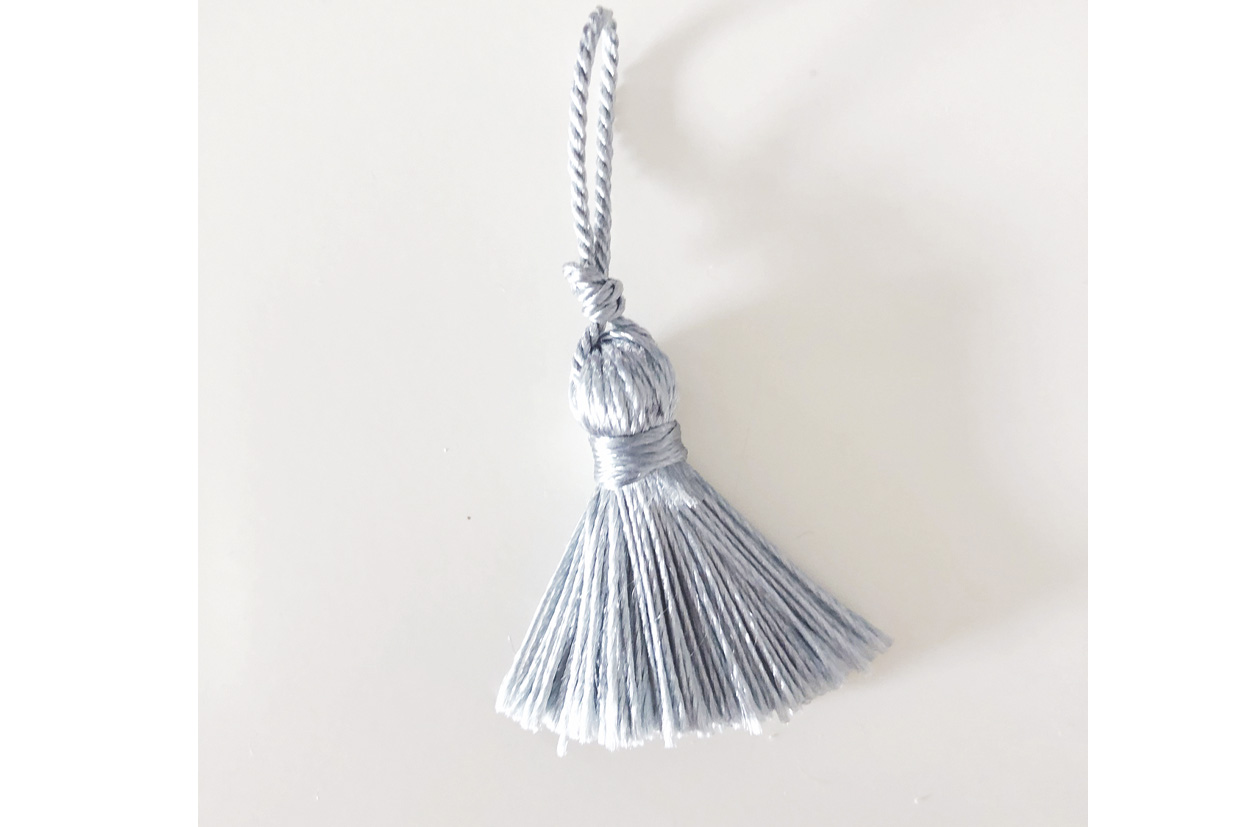
  • Haberdashery tassels: 4cm, grey, x2
  • Embroidery hoop: 15cm diameter
  • Fabric glue
  • Basic embroidery kit

Free embroidery earrings template

You’ll also need the free embroidery earrings template.
You will need:

  • Felt (Grey)
  • Stranded cotton
  • Embroidery hoop
  • leverback earring findings
  • Haberdashery tassels
  • Fabric glue
  • Basic embroidery kit

Step 1

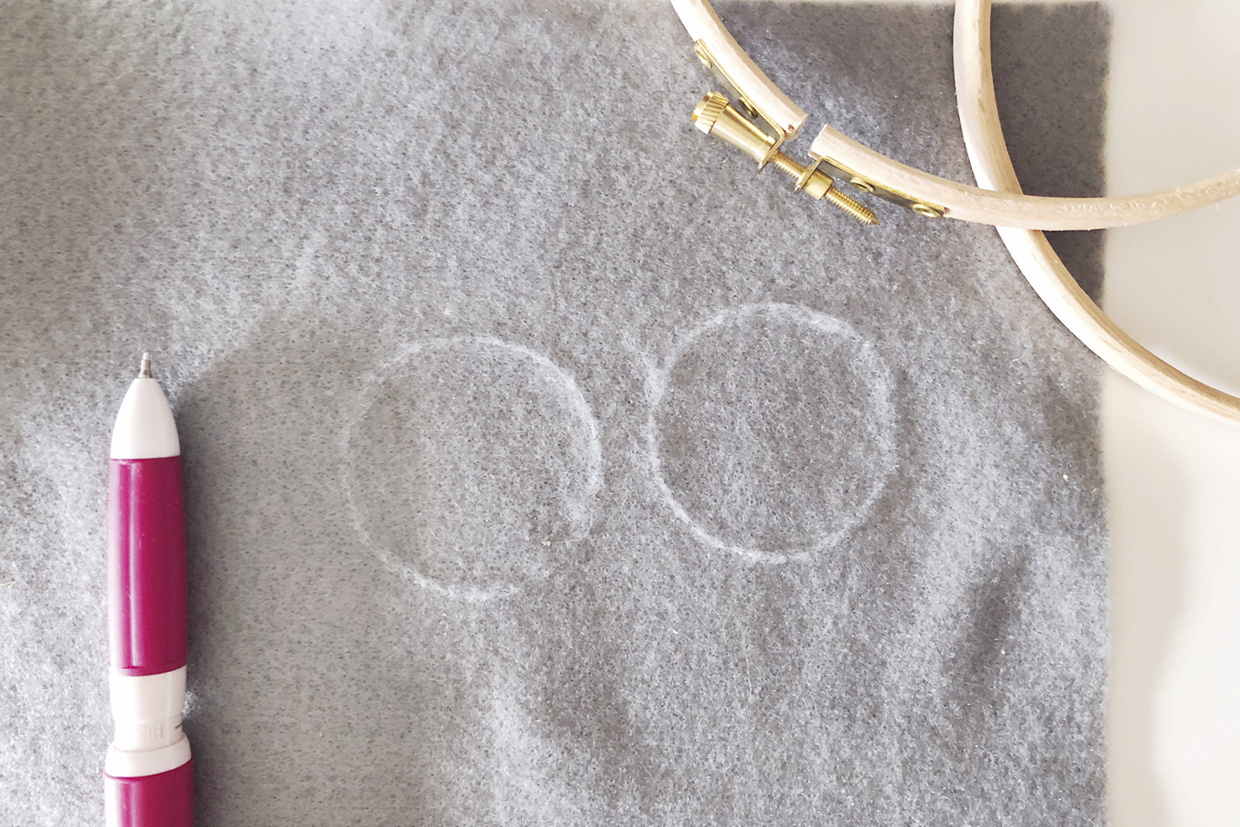
Transfer the design from the template onto the felt using your preferred method – an erasable pen or tailor’s chalk will work well on felt fabric. You will need to transfer the design twice; once for each earring. Make sure that you leave a good margin between both earring outlines you draw, allowing space to cut them out later. Mount the felt fabric into your hoop, taking care not to stretch it. It’s up to you whether you stitch both earrings at the same time or stitch one and then the other.

embroidery earrings – 1

Step 2

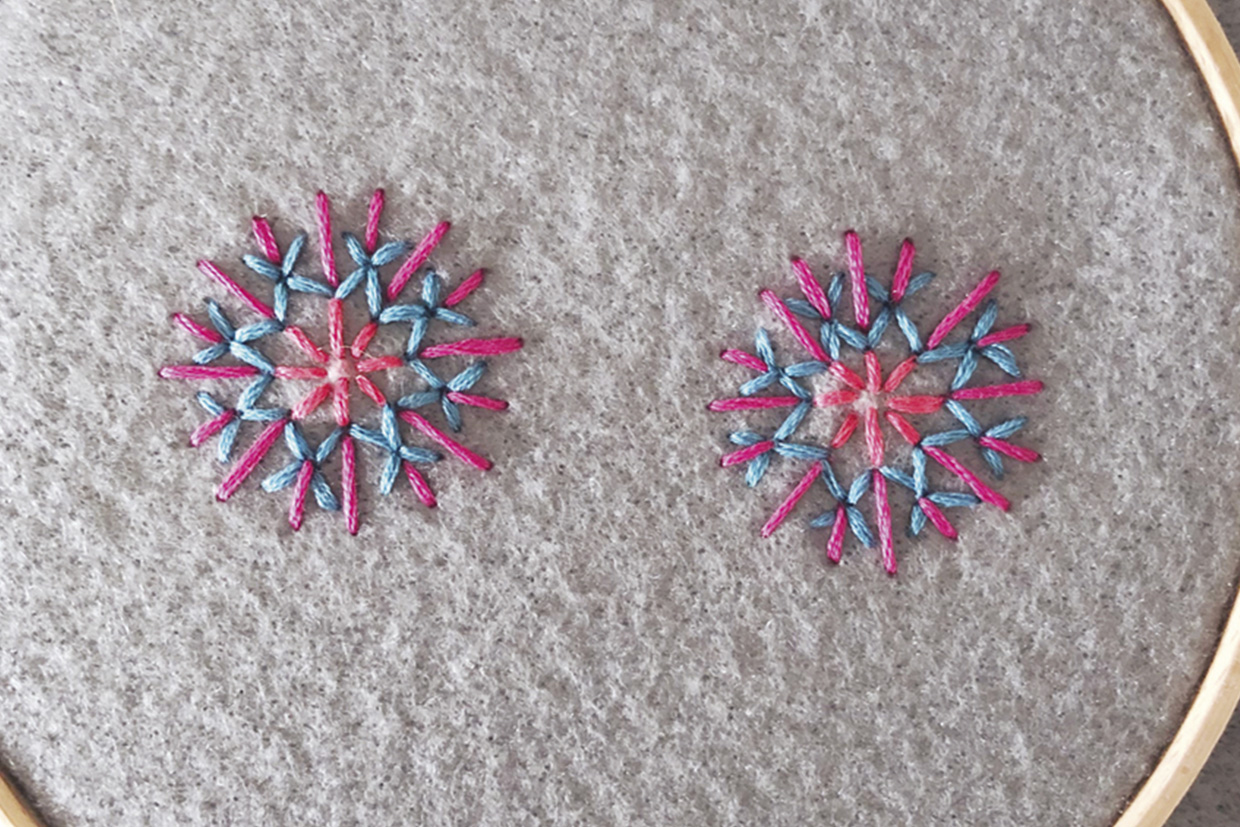
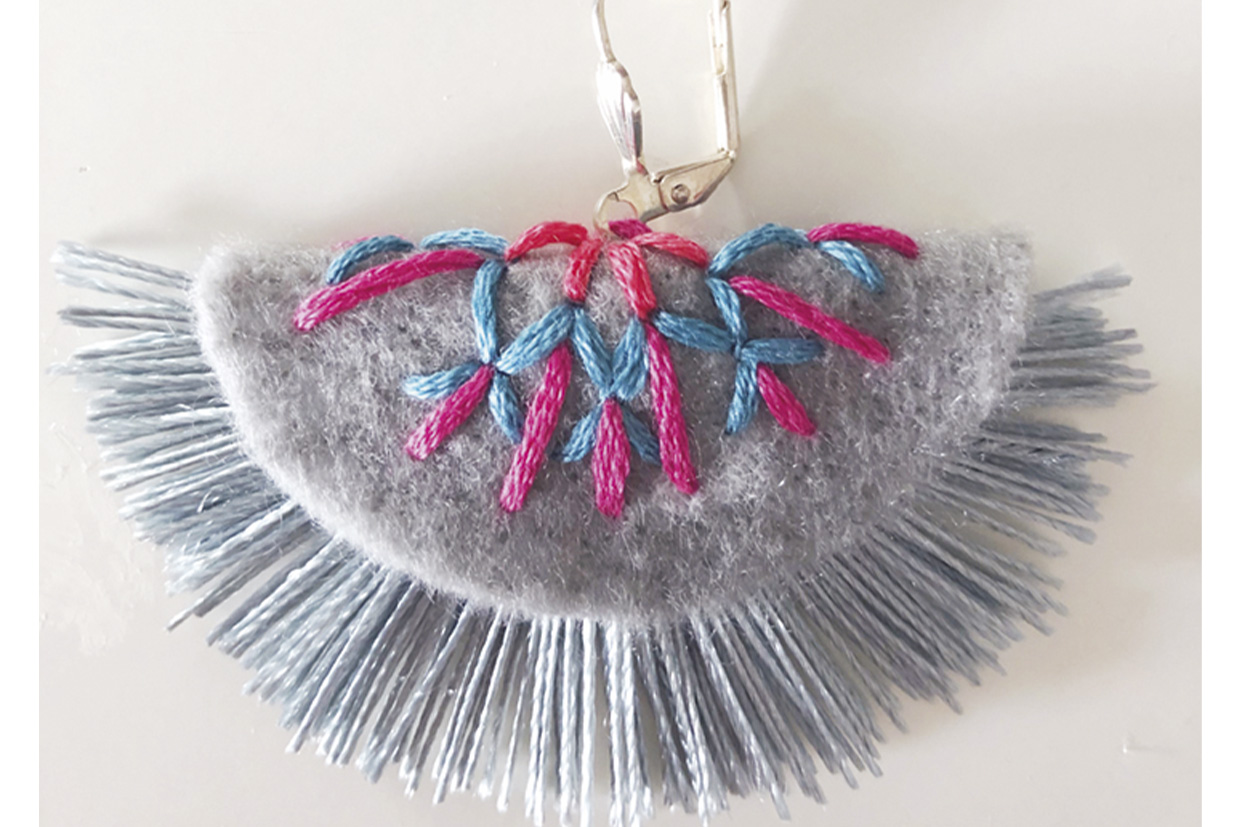
Work the central stitches in Straight Stitch using six strands of coral. Then,
work the mid-section of the design in Straight Stitch using six strands of turquoise. Finally, use Straight Stitch to work the outermost stitches in six strands of pink.

embroidery earrings -2

Step 3

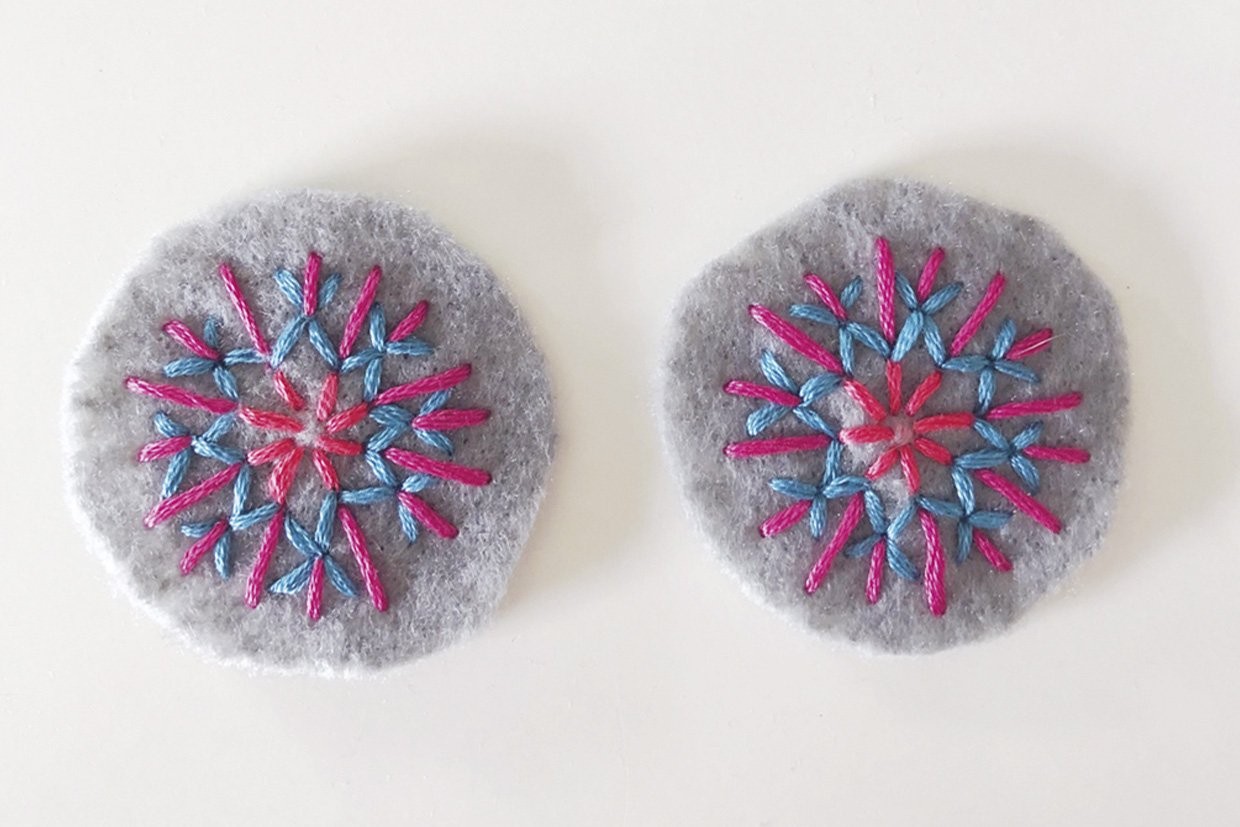
Remove the embroidered felt fabric from the hoop and cut around the outline of the circles. Fold the circles in half to check that the raw edges are neat and align properly. Trim as necessary so that both sides are the same in size and shape.

embroidery earrings -3

Step 4

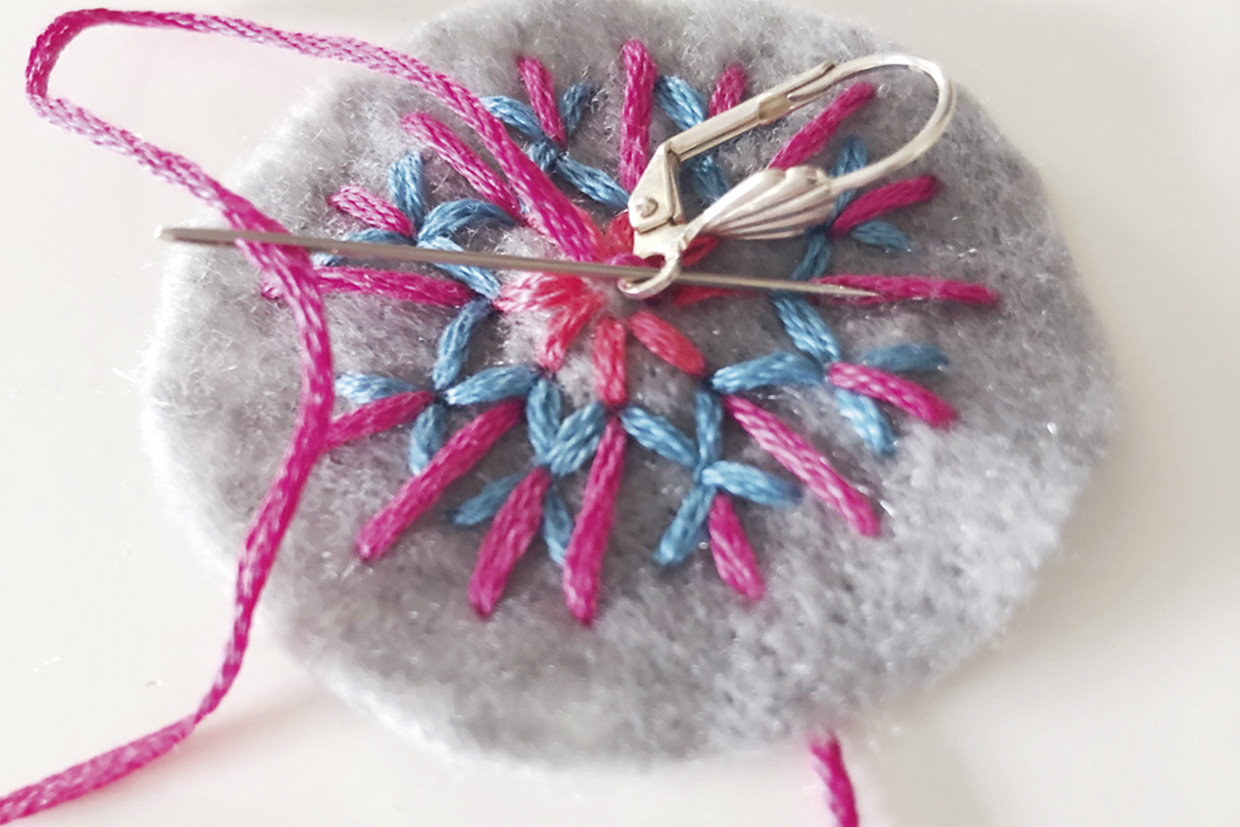
Take one of your circles, and with six strands of pink, sew an earring finding to the central point of the circle. Repeat this process for the second earring.

embroidery earrings -4

Step 5

Carefully snip the hanging loop from one of the haberdashery tassels and fan out the lengths. Position the tassel across the WS of the lower half of one of your folded circles.

embroidery earrings -5

Step 6

Once you are happy that the fanning is evenly spread, secure the tassel in place using small dabs of fabric glue. Apply a little fabric glue to the WS of the upper half of your circle and fold this down – sandwiching the tassel inside. Leave to dry and repeat steps 5 and 6 for the second earring. Alternatively, you can use short lengths of embroidery thread, spread in the same way as the tassel, to achieve this fringe effect.

embroidery earrings -6

We hope you loved this embroidery earrings tutorial. Are you looking for another fun and modern project? Try this lovely star embroidery – one for night sky lovers. Don’t miss our free embroidered buttons pattern, perfect for brightening up your wardrobe! If you can’t get enough of the stars, take a look at the constellation embroidery. If you’re a nature lover check out the mushroom embroidery pattern or the bee embroidery. If you’d like to brighten up your home, try this beautiful wildflower design. If you’re also looking to delve into machine embroidery or would like to find out more about it take a look at our guide to the best embroidery machine

About the designer:

Laura Strutt

Laura lives in Colchester with her husband, two small children and her little dog, Waffle. Laura has written a number of craft books including Modern Embroidery, published by CICO books. She shares patterns and designs on her website.

Visit Laura’s website