Free embroidered buttons pattern

Spruce up your old coats and cardis with these cute embroidered buttons designed by Georgie Emery.

Try 6 issues of Love Embroidery magazine for just £9.99| SAVE 77%

Published: August 14, 2021 at 9:00 am

We can certainly all agree that the embroidered buttons are so adorable! Give your coats and cardis a crafty update with these colourful buttons which are quick and easy to make.

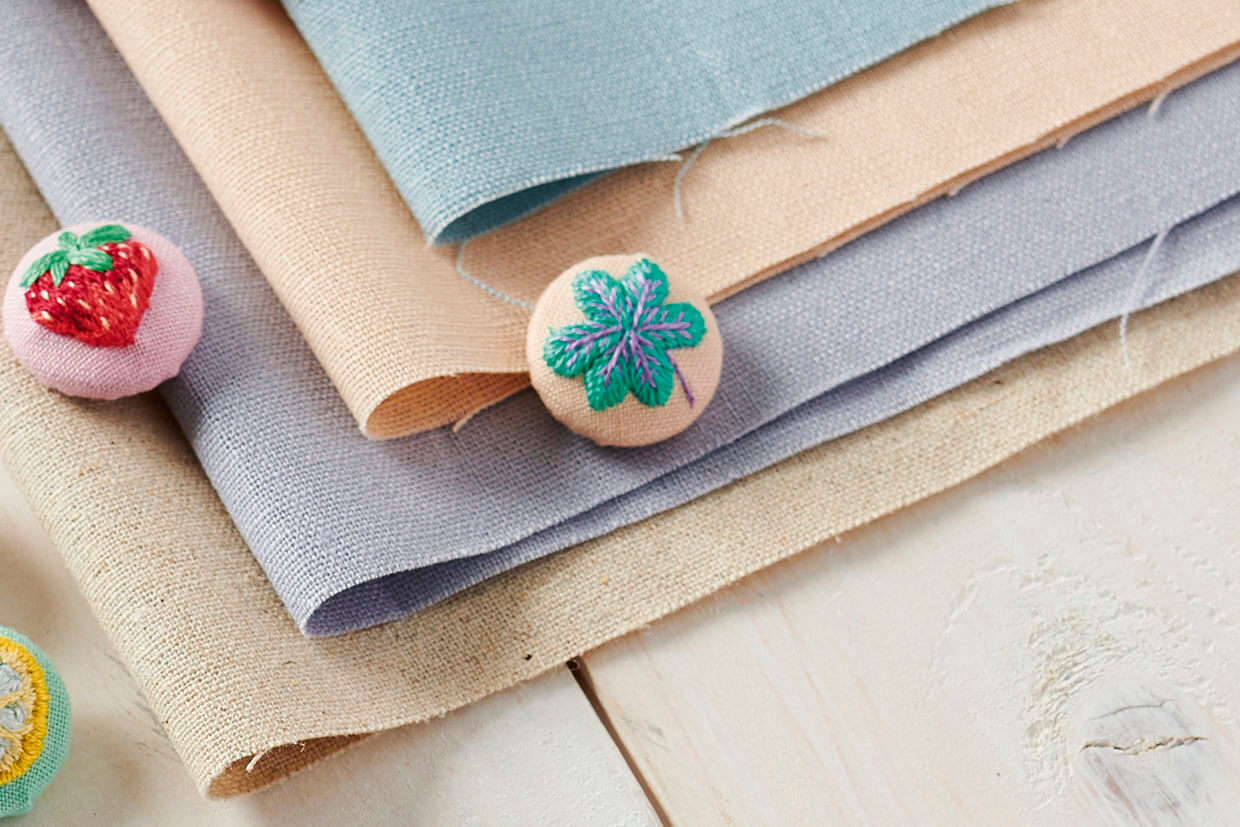
The embroidered buttons come in a variety of designs, you'll find the following to choose from; a banana, a choice of leaves, a lemon, a choice of flowers, watermelon, and a strawberry. The designs are created using vibrant threads, which will brighten up any outfits that are in need of a splash of colour.

This design is suitable for beginners, but uses a wide variety of stitches so it will be a chance to practice some stitches you already know and also learn some new ones you might be less familiar with! If you are new to embroidery or need a little refresh, take a look at our embroidery for beginners guide which contains everything you need to get started.

The embroidered buttons were designed by Georgie Emery for Love Embroidery issue 9.

Embroidery stitches key for the embroidered buttons

For more help with stitches head over to our useful embroidery stitches library.

Embroidered buttons fact box:

  • Cotton fabric: 30x30cm, light orange, mint, pale pink and peach
  • Stranded cotton: 1 skein each of black, green, dark green, light green, pink, purple, red, dark red, turquoise, bright turquoise, white, yellow and light yellow
  • Self-cover buttons: 19mm
  • Embroidery hoop: 13cm diameter
  • Cover button tool (optional)
  • Basic embroidery kit

Free embroidered buttons template

You’ll also need the free embroidered buttons template.
Embroidered buttons step-by-step guide

You will need:

  • Cotton fabric
  • Stranded cotton
  • self cove
  • Embroidery hoop
  • cover button tool
  • Basic embroidery kit

Step 1

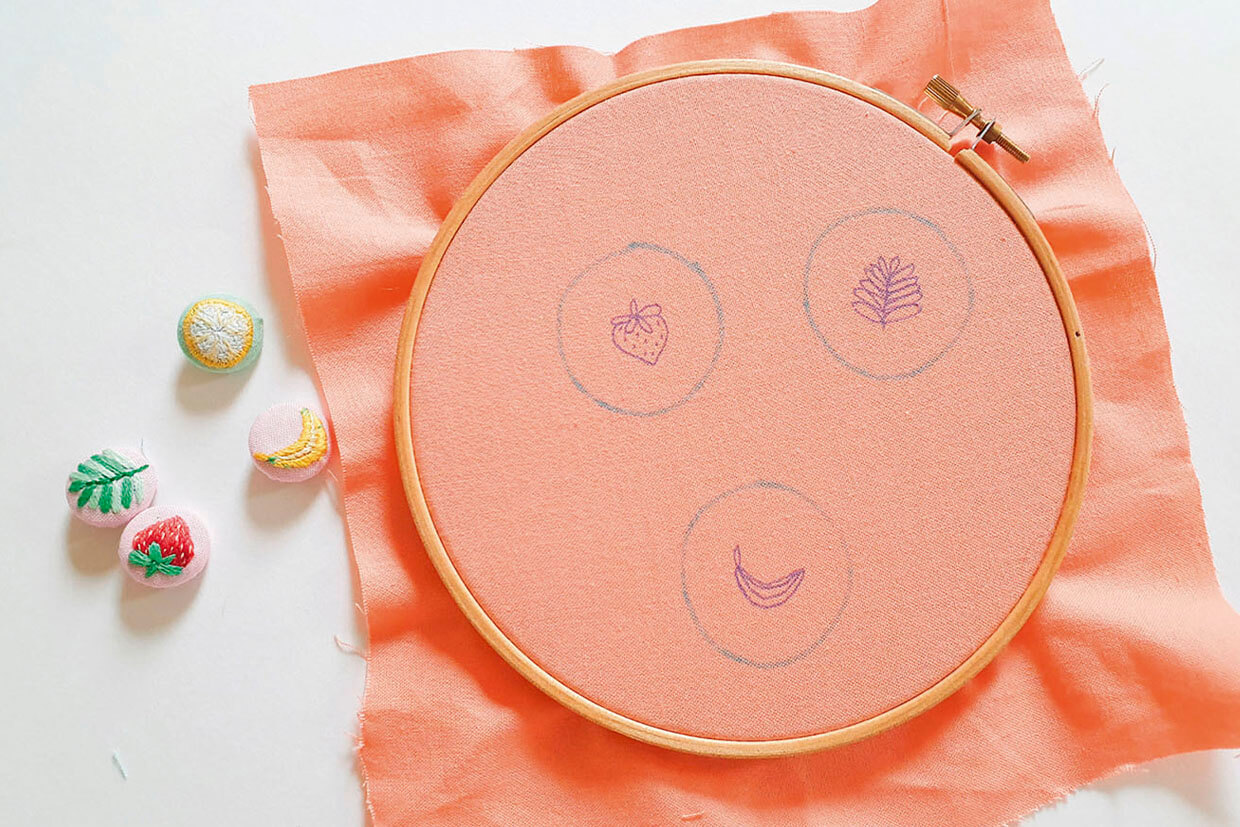
Firstly, mark out three 2cm circles on each piece of your fabrics with a 3cm gap in between. Then, transfer your chosen patterns centrally within each circle using your preferred method. We used a water-erasable marker pen. Next, insert your fabric into your hoop. See Notes for instructions on sizing to stitch individually.
embroidered buttons step 1

Step 2

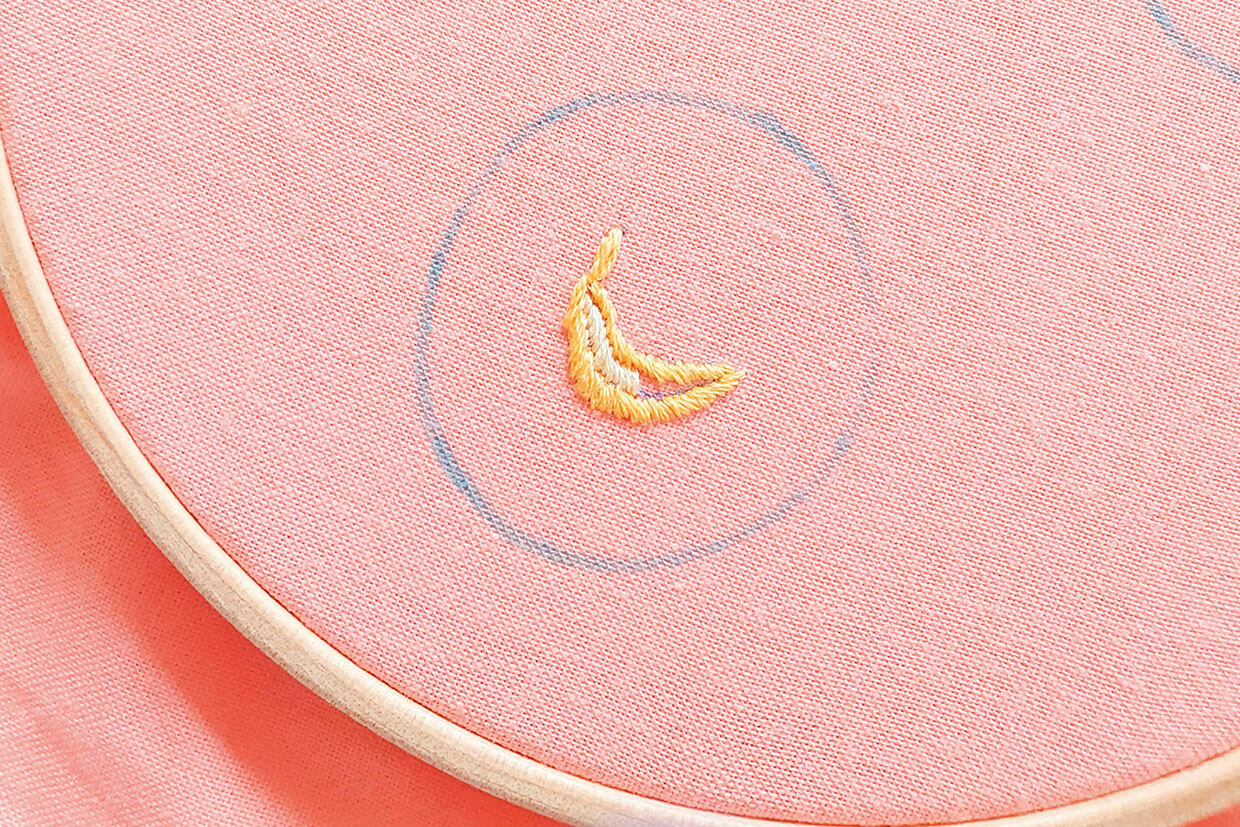
Banana embroidered buttons

Work Satin Stitch along the edges in two strands of yellow. Fill the middle section in Satin Stitch using two strands of light yellow. Work Straight Stitches at the ends and in the centre of the banana, using one strand of green.
embroidered buttons bananas

Step 3

Three-colour leaf embroidered buttons

Work the sections of the leaf in Satin Stitch, alternating between two strands of green and light green as you move from section to section – see the step photo above for colour placement. Work the stem in Backstitch using two strands of dark green.

embroidered buttons leaf

Step 4

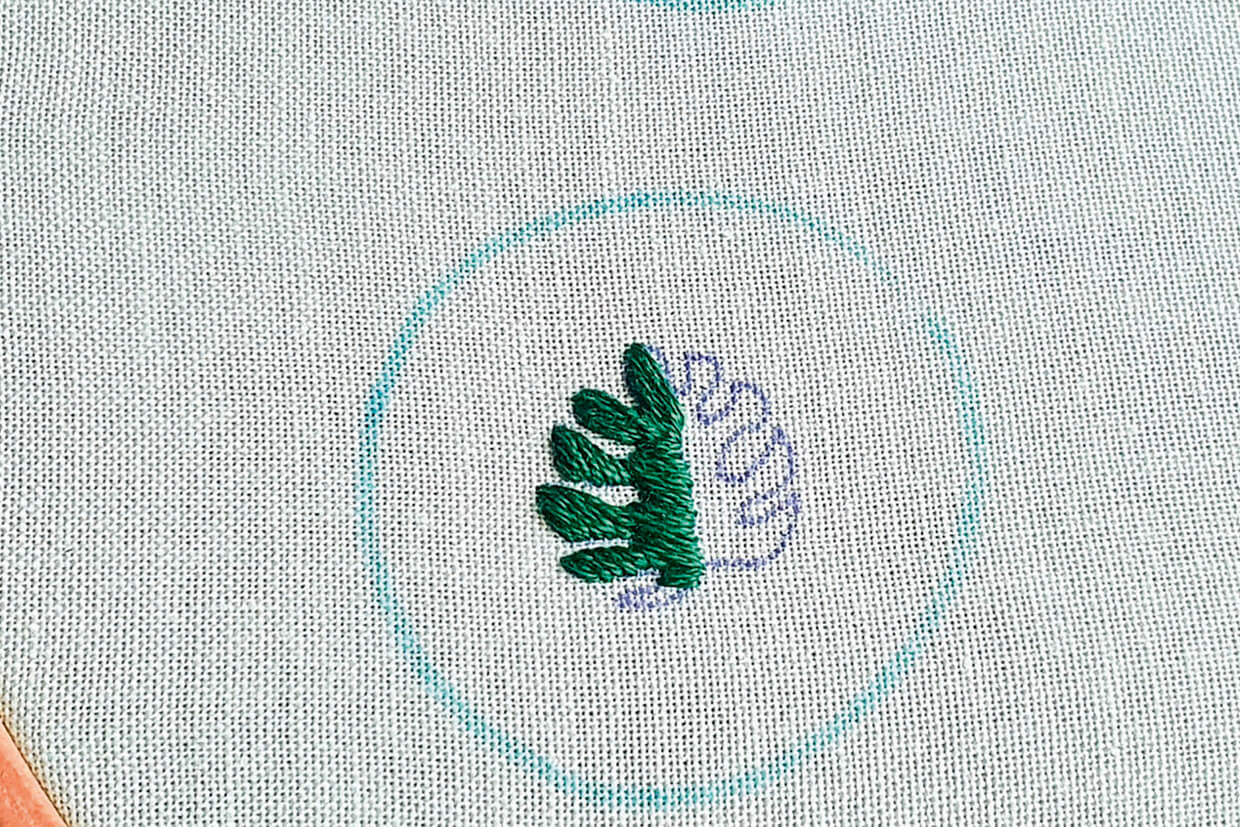
Monstera leaf embroidered buttons

Fill in the leaf shape with Satin Stitch using two strands of dark green. Work your stitches in an outwards direction, starting from the central line of the leaf, to create natural shaping.
embroidered buttons leaf

Step 5

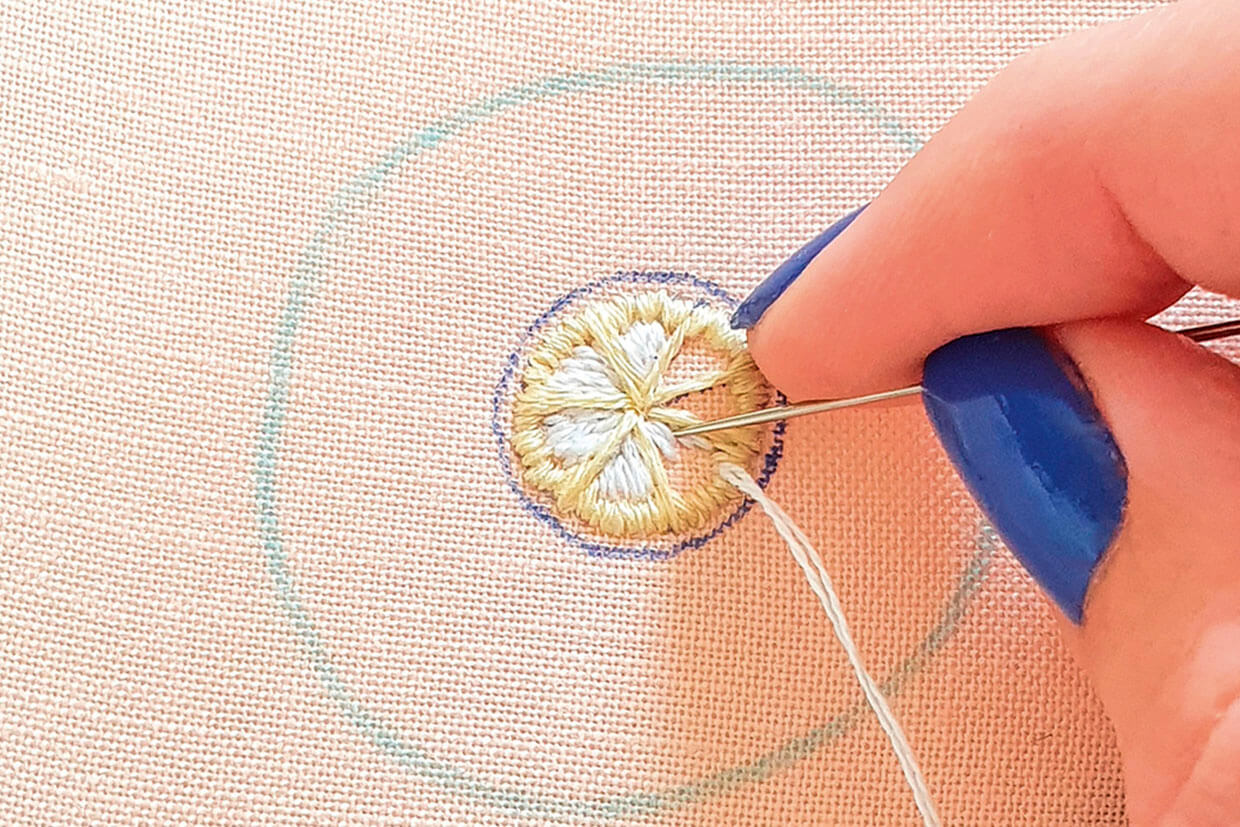
Lemon embroidered buttons

Working outwards from the centre, fill the circle with Satin Stitches using two strands of white. Then, work outlines of the segments in Split Stitch using two strands of light yellow. The pith of the lemon is filled with Satin Stitch using two strands of light yellow. Finally, the rind is stitched in Satin Stitch using two strands in yellow.

embroidered buttons lemon

Step 6

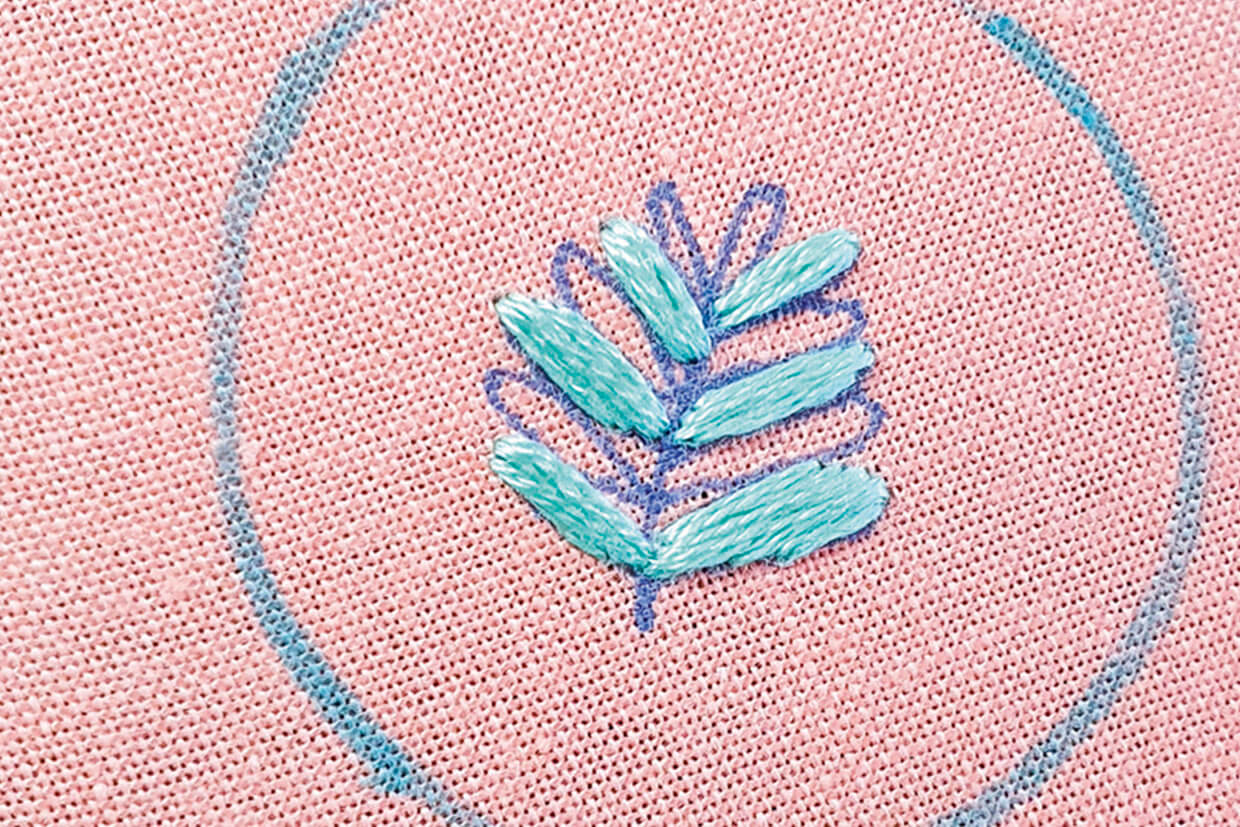
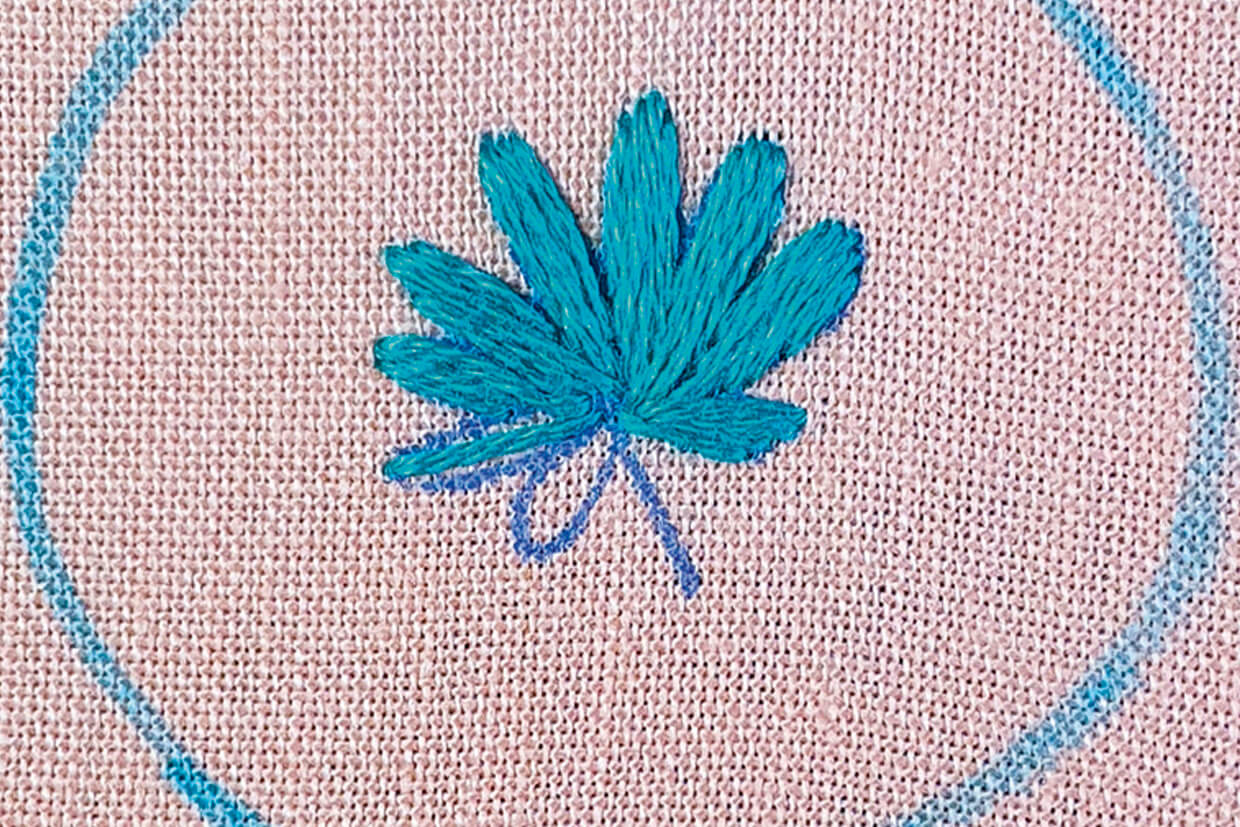
Palm leaf embroidered buttons

With two strands of turquoise, fill in the leaves using Satin Stitch. The stem is stitched in the same colour using Whipped Backstitch. Finally, add three or four Straight Stitches to the tips of each leaf using two strands of light yellow.
embroidered buttons palm

Step 7

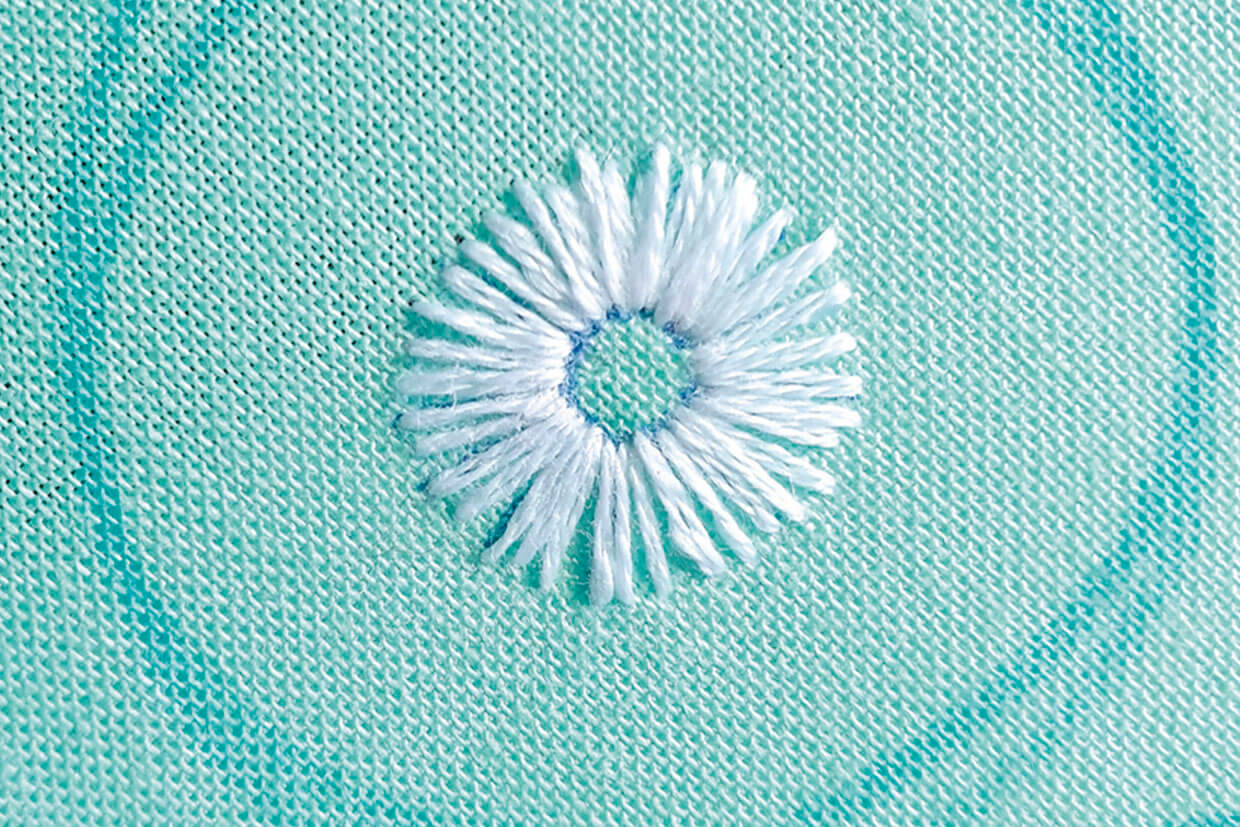
Daisy embroidered buttons

Create the petals of the flower using Straight Stitch in two strands of white. Work outwards from the centre to create shaping. Then, fill the centre with French Knots using two strands of yellow.
embroidered buttons daisy

Step 8

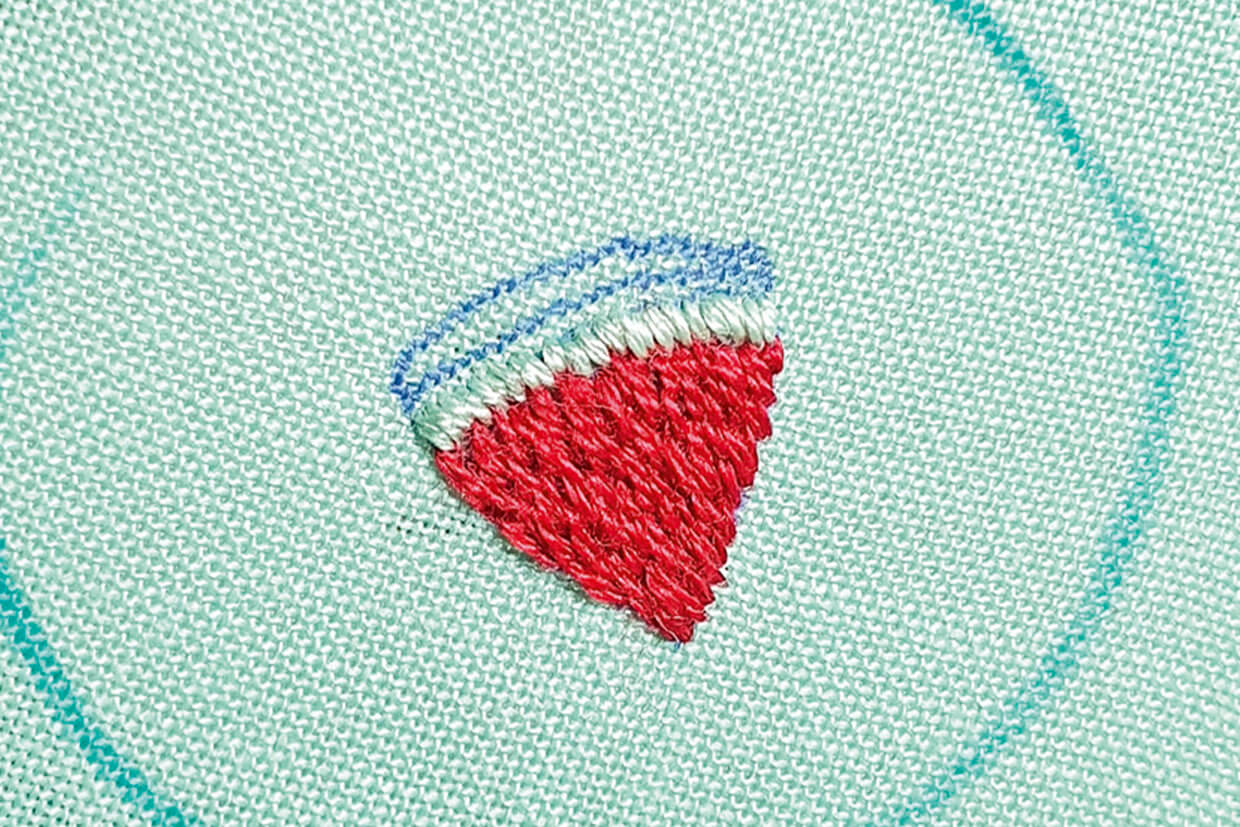
Watermelon slice embroidered buttons

Begin by filling the centre of the watermelon with Brick Stitch using two strands of dark red. Then, work the outer rind with Satin Stitch using two strands of turquoise and the inner rind using two strands of light green. Lastly, make the pips.
embroidered buttons melon

Step 9

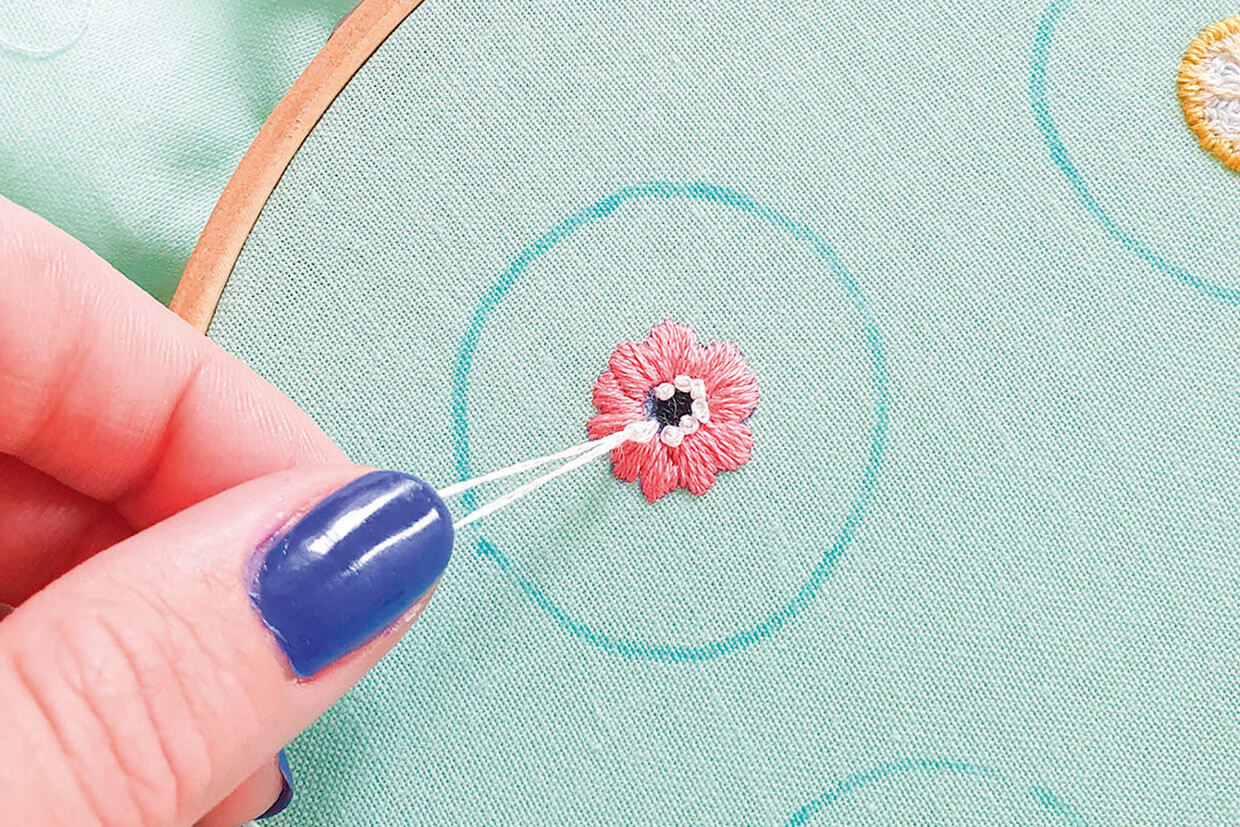
Flower embroidered buttons

Stitch the petals in Satin Stitch using two strands of pink. Fill the centre with Satin Stitch in two strands of black. Then, encircle the centre with French Knots using two strands of white.
embroidered buttons flower

Step 10

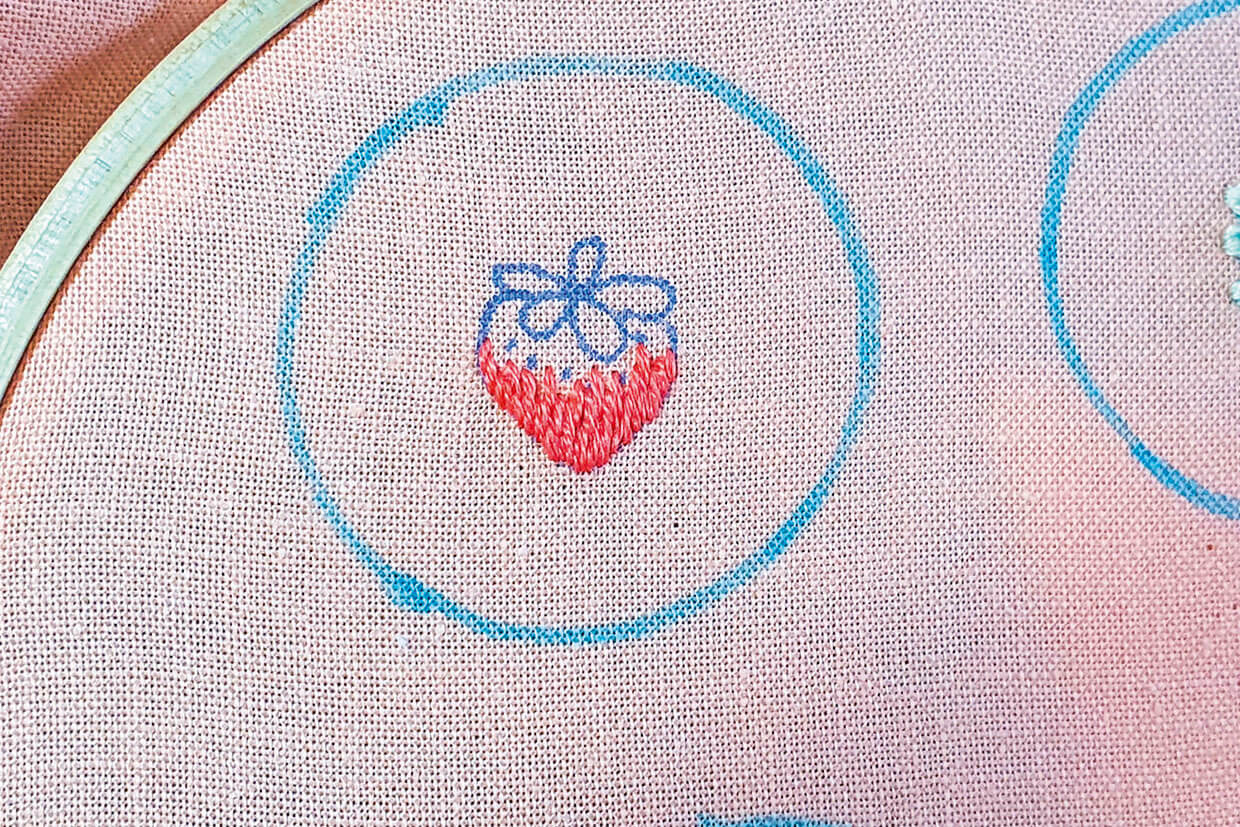
Strawberry embroidered buttons

Using two strands of red, work Long and Short Stitches two-thirds of the way up the strawberry. Then, fill the remainder of the shape with Long and Short Stitch using two strands of dark red. Work the leaves with Satin Stitch using two strands of green. Lastly, make the seeds using Seed Stitch in one strand of light yellow.
embroidered buttons strawberry

Step 11

Purple spine-leaf embroidered buttons

Stitch all the sections of the leaf in Fishbone Stitch using two strands of bright turquoise. Use Backstitch to add the spines and stems over the top using two strands of purple.
embroidered buttons purple

Step 12

Making up the embroidered buttons

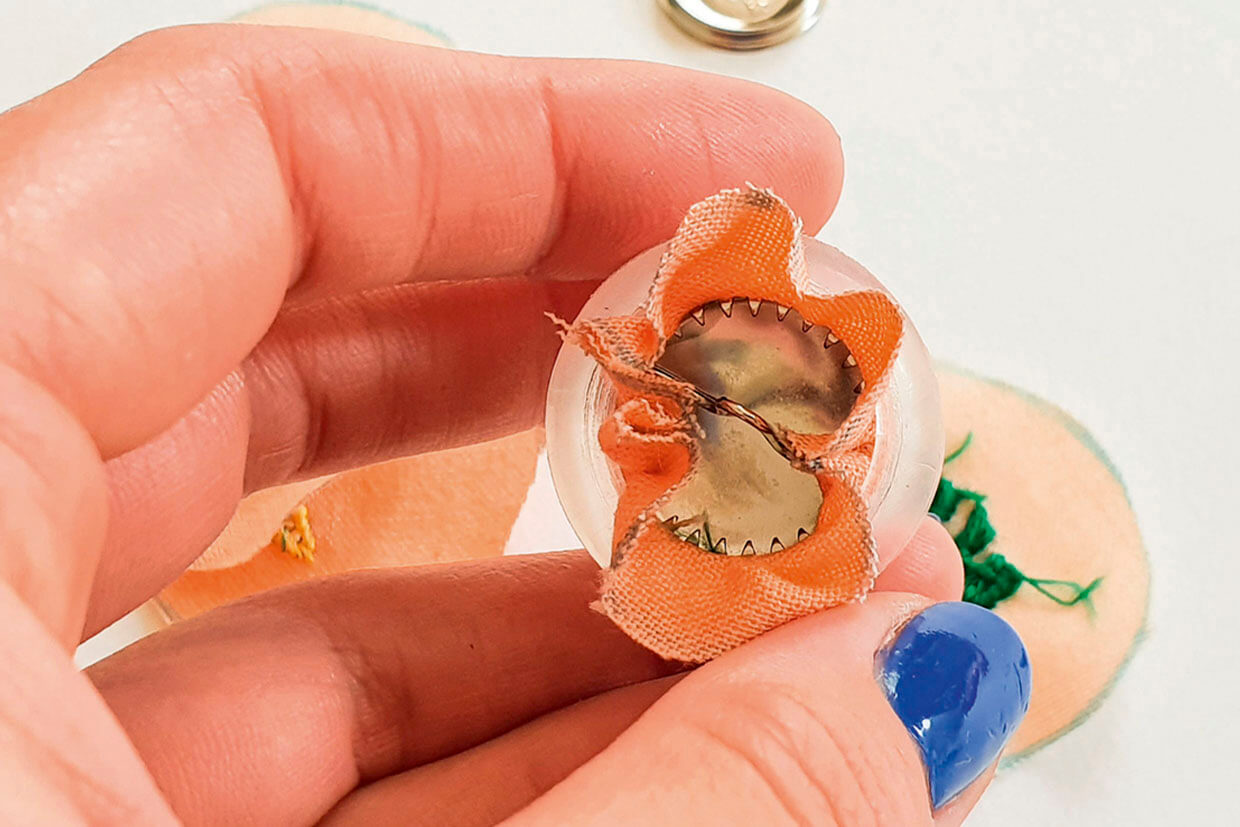
Once you have finished all the embroidery for your buttons, cut your fabric to the correct size using the assembly guide provided with the self-cover buttons. Place your embroidered fabric centrally over the face of the button shell and push into the holder tool. Tuck the rest of the fabric into the rear of the shell. Take the button back and, using the pusher part of the tool, snap it into place. If you don’t have a tool, you can do this by working a row of running stitch around the fabric edge and then placing the button shell onto the back of your stitching. Gently pull on your thread to gather the fabric at the back and press it into the shell. Then, press the back of the button in place firmly until it clicks into position. These buttons are great for using up odd amounts of threads and spare scraps of fabric – try mixing up your colour choices.
embroidered buttons

We hope you’ve had fun sprucing up your wardrobe with these cute embroidered buttons. If you want to take on some similar free summer projects try our ice cream embroidery, which is comprised of smaller motifs and is easy to stitch! Or try out the pineapple embroidery which will certainly brighten your day. If you’re a nature lover check out the bee embroidery. If you want to get your pets involved in the summer fun try out this cute embroidered pet bandana. Give the straight stitch a go with the bright and fun sun embroidery design. If you’re also into machine embroidery or would like to find out more about it take a look at our guide to the best embroidery machine.