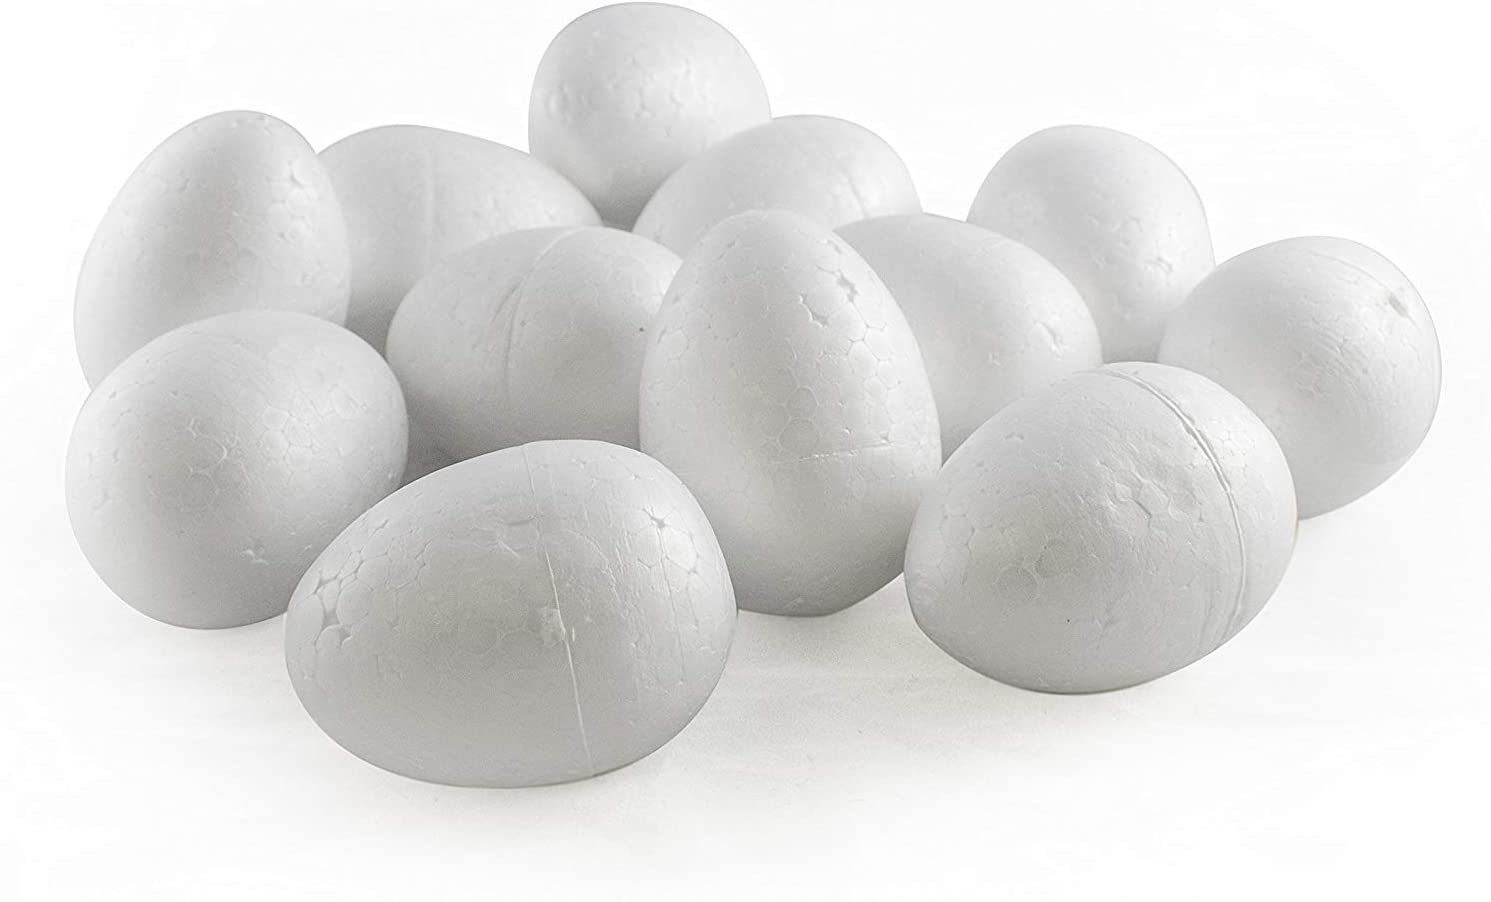
How to make a paper mache Easter egg
Paper mache Easter eggs are perhaps one of the easiest crafts you can do this spring. Using only a few household materials and some patience, our paper mache Easter eggs are perfect for filling with treats or using in the grand hunt.
Once you've followed our simple paper mache Easter egg tutorial, we show you how to adorn your eggs with elegant quilled swirls. This quilling technique will really elevate your eggs and make them a joy to display.
Keep reading to find both the paper mache and quilling tutorials and have an egg-filled Easter!

How to make paper mache eggs

You will need
- Water balloon
- Newspaper
- PVA glue
- Brush
- Cup (or another stand for your egg while it's drying)

Get creative with the kids
Get the kids making this Easter half-term with our easy salt dough recipe post!
How to make your paper mache eggs: step-by-step instructions
Step 1
Blow up a water balloon to create a small egg shape. Tie a knot in the end of the balloon to secure it, and stand it up in your cup (or eggcup!).
Water balloons are better when learning how to make a paper mache Easter egg, because of their smaller size - but you could also use a normal balloon and just blow it up a little way, around 10cm is good, although you can make your egg as big or little as you like!
Step 2
Dilute some PVA glue using some water and mix to make your paper mache recipe (around 1 part water to 2 parts glue gives a nice consistency - so twice as much glue as water).
Check out our full guide to papier-mâché, with step-by-step photos and handy video guide.
Step 3
Next, tear up some newspaper into little squares - around 1cm is ideal. You can also use tissue paper, but the newspaper will yield a stronger finish and will be more durable. The smaller the squares, the more even a finish you'll get for your paper mache Easter egg.
Step 4
Soak the newspaper squares in the PVA-water solution to get them nice and saturated.
Step 5
Start applying the newspaper squares to your balloon! Smooth down the paper using your fingers or a paintbrush, moulding it around the balloon as you go.
Step 6
Continue covering your paper mache egg with newspaper pieces. Overlap the pieces of paper so that your whole balloon is covered.
Step 7
Add a second layer.
Make sure there are no bits of balloon visible, apart from the knot.
Step 9
Set your paper mache egg to one side and leave to dry. It's a good idea to leave your paper mache Easter egg for a couple of dayss, as it's important to make sure your paper mache egg is completely dry before moving onto the next step.
Step 10
Once completely dry, hold the knot of the balloon, grab a pin (or another sharp object) and pop the balloon! If you're holding the knot - you can then simply pull the balloon out. It's likely your balloon won't 'pop' in the traditional sense, more likely it will just deflate.
Step 11
Cover the hole (if you wish) by adding another layer of newspaper. If you want to fill your homemade paper mache Easter egg - make sure you add your treats before covering the hole!
Step 12
Paint white and leave to dry. Then decorate however you like! Your paper mache Easter eggs are complete, ready for your hunt.

Discover more paper mache projects
Once you've learnt how to make paper mache, why not try some of our brilliant paper mache projects for kids?
How to make a quilled Easter egg
Want to take your paper mache Easter egg one step further? Keep reading to learn how to add this gorgeous quilled design to your paper mache Easter eggs.
If you're new to the world of quilling, you can check out our handy ideas guide to quilling.

You will need
- Papier-mâché 10.2cm eggs
- Acrylic paints
- Paintbrush
- Quilling paper strips
- Quilling tool
- Quilling circle gauge
To create your fillable quilled egg, carefully cut your paper mache Easter egg in half across the middle. For a different look, you could cut a peephole into the paper mache Easter egg to pop the treats into.


