Introduction to shrinky dinks
Shrinky Dinks are a brand of printable plastic craft toys that have become synonymous with shrink plastic. Shrinky Dinks are now shrink plastic (shrinky dinks without the caps for the brand name), in the same way that you can call any vacuum cleaner a hoover.
Shrinky Dinks the brand was big in the 80s, when kids could colour in these line art drawing, pre-printed on special thin plastic sheets which, when heated would shrink right down to become thicker and more rigid.
You can still buy Shrinky Dinks the brand, but the name now commonly refers to the miniature shrunken shapes you get after heating and shrinking plastic rather than these specific printed sheets themselves.
What is that makes shrinky dinks such a good toy? It's because shrink plastic is so fun to use and almost magical in the way it transforms. Shrink plastic is one of those materials that really benefits from some fun experimentation.
The plain sheets of thin plastic really keep their magical qualities well hidden! If you buy pre-prepared shrink plastic sheets to use for making shrinky dinks, you get one side that is rougher than other, so perfect for colouring on – you can use colouring pencils or felt tip pens for these.
The colour intensifies as the plastic shrinks, so keep that in mind and apply colour lightly as it will get more concentrated after shrinking.
If you get a sheet without any texture, you can either rough it with sandpaper to let you colour with pencils, or use permanent markers to apply colour to the clear, smooth surface.
In this how to make shrinky dinks tutorial, we are going to show you both a beginner and an advanced shrink plastic project. We hope these shrink plastic ideas help inspire you to craft toys own shrinky dinks projects, too.
The beginner shrinky dinks tutorial lets you use any colouring medium on your shrink plastic, where the expert needs some specialist archival pens.
There are lots of ways to shape and add designs to shrink plastic, including die-cutting, hand-drawing and stamping. Adding colour allows you to test out techniques with everything from gel, glitter and felt pens, to alcohol markers, coloured pencils and even wax crayons.
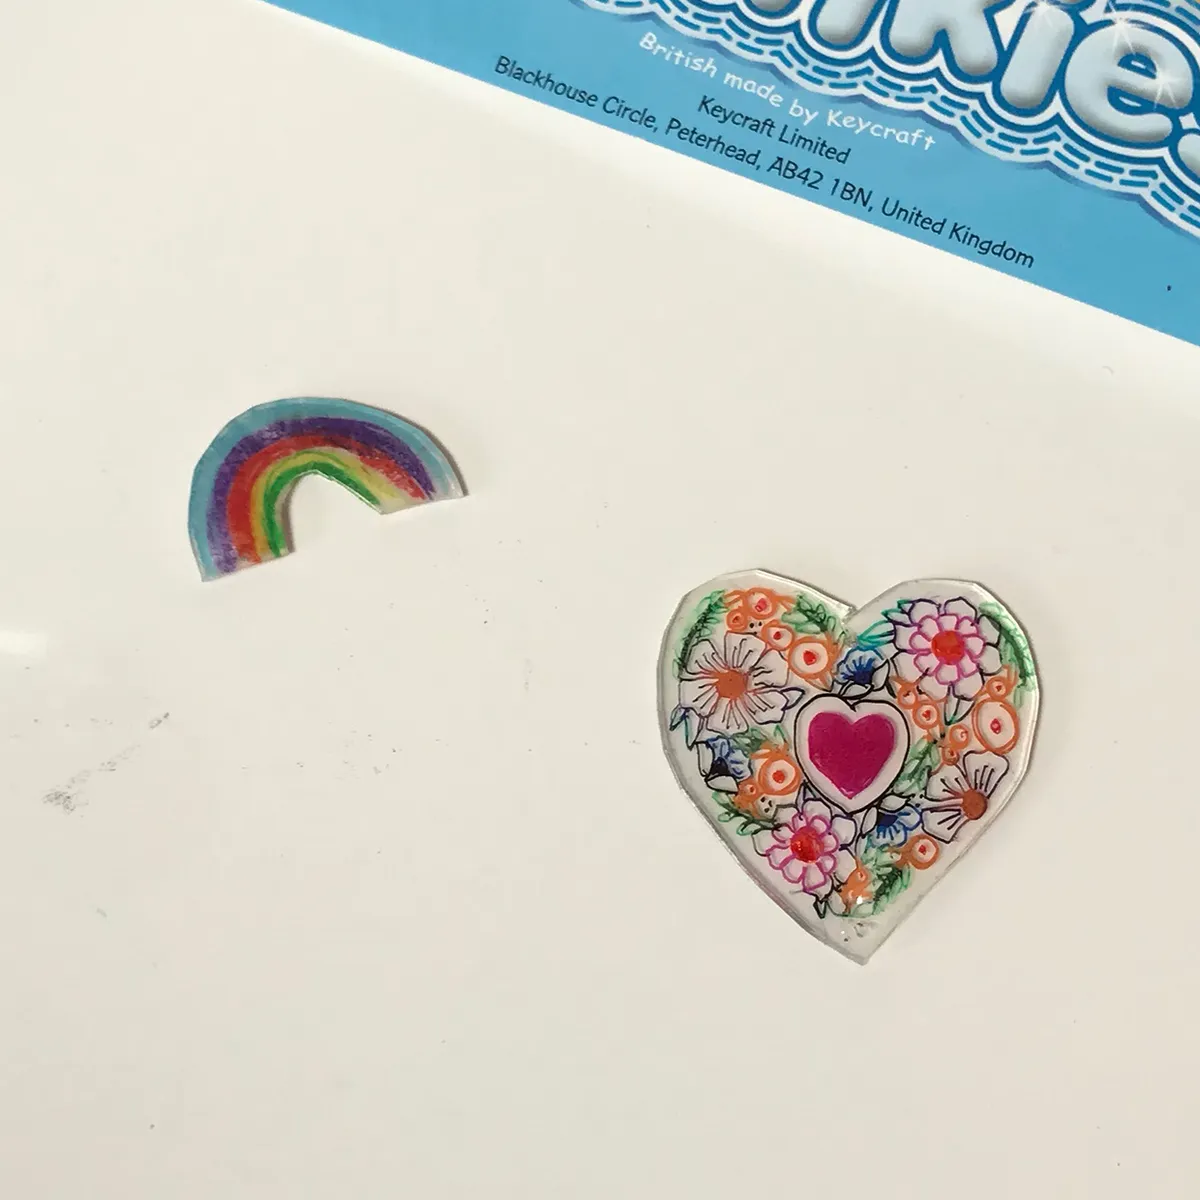
On top of creating perfect personalised embellishments, you’ll also discover that the mysterious shrinking process provokes childlike delight every time, whilst producing elegant and sophisticated results!
One challenge of using shrink plastic is that the shrink plastic sheets are often crystal clear. This works fine if you are a paper crafter who can stamp with archival inks, or you have a great selection of permanent coloured pens, but your average crafter does not.
However, all you need is a little grade 0 glass paper or fine sandpaper which lets you gently roughen the surface of the shrink plastic sheet.
You can then use any colouring materials you like - we are using food old colouring pencils in our tutorial! It’s best to use fairly light shades of pencils, as any colour you use will darken when you shrink the image. Being neat is not important, as you will cut out the image and shrinking concentrates the colour.
Most shrinky dinks can be made by heating your shrink plastic sheet in the oven, but we are using a heat gun for ours.
To use an oven, preheat it to 170°C and place the shrink plastic on a baking tray and put a wire rack on top. This will ensure the shrunk plastic is completely flat. It will only take a few minutes for the plastic to melt and shrink to a fraction of its original size.
Allow it to cool completely before handling it. If you have a heat gun, place the shrink plastic on a heat-proof surface like a baking tray or ceramic tile. Hold it down gently using a wooden skewer, or something similar, as once you apply the heat it will start to twist and turn.
Aim the heat gun at the shrink plastic, keeping it about 50mm away – and watch the magic happen!
The plastic will suddenly start to contort and move in different directions. Usually, the plastic sheet curls up at first but will flatten out as you continue heating and the shrinking becomes more uniform across the shape.
Once it has shrunk to its minimum size, it will straighten itself out. You can give it a helping hand by covering it with the back of ceramic tile, to ensure it flattens out completely.
Occasionally as the plastic shrinks, it may stick to itself. If this happens, gently prise it apart and reheat it a little.
How to make shrinky dinks video
We've filmed a video guide for our shrinky dinks tutorial. here you can see both the beginner and the advanced projects being made.
If you prefer written steps with photos, we have these for you in this guide too. Just scroll down to the How to make shrinky dinks: Beginner heading for the step by step written guide.
Where to buy shrinky dinks
Here are the materials you need for our how to make shrinky dinks tutorial
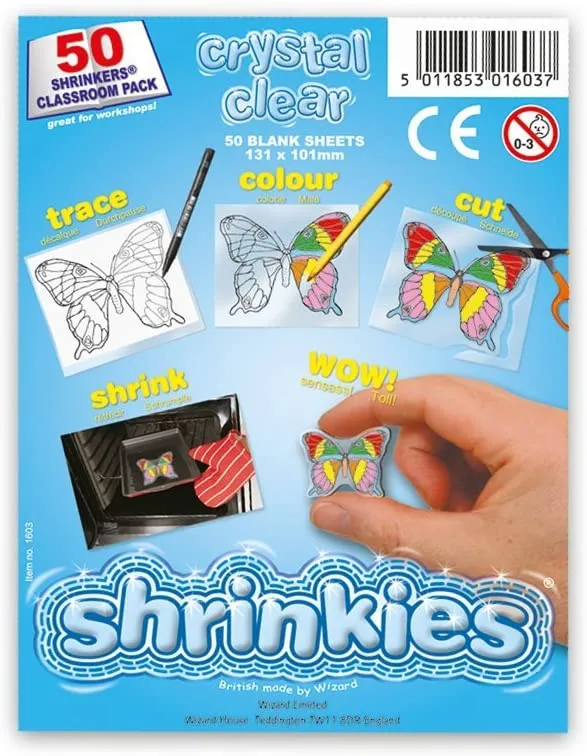
Shrink plastic sheets
Choose frosted shrink plastic sheets for a ready-to-use product with a textured surface that you can add colour to.
Crystal clear are the choice if you are stamping or have permanent markers to use, and you can always add your own texture to clear sheets with glass paper.
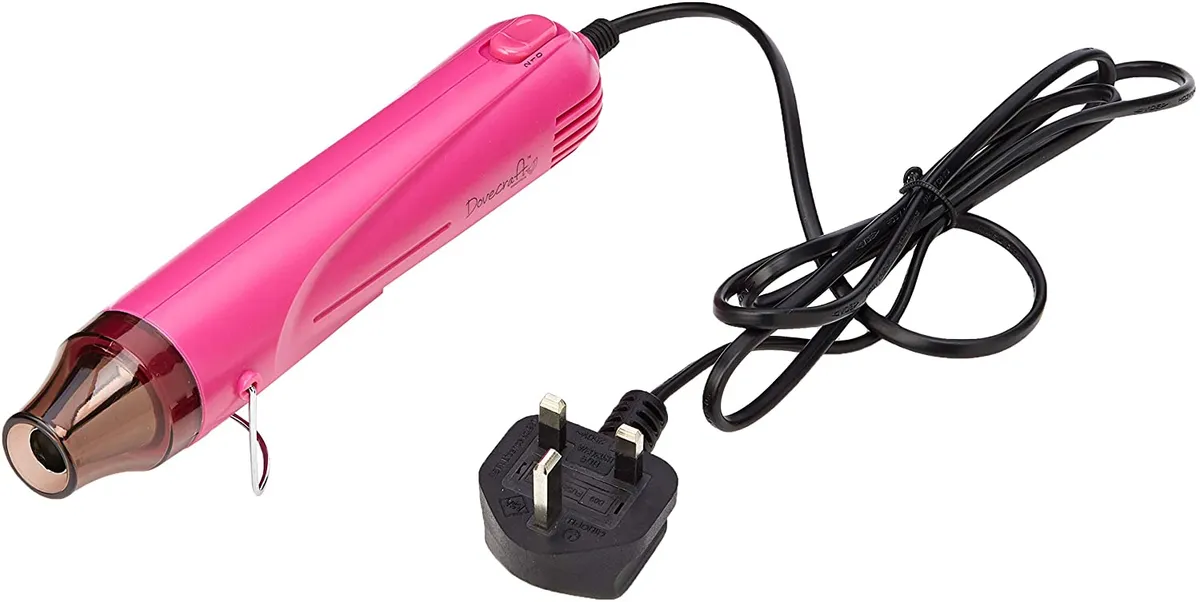
Craft heat gun
You can make your shrinky dinks in the oven, but using a craft heat gun lets you get up close and personal with the shrinking fun.
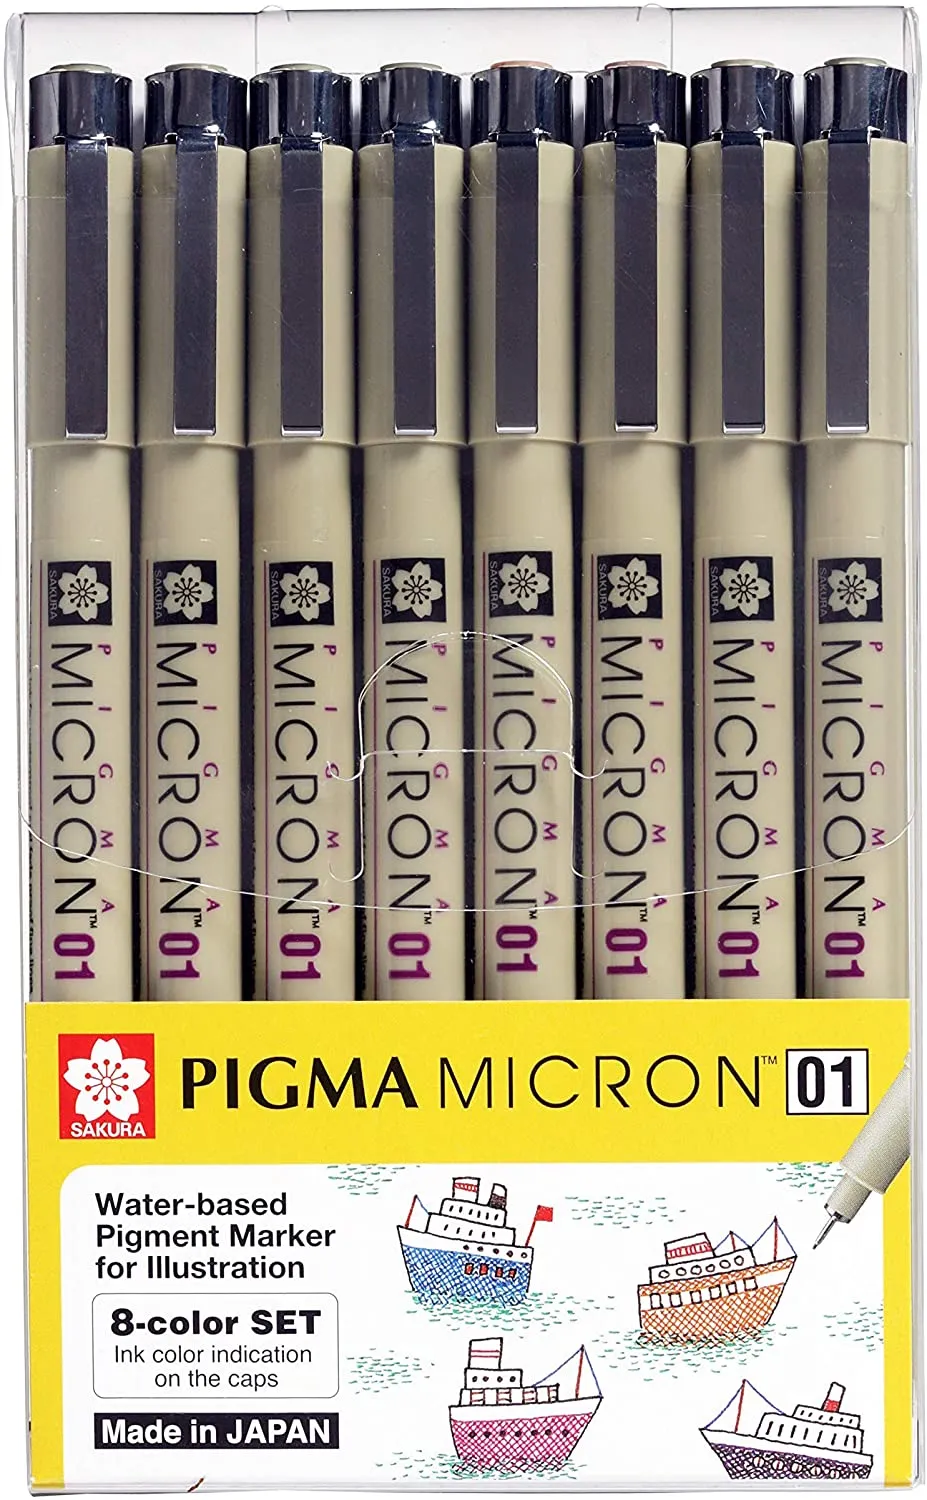
Archival ink pens
If you want to draw directly on a crystal clear shrink plastic sheet, you need a permanent markers like a archival ink pen.