All products were chosen independently by our editorial team. This review contains affiliate links and we may receive a commission for purchases made. Please read our affiliates FAQ page to find out more.

How to make a Valentines wreath out of paper

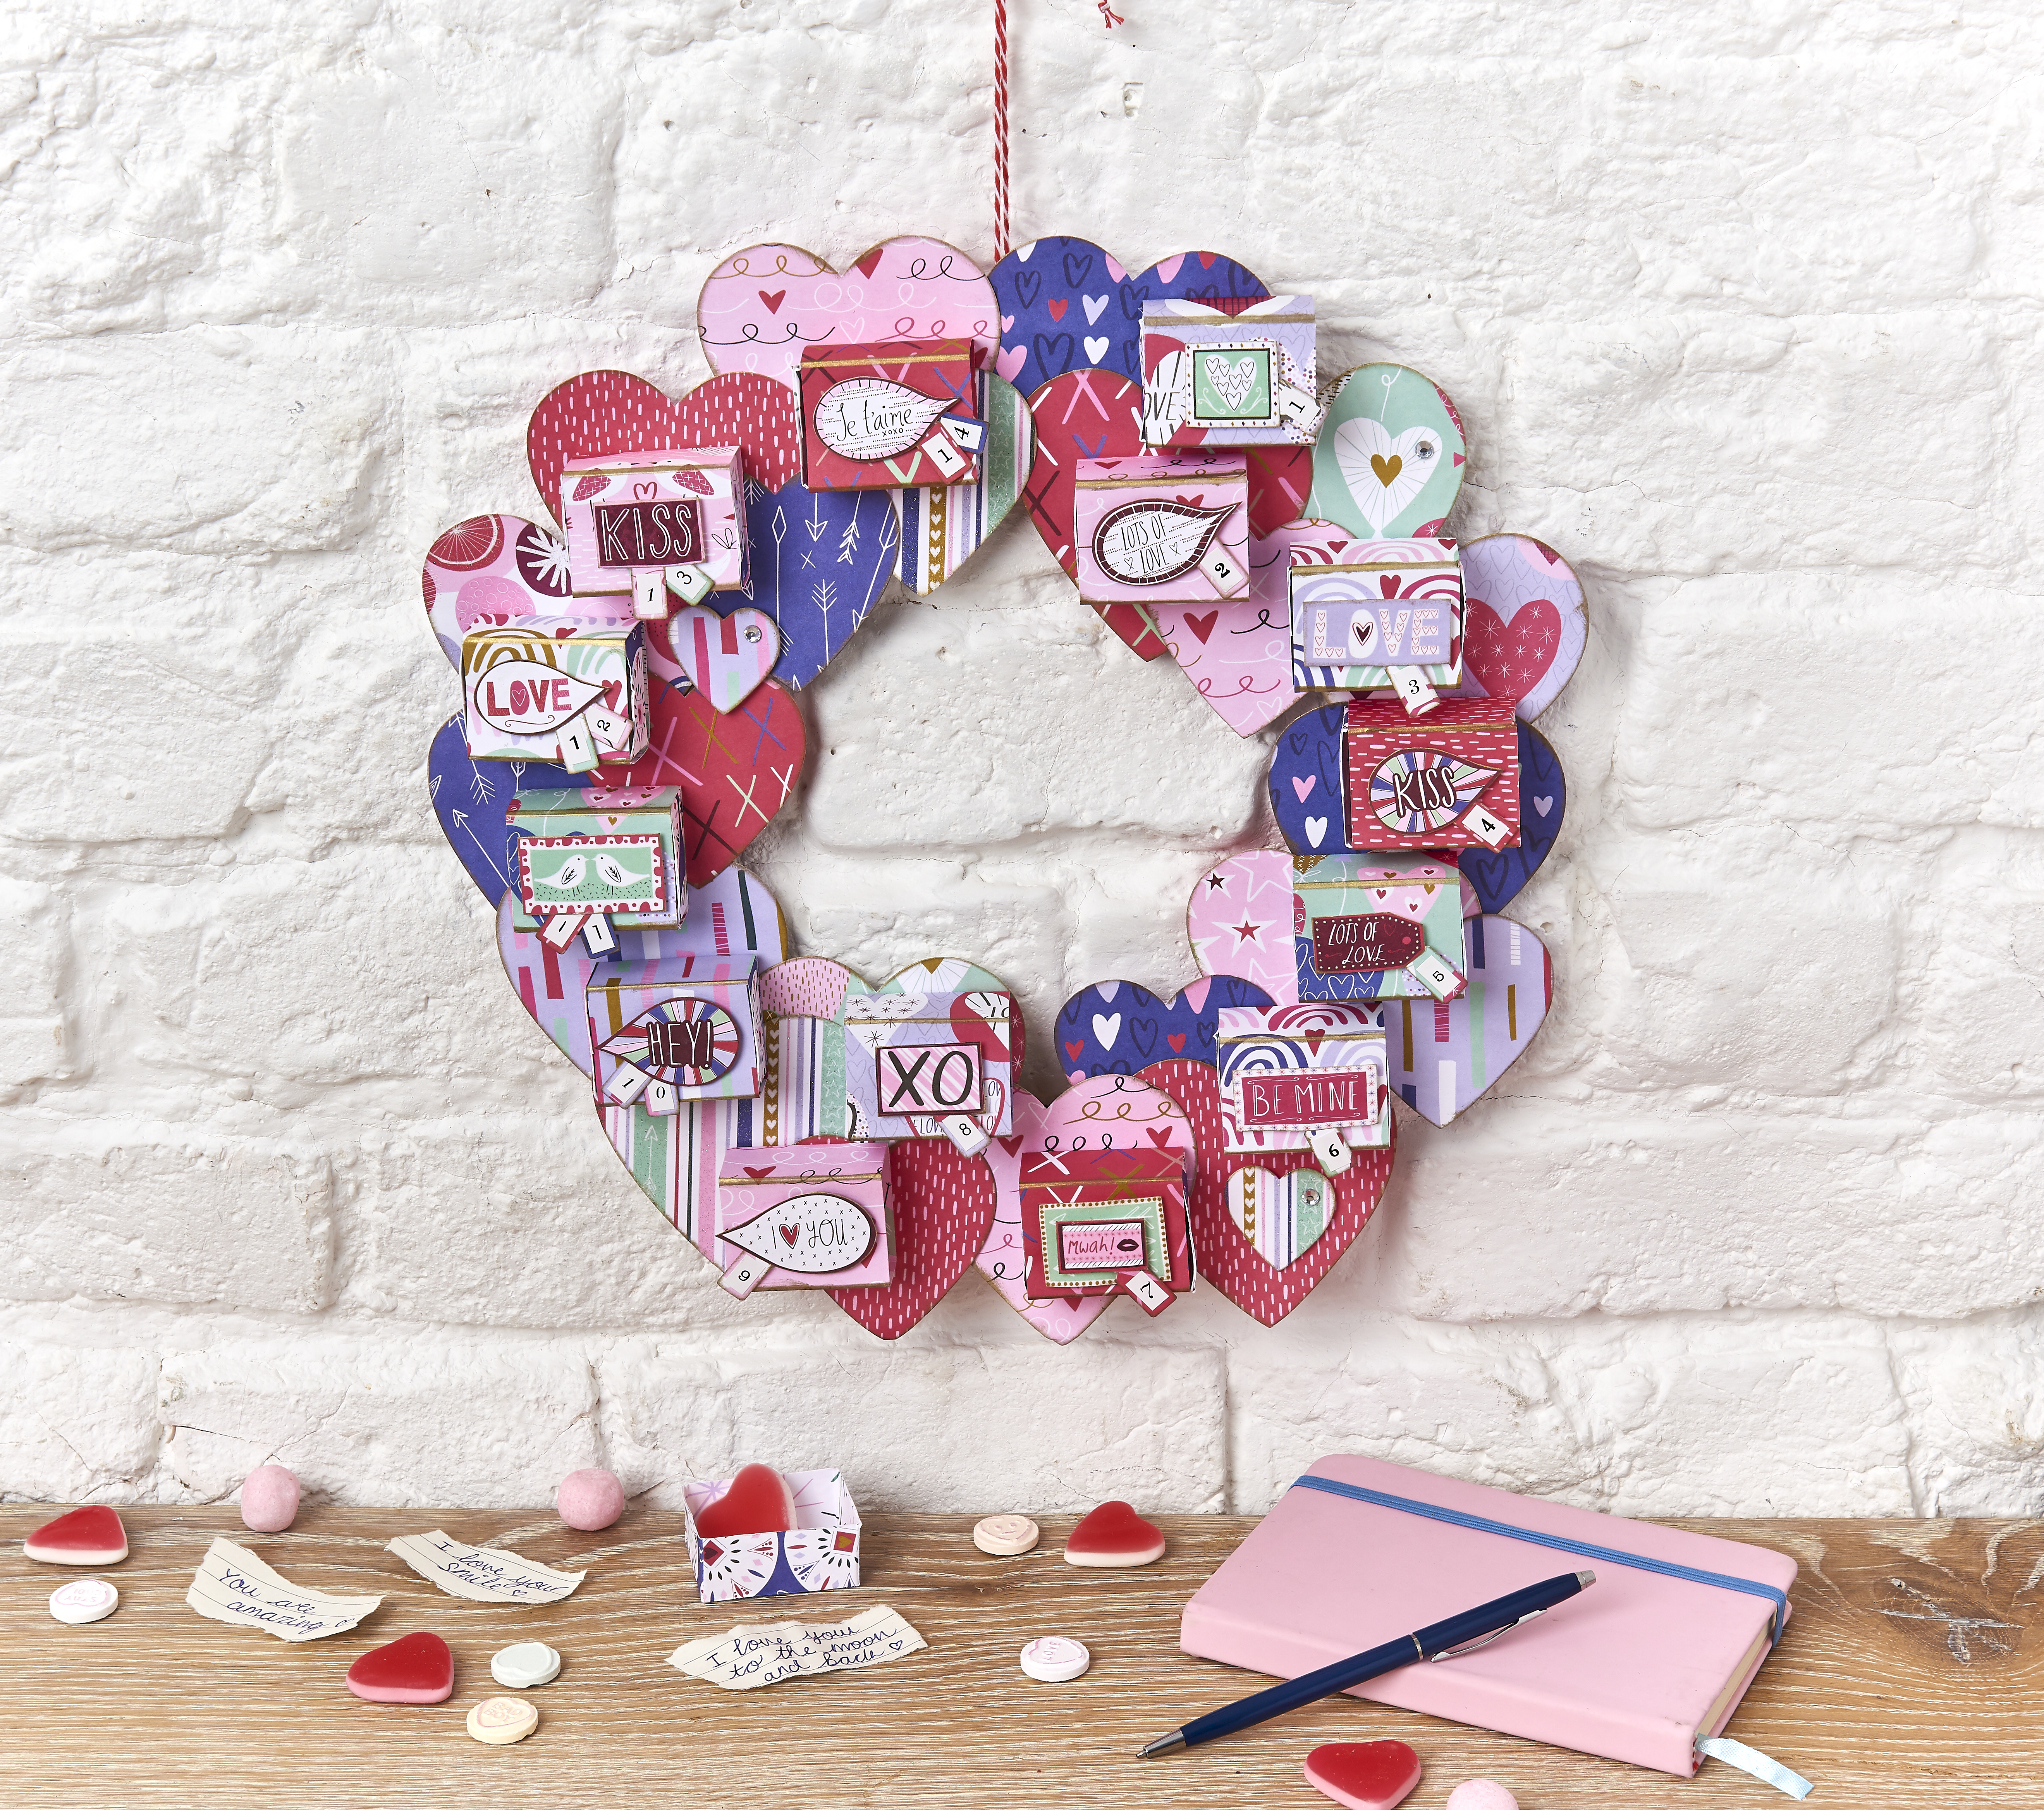
Give the gift of love this Valentine’s Day with this heart-shaped wreath, which you can fill with treats they’ll love.

Try 6 issues of any craft magazine from just £9.99

Published: January 19, 2022 at 11:32 am

Make your own DIY Valentine's wreath using your favourite patterned papers! We're here to show you how.

This easy paper wreath is made up of 14 boxes, arranged round the hoop. So it doubles up as a valentines countdown. Your loved one can open one a day, and remember how much they are loved.

To give your Valentine's wreath a vintage look, distress the edges of the paper hearts and boxes. This is a simple papercraft trick where you dab them with an ink pad. You can easily change the size of the boxes to fit larger or smaller presents, or even add a little envelope notes or tickets.

This project is one of our favourite Valentines Day Craft Ideas this year. Why not adapt this idea for other occasions such as a birthday? You could swap the heart shapes with stars or circles.

For more romantic crafts, check out our 35 Handmade Valentine Card Ideas or stitch this valentines embroidery design.

Use a dinner plate and a side plate as templates for your wreath ring and cut it out of recycled cardboard packaging. Corrugated card or greyboard will make a nice, strong base to your wreath.

Stock up on valentines papers

This DIY valentines wreath is easy to adapt to suit your loved one by changing the paper you use. You can make it with plain paper or opt for a matching set of valentines patterned papers. We like these for giving your finished wreath a coordinated effect...

Dovecraft Back to Basics paper

Whaline Valentines patterned papers

Sweet Valentine scrapbook paper

If you're short of funds, browse our free patterned papers. We love these Sweet Valentine papers!
You will need:

  • Patterned paper
  • Baker's twine
  • Embellishments
  • Cardboard ((you can cut this from a cardboard box))
  • Sellotape
  • Gold ink pad ((optional))
  • Double sided tape
  • Glue

Step 1

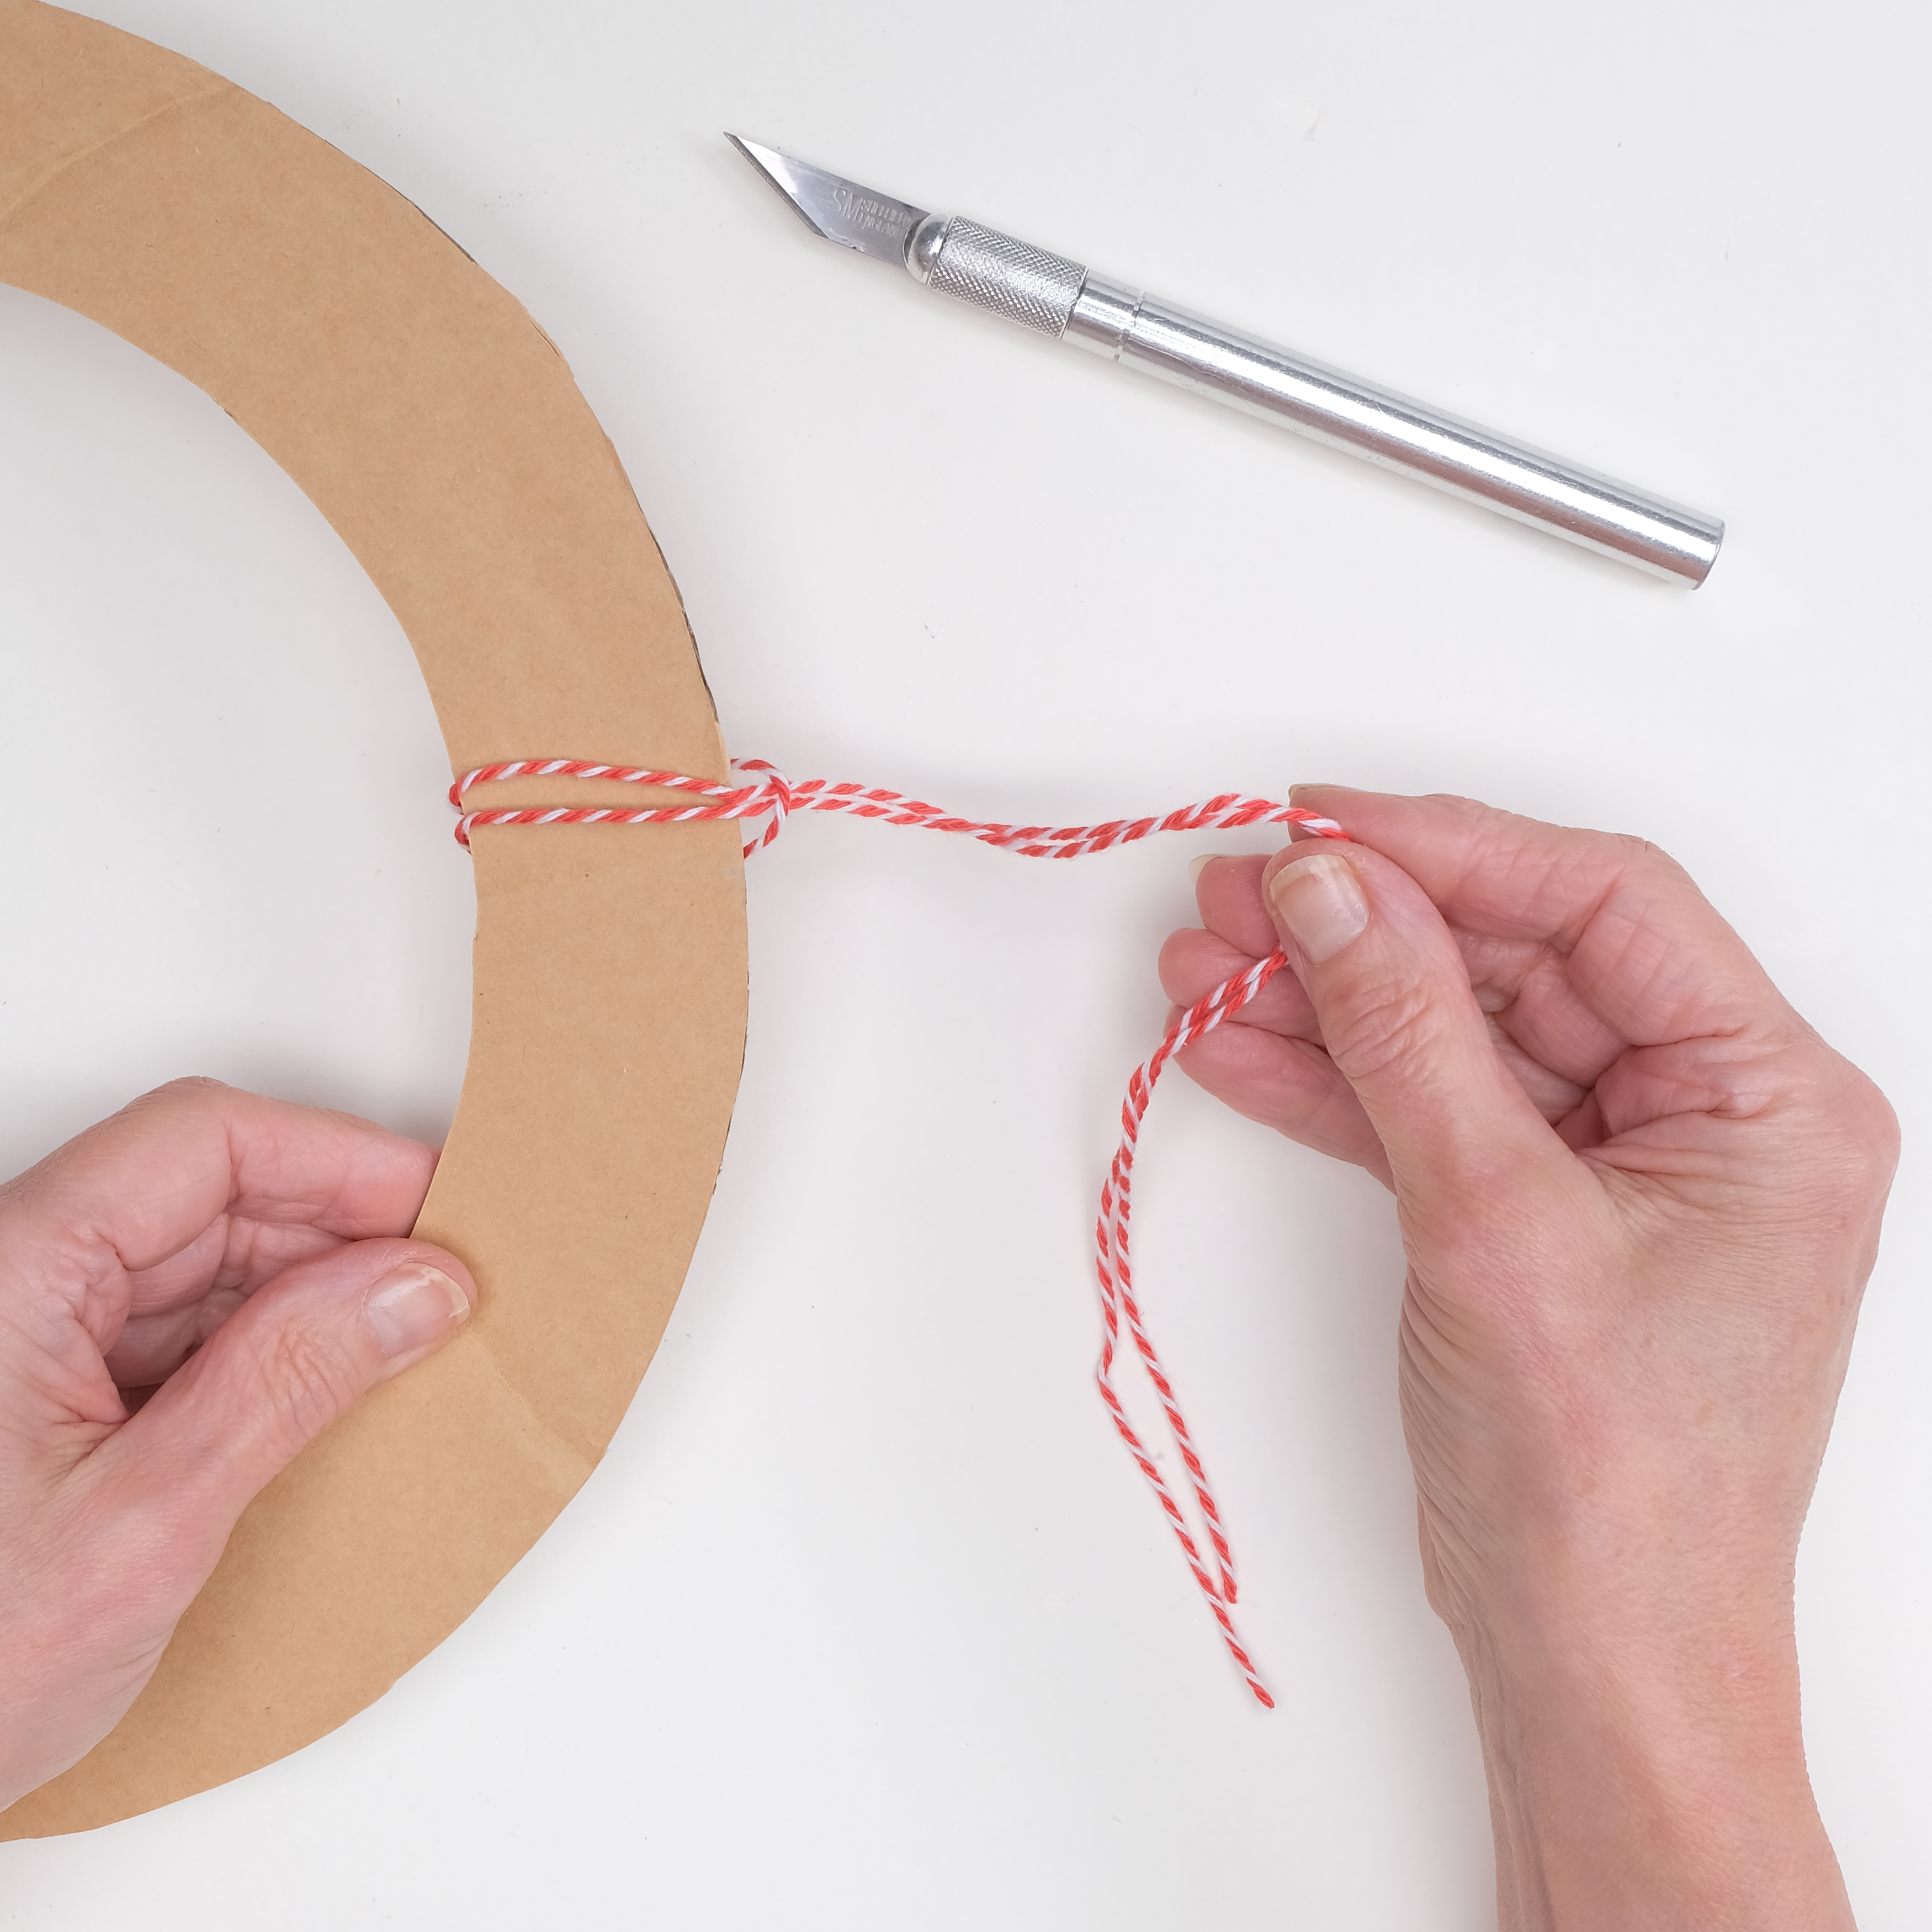
Cut a 270mm circle from thick cardboard with a 200mm aperture in the middle. This will be your main base to your Valentine’s wreath! Tie a length of baker’s twine around the top of the ring to create a hanger, and secure in place with tape.

DIY Valentine’s wreath – step 1

Step 2

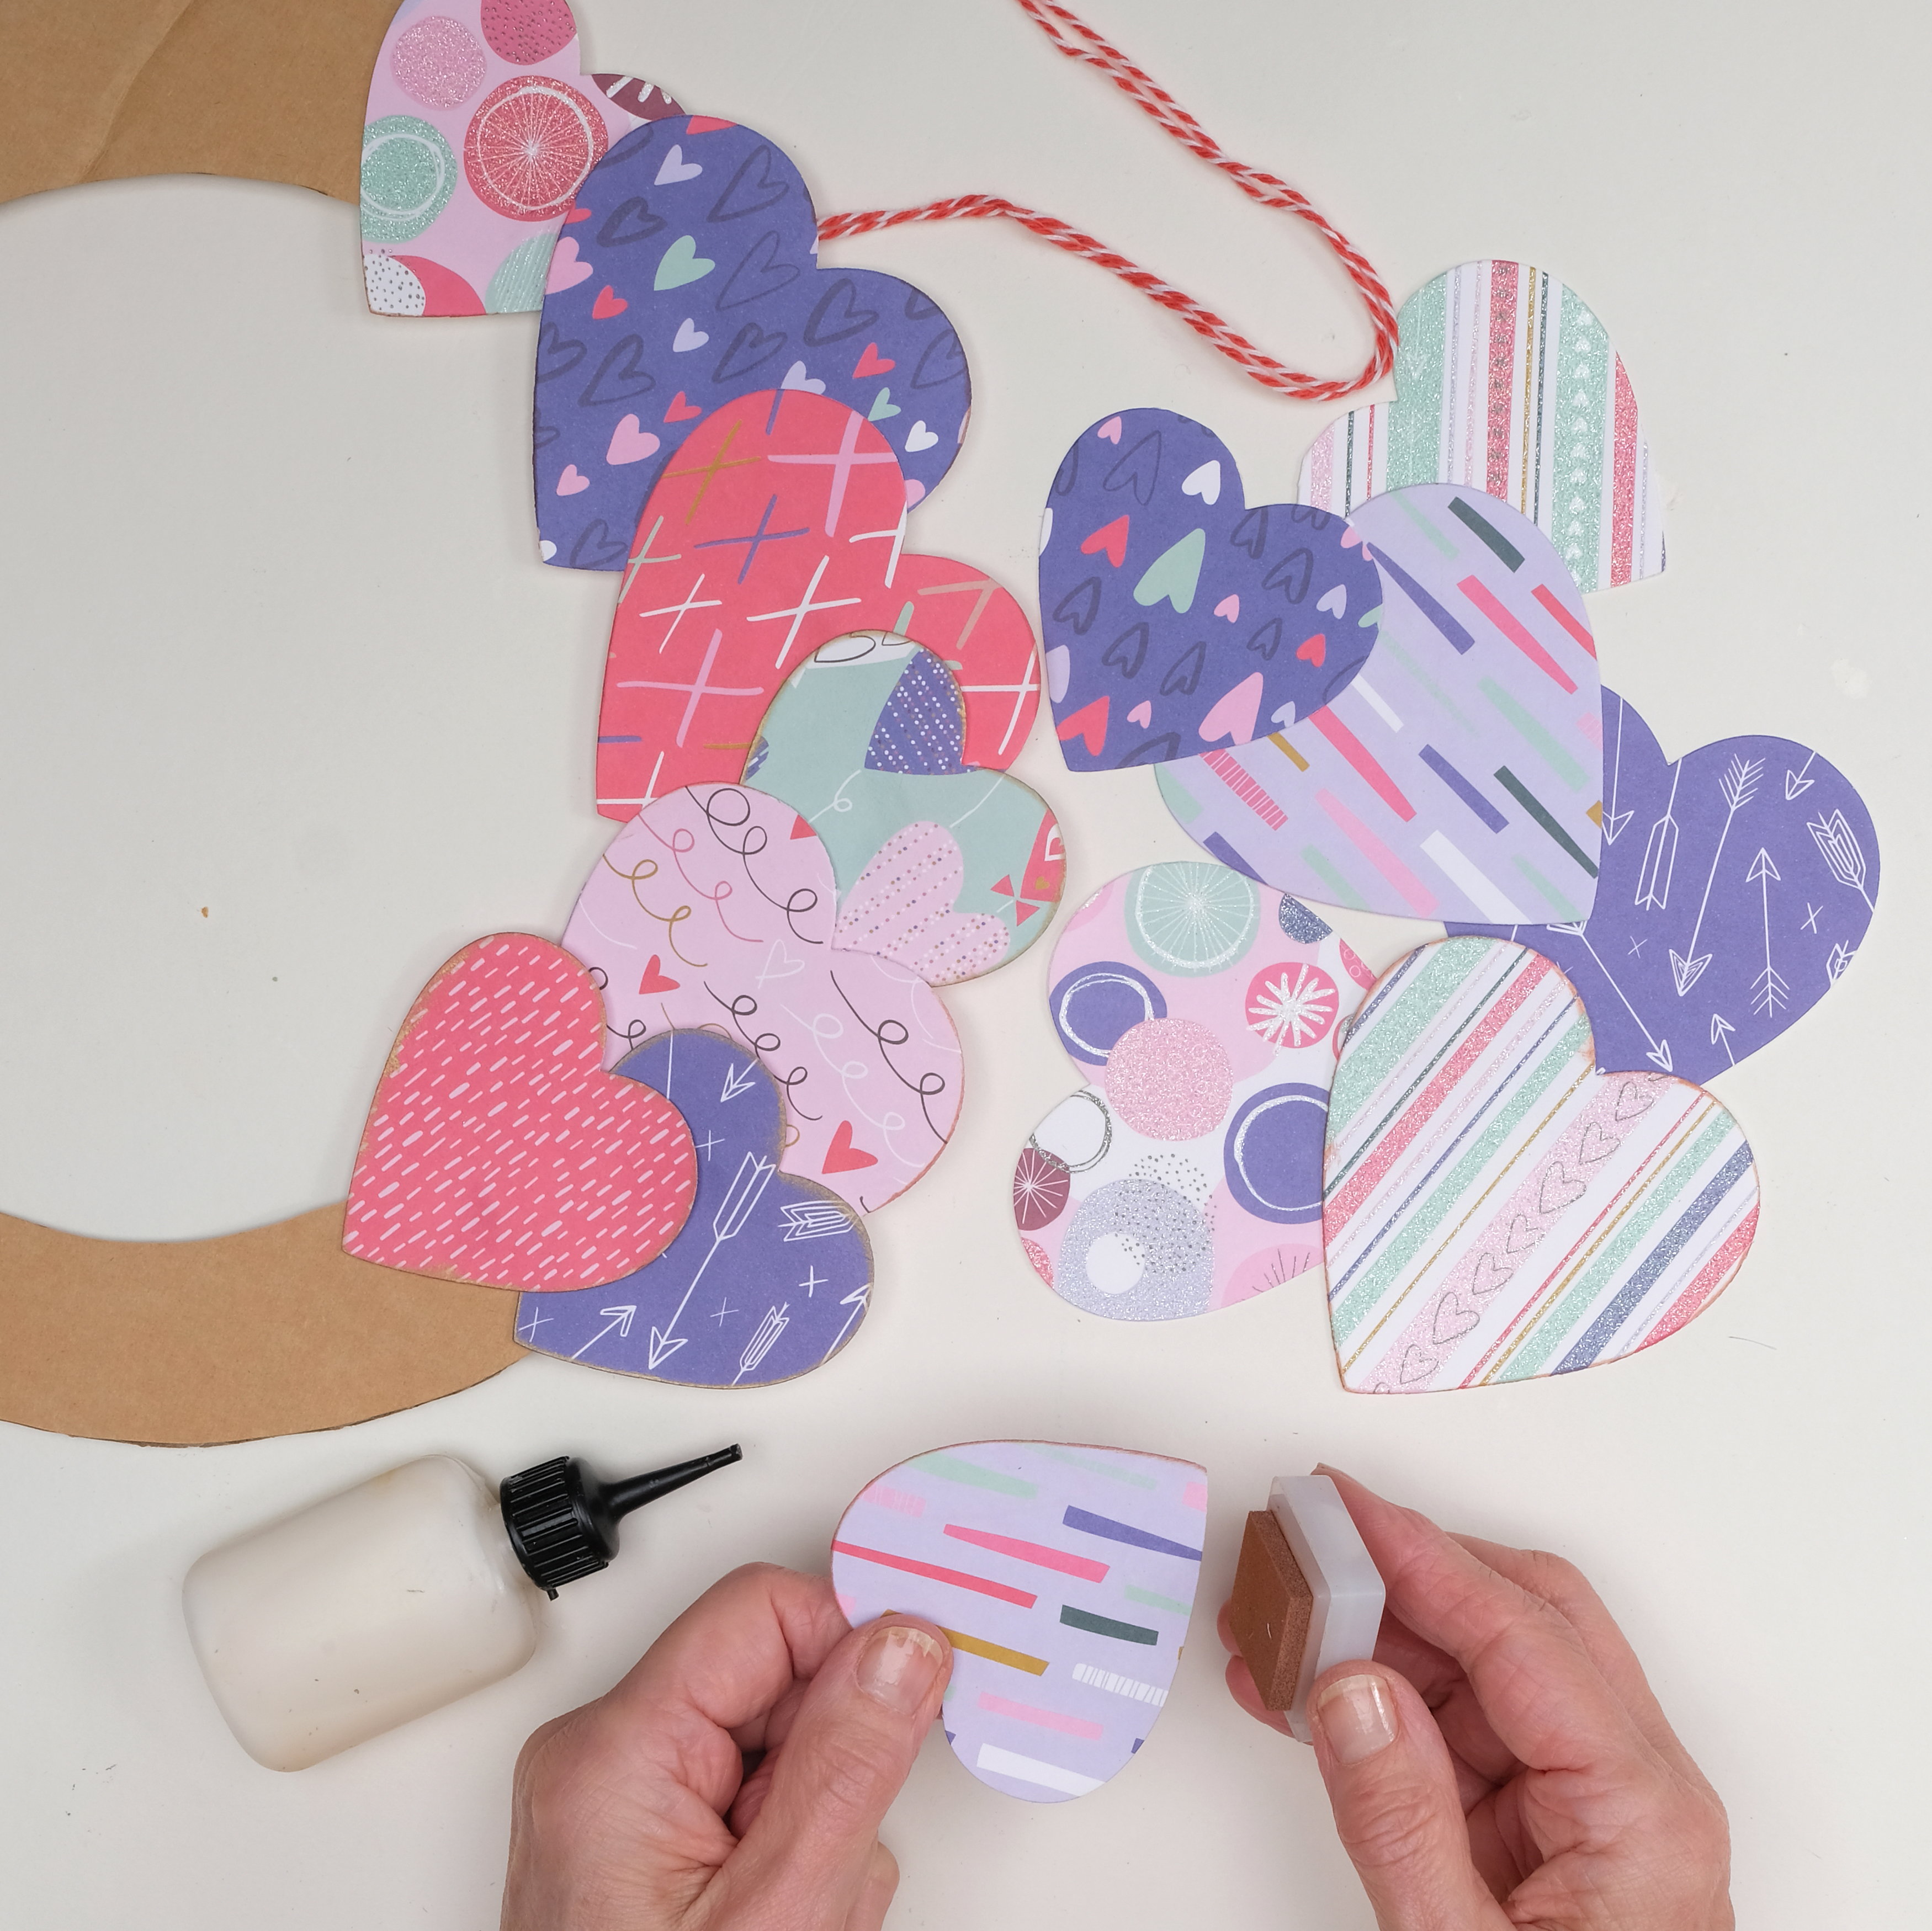
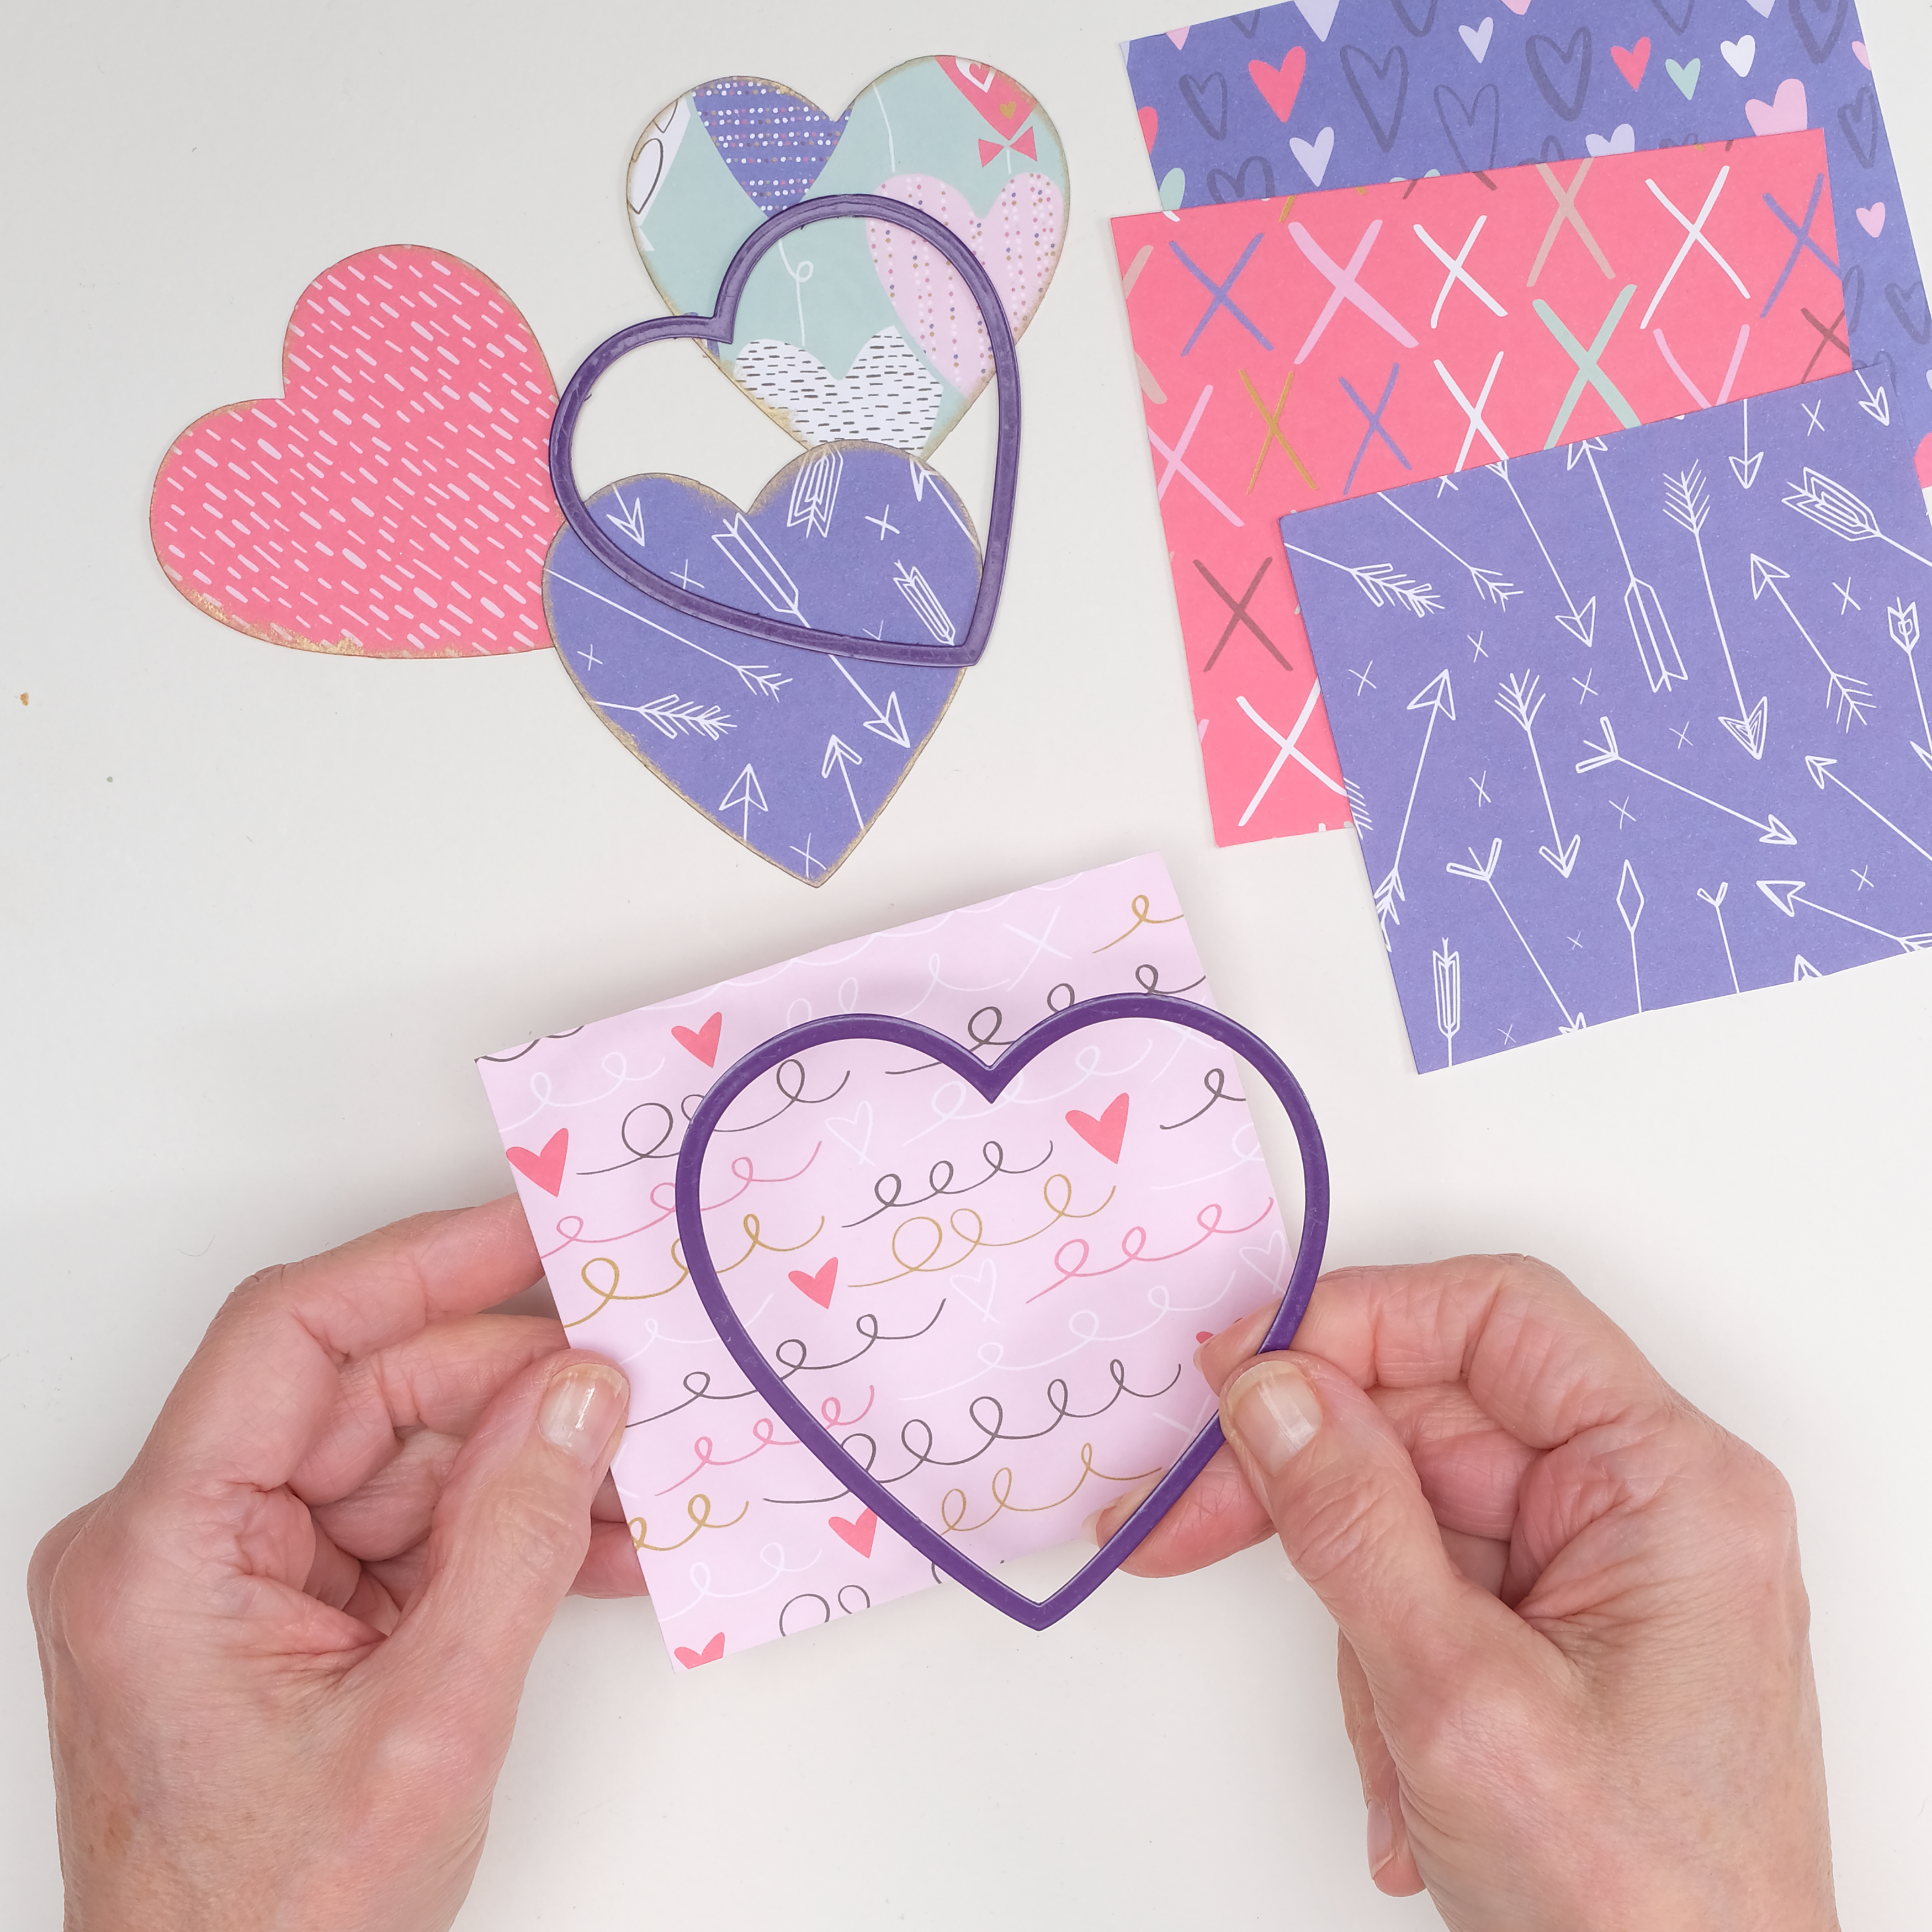
Cut out 20-30 heart shapes of different sizes from different patterned papers (use enough to cover the entire Valentine’s wreath). We used a die cutting machine for this but you could also download our Free heart templates (PDF).

DIY Valentine’s wreath – step 2

Step 3

To add a bit of texture to your hearts, dab the edges of each heart with gold ink to create a “distressed" effect. Starting at the top, attach the hearts around the cardboard ring using  double-sided tape – overlapping each of the hearts so that no cardboard is showing.

DIY Valentine’s wreath – step 3

Step 4

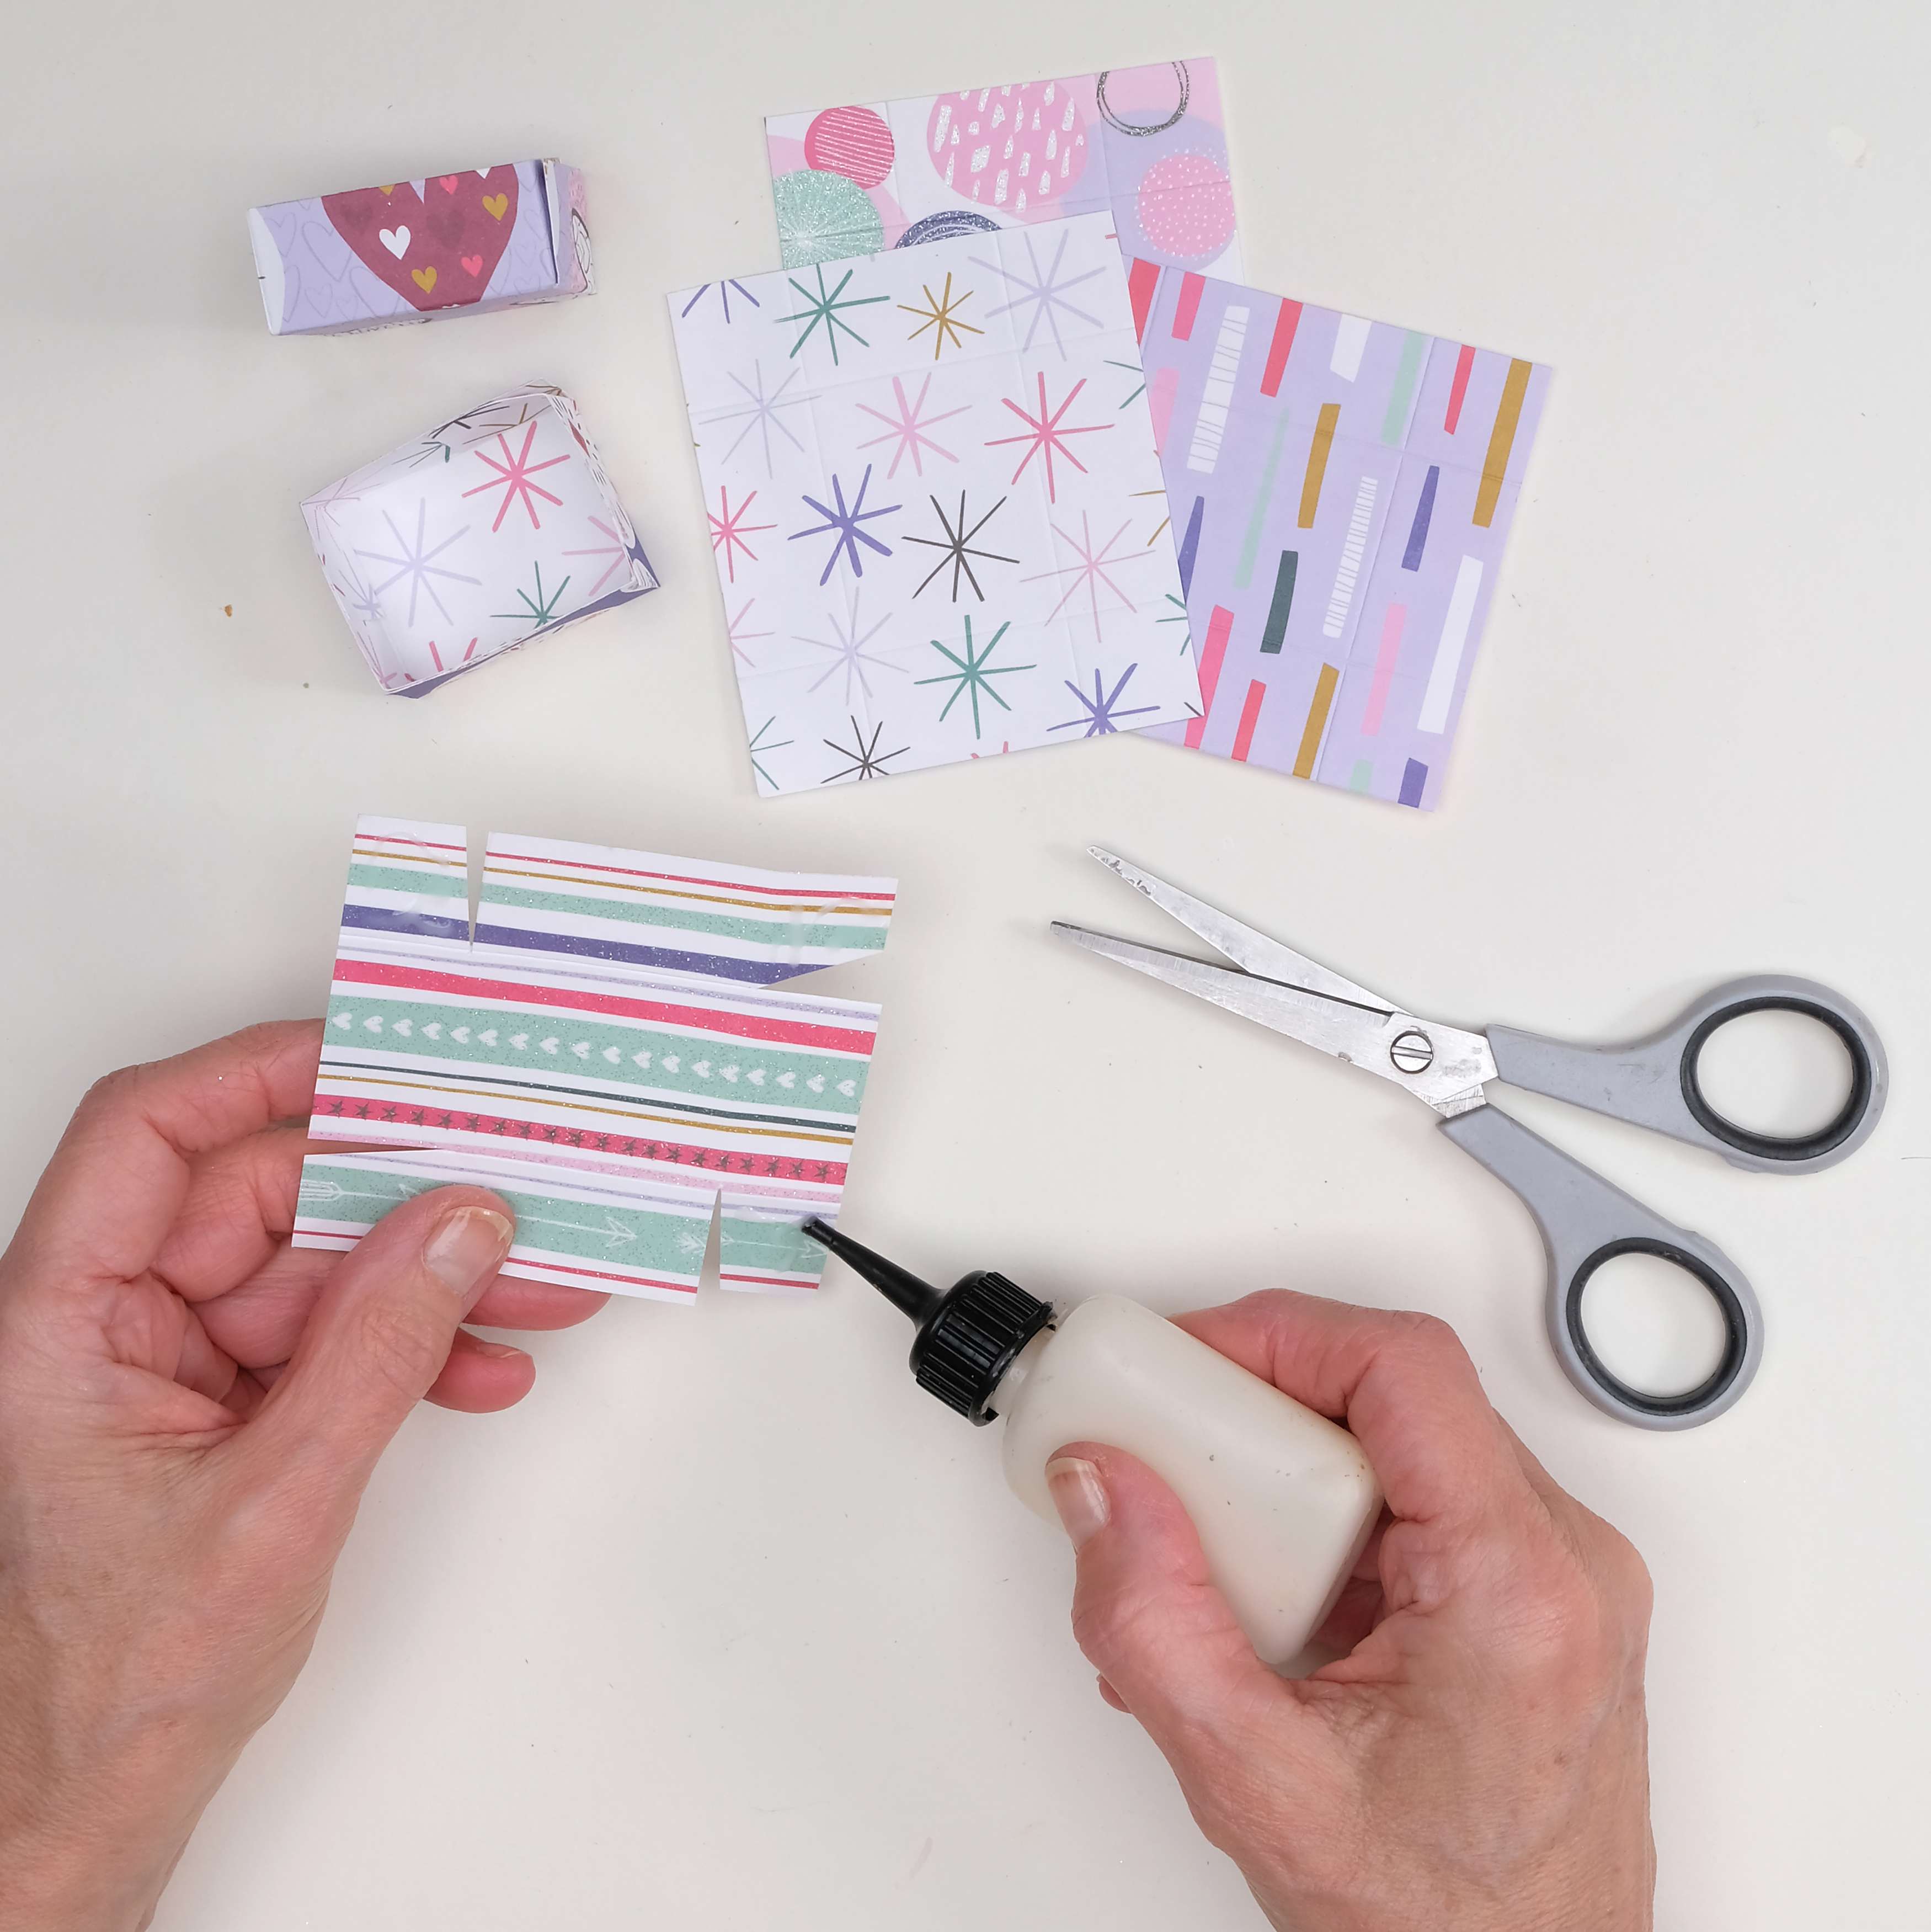
Trim some patterned paper into a rectangle that measures 75 x 85mm and score all four sides at 20mm. Cut a tab at each corner, fold up and stick the tabs inside to create a gift box. Repeat to make 14 box bases.

DIY Valentine’s wreath – step 4

Step 5

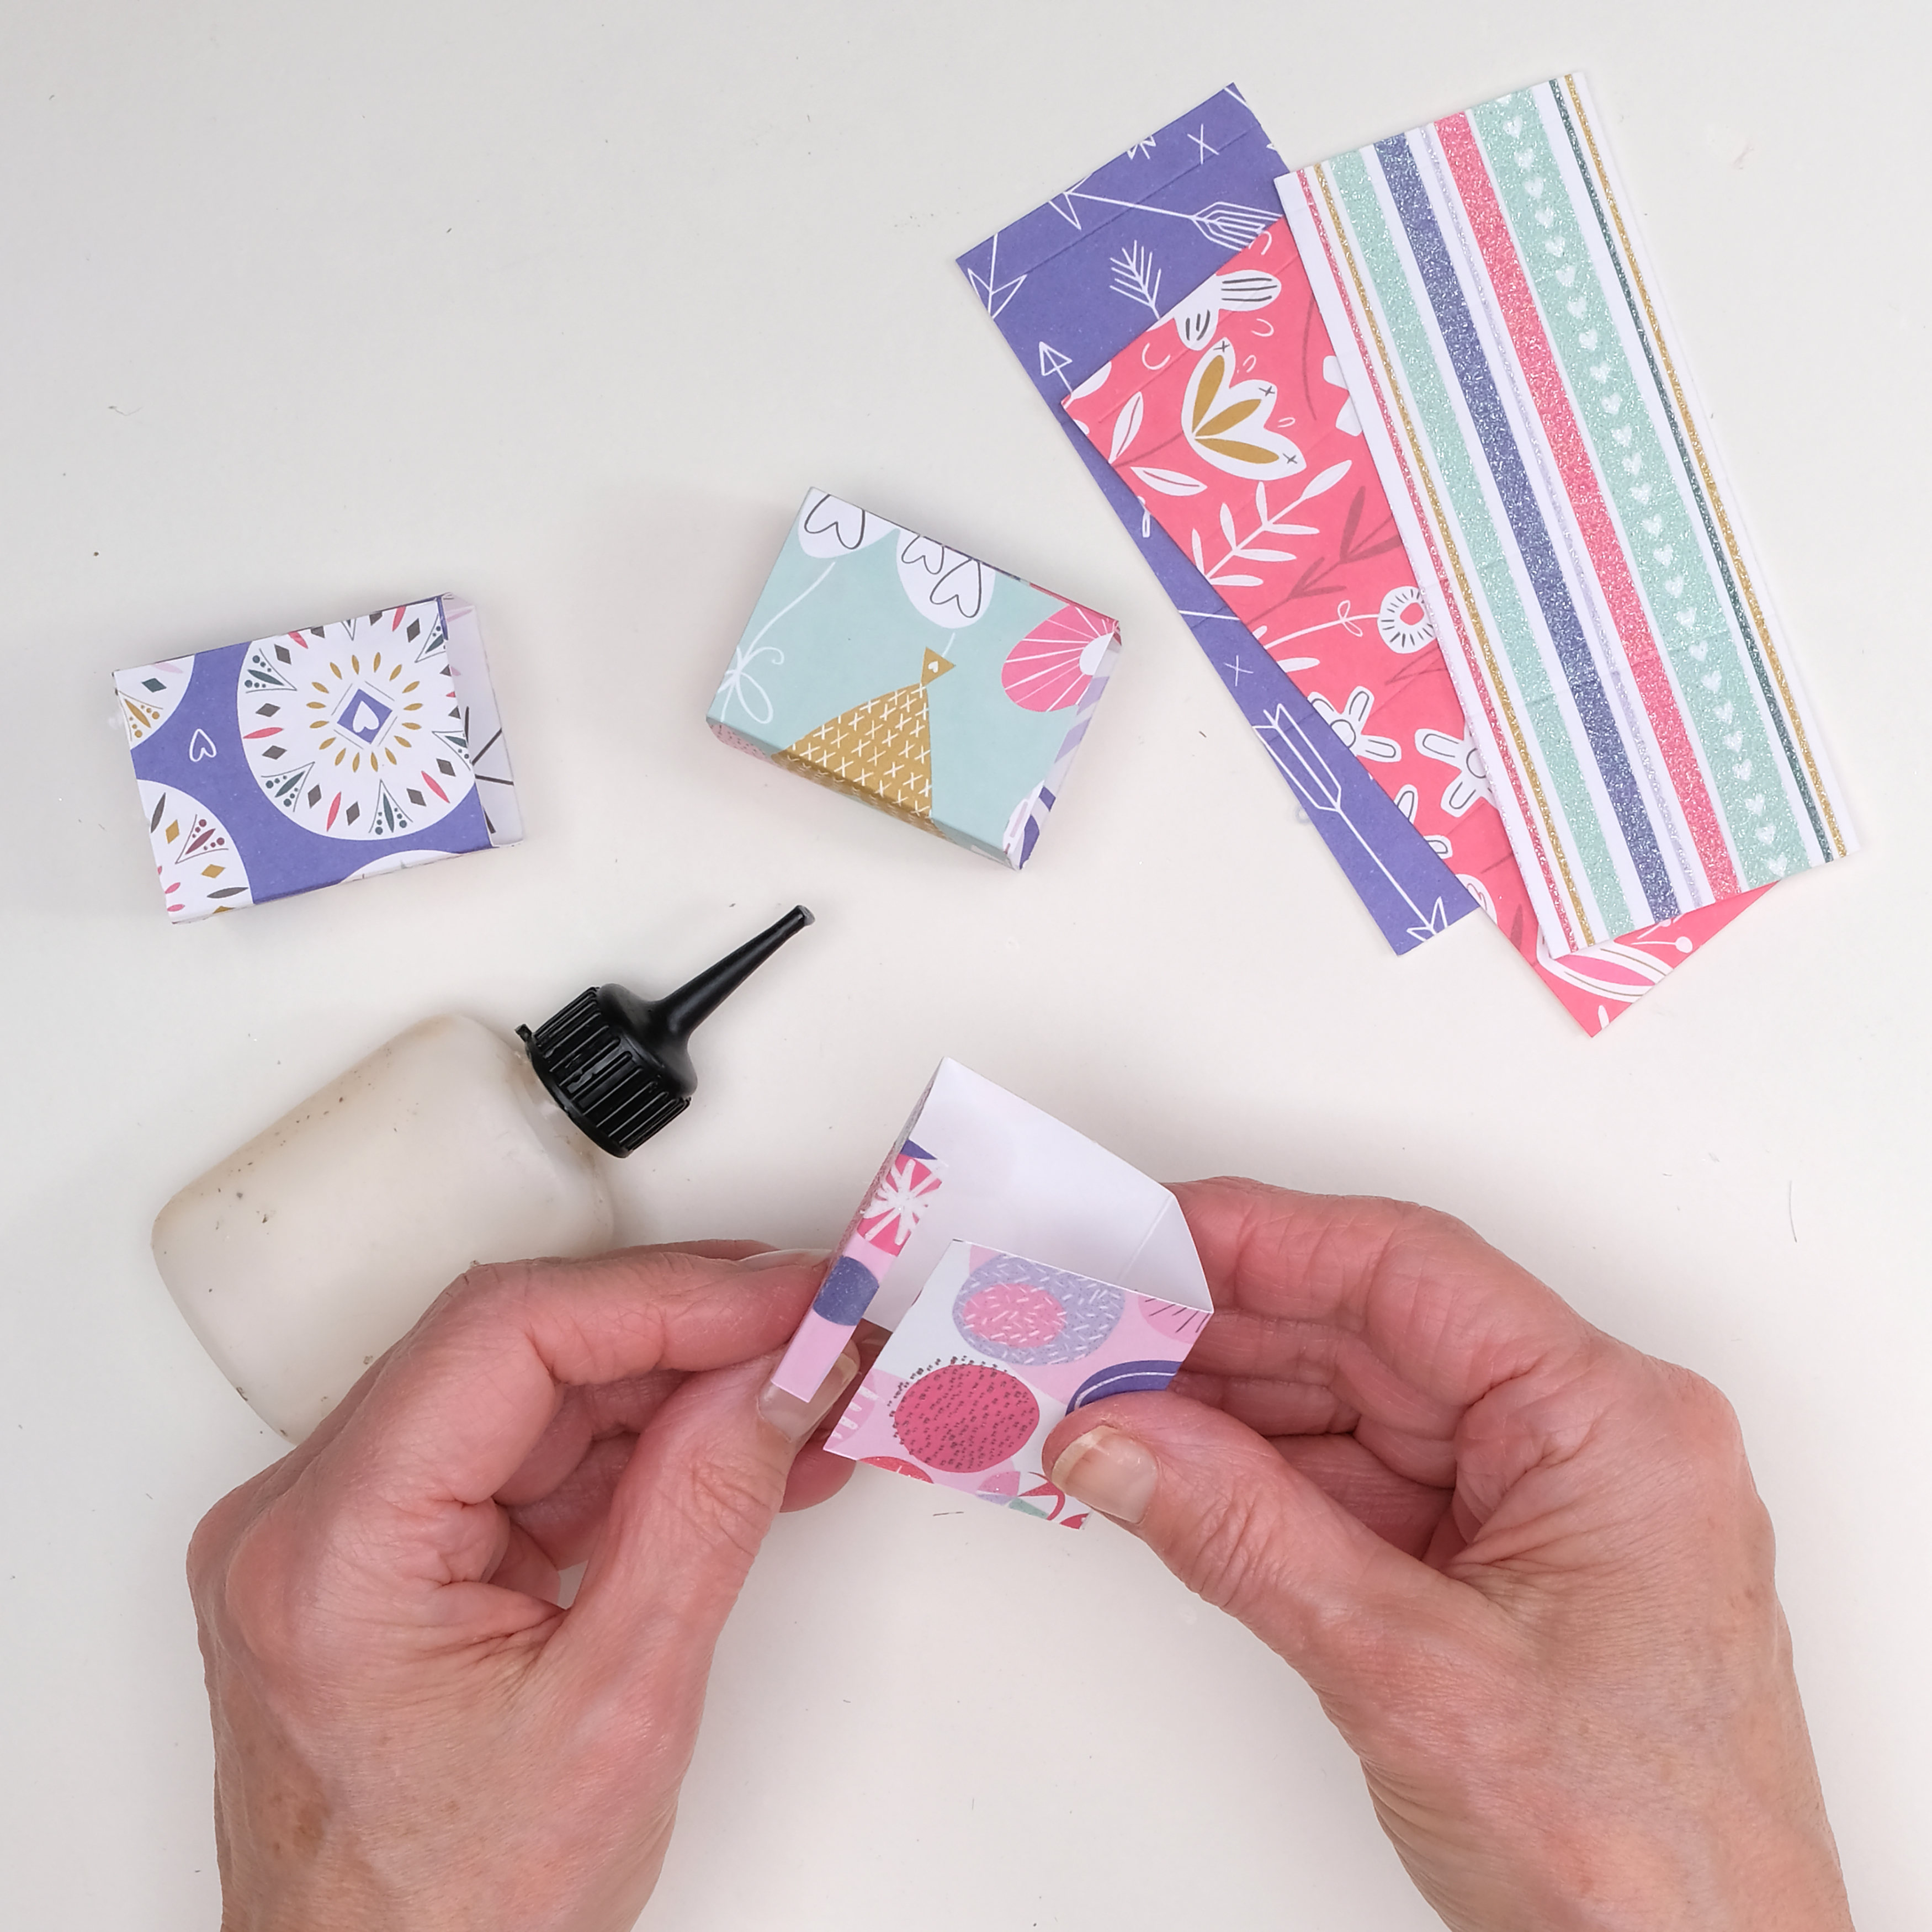
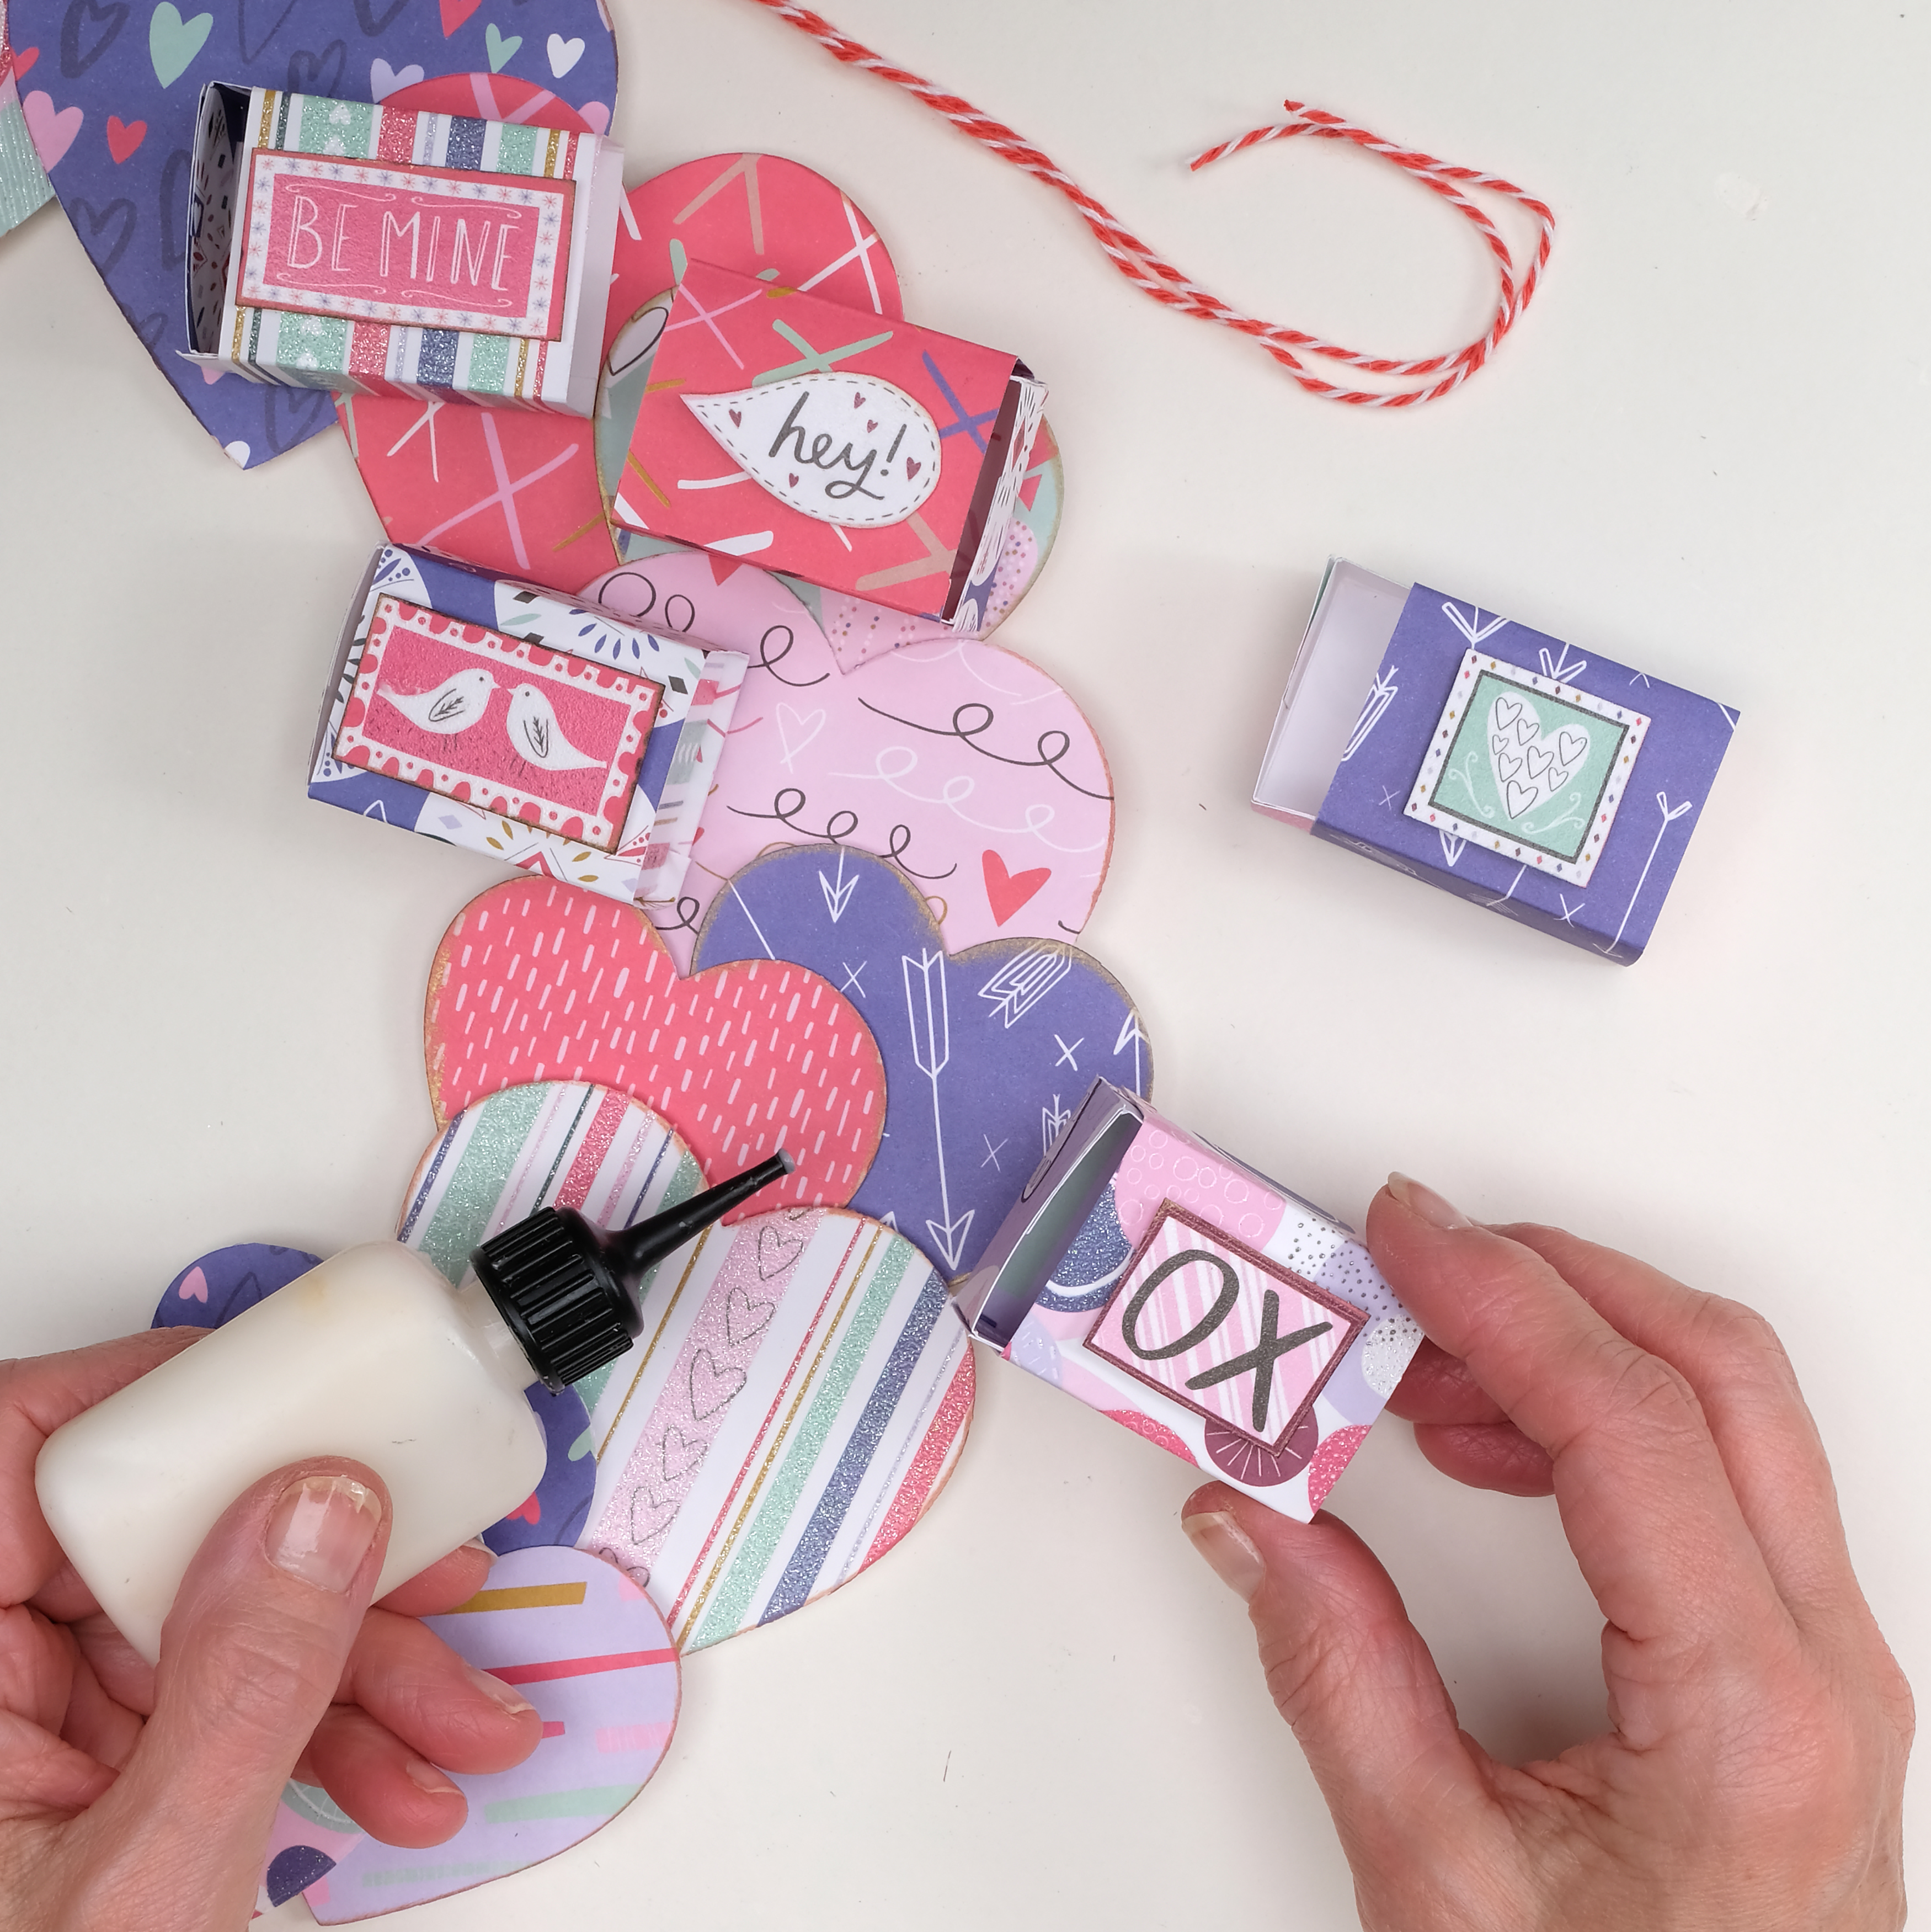
Trim some patterned paper to 45 x 120mm and score the long side at 35mm, 55mm, 9mm and 11mm. Add glue to the end flap to form a sleeve. Repeat to make 14 sleeves for the gift boxes.

DIY Valentine’s wreath – step 5

Step 6

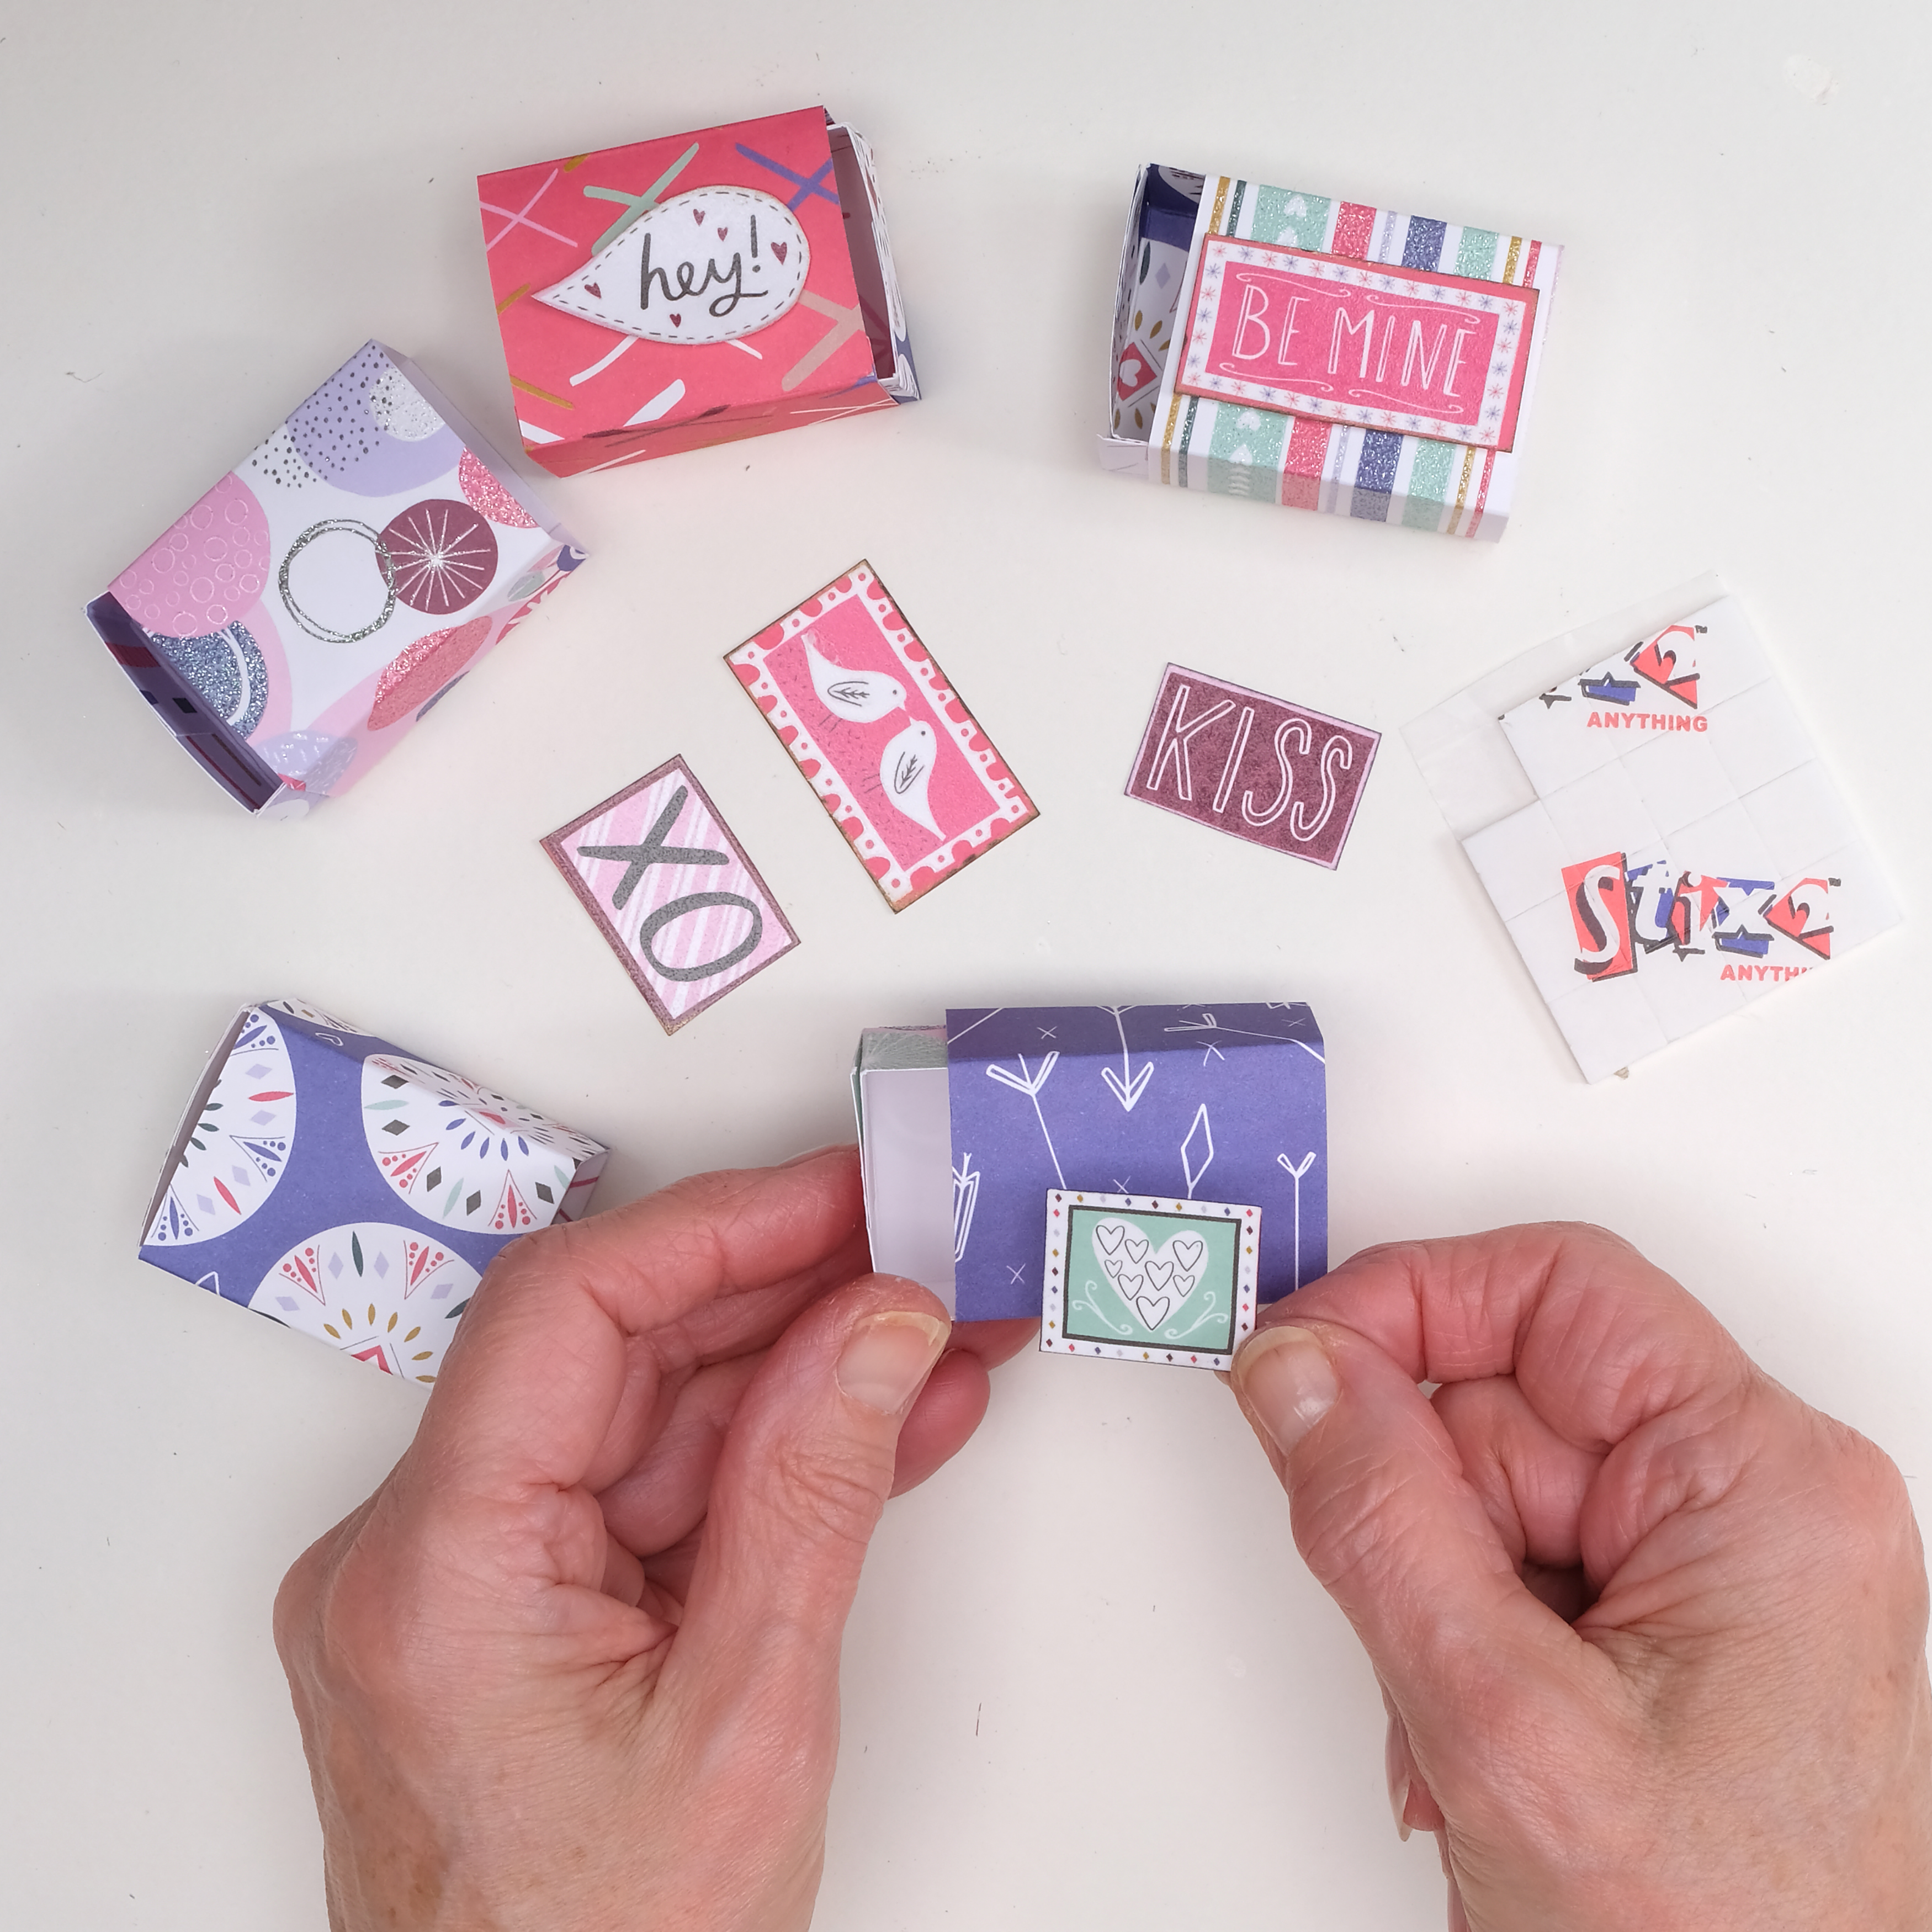
Fussy cut various motifs from the patterned papers, or you could use stickers or gems for this. Attach an element to the top of each of the box sleeves with foam pads to differentiate the boxes.

DIY Valentine’s wreath – step 6

Step 7

Slide the boxes into their corresponding sleeves and arrange them around the heart wreath. Secure the reverse of the sleeve onto the wreath, so the box can still be pushed in and out.

DIY Valentine’s wreath – step 7

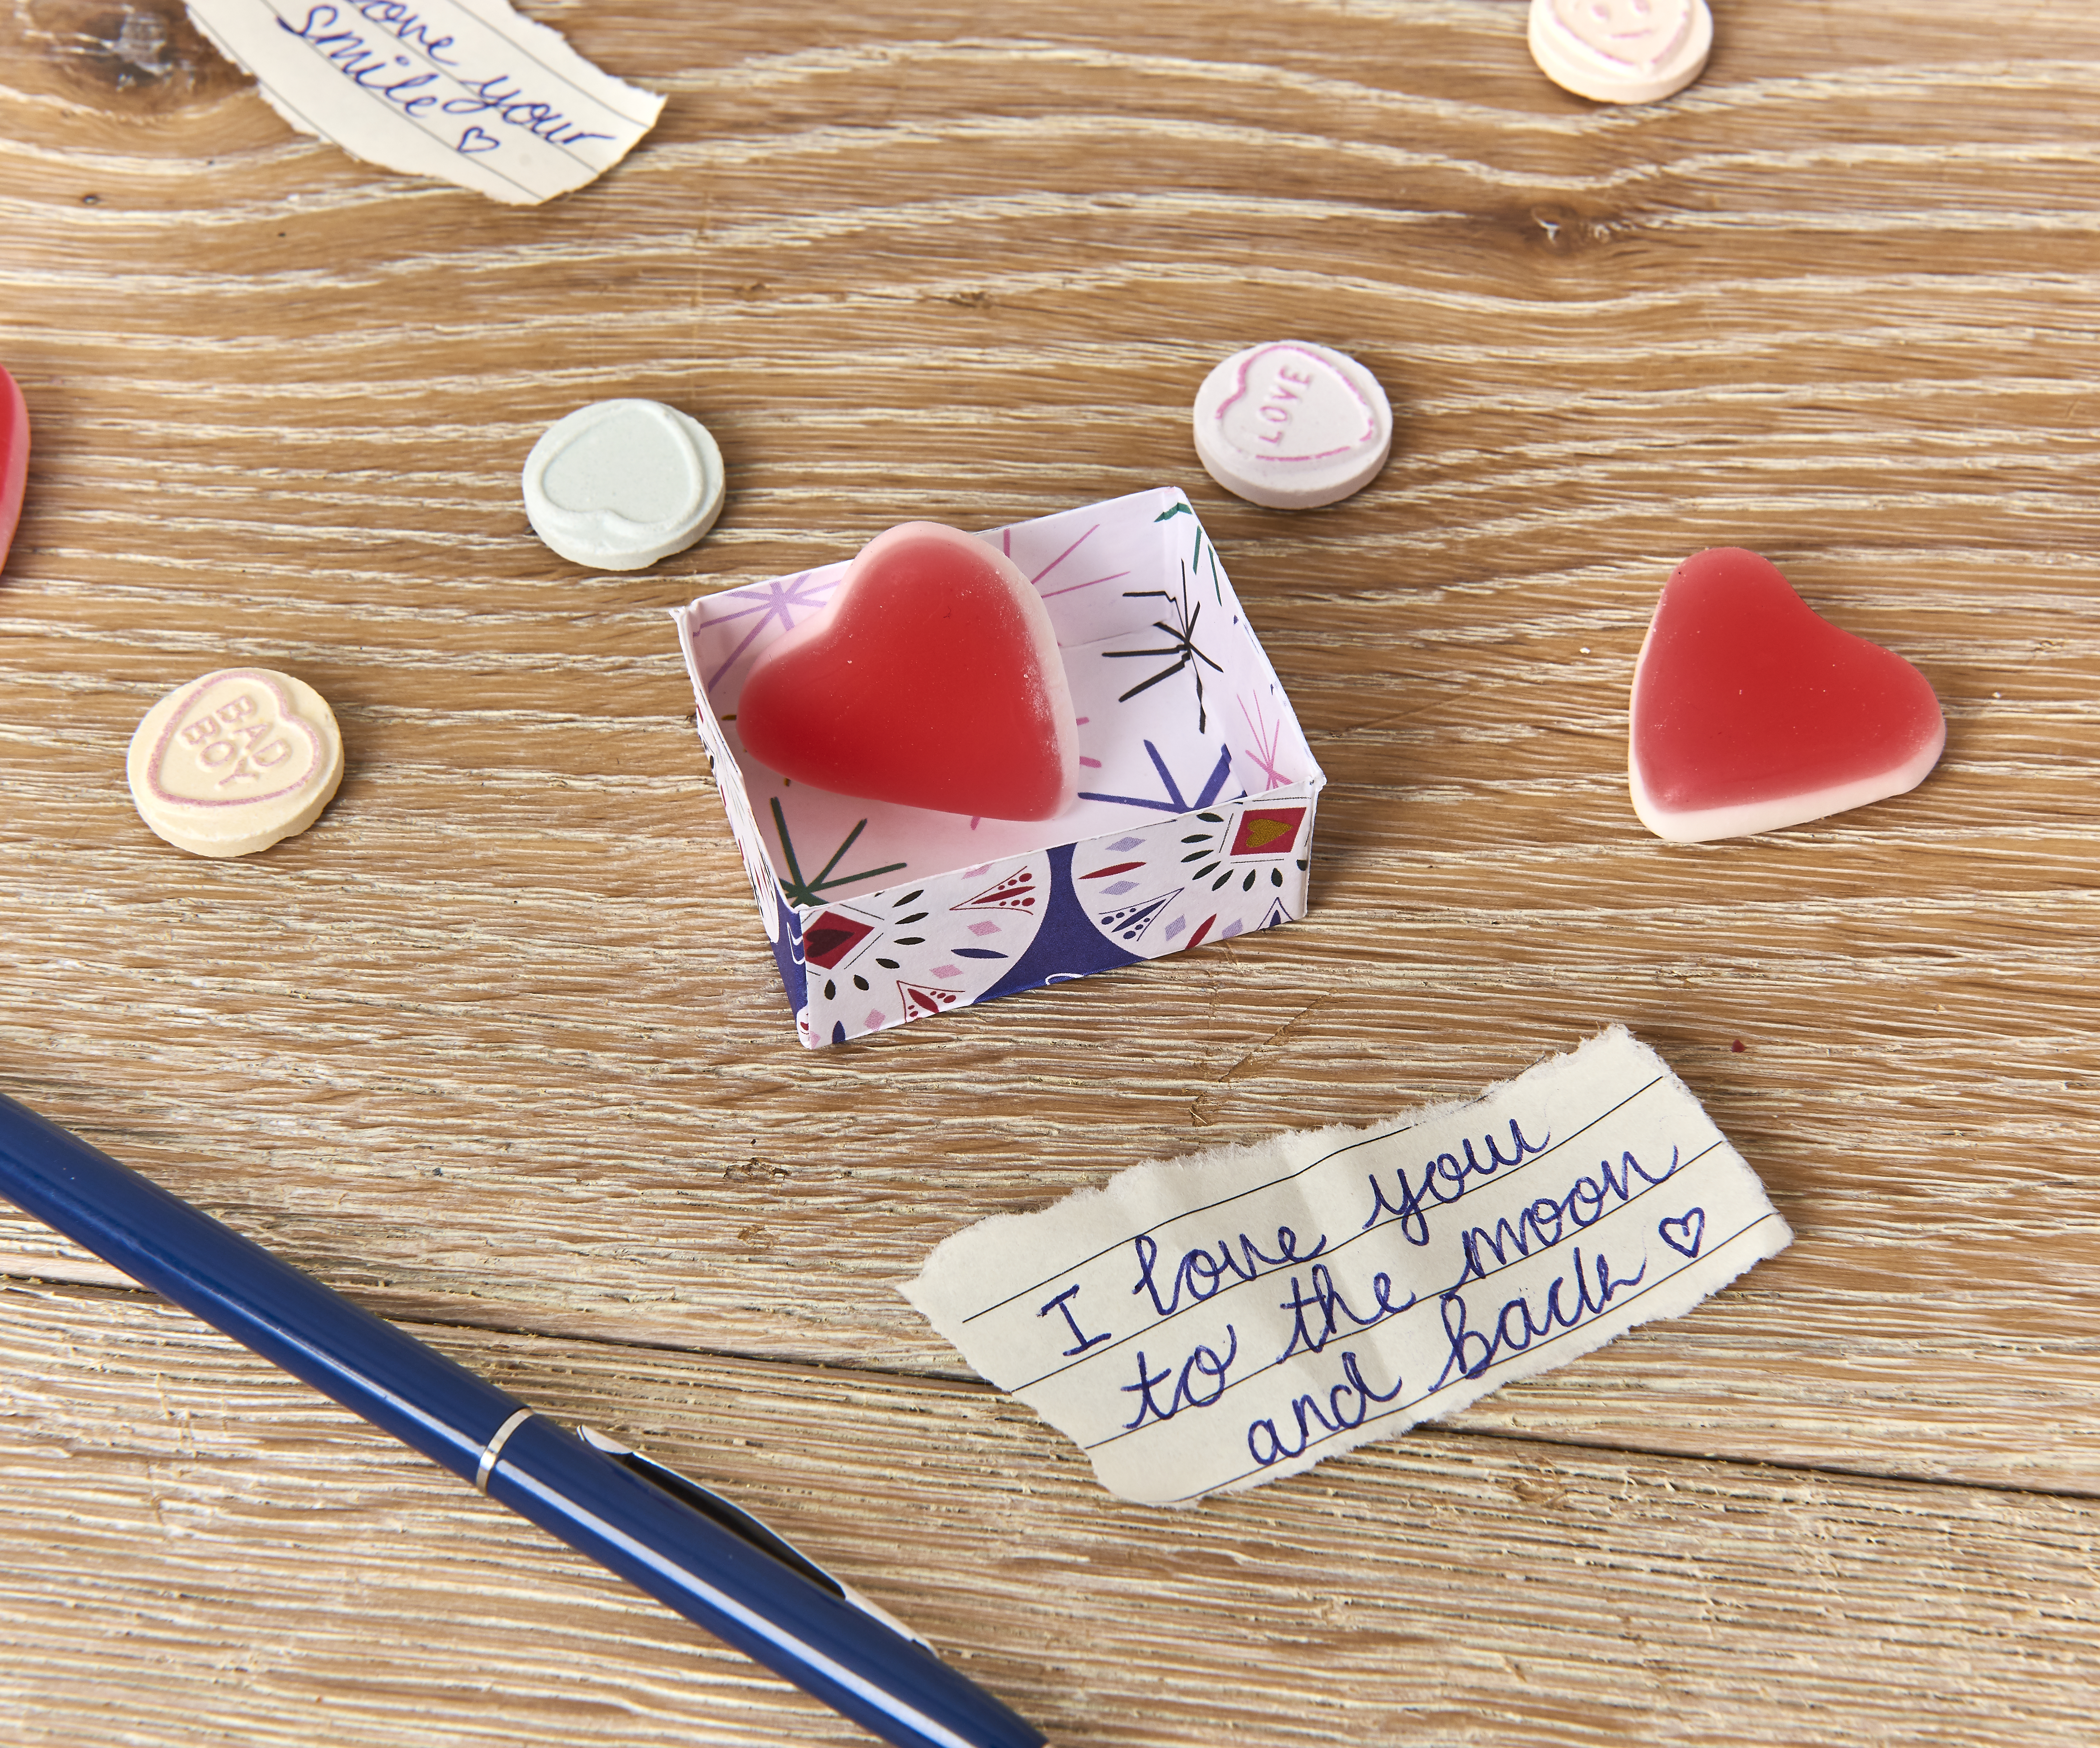
Add small gifts or notes to each box…

DIY Valentine’s wreath – detail

Step 8

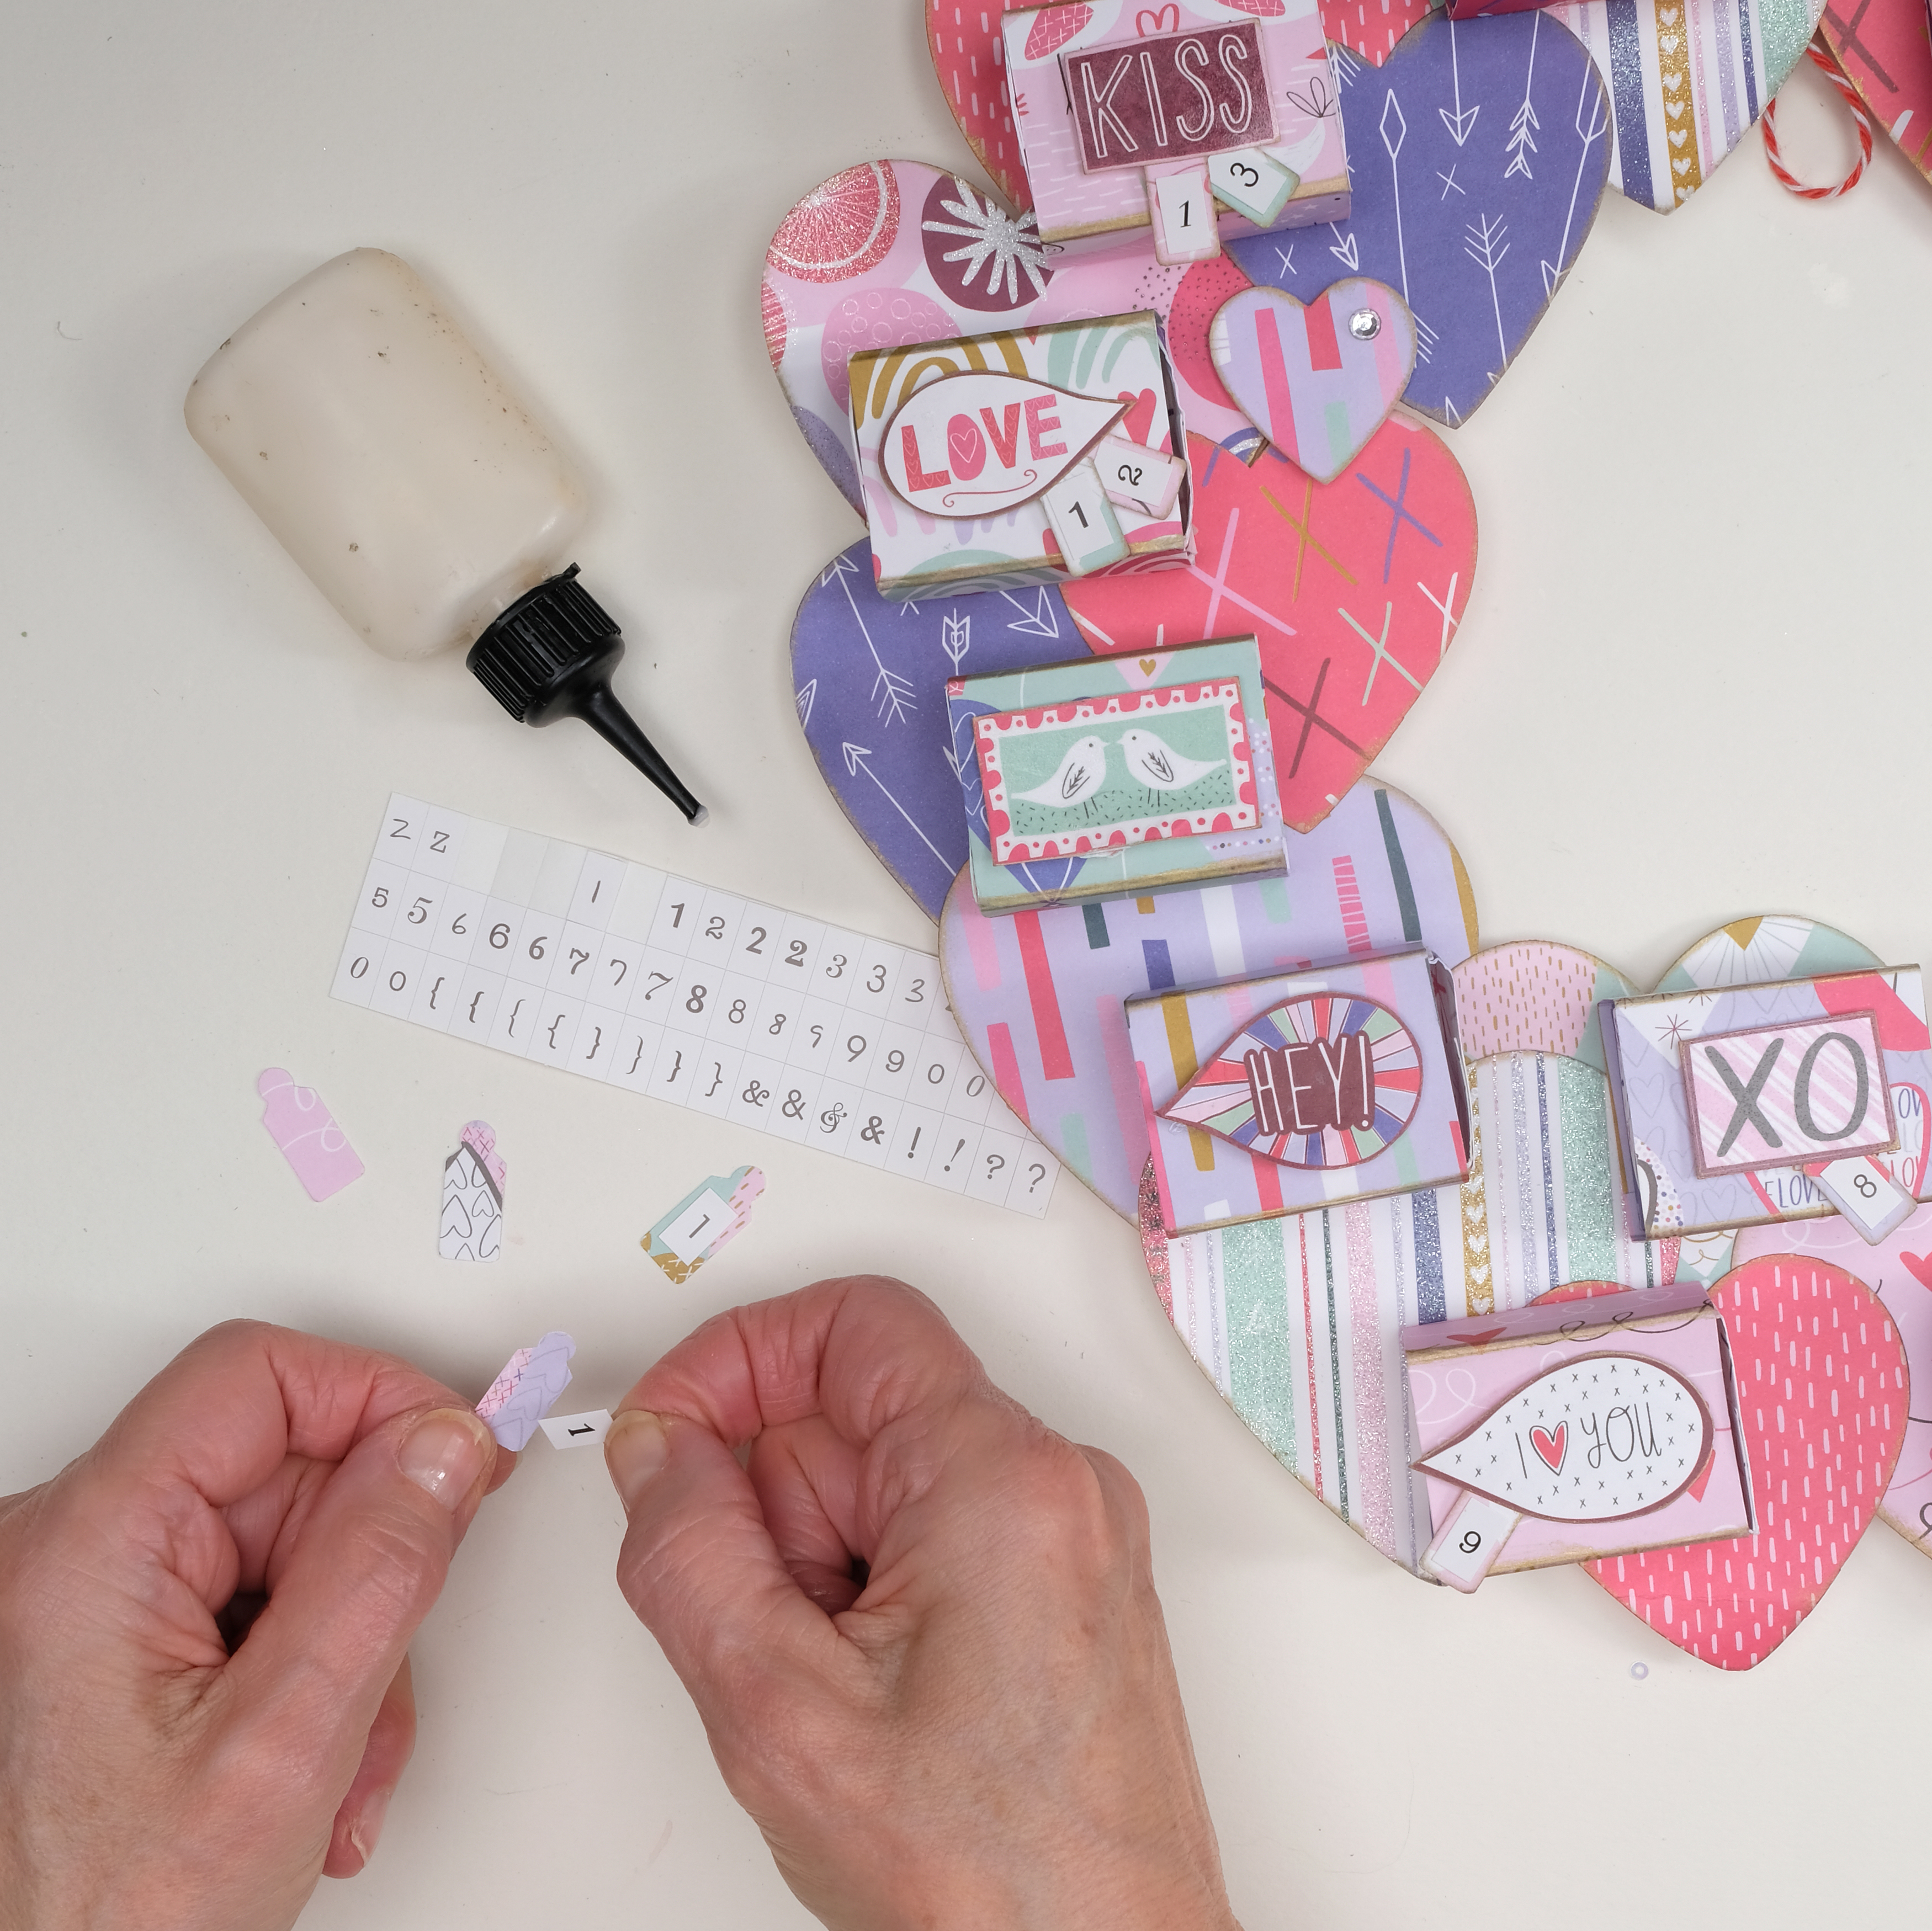
As an optional step, you can turn your wreath into a numbered gift or valentines count down wreath. To do this, attach some number stickers ranging from 1 to 14 onto small paper tag shapes, cut from patterned papers (you can also use a pen to add this lettering if you have neat handwriting). Tuck the tags under the box embellishments and secure in place with double-sided tape, to finish. If you don’t have any number stickers, write your own using a fine liner pen!

DIY Valentine’s wreath – step 8

DIY Valentine’s wreath