Sorting the fabrics
Step 1

Snip a small piece of each fabric and stick them to a piece of paper in the order in which you have decided to arrange the fabrics. This is an important step as it is easy to get into a muddle and stitch the strips in the incorrect order. Number your fabric swatches on the paper in order 1 to 10. In Alison’s quilt, the pink tone-on-tone was number 1 and the grey-blue Oakshott fabric was number 10 (Fig 1).
Cutting out
Step 1
From each of the ten (10) fabrics cut eight (8) 3in x WOF strips.
Step 2
Cut the backing fabric in half into two (2) 90in x WOF pieces.
Step 3
From the binding fabric, cut eight (8) 2½ n x WOF strips.
Making the strip sets
Step 1

Lay out one (1) strip of each of the ten (10) fabrics in the correct order and stitch the strips together along their length with an accurate 1/4in seam. This is the first strip set (Fig 2).
Step 2
Repeat with the remaining seven (7) sets of strips to make a total of eight (8) identical strip sets.
Step 3
Press four (4) of the strip sets with the seam allowances going in one direction – label these strip sets ‘A’. Press the other four (4) of the strip sets with the seam allowances going in the opposite direction – label these strip sets ‘B’. This will enable you to nest/butt the seam allowances when you come to stitch the pieced strips together. Take care and spend time on the pressing as it is important not to distort the seam lines and to keep the seams straight and parallel along the length of the strip set.
Cutting the strips
Step 1
Follow the instructions that follow for crosscutting each strip set into pieced strips of different widths according to whether you are cutting from an ‘A’ strip set or a ‘B’ strip set. As you cut, it is a good idea to lay the cut strips out in size order and to put a label on the top of each pile, so it is clear which size strip is which. The difference between the strips is only ¼ in and it can be easy to mix up the strips. Note: Keep what remains of the strip sets after cutting the strips to make the bonus cushion project.
Step 2
From the four (4) A strip sets pressed towards Fabric 1, trim off the selvedge at one end of the strip set and then cut the following strips:
- Fifteen (15) 2½ in strips.
- Twenty-four (24) 2in strips.
- Twenty-four (24) 1½ in strips.
- Twelve (12) 1in strips
Step 3
From the four (4) B strip sets pressed towards Fabric 10, after trimming off the selvedge, cut the following strips:
- Twenty-four (24) 2¼ in strips.
- Twenty-four (24) 1¾ in strips.
- Twenty-four (24) 1¼ in strips.
Step 4

The next step is to adjust the pieced strips so that the bargello design will appear when the strips are stitched back together. Do the following with each pile of strips (refer to Fig 3):
- 2½ in strips – no action required. Set these strips aside until the blocks have been made. They will be used to join the vertical rows and complete the design.
- 2¼ in strips – unpick the top square of the strip (Fabric 1) and move it to the bottom of the strip, joining it to Fabric 10. Fabric 2 will now be at the top of all the 2¼in strips.
- 2in strips – unpick the top pair of squares of the strip (keeping fabrics 1 and 2 joined together) and move them to the bottom of the strip, joining Fabric 1 to Fabric 10. Fabric 3 will now be at the top of all the 2in strips.
- 1¾ in strips – unpick the top three squares of the strip (keeping Fabrics 1, 2 and 3 joined together) and move them to the bottom of the strip, joining Fabric 1 to Fabric 10. Fabric 4 will now be at the top of all the 1¾ in strips.
- 1½ in strips – unpick the top four squares of the strip (keeping Fabrics 1, 2, 3 and 4 joined together) and move them to the bottom of the strip, joining Fabric 1 to Fabric 10. Fabric 5 will now be at the top of all the 1½in strips.
- 1¼ in strips – unpick the top five squares of the strip (keeping Fabrics 1, 2, 3, 4 and 5 joined together) and move them to the bottom of the strip, joining Fabric 1 to Fabric 10. Fabric 6 will now be at the top of all the 1¼ in strips.
- 1in strips – unpick the top six squares of the strip (keeping Fabrics 1, 2, 3, 4, 5 and 6 joined together) and move them to the bottom of the strip, joining Fabric 1 to Fabric 10. Fabric 7 will now be at the top of all the 1in strips.
Step 5


Remember that Fabric 1 will always be joined to Fabric 10. Keep checking the piece of paper on to which you pasted the snippets of fabric to keep the order correct. It can also help to lay out the strips as you finish sewing them in the order in which they will be stitched together (Fig 4A). There are a lot of seams in the bargello blocks and pressing is important to ensure a flat finish. If you pressed and cut as directed, you should find the seams of the strips lying in opposite direction (Fig 4B). If not, now is the time to adjust the pressing direction, but be careful not to stretch or distort the strips, especially the narrow ones.
Step 6
Lay out the strips as shown in Fig 3: the strips have been numbered to correspond to the fabric numbers. It is important to note that on either side of the central section the order of strips is reversed. Keep checking the diagram as it is easy at first to turn one of the strips upside down by mistake.
Step 7

Join the eleven (11) block strips into pairs with the central section joined as a three (Fig 5). Press the long joining seams open.
Step 8

You can then join the two (2) sets of pairs on both sides of the central section to make a complete block. Press the remaining joining seams open, and then press the complete block from the right side (Fig 6).
Step 9
Repeat to make the rest of the blocks in the same way, giving a total of twelve (12) identical blocks, each measuring 13½ in x 25½ in.
Assembling the quilt
Step 1

Lay the blocks out in four (4) columns as shown in Fig 7. There will be three (3) blocks in each column. Leave a space between the columns (but not between the rows). Arrange the 21/2in pieced strips that you set aside in step 9 in each vertical gap, and at the beginning and end of each row. Fabric 1 should be at the top of each strip to complete the design.
Step 2
Stitch the strips and blocks together into rows and press the joining seams open. Then join the rows, lining up and matching the vertical seams. Press the seams open.
Step 3
Stay stitch all the way round the quilt top a scant ¼ in from the edge to prevent any of the seams splitting when the top is handled.
Quilting and finishing
Step 1
Remove the selvedges and join the two (2) pieces of backing fabric together along the long edge with a ½ in seam. Press the seam open.
Step 2
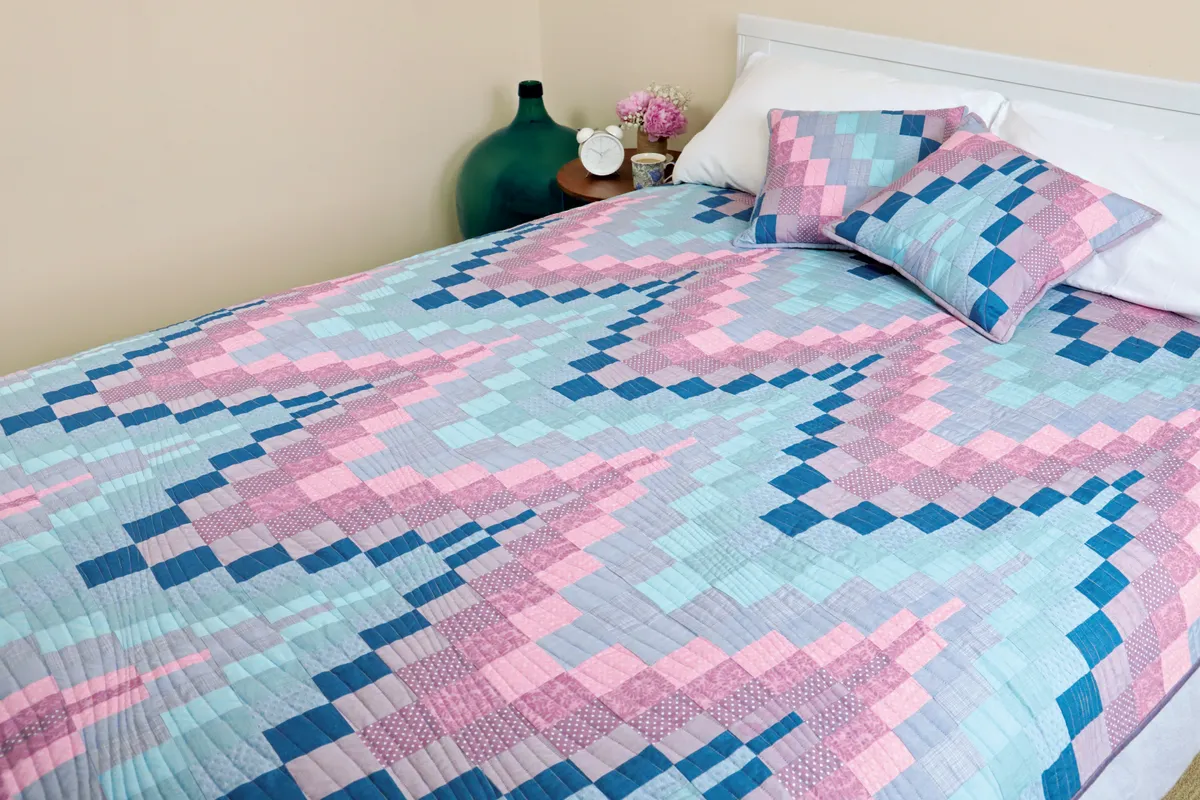
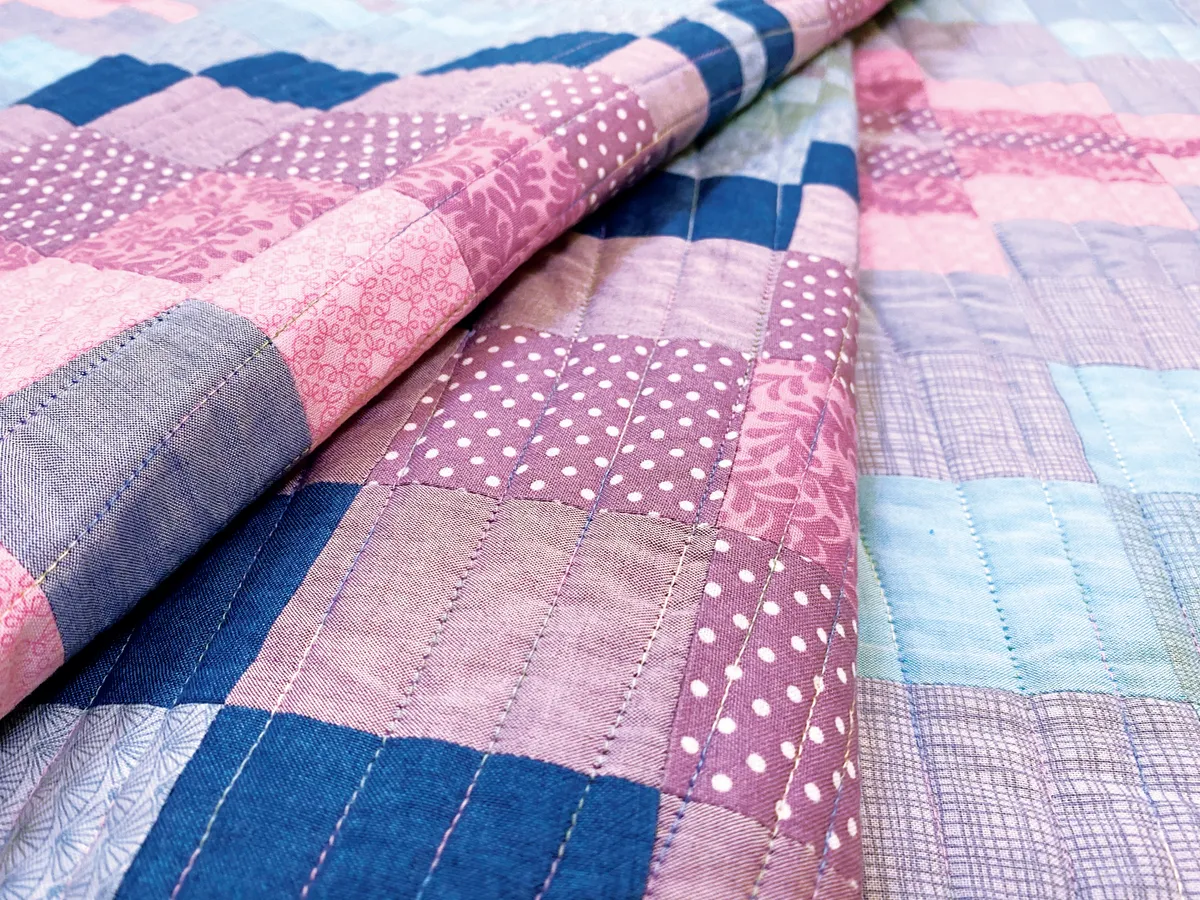
Layer the quilt top, batting and backing, then quilt by hand or machine as desired. Alison quilted wavy lines across the quilt to accentuate the illusion of curves.
Step 3
Sew the seven (7) binding strips into a continuous length with seams on the bias. Trim the seam allowances to ¼ in, press open and then press the binding in half wrong sides together for a double-fold binding.
Step 4
Attach the binding to the front of the quilt, mitring the corners for a neat finish, and hand stitch the folded edge to the back of the quilt.