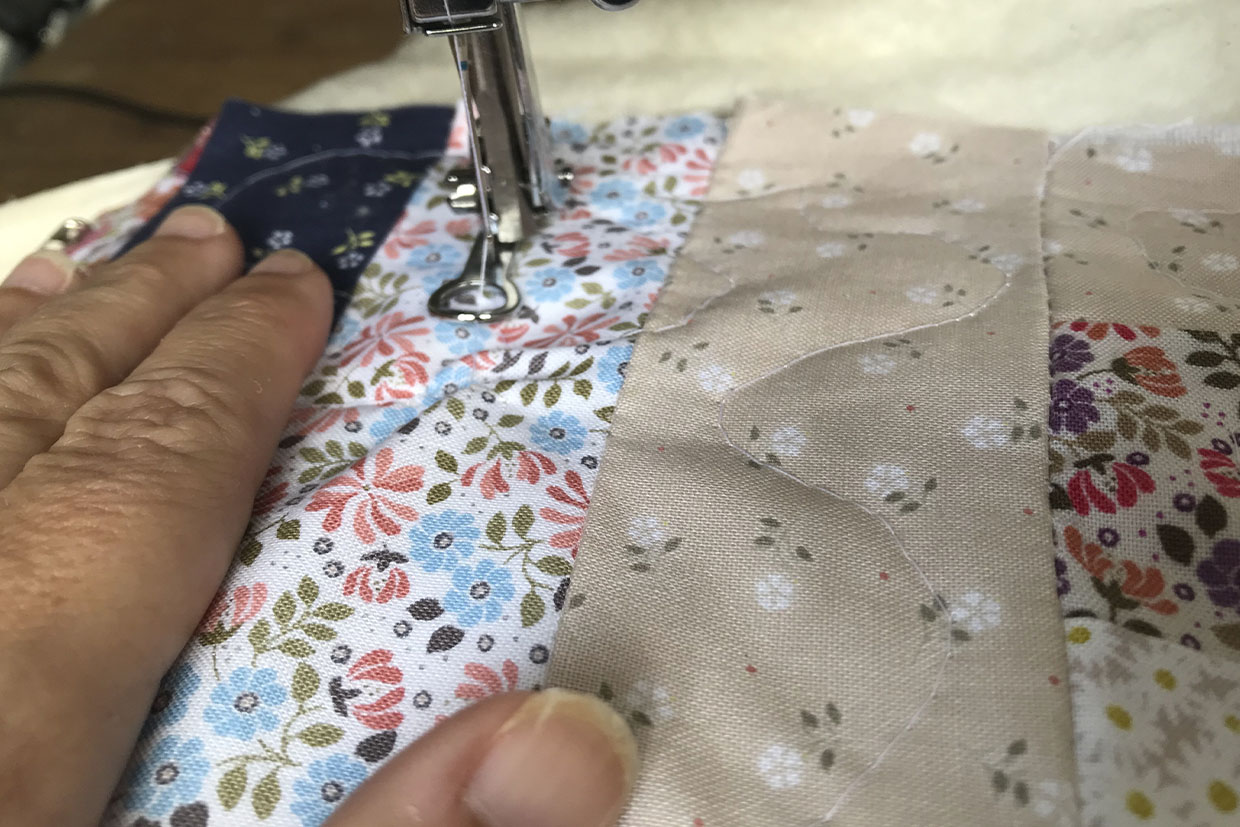
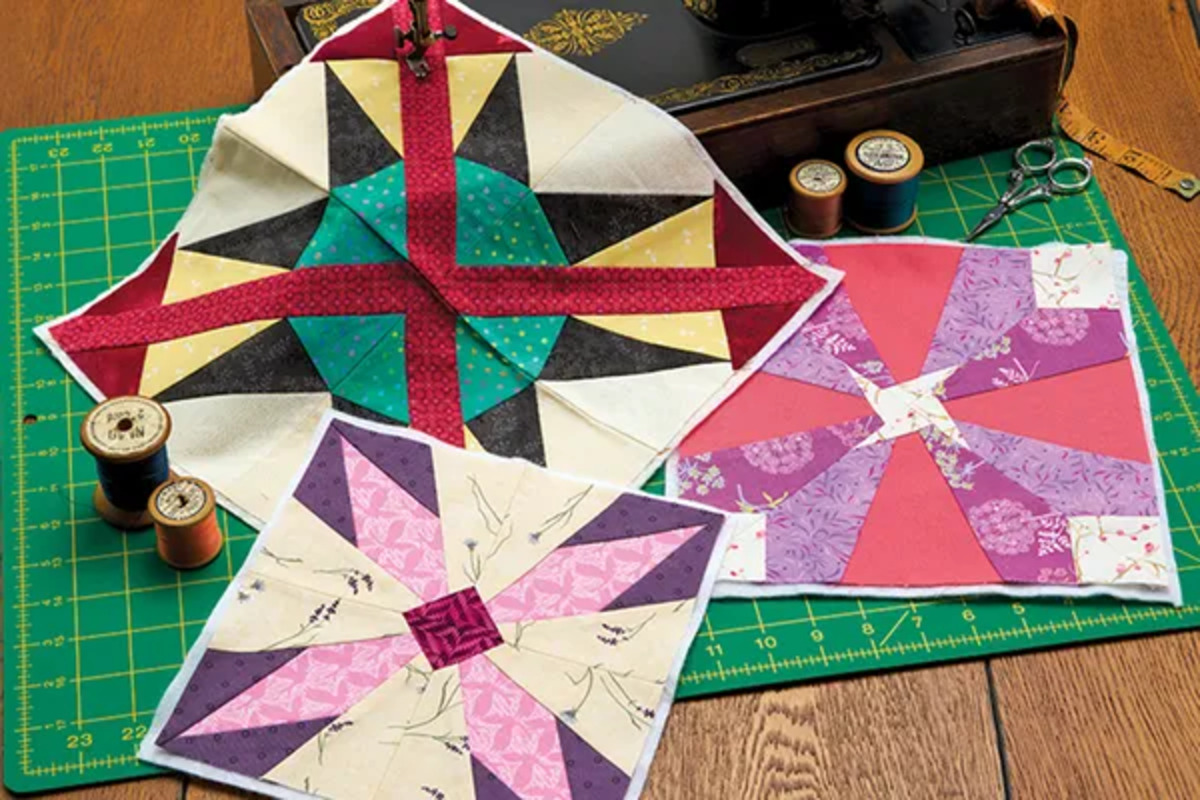
Prepare your quilt sandwich for free motion quilting
Step 1
Spend some extra time and care basting the layers of your sandwich together securely and you’ll see the rewards when you get to the quilting stage.
Prepare the layers of your quilt
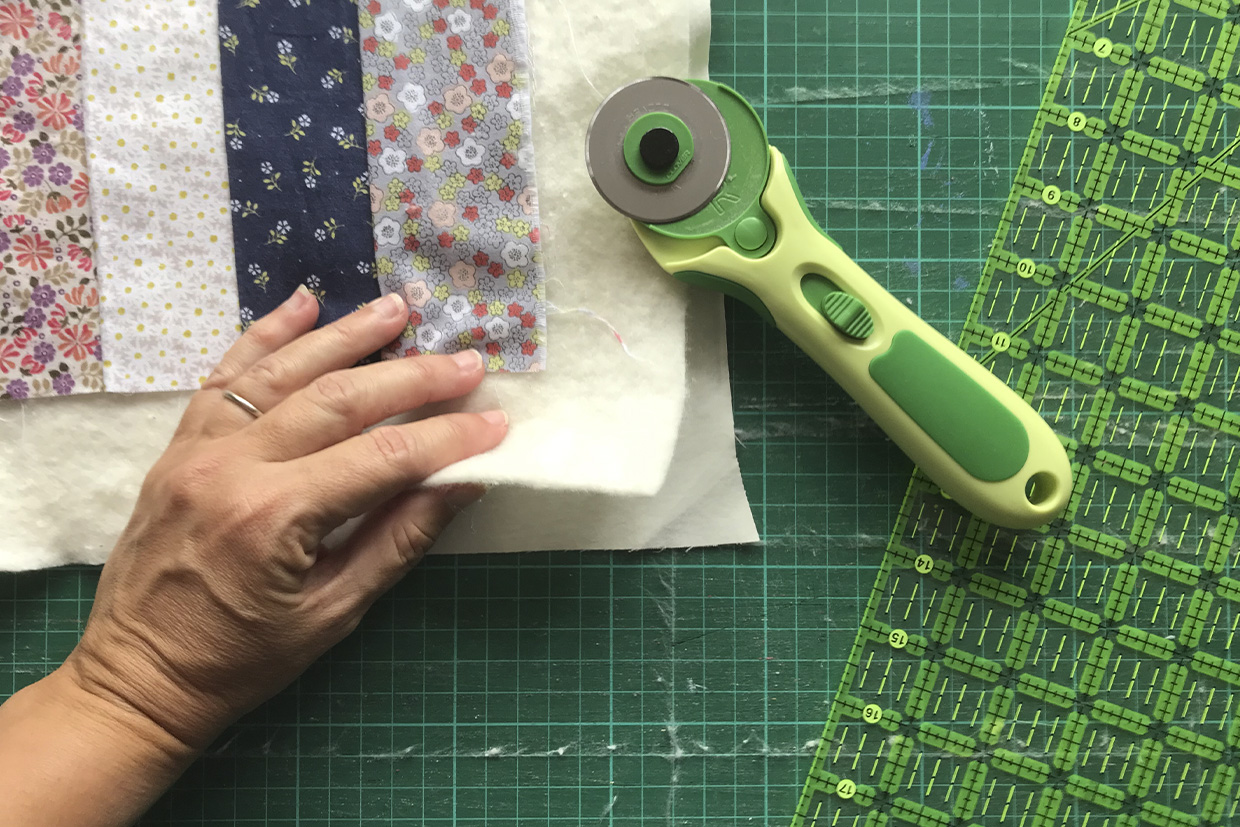
Square up your quilt top so it’s got straight edges all the way around (you can do this with scissors or a rotary cutter, ruler and mat). Cut a piece of batting and backing fabric so they are the same size as the quilt top, but with an extra two inches around each edge. This will be useful later when you quilt, in case your fabric moves and shifts as you sew.
Step 2
Secure your quilt layers with basting spray
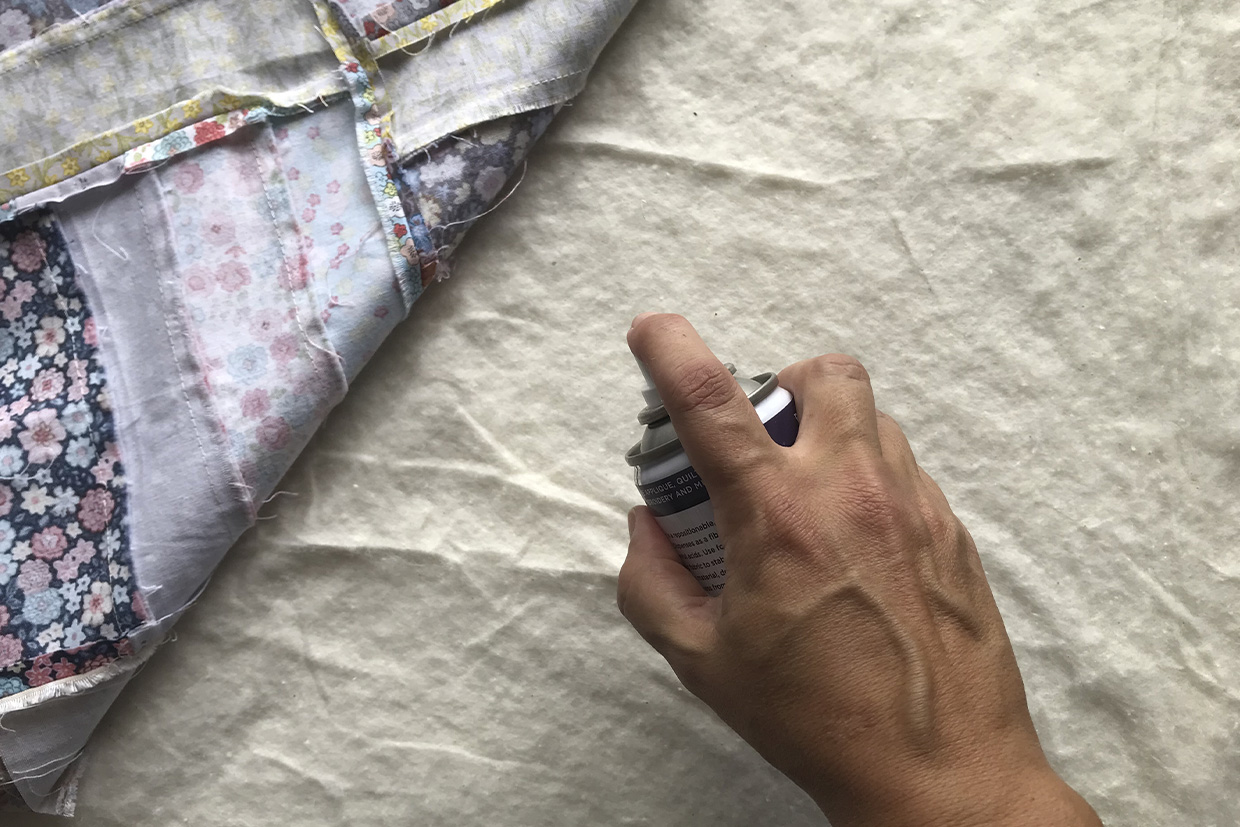
Lay your quilt backing, print-side down, on a large work surface. Spread the fabric flat in front of you and then spray all over with basting spray. You can do this on the floor if you don’t have a large table, but it will work best on a hard floor, rather than carpet.
The spray will make the fabric sticky, and ready for you to add the next layer. Place your wadding on the sticky quilt backing and smooth from the centre outwards in all directions to stick.
Spray the wadding all over with basting spray. Place your quilt top on top of it, right side facing up, with the wrong side of the quilt top pressing onto the wadding. Smooth it firmly all over from the surface outwards.
Step 3
Add safety pins to secure the quilt sandwich
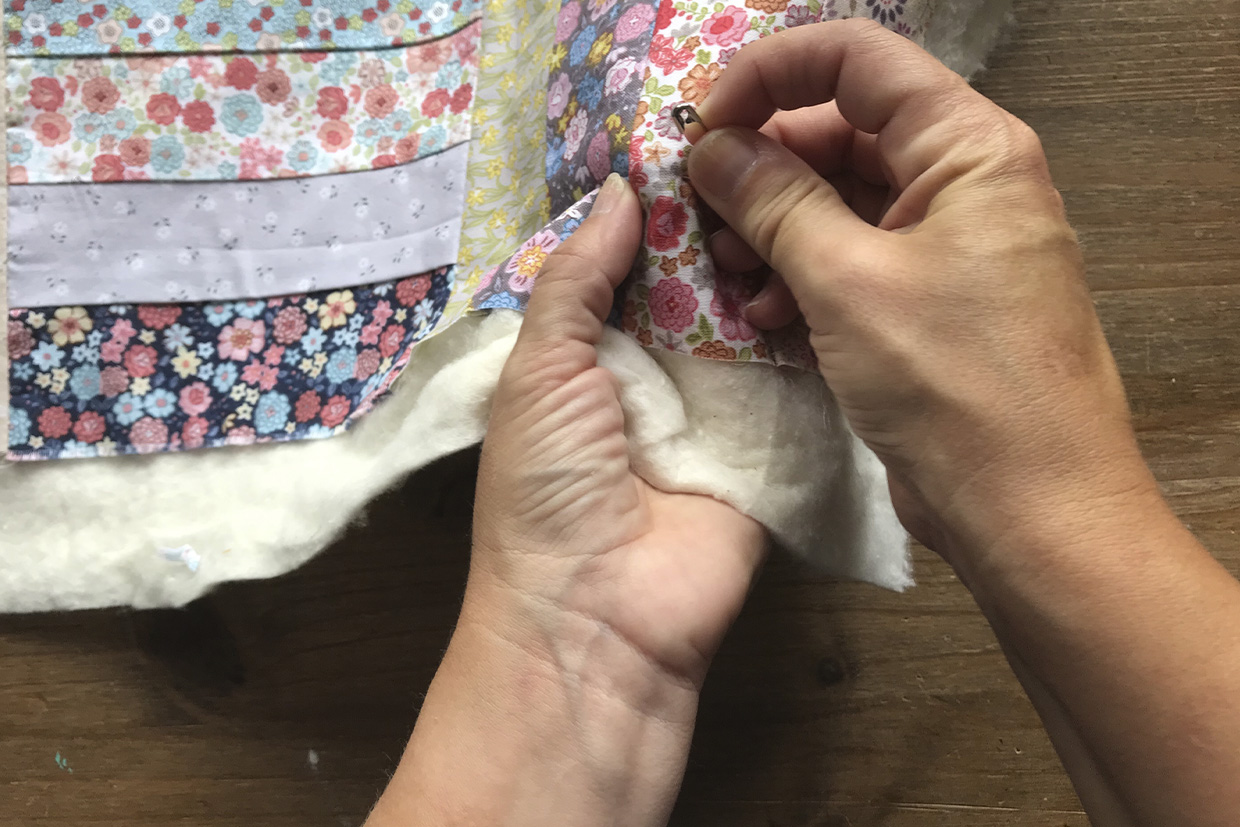
Add some safety pins to the 3 layers of your quilt sandwich to finish basting.
How many depends on the size of your quilt top. For a lap quilt or single bed quilt, I usually use a few rows of 4 safety pins per row, across every other row of quilt blocks.
This is an optional step. Many quilters swear by just using basting spray for the best results when quilting. Ultimately, how you baste your quilt is down to personal preference.
Now you’re ready to get quilting.
How to adjust your sewing machine settings for free motion quilting
Step 1
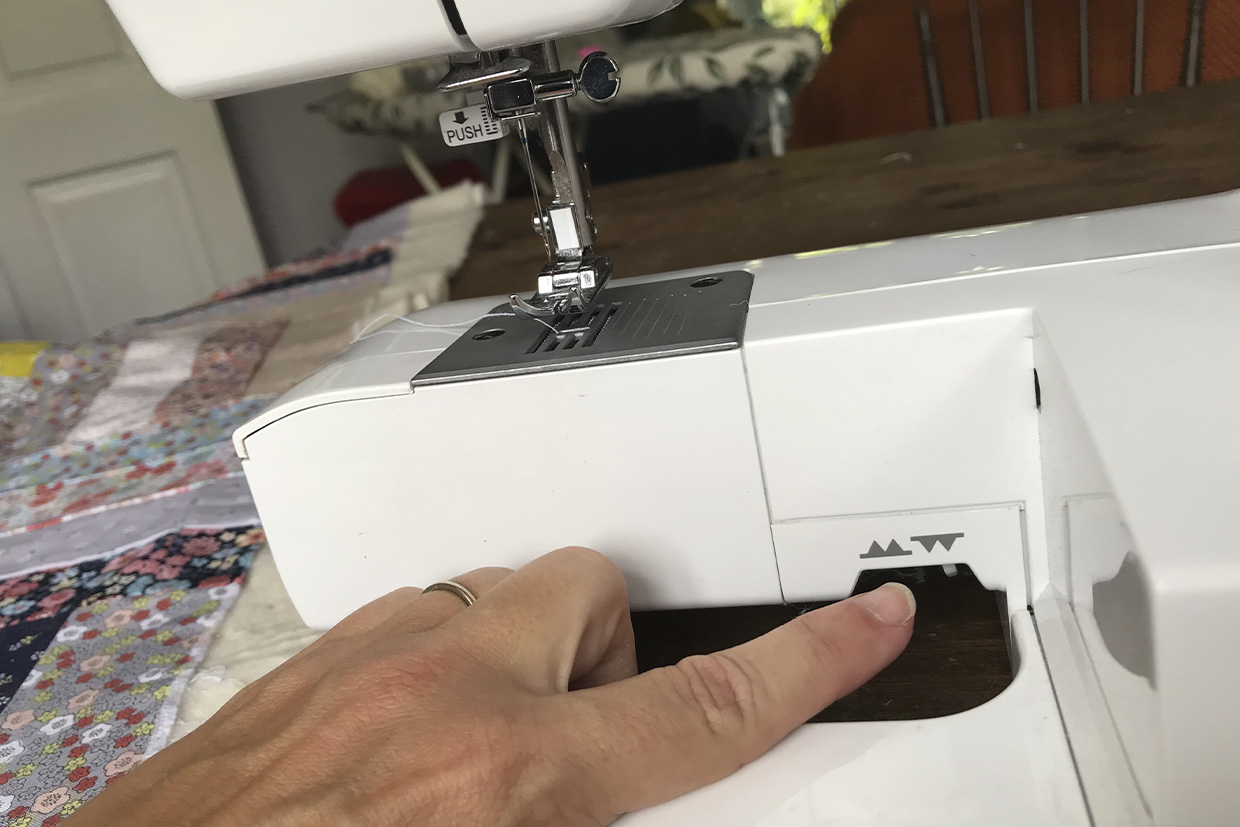
Lower the feed dogs
Drop the feed dogs on your sewing machine. These are the “teeth” that poke up beneath your needle and guide your sewing in straight lines.
If you’re not sure how to do this, check your sewing machine manual. If you’re on the hunt for a new machine then check out our collection of the best free motion quilting machines.
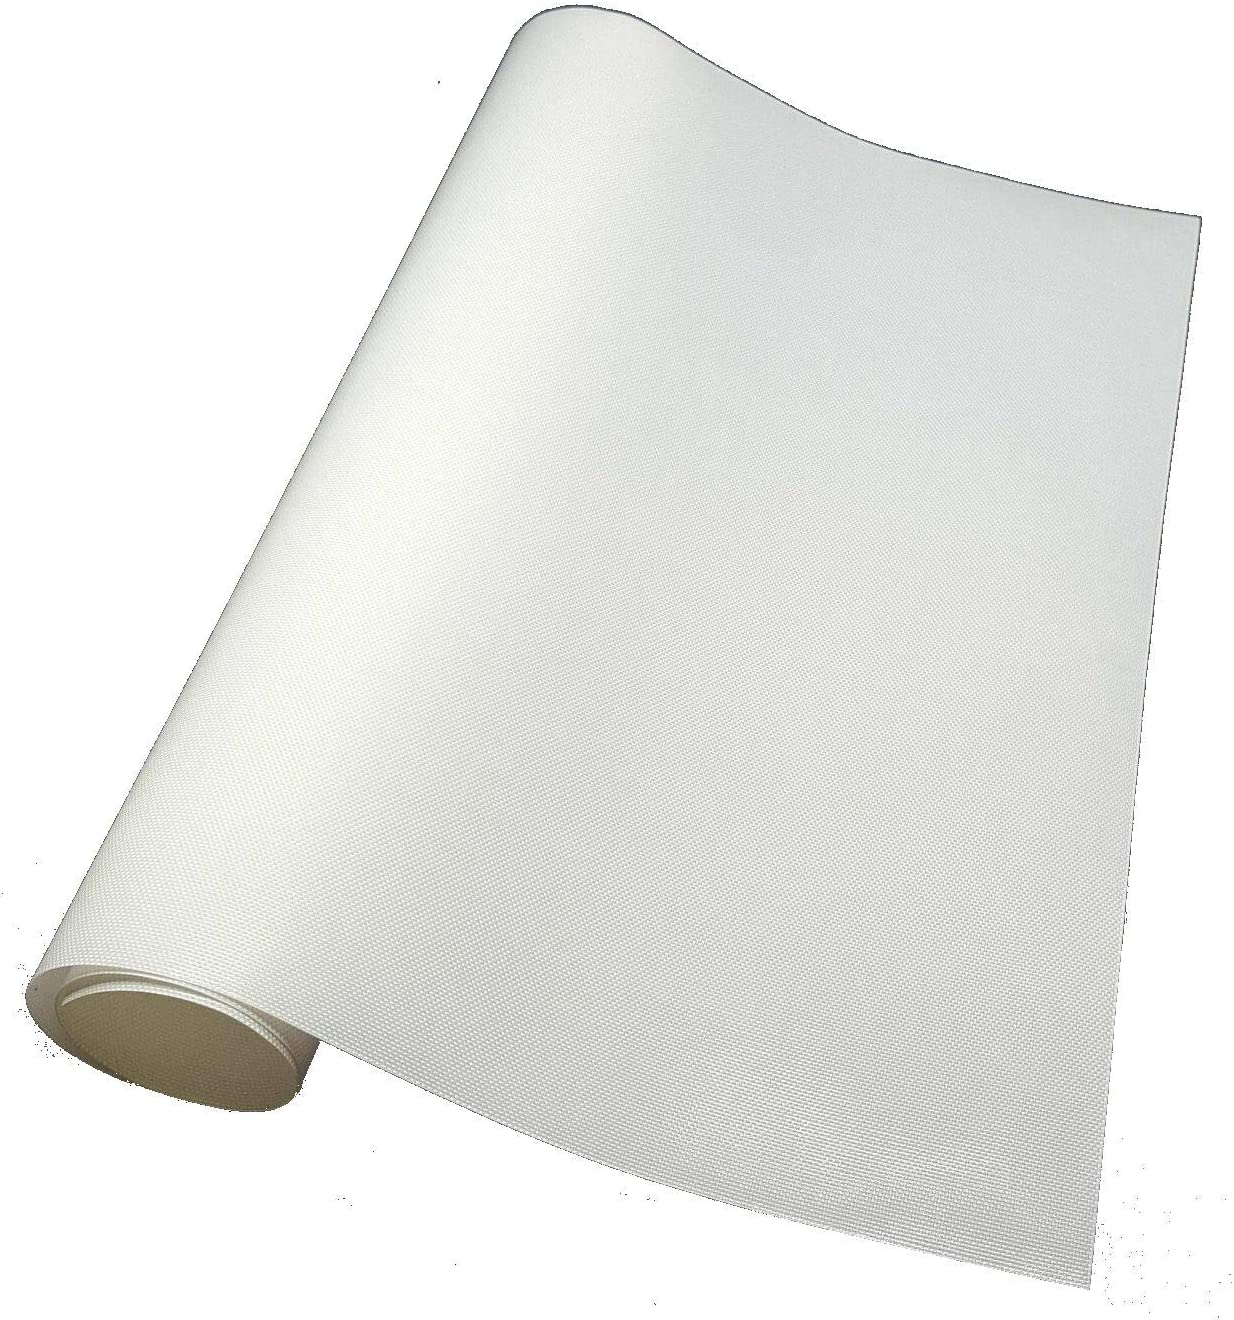
Some domestic sewing machines do not allow you to drop your feed dogs. You can still use them for free motion quilting, but you might find it helps to purchase a mat that sits on the bed of your machine, on top of the feed dogs – and will allow you to move your quilt more easily when you come to the quilting stage.
For example this Free Motion Slider Sheet for Sewing Machines:
Step 2
Attach a free motion quilting foot or darning foot
Replace the regular sewing foot on your machine with a free-motion foot or darning foot. We have an in-depth tutorial here on Gathered which teaches you how to use a free motion quilting foot.
How you change the foot of your sewing machine is different on different machines. Check your sewing machine manual if you’re not sure how to do this.
Step 3
Adjust your stitch length
Reduce your stitch length to 0. With free motion quilting, your stitch length is guided by the amount of pressure you place on the foot pedal and how quickly you move your fabric as you sew.
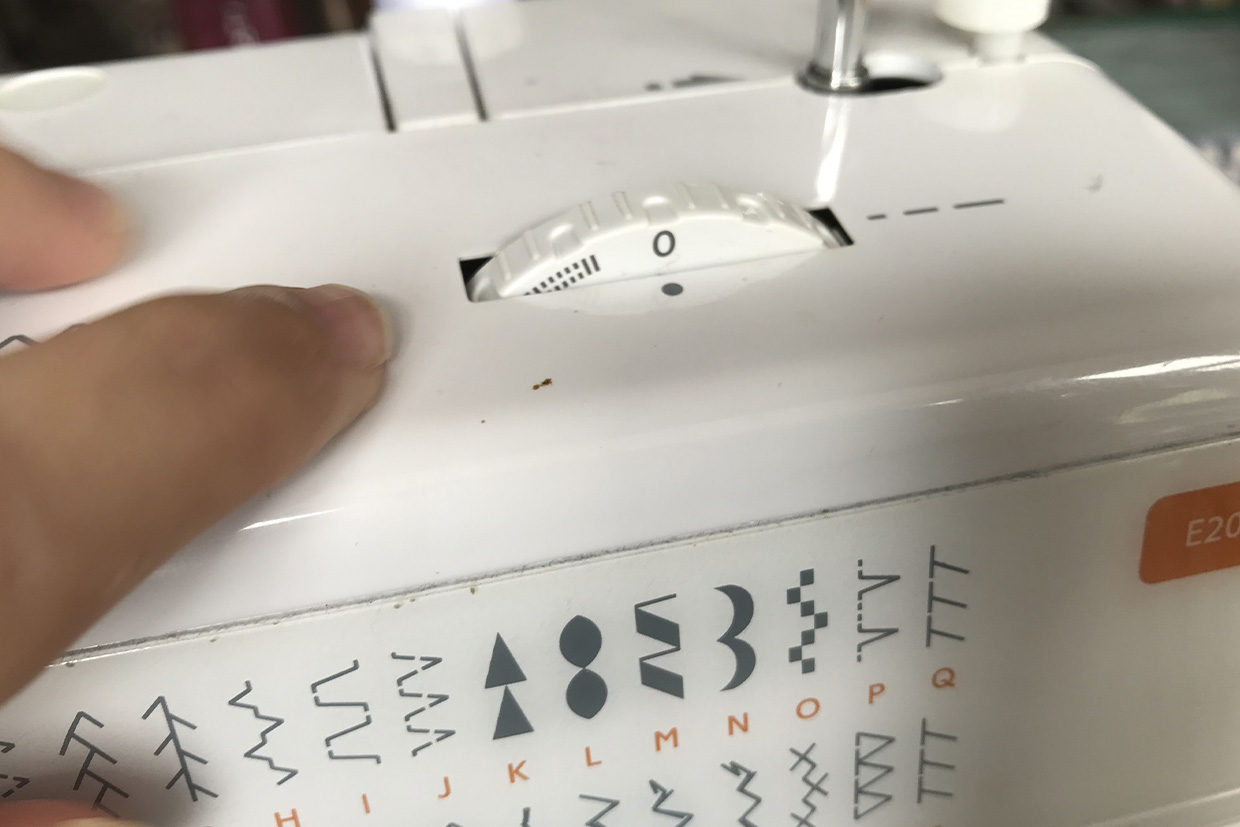
Step 4
Lower your foot presser speed
Change the foot pressure setting on your machine to the lowest setting possible.
When you start sewing, the slower you move the needle up and down using foot pressure, the more control you will have as you sew.
Step 5
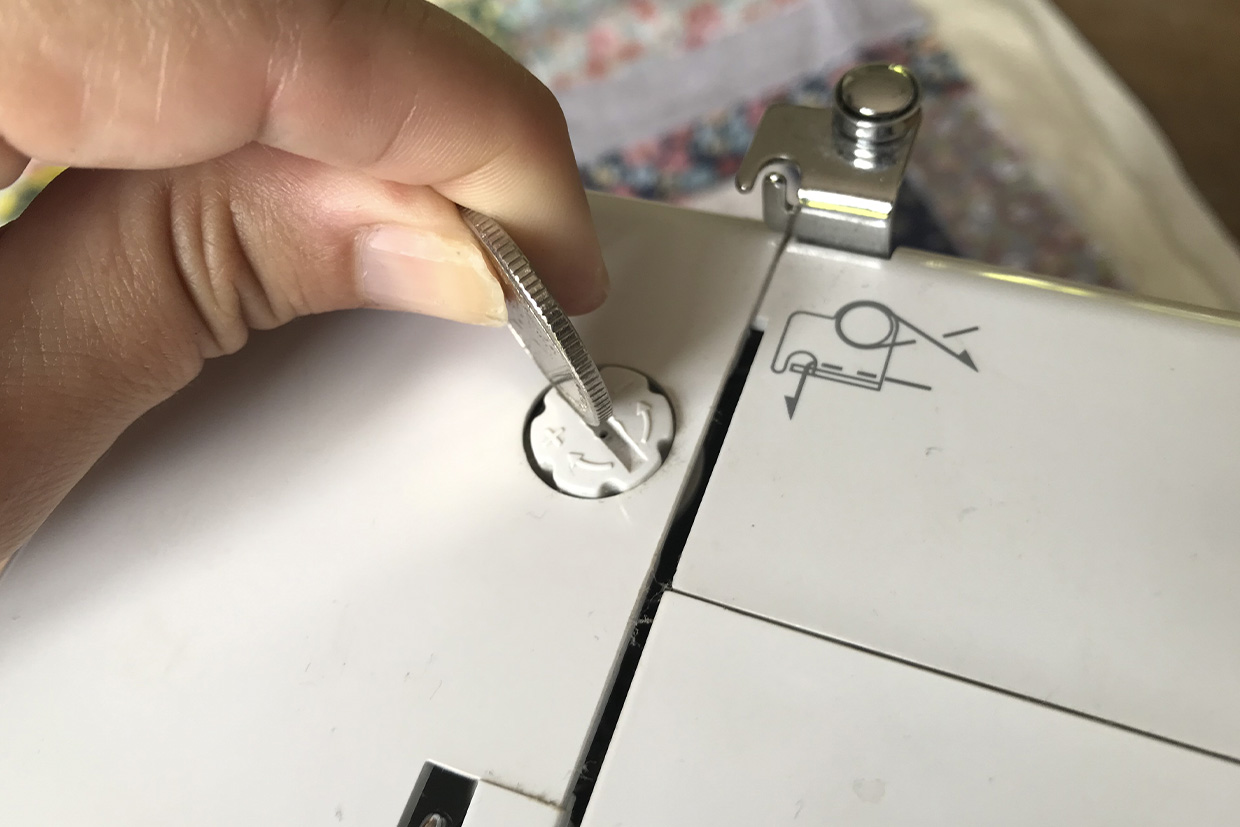
Check your sewing machine tension setting
Check or adjust your tension to suit the thickness of your quilting layers. The tension setting you select will depend on your machine so check your machine manual or test different settings to find the right one.
For my machine, I use tension setting 7 or 8 and adjust as needed.
It helps to create a tester sandwich first using some scrap layers of fabric and wadding, to check for any tension or stitch length issues. That way you can adjust your settings as needed (for example if the machine is sewing too tightly or loosely) before you begin, without having any impact on your main quilt project.

How to do free motion quilting
Step 1
Decide on your quilting pattern
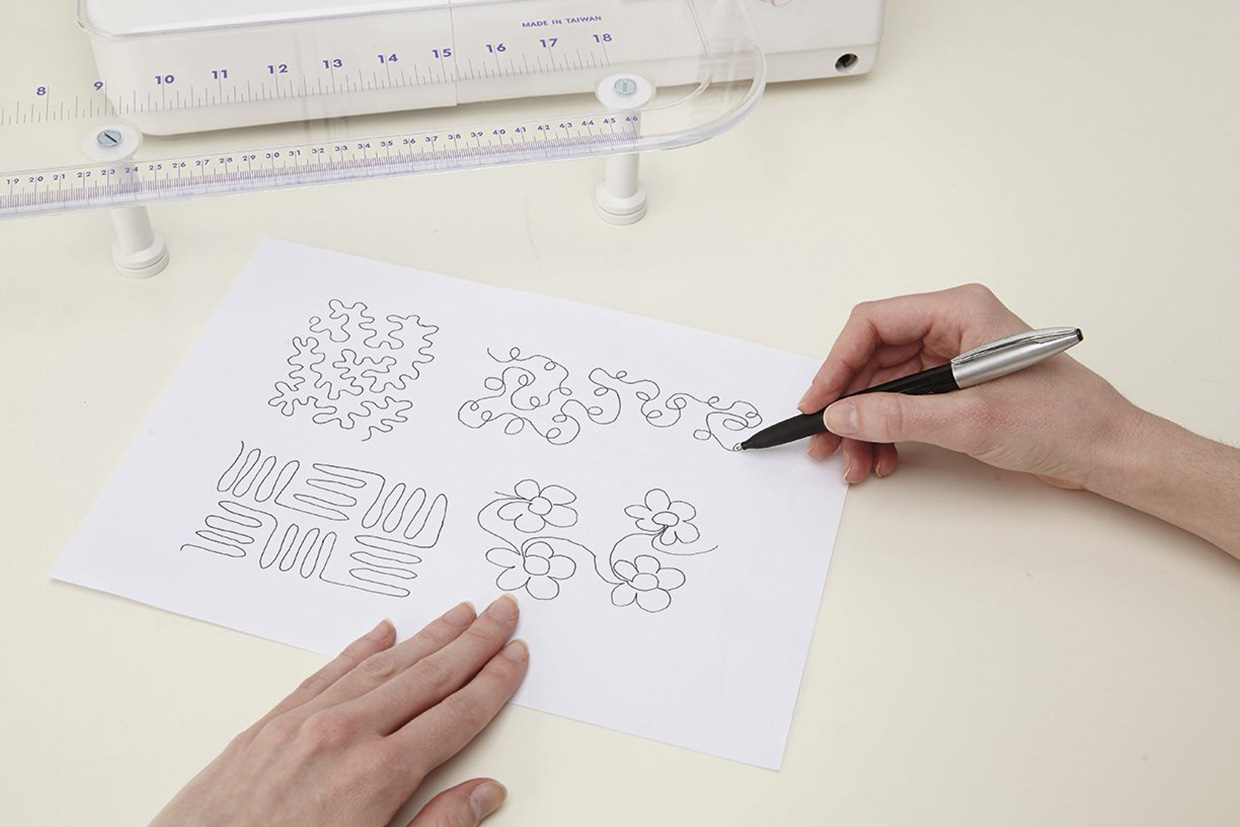
Before you begin, think about the pattern or shapes that you want to make when you’re quilting. Some quilters prefer to go completely freehand. They move the quilt around in their sewing machine to form loosely sewn shapes, such as stippling, wavy lines or spirals.
If you do this, try doodling with pen and paper to practise simple free-motion quilting patterns before you proceed to fabric and thread.
You can also find lots of design inspiration in our free motion quilting patterns round-up.
Step 2
Optional – use a stencil to prepare your pattern
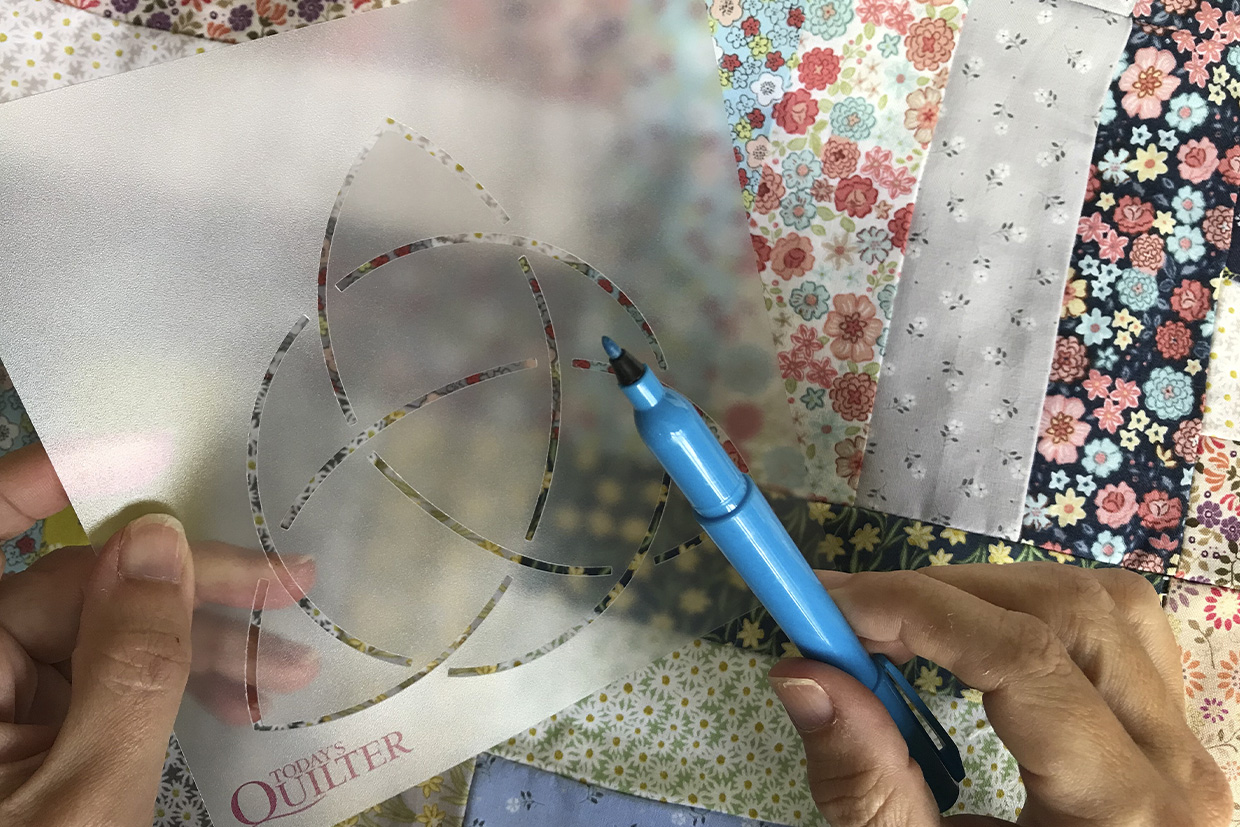
If you want to quilt in a more uniform pattern, you can also use specialised stencils to mark where you want your lines to go before you sew.
You can pick up your own stencil, and learn more about using them, from our round-up of the best quilting stencils.
To do this, place a quilt stencil on top and trace the pattern using a fabric marker. Move the stencil along and repeat, building up the pattern in a tiled effect until you have traced a guideline of your pattern across a full row of your quilt.
You can also use a free motion quilting ruler for this step. If you're on the hunt for one then head over to our collection of the best free motion quilting rulers.
Air erasable or water erasable pens are handy for this stage. If in doubt, test your fabric marker, and how to remove the ink, before you cover your quilt in it!
You can check out our fabric marker guide to make sure you get the right one for the job.
Step 3
Select a spot on your quilt to start sewing
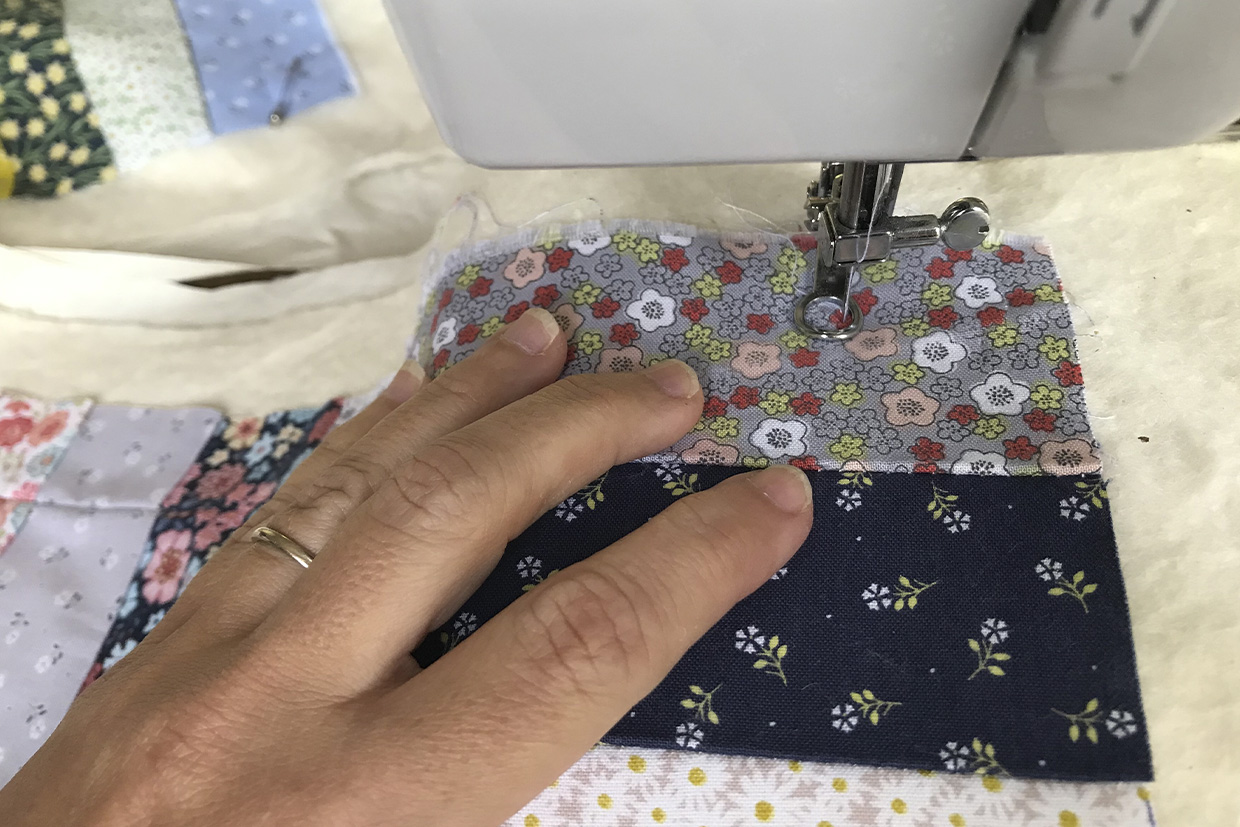
To start your sewing, select your starter spot. Set your needle to the up position and move your fabric underneath the needle, with the start spot in the centre of the free-motion foot’s hoop. Now lower your needle into the fabric. Begin by sewing a stitch or two back and forth using your machine’s reverse stitching setting to secure your thread.
For small projects like cushions or baby quilts, or larger quilts where you’ve spray basted in advance, start at one corner of the project and either quilt a row of patterns across your quilt, or quilt one section (also known as a ‘block’). Then move your needle across the quilt to build up more and more rows and blocks until the whole quilt sandwich is secured.
For larger projects, or quilts where you are using pin basting, start in the centre of the quilt, and split your quilt into four-quarter sections. As you sew, move outwards towards the edges of your quarter section.
This is because, with pin basting, your fabric is more likely to shift and bunch up slightly as you sew. If you start each section at the central point and sew outwards towards the edges, it won’t matter if your layers shift a bit as you sew, as you’ll have room around the edge to adjust for this. Any sections that gather up slightly under your needle as you sew won’t end up bunching in the middle of the quilt.
Step 4
Start sewing your layers together
Sew the beginning of your free-motion quilting line by gently pressing the foot to bring your needle up and down.
As you sew, move the quilt around with your hands to create a trail of stitches. You are now “drawing” a pattern of freehand stitches with your needle.
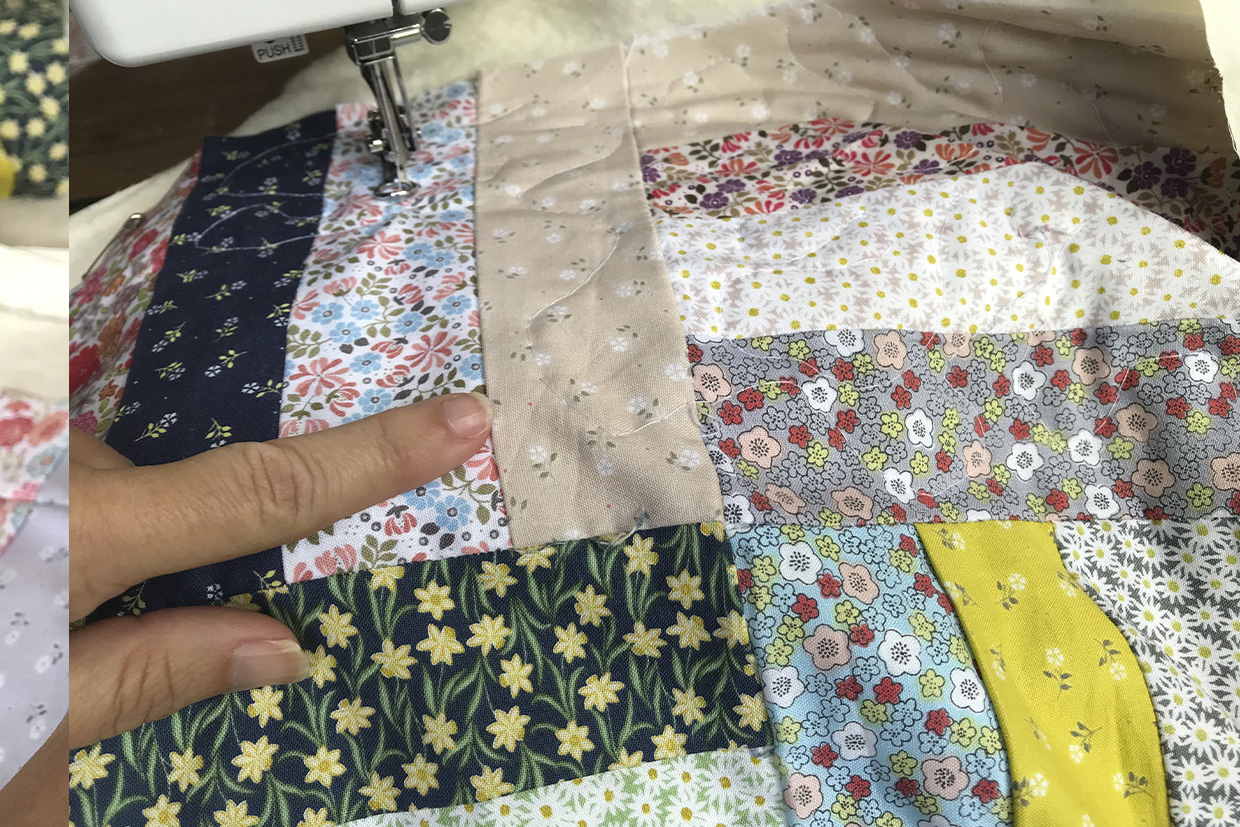
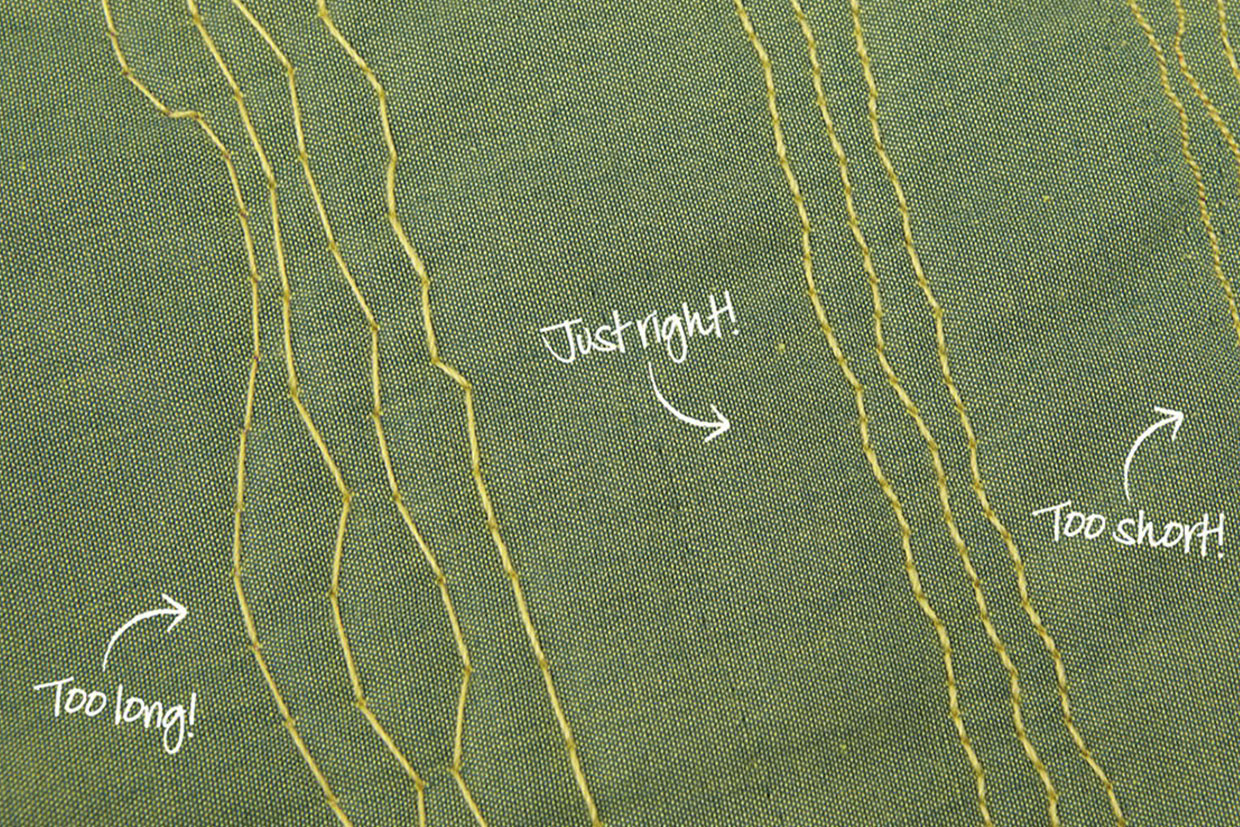
The amount of pressure you put on the presser foot, and how fast you move the quilt as you sew, will create your stitch length. Speed up or slow down how much pressure you apply to the foot pedal, and how quickly you move the quilt, to increase or decrease your stitch length.
If your stitches are too long then you need to apply more pressure on the foot pedal and decrease the movement of the quilt. If your stitches are too small then you need to reduce the pressure on your foot pedal and increase the movement of the quilt.
Step 5
Check your tension
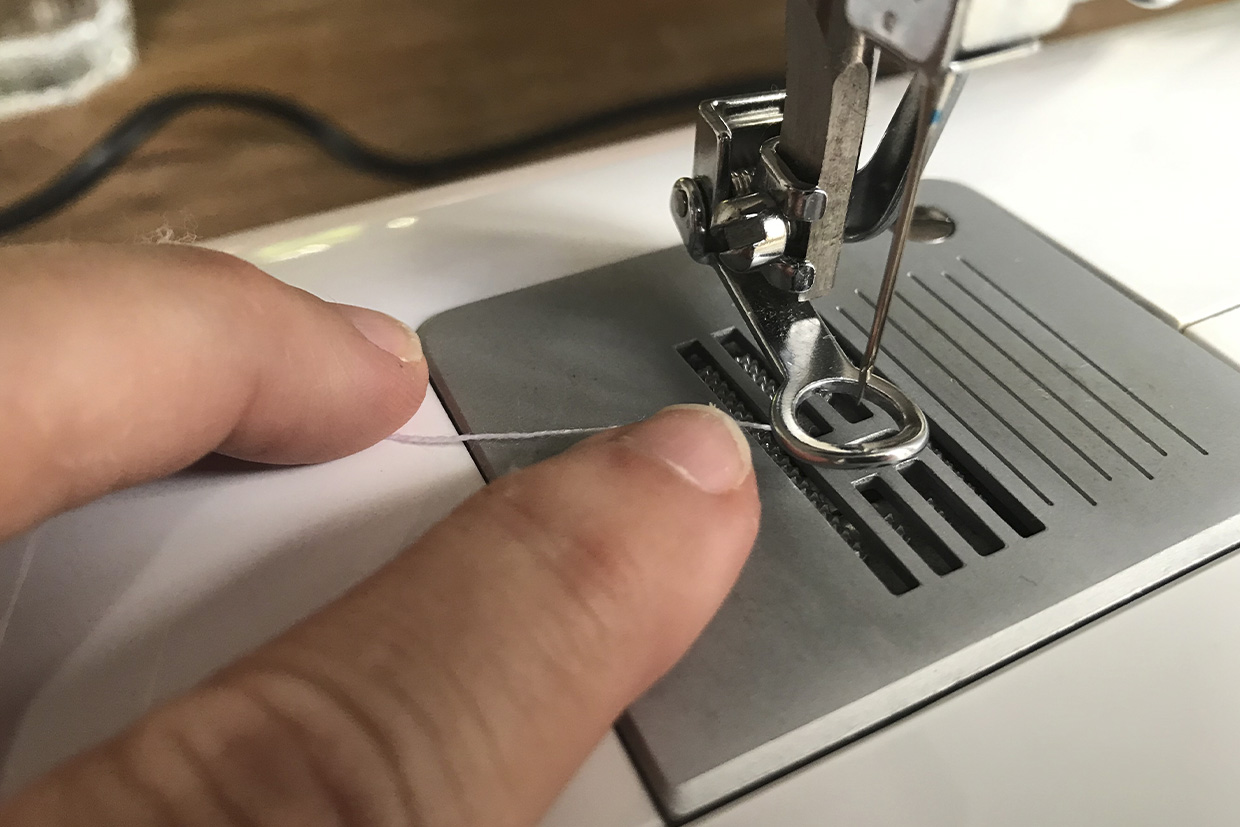
After you’ve stitched a trail of a few inches, stop and check your tension looks ok – both above and below your stitching so far.
You don’t want to see any teeth or signs of wrong tension. If you need to, adjust your tension so your sewing leaves an even line of stitches on both the top and bottom of your quilt.
You should check the underside of your quilt as well as the top at the beginning of free motion quilting to ensure that the tension is balanced.
If you need a hand with your tension when you start quilting, see our guide to how to fix a sewing machine, which includes tips on getting your tension settings right.
In this image you can see “teeth” appearing alongside the line of sewing – this is a warning sign that you should adjust your tension.
Step 6
Sew the rest of your quilt pattern in sections
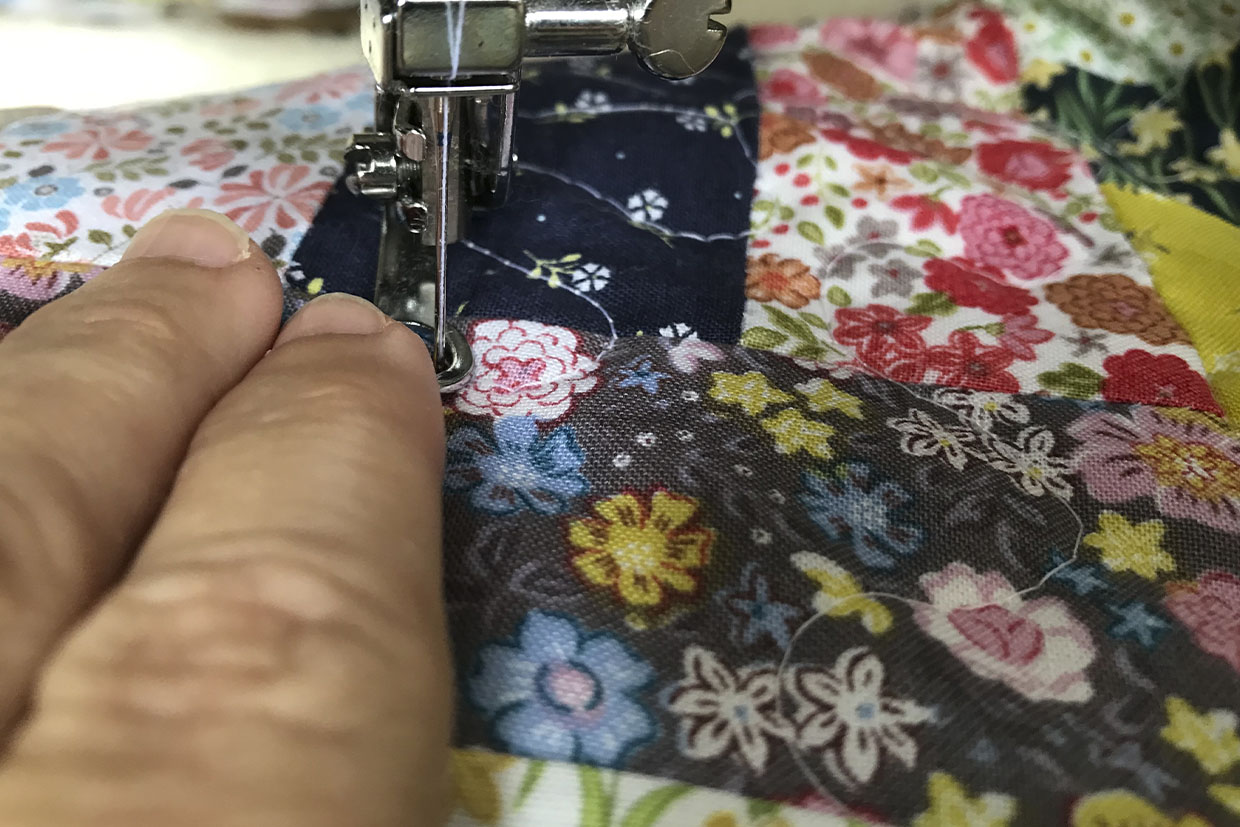
Keep moving across your quilt in sections, blocks or rows, filling each row with your quilted pattern. Sew one section at a time of your quilt in this way.
For traditional free motion quilting, where you are sewing wavy lines or a stippled pattern, try and sew in one continuous line, without crossing over a previous line you have sewn.
Don’t worry too much if you cross the line though – free motion quilting is a forgiving technique and no one will notice this when your quilt is finished.
If you have used safety pins, remove the pins as you sew.
When you finish quilting a quarter section, cut and tie the ends of your thread, burying them inside the quilt sandwich. Then move your quilt back so the needle is in the centre again to start the next section.
Add appliqué to your quilts
Learn how to do hand applique with our guide. It will help your quilts look even more fabulous!
Step 7
Change your bobbin thread
If you are in the middle of your quilt when your bobbin thread runs out, stop sewing and remove the quilt from the machine.
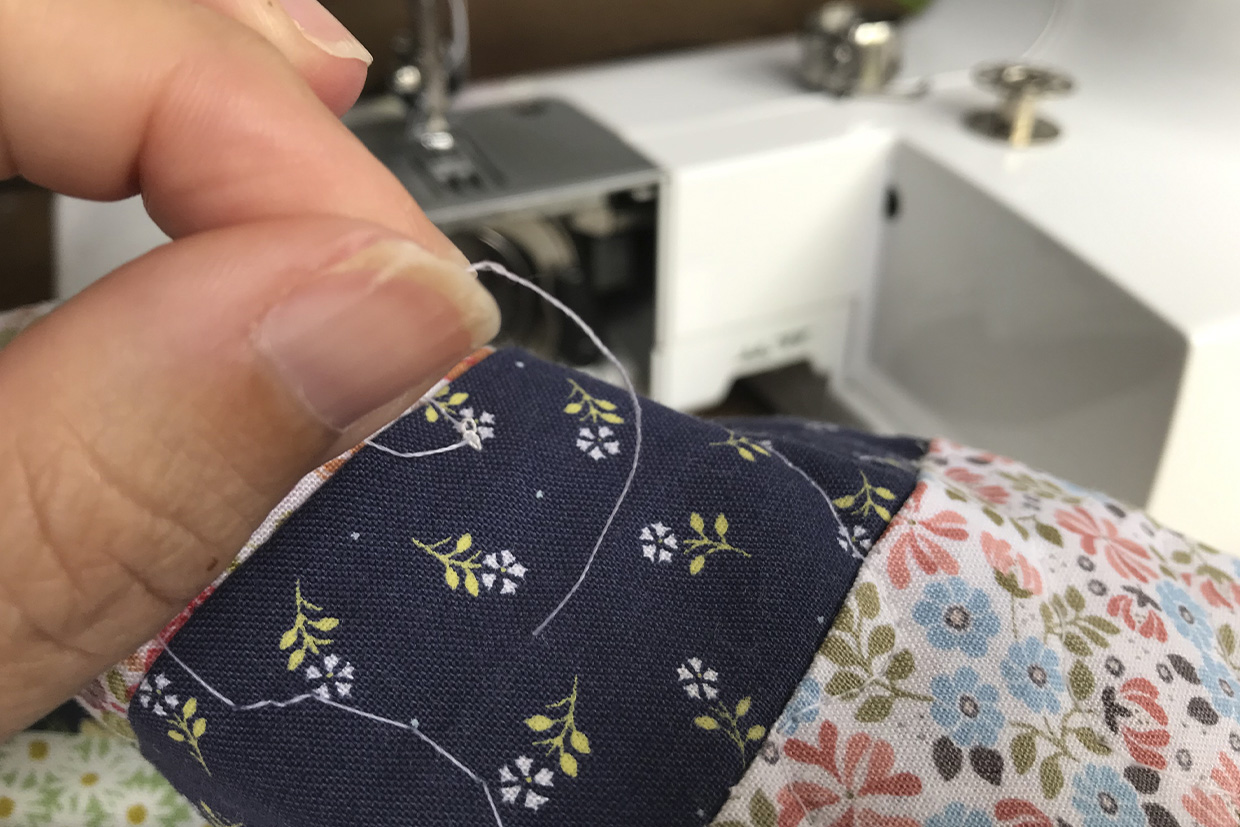
Trace your line of stitching back to when the thread ran out. Gently tug the last few stitches out until you have enough length in your thread ends to knot them off and sew them into the layers of your quilt. You can choose to cut the thread ends flush with the surface of the quilt or knot them and ‘pop’ the knot into the layers when you sew your ends into the quilt.
To start stitching again, change the bobbin and pull the new bobbin thread through to the top. You’ll find it helps to have a couple of backup bobbins pre-threaded to hand which you have prepared before you start quilting.
Place your quilt in position at the point the line of stitching ended, and do several stitches in the same place to secure the thread. Now you can proceed with your free motion quilting.
Step 8
Trim and bind your quilt edges to finish
Once you have covered the whole of your quilt with free-motion quilting patterns, cut, knot and hide your thread ends inside the quilt sandwich.
To finish your quilt, straighten up the edges of your 3 layers of quilt by trimming them into a straight edge using scissors or a rotary cutter and ruler.
Bind the edges to finish your quilt. If you’re not sure how to do this, check out our step-by-step tutorial on how to bind a quilt.
