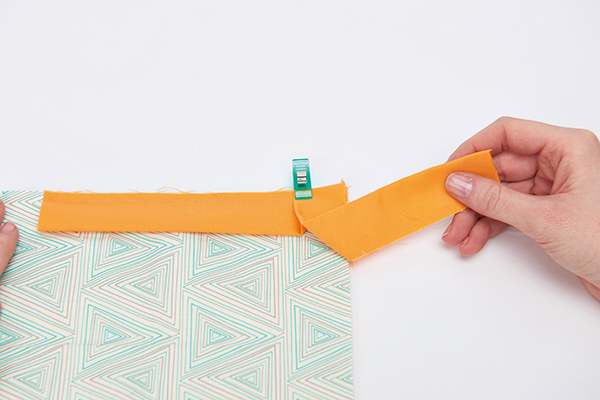
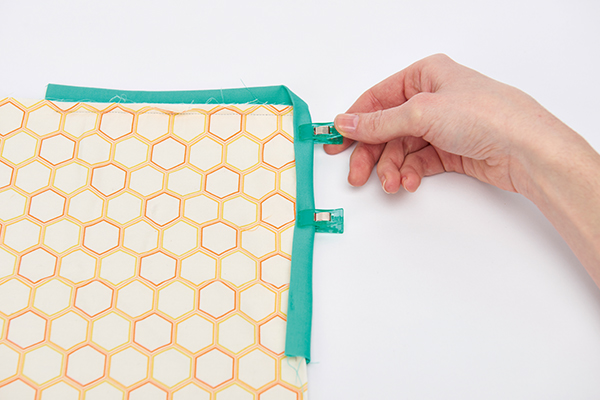
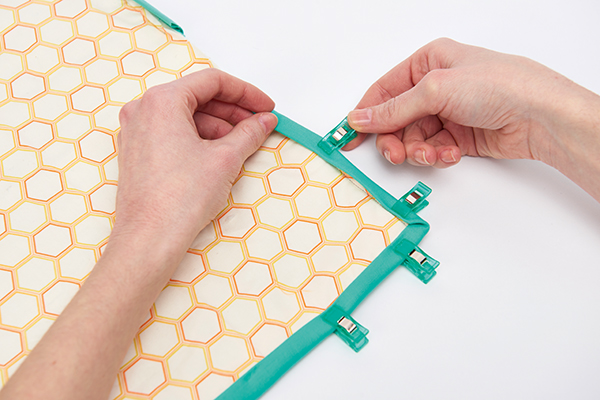
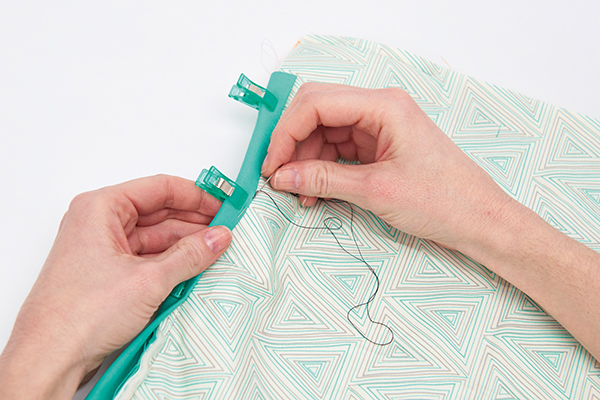
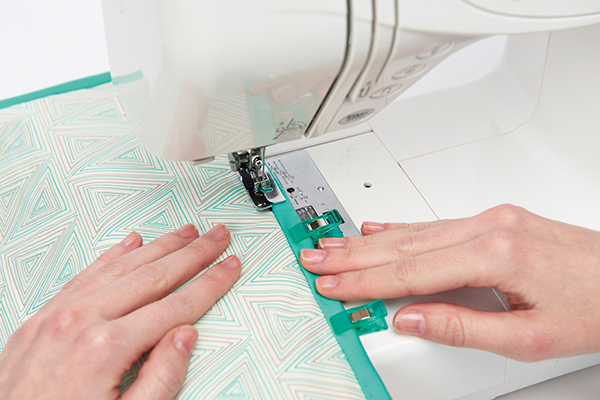
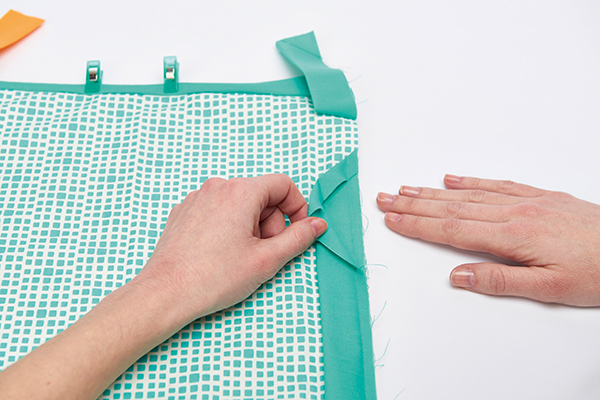
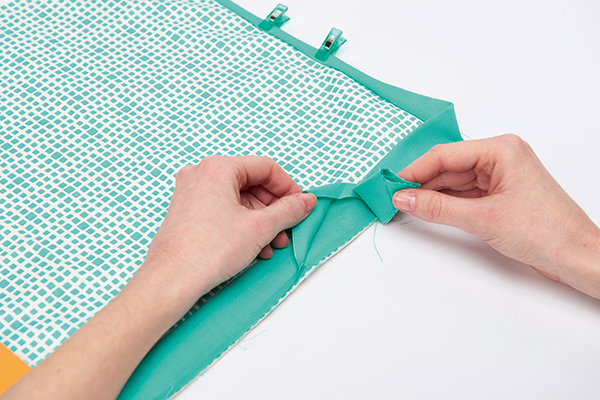
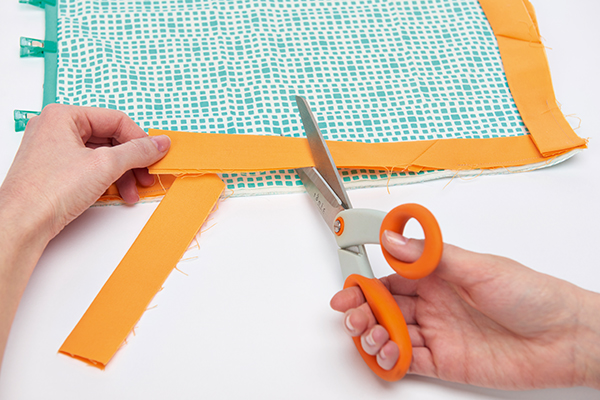
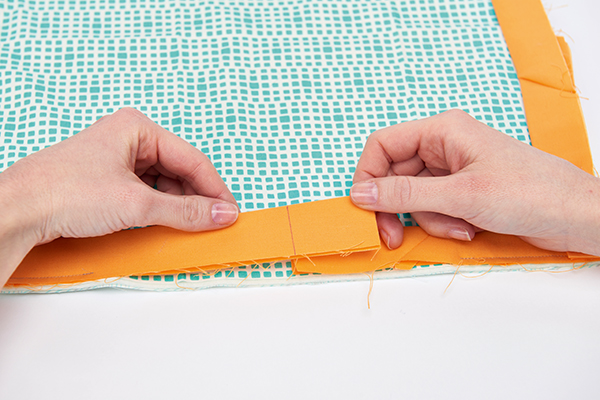
So you've finished piecing your quilt top, and you've basted your quilt sandwich. Go you! Now it's time for the fun bit! Well, they're all fun bits really, but we're especially fond of the finishing stage – binding a quilt. Want to know how to bind a quilt like a pro? This complete guide to quilt edging is for you.
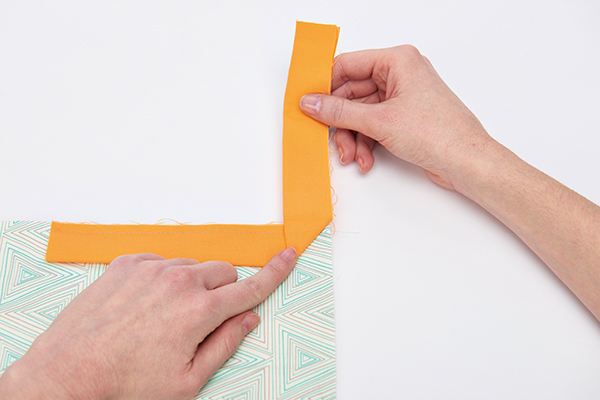
Whether you're brand new to quilt making and aren't sure where to start, or it's been a while and you want a refresher, read on for our easy guide to binding a quilt with mitred corners.
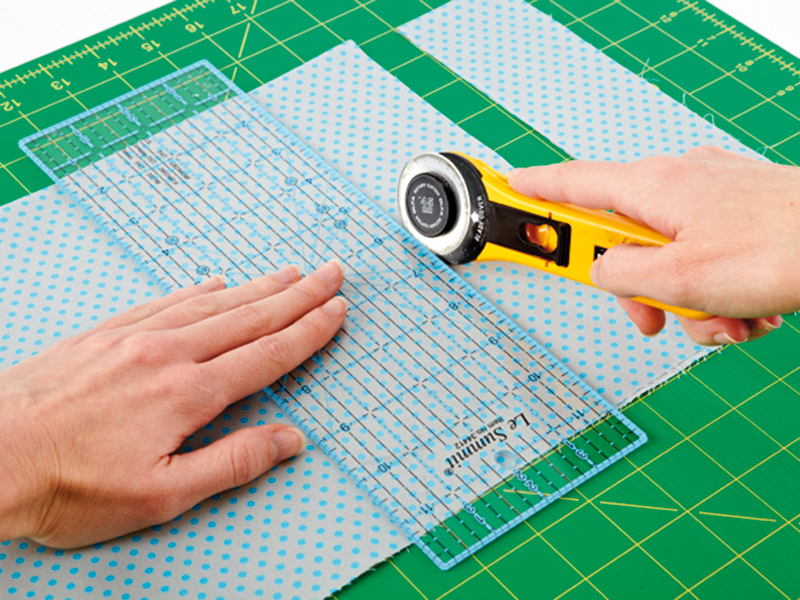
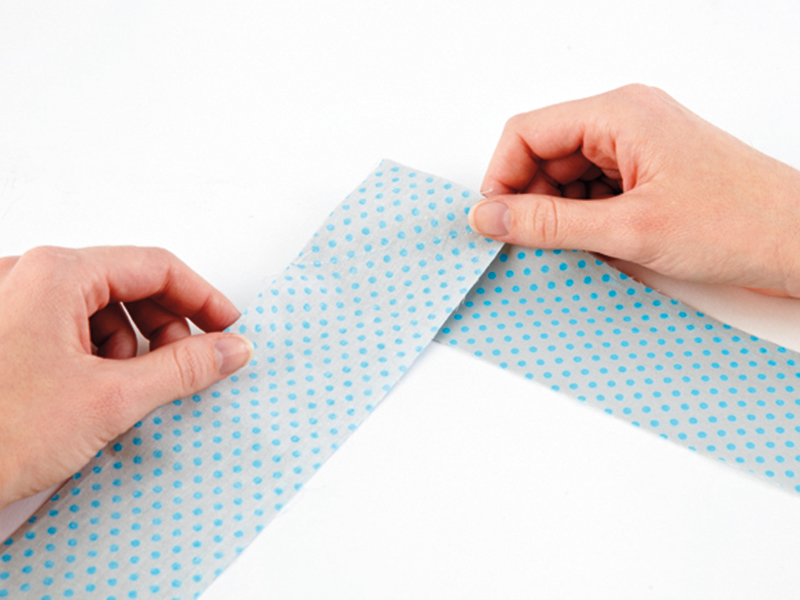
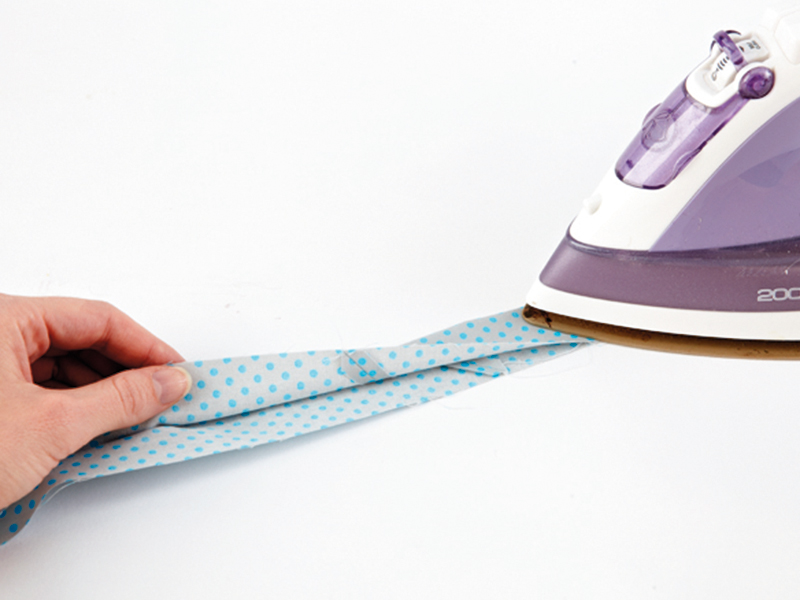
You can bind a quilt in really any fabric from your stash. In this how to guide we'll show you how to cut your chosen binding fabric into strips, then join them together to make the binding for your quilt with what's called double-fold binding. Once you've made your strips we'll talk you through how to use them to bind your quilt with double-fold binding. The ‘double’ fold comes when you attach the binding to your quilt and fold it over and back on itself to seecure all your raw fabric edges within the binding.
Before you start binding a quilt, you'll need to know how to make a quilt sandwich and quilt the layers together – see our guide to quilting for beginners if you're new to this. Then remove any tacking or pins and deal with thread ends by burying them in the batting. You should now have a quilted sandwich with raw edges all around the edge.Press the quilt sandwich and trim the edges so they are even with the quilt top all round. Check the quilt is right-angled. Now you're ready to get binding!
Binding a quilt is also known as quilt edging, but whatever you call it, we're here to help you do it. Don't forget to browse our range of free quilting patterns for inspiration for different quilts to make with your new skills.
Consider the colours and patterns in your quilt and then select a fabric that will enhance or contrast with these. Think of the binding as your quilt’s frame.
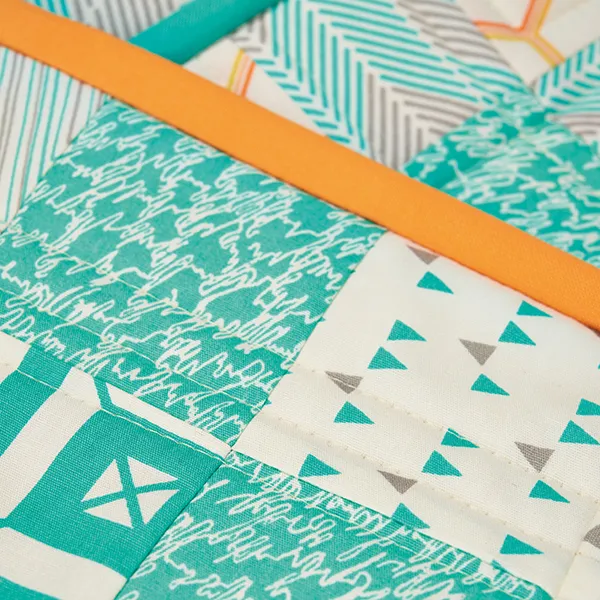
How much binding fabric do I need?
Here's how to calculate the amount of fabric you need for your quilt binding.
- Measure the quilt all round and then add 20in (50cm) extra – you’ll need the excess!
- Divide this number by the width of the fabric (usually 42in), and round up to the nearest whole number.
- Multiply this by the width of strips you will cut (normally 2.5in), then divide by 36 to get the yardage required for your quilt.
- Most quilts require ½yd to 5⁄8yd for binding, but check your measurements to be sure.
Your binding needs to be strong and hard-wearing, so when you're shopping for binding fabric, opt for a 100% cotton fabric that will survive handling.
What do I need to bind a quilt?
- Fabric: quilting cotton works well for this – we like to pick a contrasting solid shade to our main quilt top. Shop quilt fabric on Etsy.
- Rotary cutter and cutting mat – these are optional but will make light work of cutting binding strips. Shop quilt tools at John Lewis
- Sewing machine: you might like out our favourite sewing machines for quilting.
- Binding Clips: these are a lot easier to use than pins because they easily clip over the multiple layers used in binding. Buy a pack of 50 on Amazon.
- Ditch Quilting Foot: For machine-finished binding, this foot will help you achieve a flawless finish by hiding your final seam from the front. Buy it now from John Lewis.
- Thread: For hand-finishing binding, some invisible thread is a perfect choice, especially if you’re not confident with your stitches. Otherwise, choose a thread that matches the colour of your binding. Stock up with this Gutermann Thread Set (£18.99, Amazon).
How to bind a quilt: video guide
Binding a quilt: step by step guide
This walkthrough is in two stages – firstly we'll show you how to make binding for a quilt, and then how to bind a quilt with it!
