All products were chosen independently by our editorial team. This review contains affiliate links and we may receive a commission for purchases made. Please read our affiliates FAQ page to find out more.

Urban botanicals – DIY appliqué flowers and leaves cushion

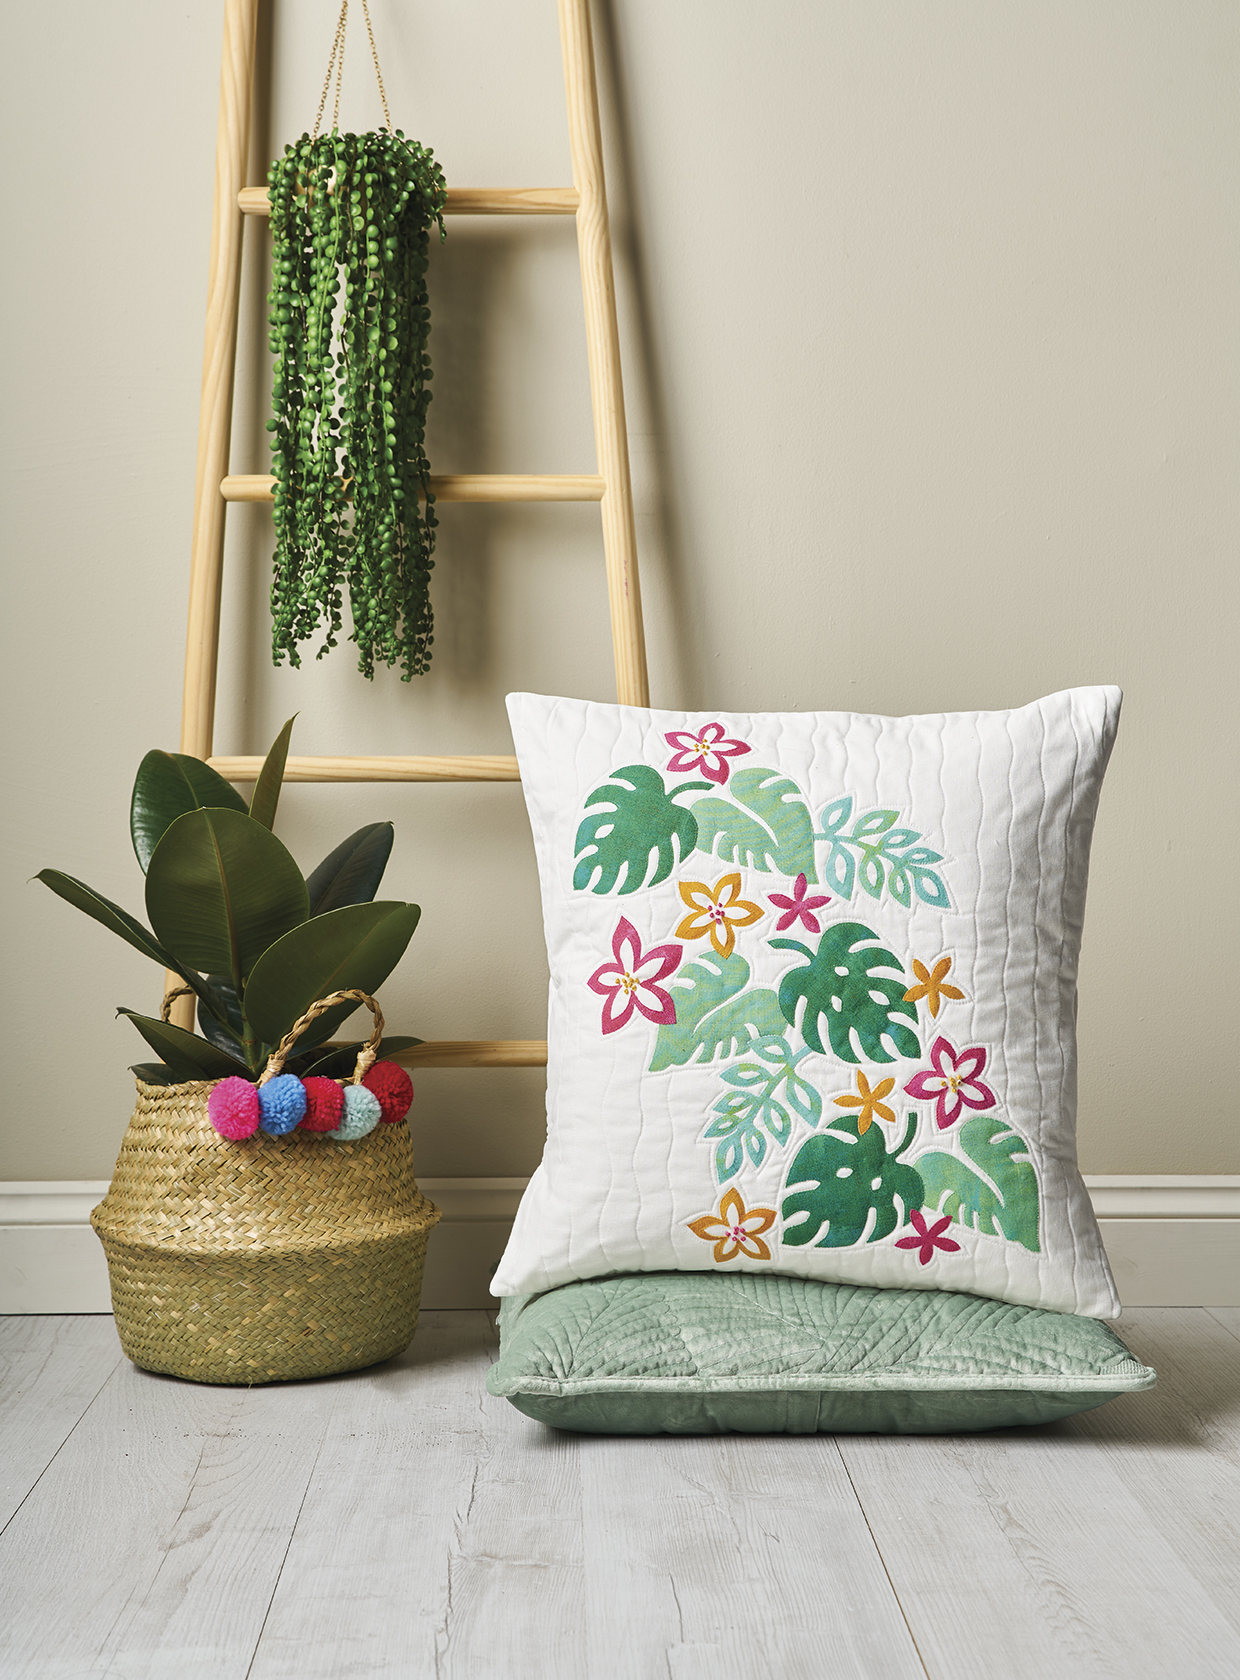
Bring the tropics inside with Allison Richter's modern DIY cushion tutorial – featuring botanical appliqué leaves and bright, blooming flowers

Try 6 issues of Love Patchwork & Quilting magazine for £9.99| SAVE 76%

Published: April 19, 2021 at 2:50 pm

DIY the trend for botanical homewares and soft furnishings with our step by step guide to how to sew your own appliqué flowers and leaves! Read on to download our free flower appliqué patterns for quilts or cushions, then we'll show you how to whip up this homemade cushion cover with them. Quilt simple wavy lines across your cushion for added texture, and why not save on wastage and make a pieced backing using all of your fabric scraps?

If you're new to appliqué, head over to our how to appliqué guide for beginners, or browse the rest of our collection of quilting templates for more inspiration. This project was designed by Allison Richter for Love Patchwork & Quilting magazine. Appliqué-lover Allison is an American quilt designer making Germany her home. See more of her work over at Campbell Soup Diary or check out her instagram @campbell_soup_diary.

If you're looking for more summery cushion patterns to make, try our round circle pillow pattern, cactus cushion pattern or stitch your own DIY outdoor cushions.
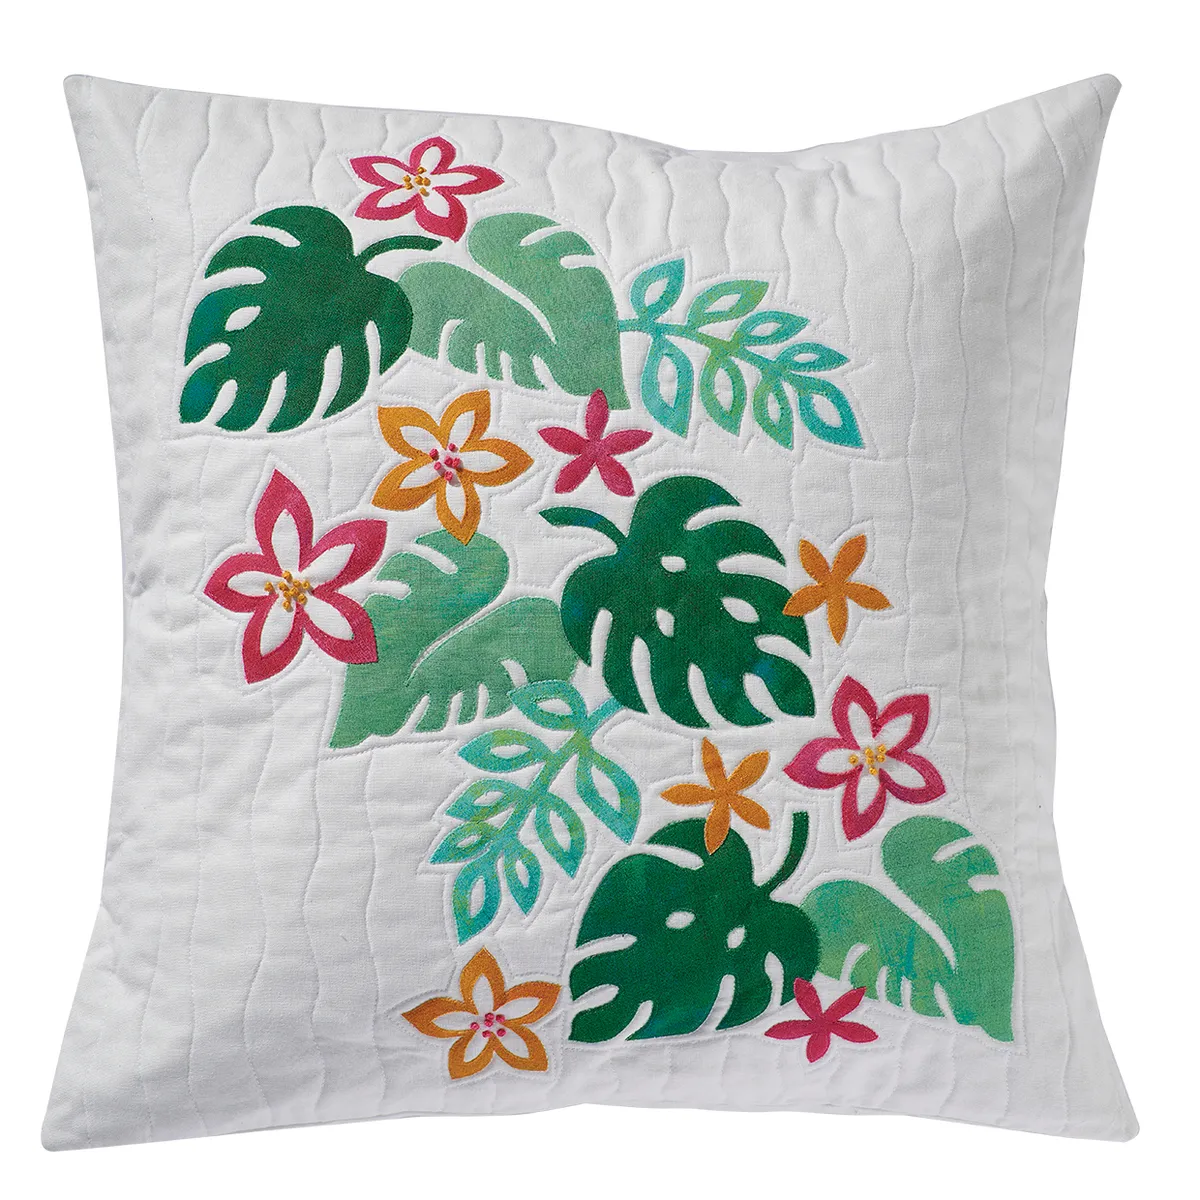
Applique flowers and leaves cushion

You will need

  • Background fabric: 1yd
  • Three shades of green fabric: one (1) fat eighth each
  • Pink fabric: one (1) fat eighth
  • Yellow fabric: one (1) fat eighth
  • Batting: 22in square
  • Lining fabric: 22in square
  • Fusible webbing: ½yd
  • Fusible interfacing: ¾yd
  • Pink and yellow embroidery thread
  • Sewing machine
  • Invisible thread

Fabrics used

Free flower and leaf appliqué patterns

Download our free appliqué flower and leaf templates for quilting and sewing – as featured in Love Patchwork & Quilting magazine. You will need:

  • One (1) copy each of Leaf One, Two and Three and Flower One and Two Templates

Finished size

20in square

Notes

Seam allowances are ¼in throughout, unless otherwise noted.

  • Press all fabrics well before cutting
  • Appliqué templates do not include or require seam allowances.
  • For templates, see p88.

You will need:

  • Fabric (See fabric requirements)
  • Batting (22in)
  • fusible webbing
  • Fusible interfacing
  • Embroidery Thread (Pink and yellow)
  • Invisible thread
  • Sewing machine
  • Scissors

Cutting out

Step 1

From the background fabric cut:

  • One (1) 20in square for the front panel.
  • One (1) 11in x 20in rectangle.
  • One (1) 8¼in x 20in rectangle.
  • One (1) 3in x 20in rectangle.
  • Four (4) 1½in x 6in rectangles.
  • Three (3) 1½in x 21/2in rectangles.
  • Two (2) 3¼in x 6in rectangles.

Step 2

From the fusible interfacing cut:

  • One (1) 16¼n x 20in rectangle.
  • One (1) 11in x 20in rectangle.

Preparing the appliqué

Step 1

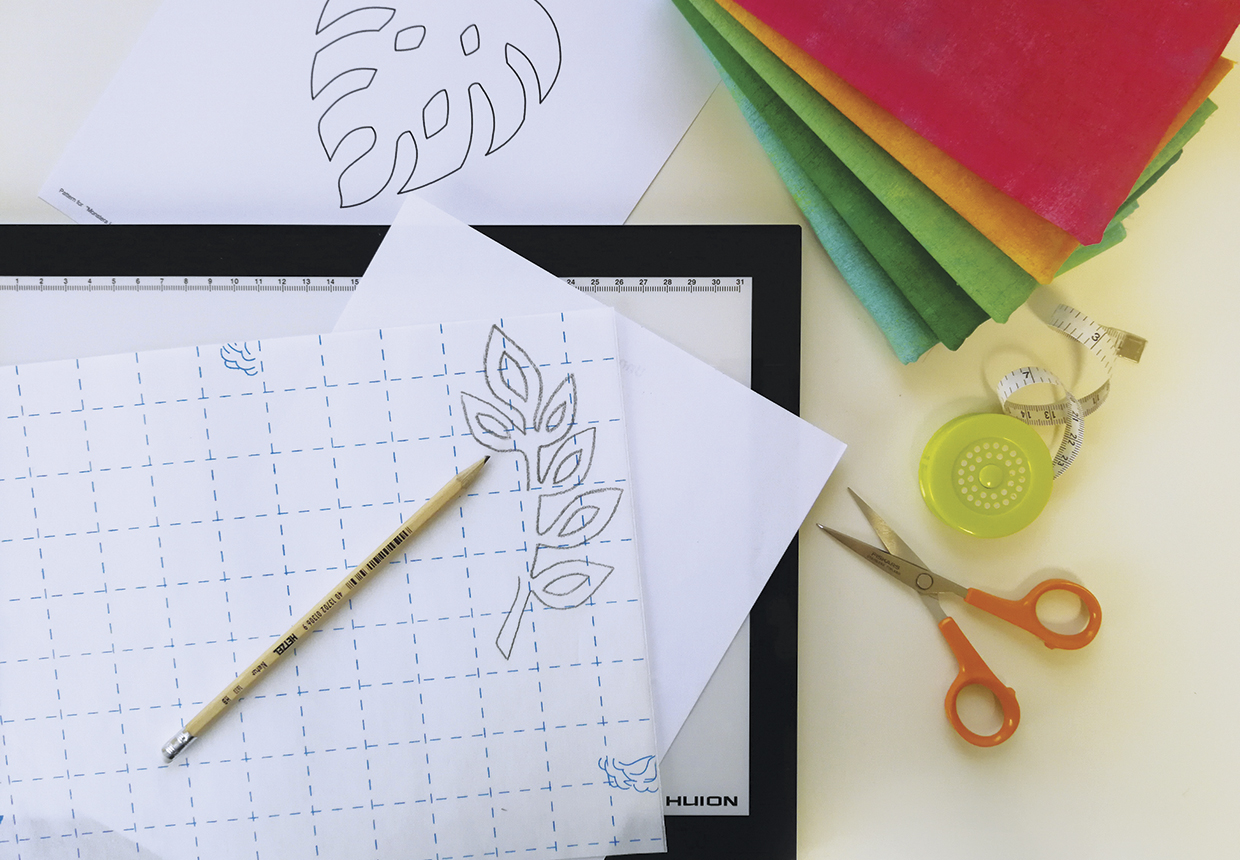
Print out our free flower and leaf appliqué patterns (find the download link above to get the PDF) then trace them on to the paper side of the fusible webbing using a pencil or removable fabric marker, leaving a space between each one. Use a window or a light box to trace (Fig A).

When a reverse copy is needed, turn the template over and trace through the back of the paper. Trace the following:

  • Leaf One: Two (2) regular and one (1) reverse
  • Leaf Two: One (1) regular and one (1) reverse
  • Leaf Three: One (1) regular and two (2) reverse
  • Flower One: Three (3) regular
  • Flower Two: Two (2) regular

Flower applique tutorial
Figure A

Step 2

Roughly cut out the traced shapes. Remove the paper from the back side of each shape, and fuse to the wrong side of your fabrics, following the manufacturer’s instructions. Cut out along traced lines.

Step 3

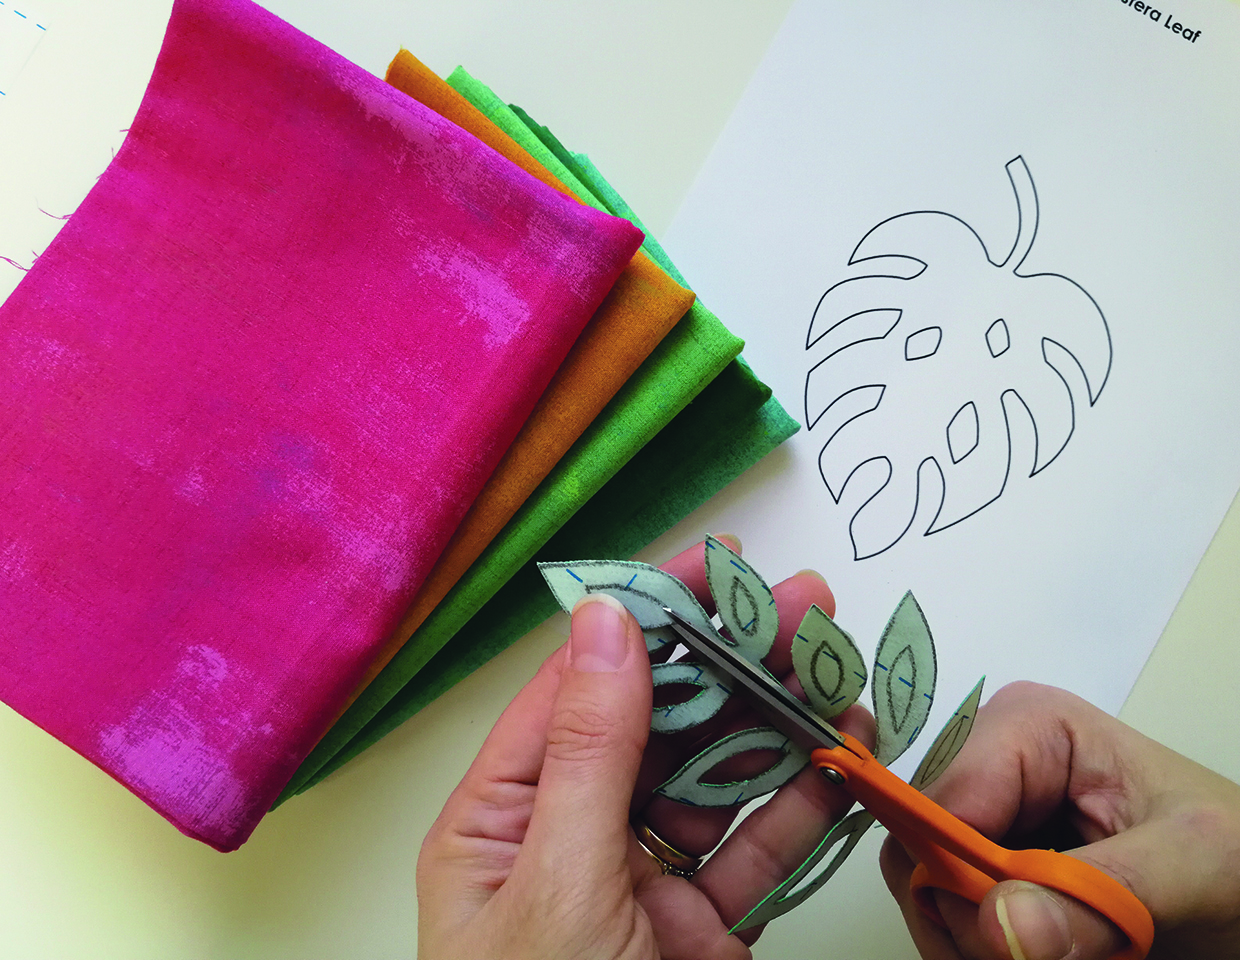
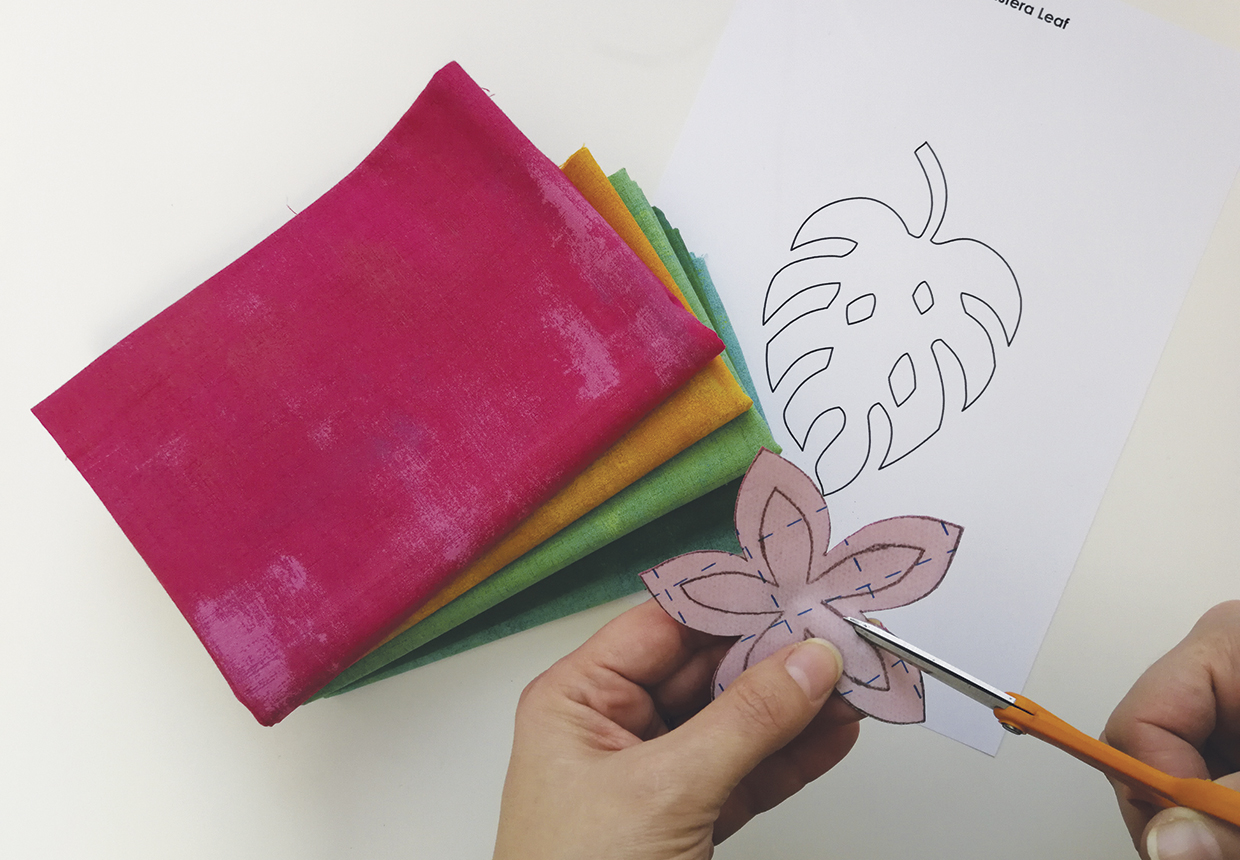
Use sharp appliqué scissors to cut out any inner slots, making sure to pay attention to the flower shape (Figs B and C). The negative cut out from the flower is used for the smaller flower shapes.

Free leaves applique patterns
Figure B

Flower applique free patterns
Figure C


Assembling the cushion front

Step 1

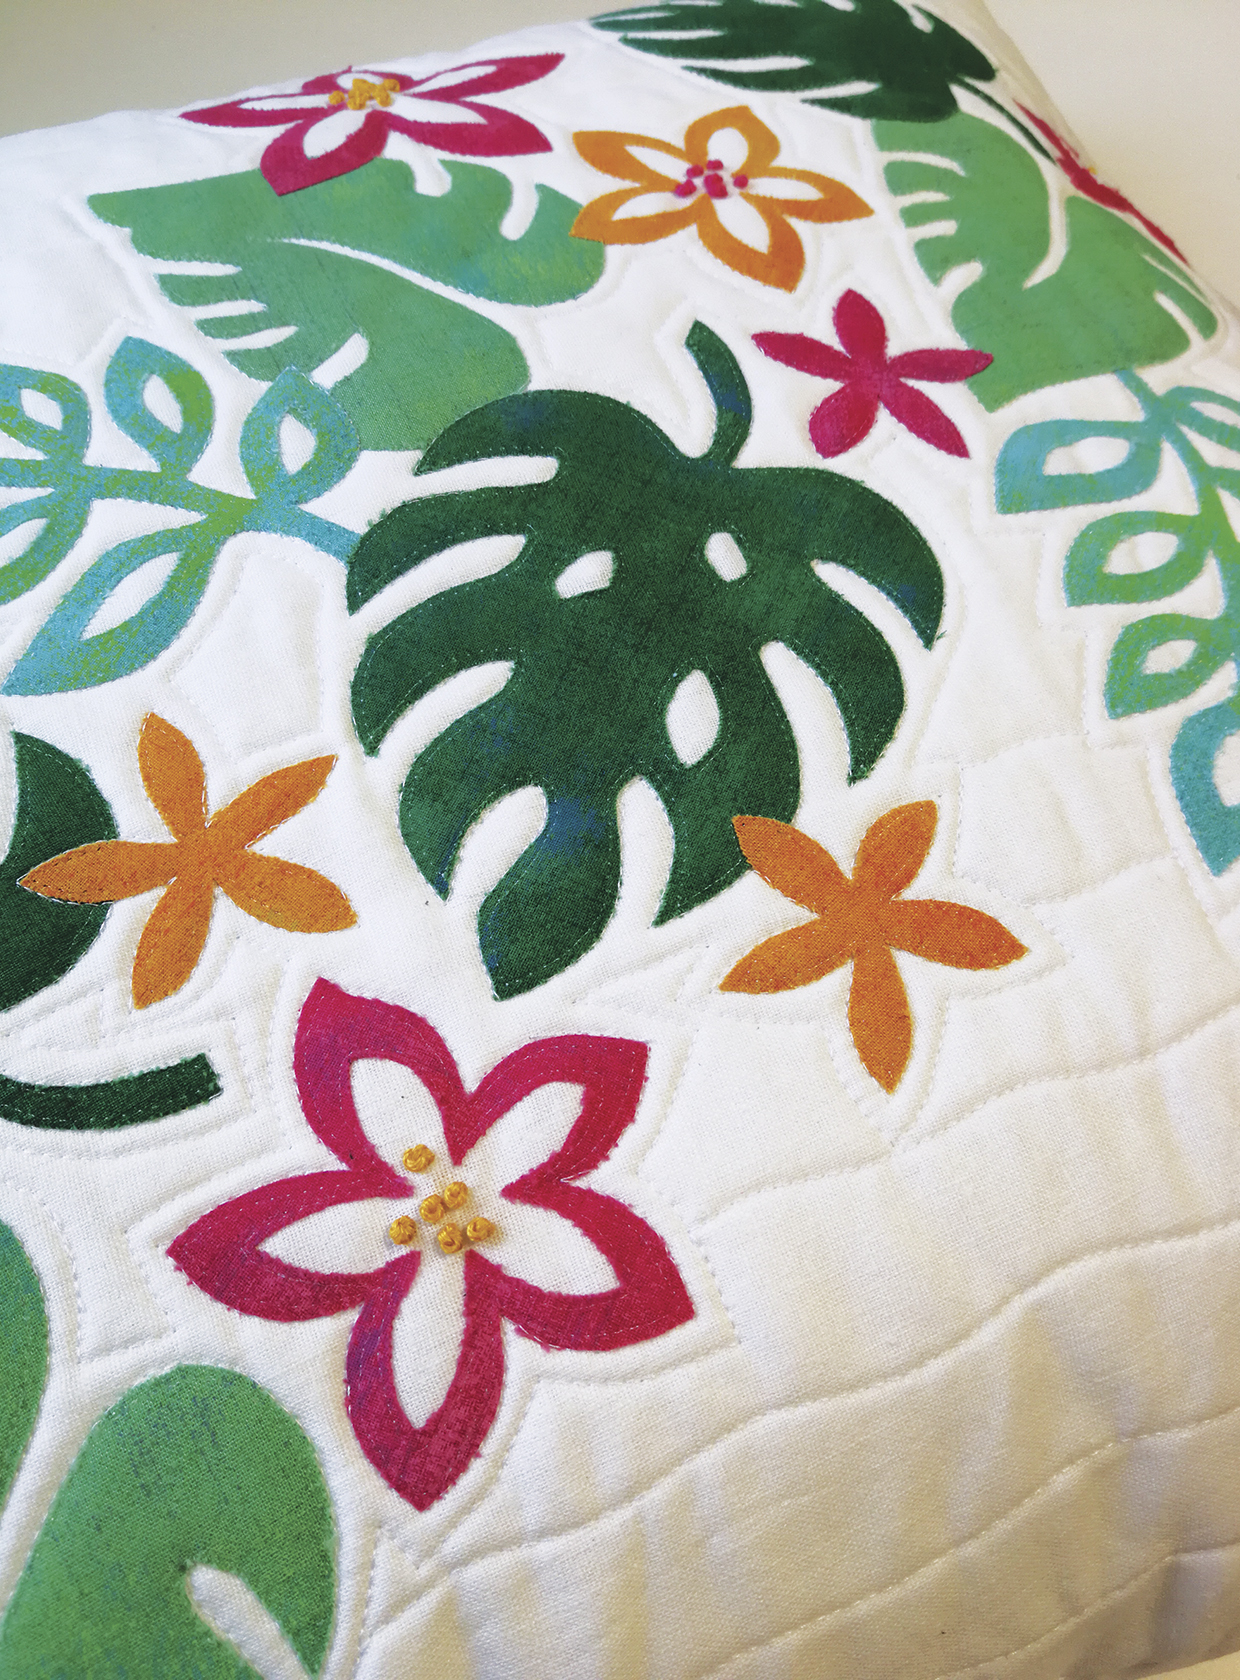
Remove the paper layer from the appliqué leaves and arrange on the 20in background square, setting the shapes on the diagonal and referring to the photography for placement. Once the layout is as desired, press shapes to set.

Step 2

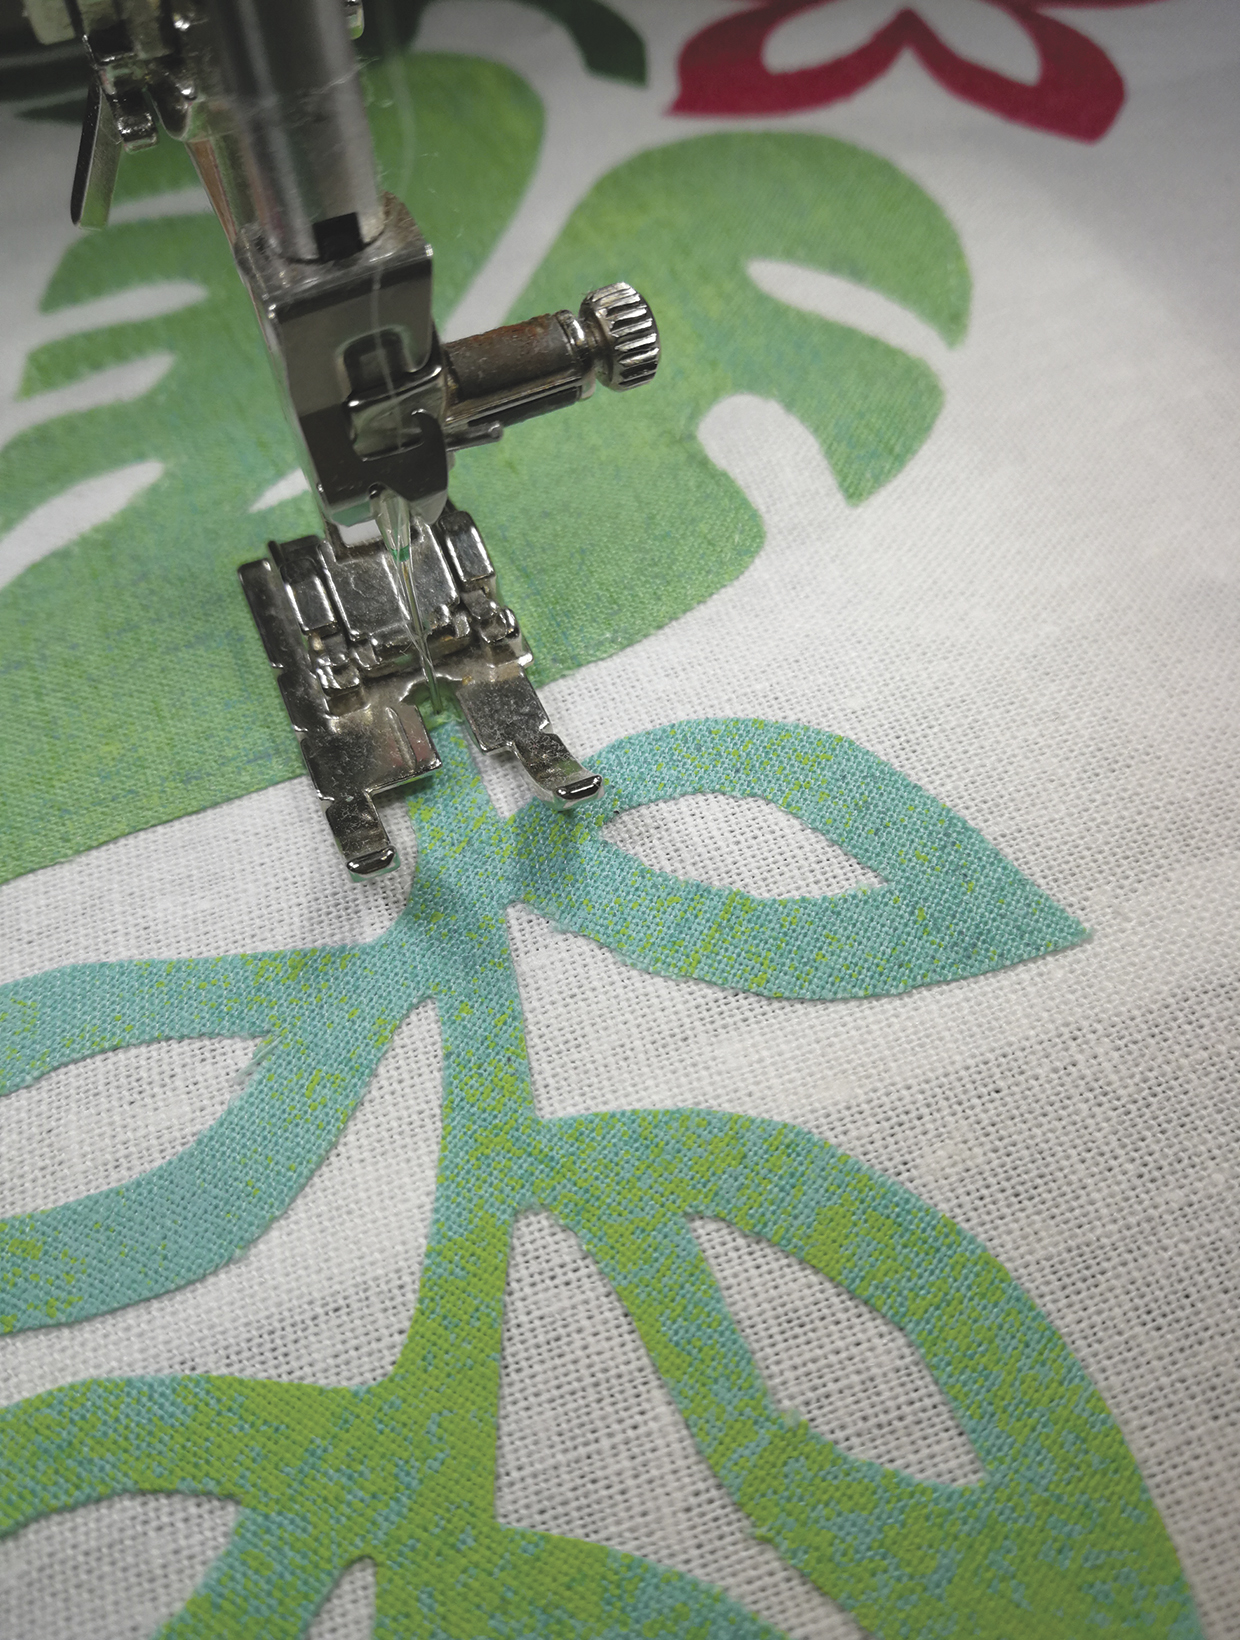
Thread the invisible thread in your machine for the top thread only. Use a normal thread for the bobbin. Lower the thread tension on the sewing machine. Use a straight stitch around the edge of each shape to secure. Find a starting point where the shapes intersect so that the stitching is continuous, pivoting with your needle down as you work from shape to shape (Fig D).

Machine stitch the applique leaves in place
Figure D

Step 3

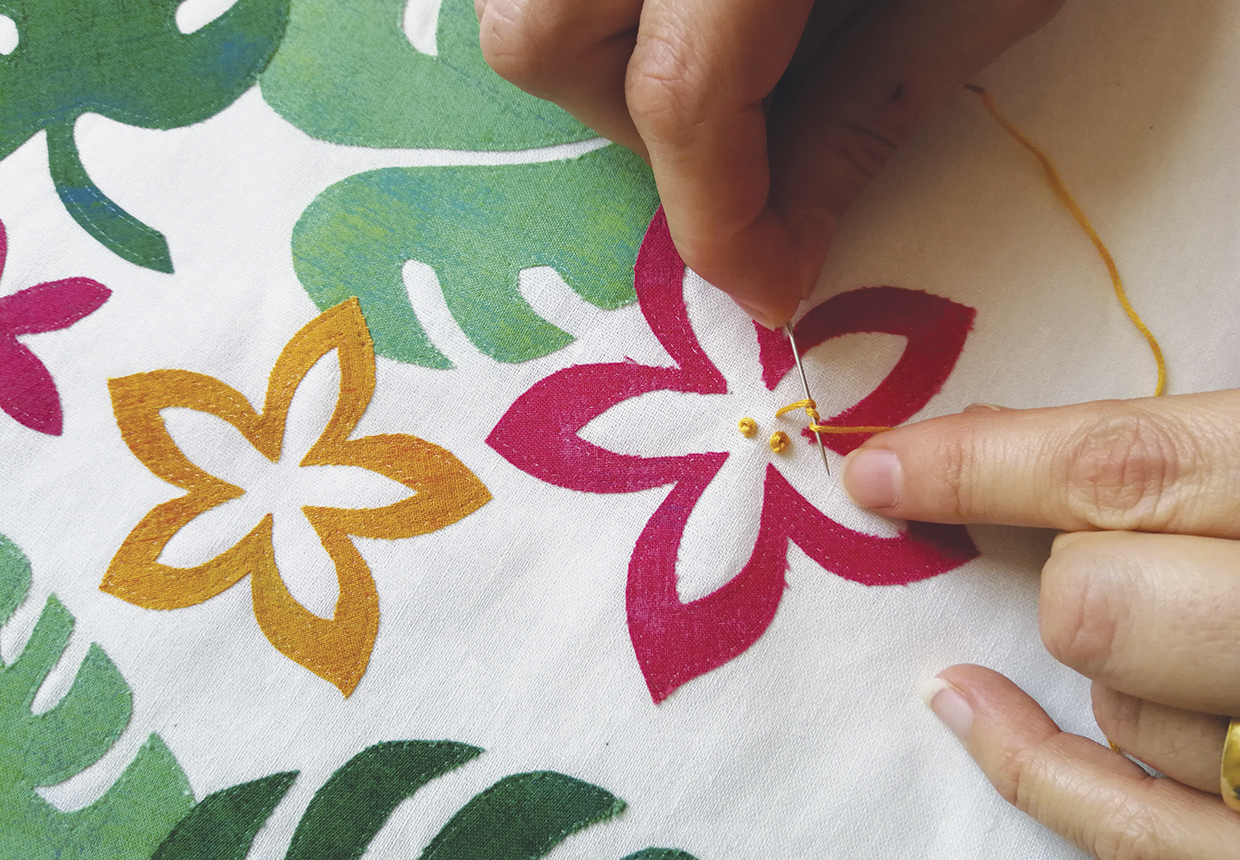
Using a cotton embroidery thread, add decorative stitching as desired. Allison embroidered a cluster of French knots in the centre of each large flower, using a contrasting colour (Fig E). See our guide to How to do French knots.

Add French Knots to your applique flowers
Figure E

Piece the cushion backing

Step 1

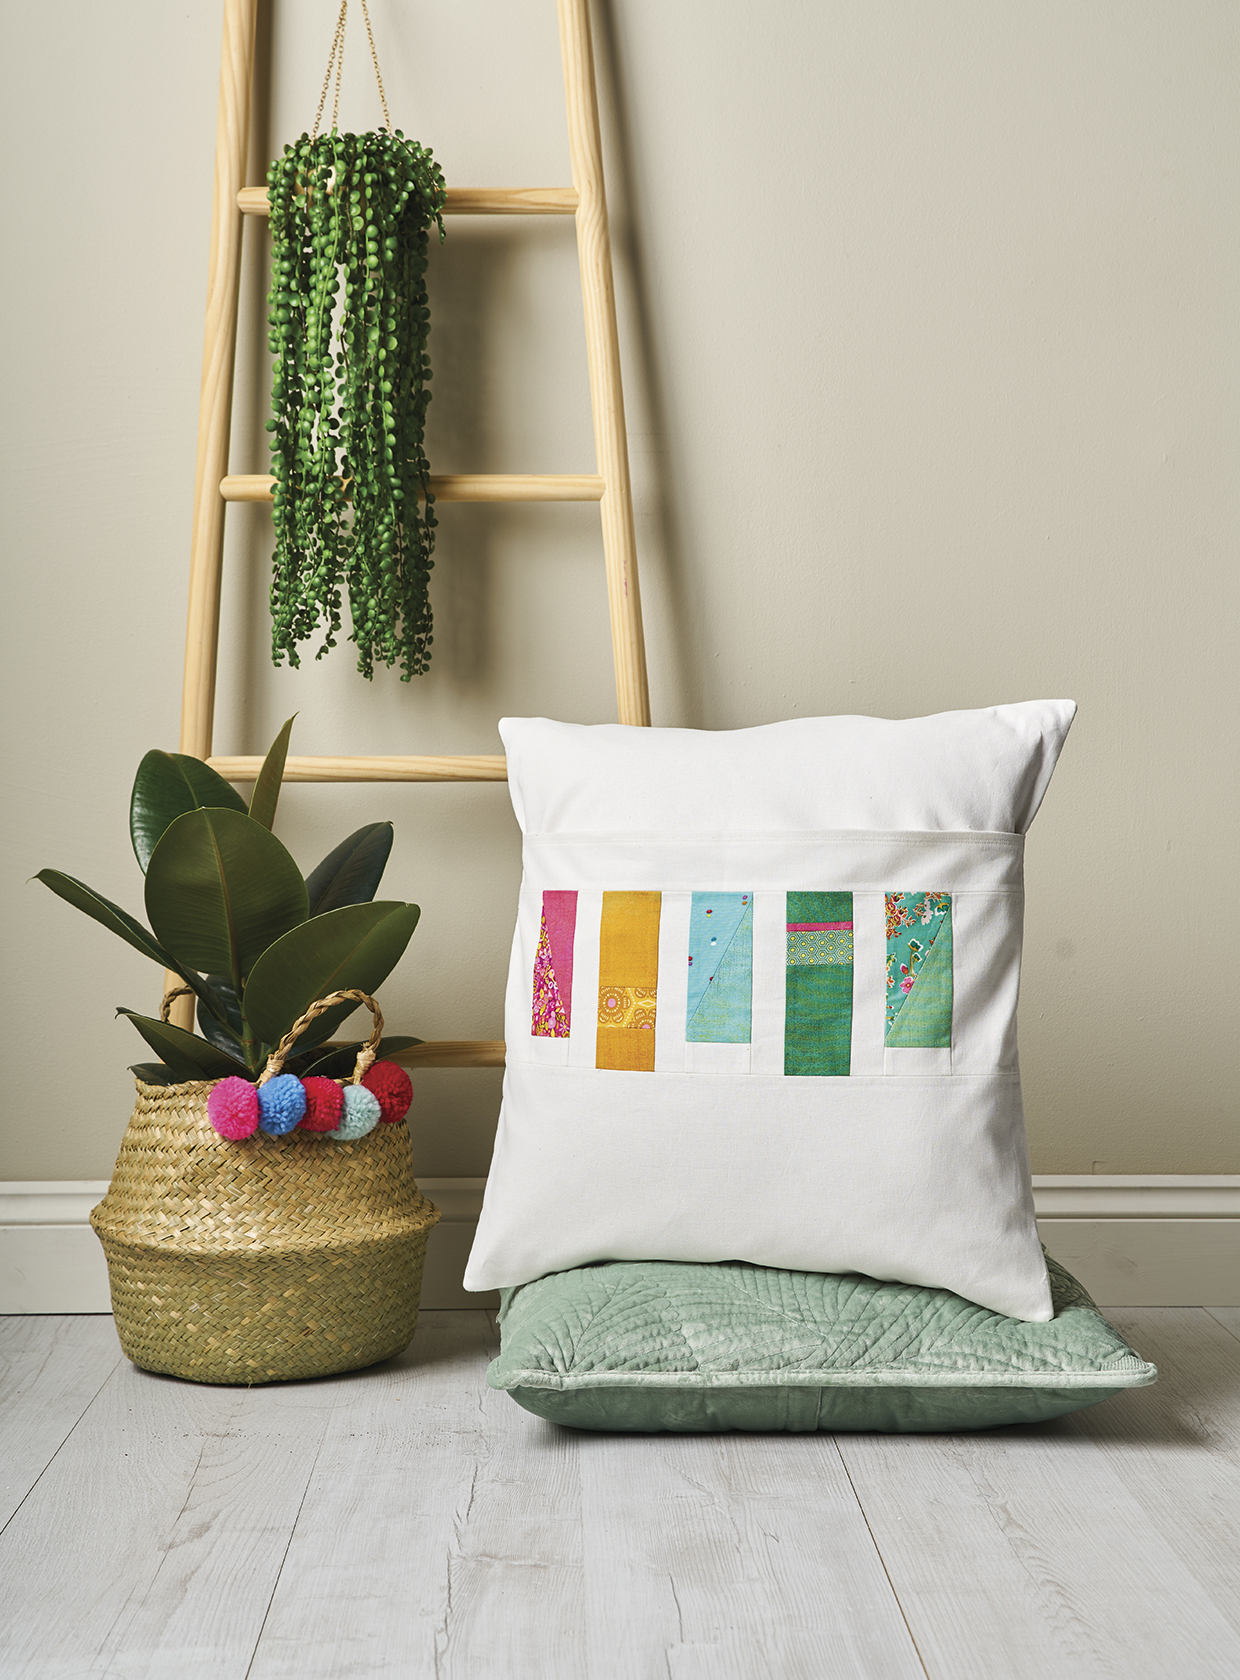
Using your leftover scraps, cut three 2½in x 5in rectangles and two 2½inx 6in rectangles from coloured fabric. Join a 1½in x 2½in background rectangle to the tops of the smaller rectangles.

Step 2

Join the pieced rectangles in a row with background 1½in x 6in rectangles between each. Then join a 3¼in x 6in background rectangle to each end. Sew the 3in x 20in background strip to the bottom and the 8¼in x 20in rectangle to the top.

Step 3

Fuse the corresponding interfacing to the back of the pieced panel and background 11in x 20in pieces. Press under ¼in along one long edge of each piece. Repeat and topstitch in place to create a double fold hem.

Applique flower cushion back

Quilting and finishing

Step 1

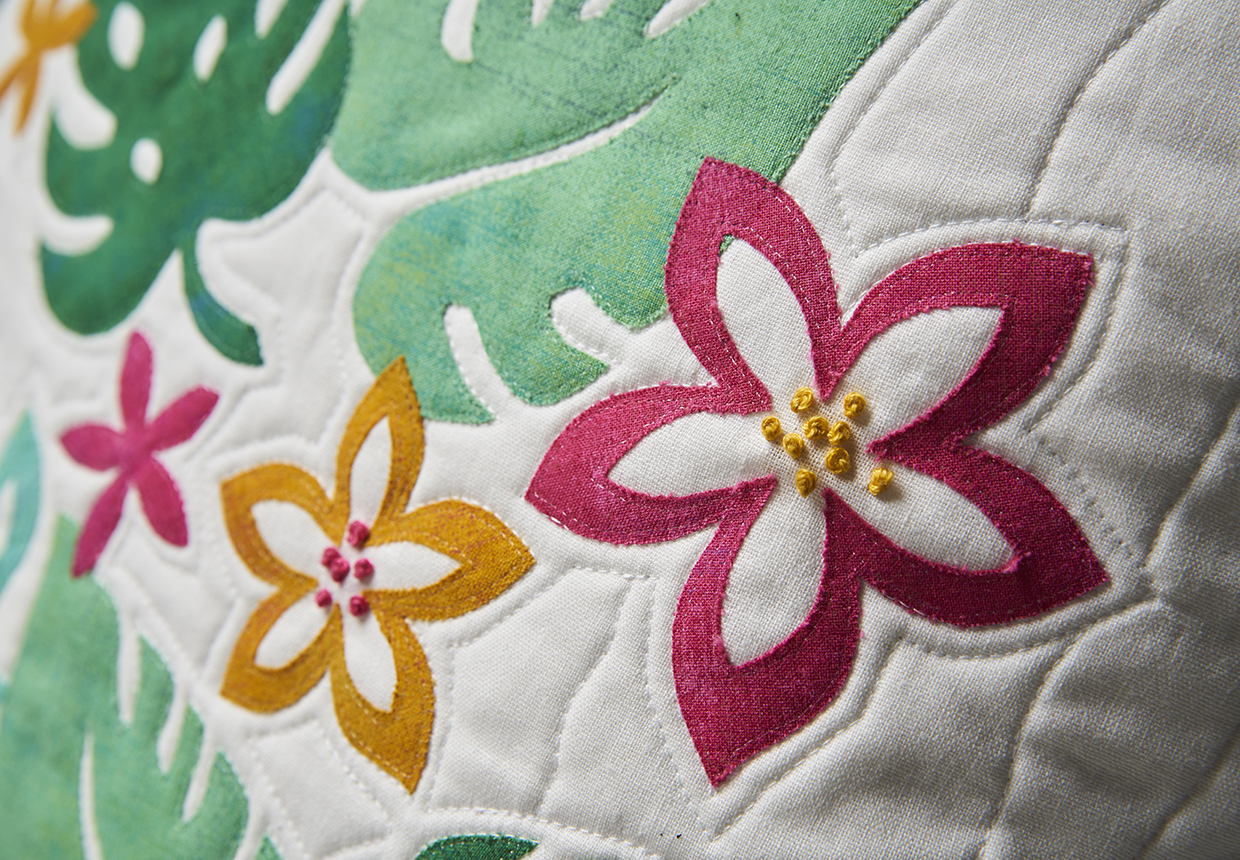
Layer the lining fabric, batting, and cushion top to make a quilt sandwich. Baste and quilt as desired. Allison quilted wavy lines and around the appliqué shapes (Figs F and G). Square up the cushion front and trim off excess batting and backing fabric.

Flower applique patterns
Figure F
Applique leaves
Fig G

Step 2

Place the cushion front right side up on your work surface. Layer the pieced backing piece on top, right sides together, aligning the top and sides. Layer the plain backing piece on top, right side down, aligning the bottom and sides. The backing pieces will overlap in the centre.

Step 3

Pin or clip in place, then stitch around all four sides. Clip corners, turn right side out and press to finish. 

Applique flowers and leaves for quilts

Top tips for appliqué flowers

  • If you accidentally snip one of the small flowers, simply trace out the inside of the large flower on fusible web to make another one.
  • If you don’t want to use invisible thread in your machine, choose a matching thread for each fabric colour.