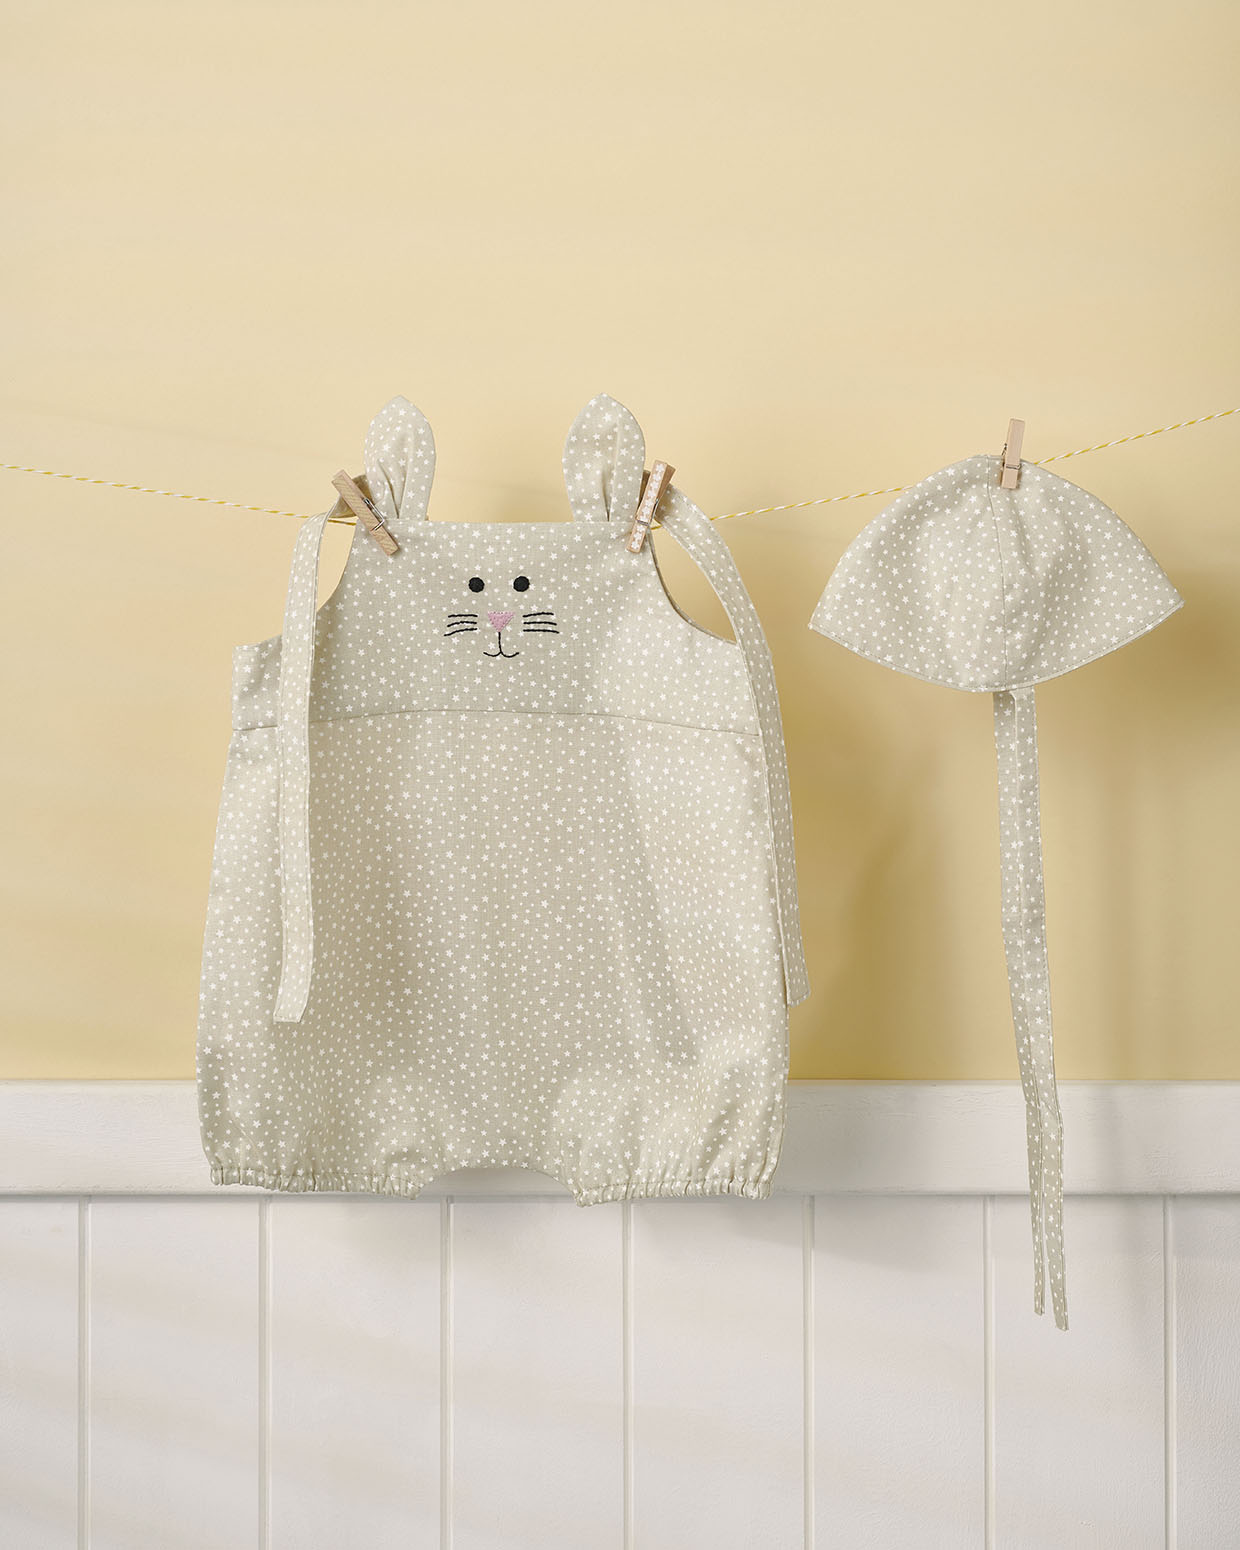
Cutting out
Step 1
Download, print and cut out the templates for the romper top bodice, romper bottom, romper bunny ear and matching hat, as well as the bunny face embroidery.
Step 2
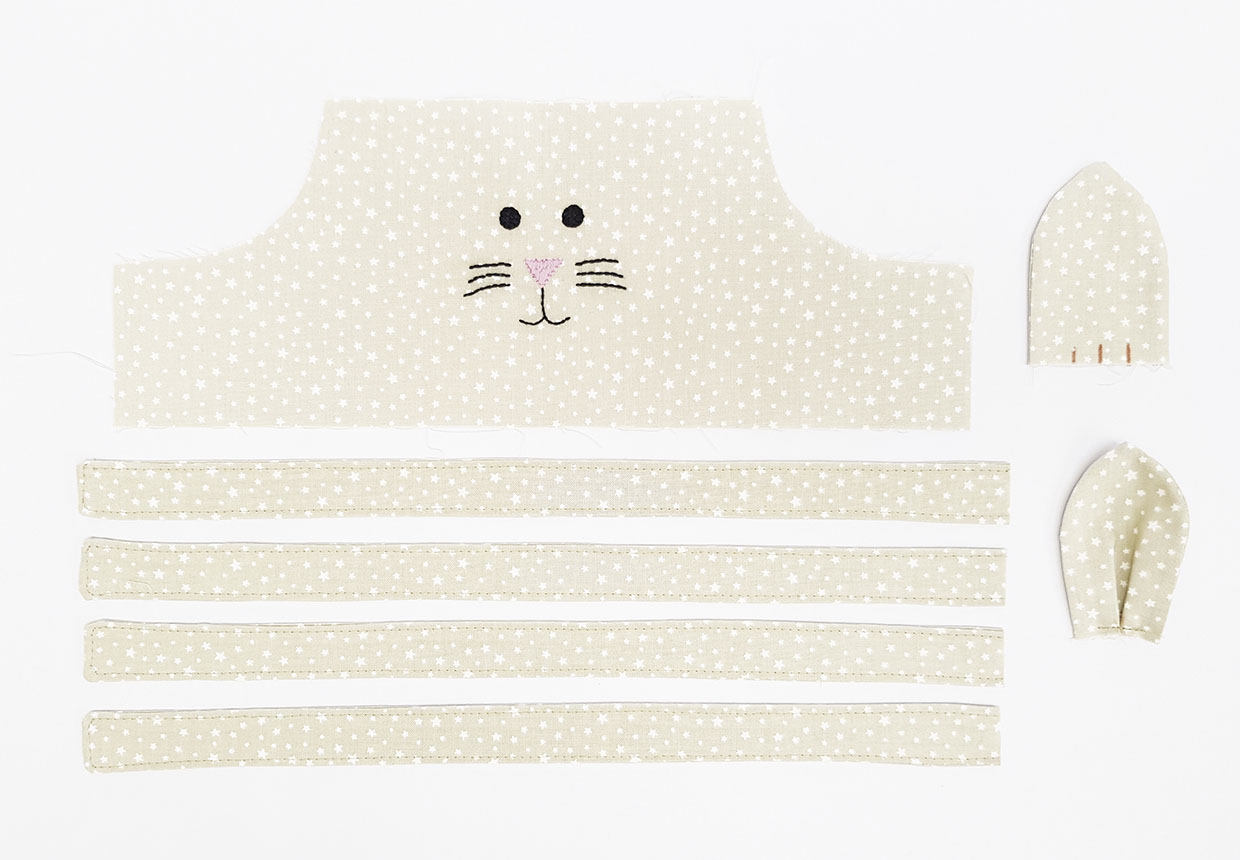
From the main fabric cut:
- Bodice outer: two using the template.
- Bodice lining: two using the template.
- Romper trousers: two using the template.
- Ears: four using the template.
- Romper ties: eight 4x35cm (15⁄8x13¾in).
- Hat: eight using the template.
- Hat ties: two 5x35cm (2×13¾in).
Preparing the sections
Step 1
Transfer the bunny embroidery onto the right side (RS) of one of the bodice outers and embroider the face. We used a combination of back stitch and satin stitch with three strands of stranded cotton.
Step 2
Take two of the bunny ear pieces and pin them RS together. Sew all the way around, leaving the bottom edge open. Clip the corners and trim off excess fabric, then turn it RS out through the bottom. Press. Mark the centre point along the bottom raw edge, then mark 1cm (3⁄8in) away from each side of the central point. Fold over the ears from the two outer marked points to the inner and staystitch to hold. Repeat for the other two ear pieces to make the second ear.
Step 3
Take two of the romper ties and pin them RS together. Sew along the two long sides and across one short side. Clip the corners, trim away any excess fabric and then turn RS out. Press and then topstitch all the way around. Repeat for the other six romper tie pieces.
Making the bodice
Step 1
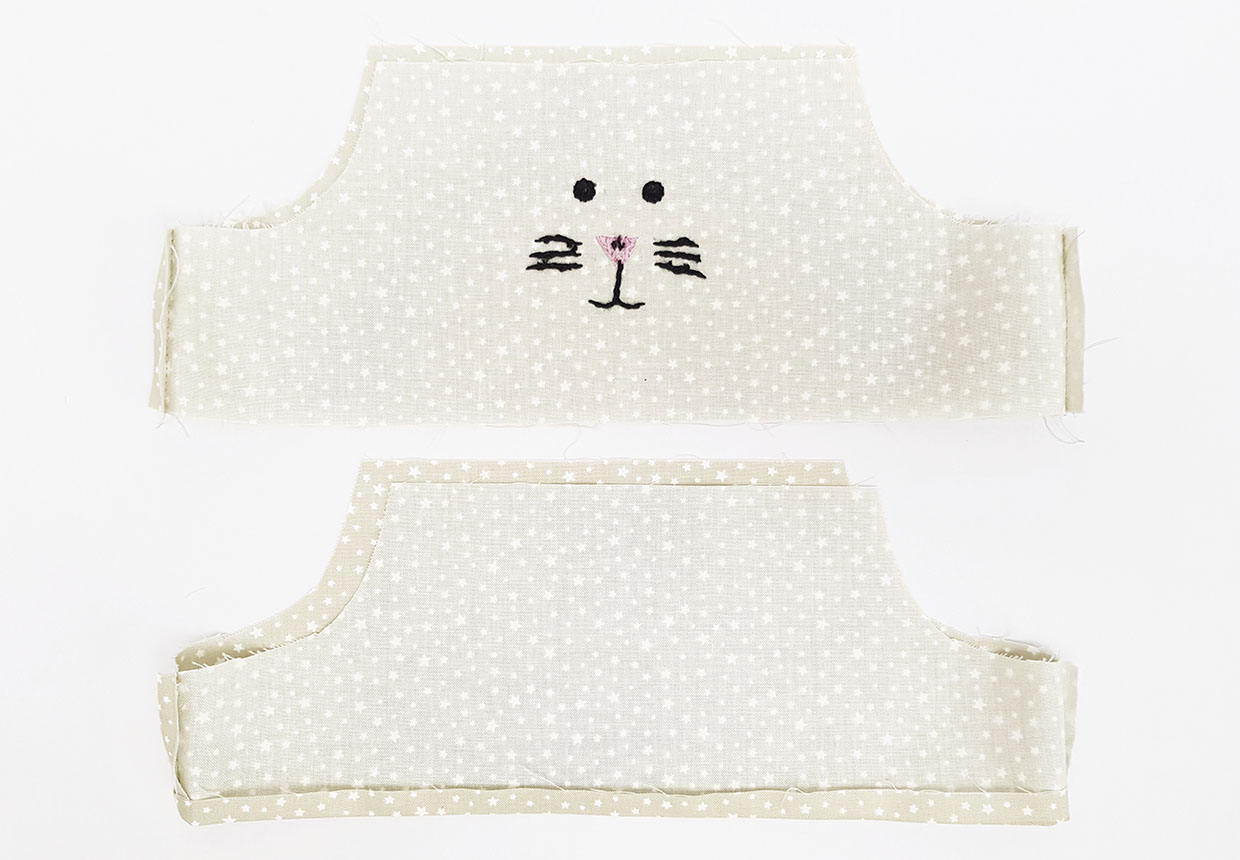
Take the embroidered bodice piece and pin it along the two short sides RS together with the second bodice outer piece. Sew the short sides together and press seams open.
Step 2
Repeat for the two bodice lining pieces, but this time fold over the bottom edge 1cm (3⁄8in) to the wrong side (WS) and press.
Step 3
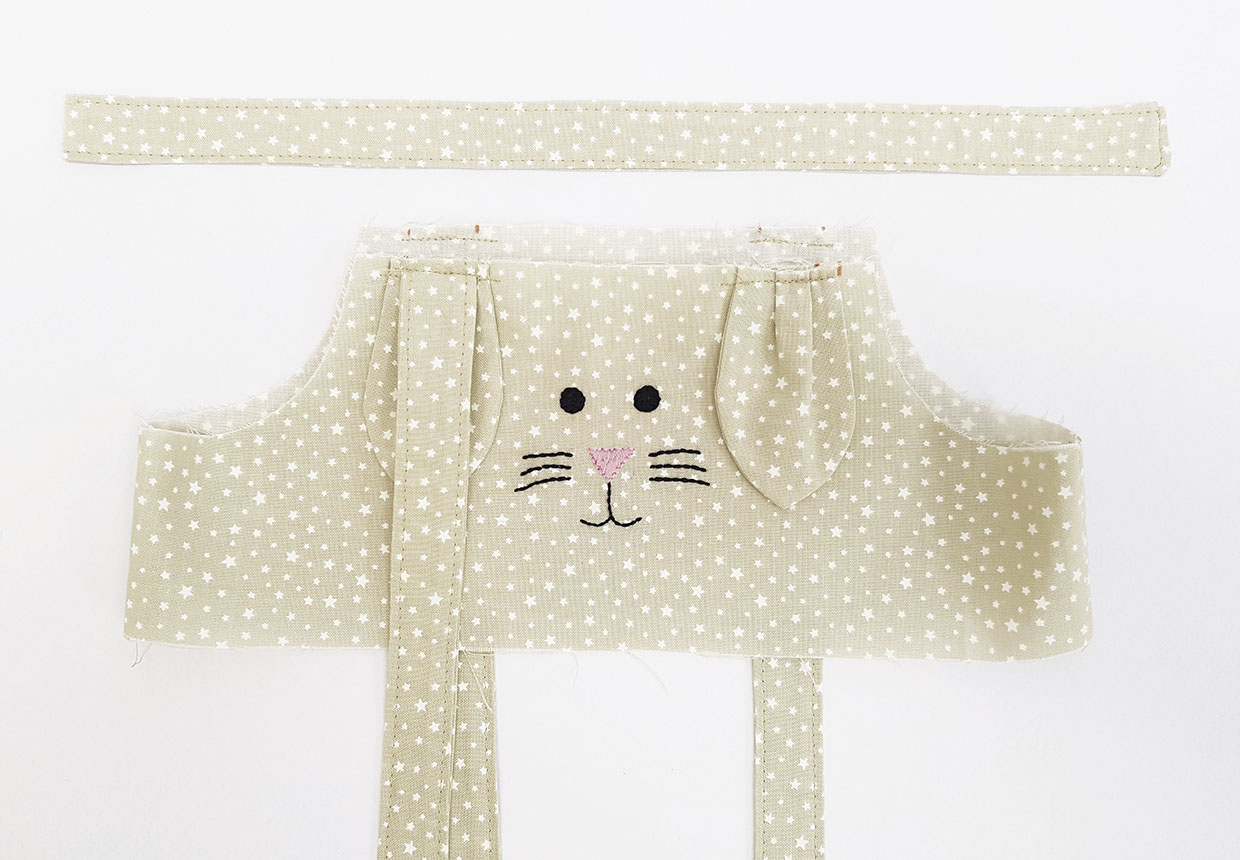
Turn the bodice outer piece RS out. Take one of the bunny ears and pin it RS facing the bodice top, 1cm (3⁄8in) in from the left curved armhole edge with raw top edges aligned. Staystitch to hold in place. Pin and then staystitch a bodice tie centrally on top of the ear. Repeat to add the other tie and ear on the right-hand side of the bodice.
Step 4
Staystitch the second two ties to the bodice back, making sure that they line up with the front two ties.
Step 5
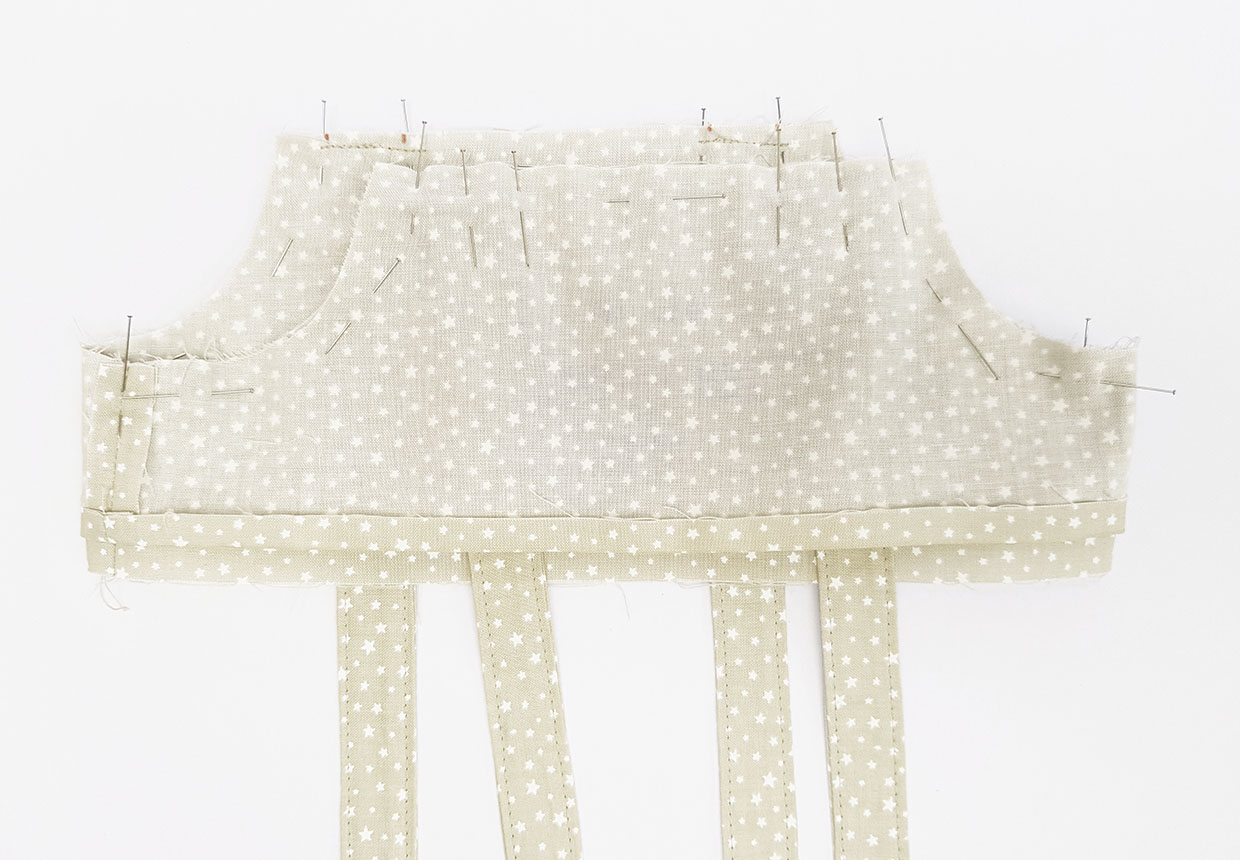
Take the bodice lining and place it RS together with the bodice outer. Pin all the way around the top, ensuring the side seams match.
Step 6
Sew together around the top edges. Clip corners and curves then turn RS out through the open bottom edges. Push out corners and press.
Assembling the romper
Step 1
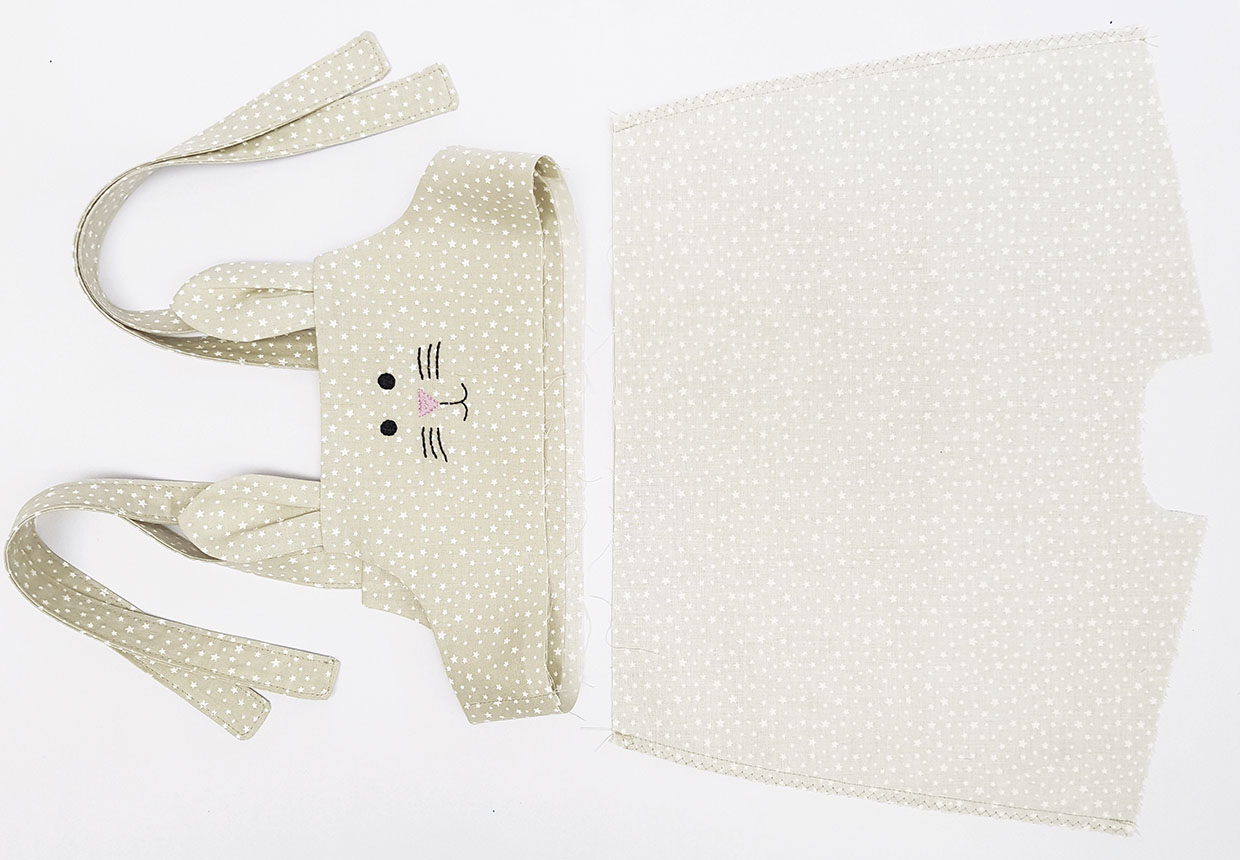
Pin the two romper trouser pieces RS together along both leg side seams. Sew, then finish the raw edges to prevent fraying. Press.
Step 2
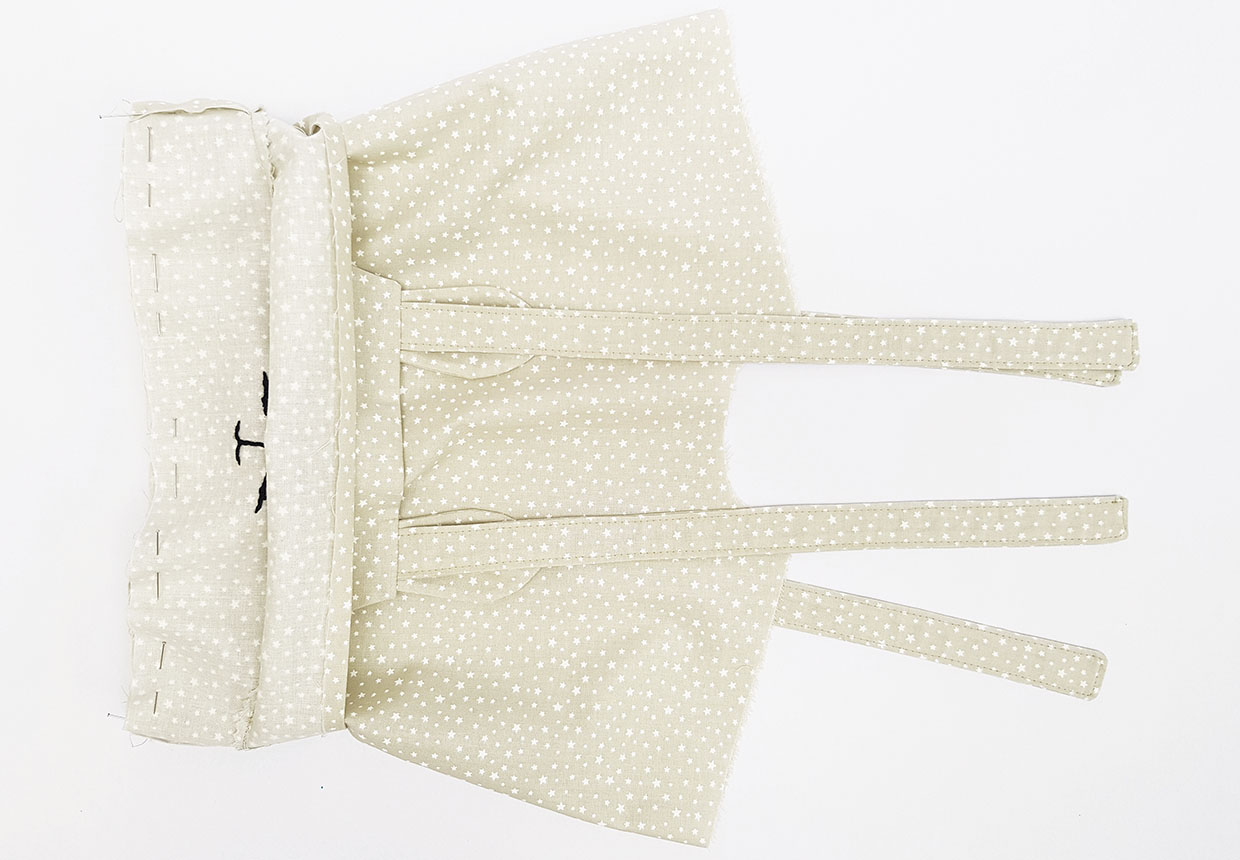
Turn the romper trousers RS out and press. Pin the romper top outer to the romper trousers RS facing, with side seams matching. Make sure the side seams of the trousers are pressed towards the back of the romper.
Step 3
Sew the bodice outer to the romper trousers, making sure the lining is out of the way.
Step 4
Press the seam towards the bodice, so the lining covers the raw edges of the seam and the folded edge of the lining is aligned with the stitching. Turn WS out then slipstitch the folded edge of the lining to the romper outer.
Adding the elastic hems
Step 1
Sew the curved inner crotch with RS together then zigzag stitch as for the side seams.
Step 2
Draw a line 2cm (¾in) up from the leg bottom edges for each side of each leg hole. Press the fabric WS together along the line for each leg, then fold the raw edges of the fabric up to the WS again by 1cm (3⁄8in) to meet the pressed crease and press again to create the elastic channel.
Step 3
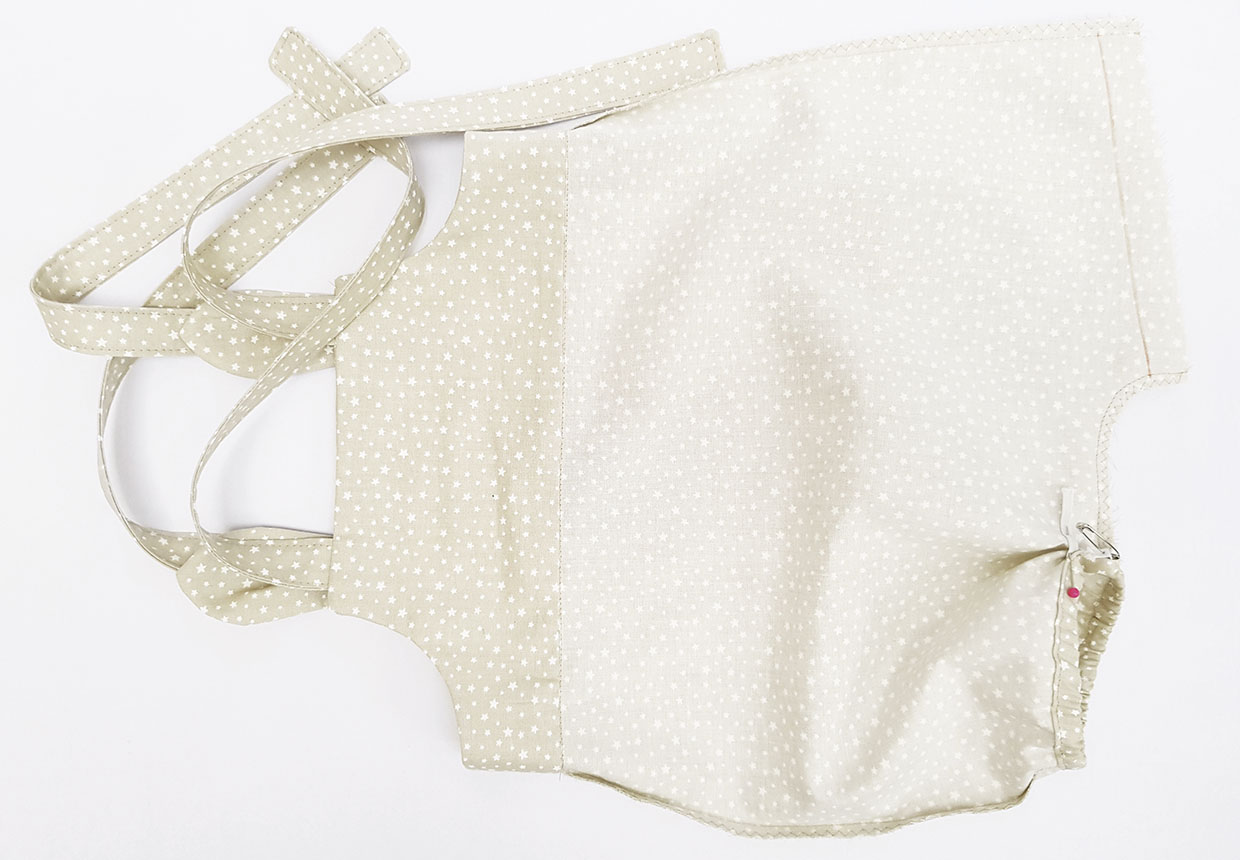
Topstitch along the folded edge of one leg, leaving a 2cm (¾in) gap to insert the elastic on the back side of the romper. Finger-press the crotch seam to the back, as for the side seams.
Step 4
Cut the elastic into two 25cm (10in) lengths. Use a safety pin to thread one length of elastic through the channel, pinning the end to the fabric so you don’t pull it all through the channel. Sew the elastic together by hand to secure it, then slip it inside the channel. Topstitch the unsewn 2cm (¾in) gap to finish. Repeat for the second leg and piece of elastic.
Making the hat
Step 1
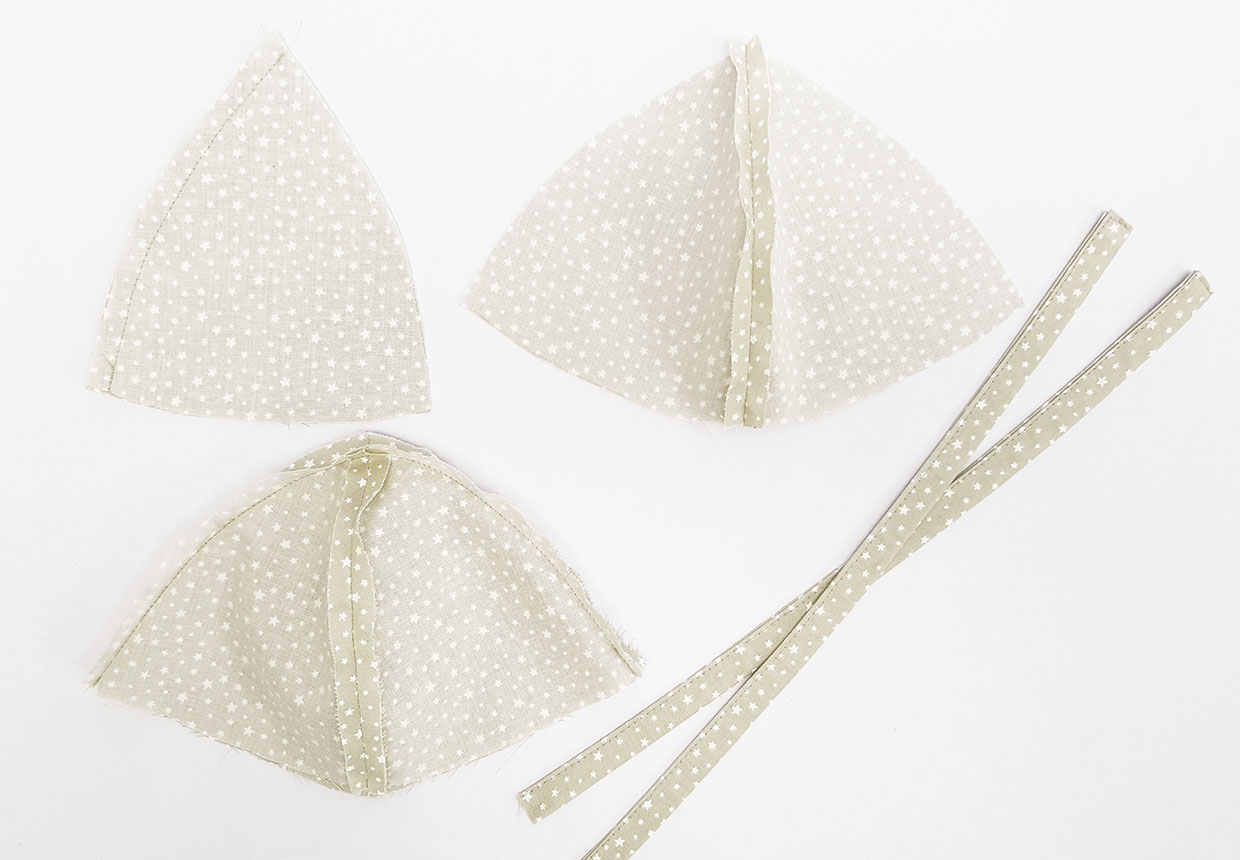
For the hat outer, sew two of the hat pieces RS together along one curved seam. Repeat for another two hat pieces. Press open.
Step 2
Pin the two sewn hat sections RS together, matching the central seam. Sew, then finger-press the seam open as before.
Step 3
Repeat for the other four hat pieces to make the lining, but leave a turning gap along one of the edges.
Step 4
Take one of the hat tie pieces. Fold one of the short edges to the WS by 1cm (3⁄8in) and press. Fold the whole tie WS together lengthways and press, enclosing the raw edges. Open out then fold the two long raw edges in to the middle and press again. Fold in half again to create a strip 1.5cm (5⁄8in) wide. Topstitch along the seam edge and short end. Repeat for the second tie.
Step 5
Staystitch one of the ties to the hat outer, RS facing, lining up the folded edge of the tie with one of the hat side seams and aligning raw edges. Repeat for the second tie on the opposite side.
Step 6
Place the hat outer RS facing the hat lining, aligning side seams. Pin all around the curved edge then sew. Turn RS out through the turning gap then slipstitch the gap closed. Press.
Step 7
Topstitch around the edge of the hat.


