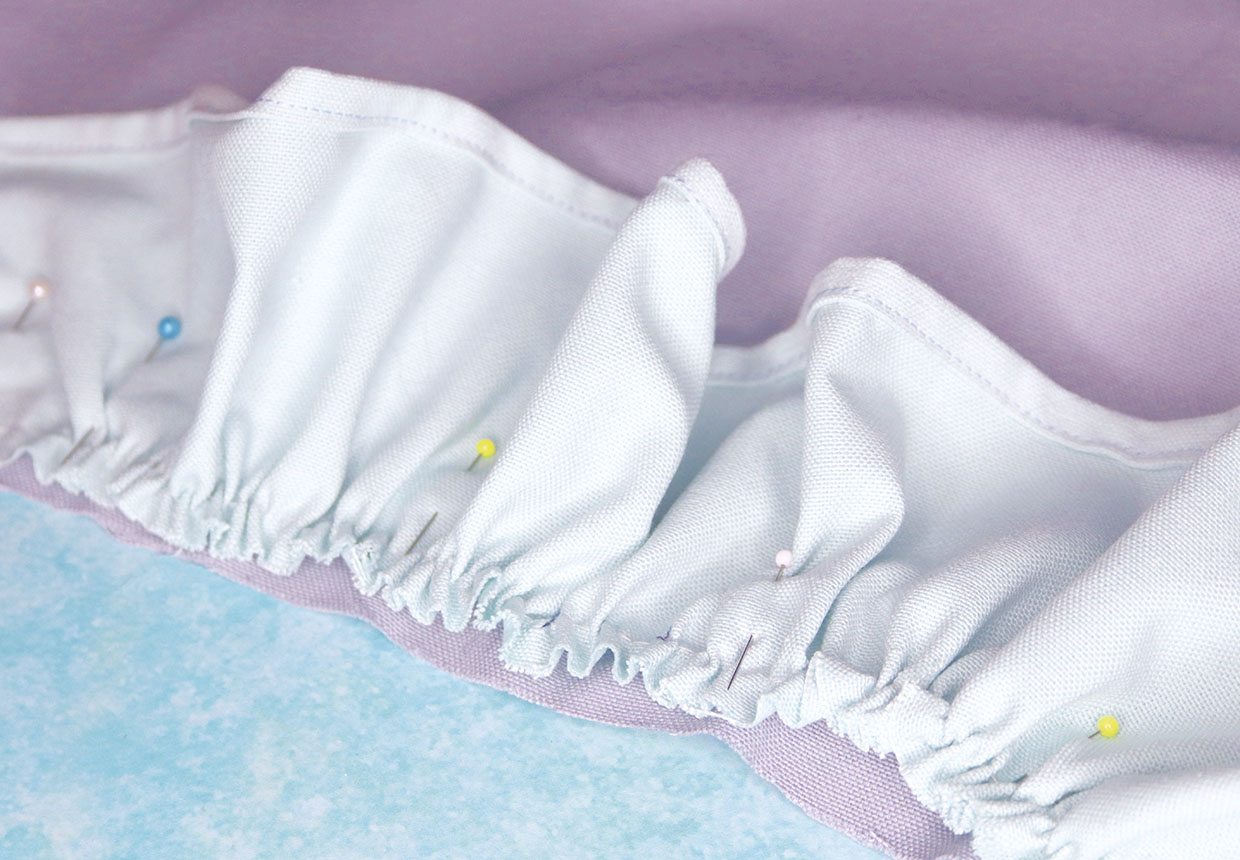
Step 1
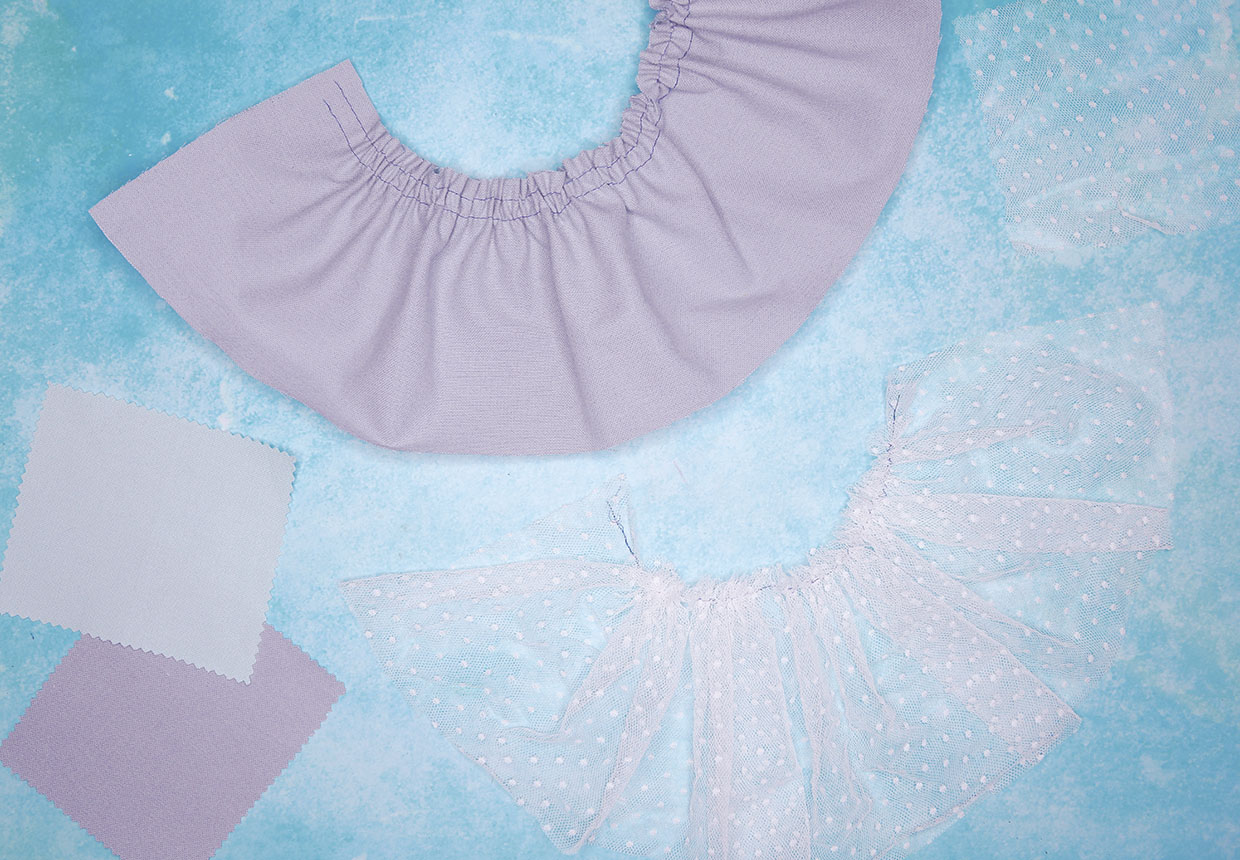
First, decide what type of ruffle you are going to sew. There are two main types of ruffle – straight and circular. Straight ruffles are created from long strips of fabric that are gathered up and stitched into place to add flounce and decoration. Circular ruffles are made from a large ring of fabric with a hole in the centre, loosely resembling a doughnut. The inner circle of the ring is stitched to the garment, allowing the rest of the fabric to drape down and create subtle ruffles.
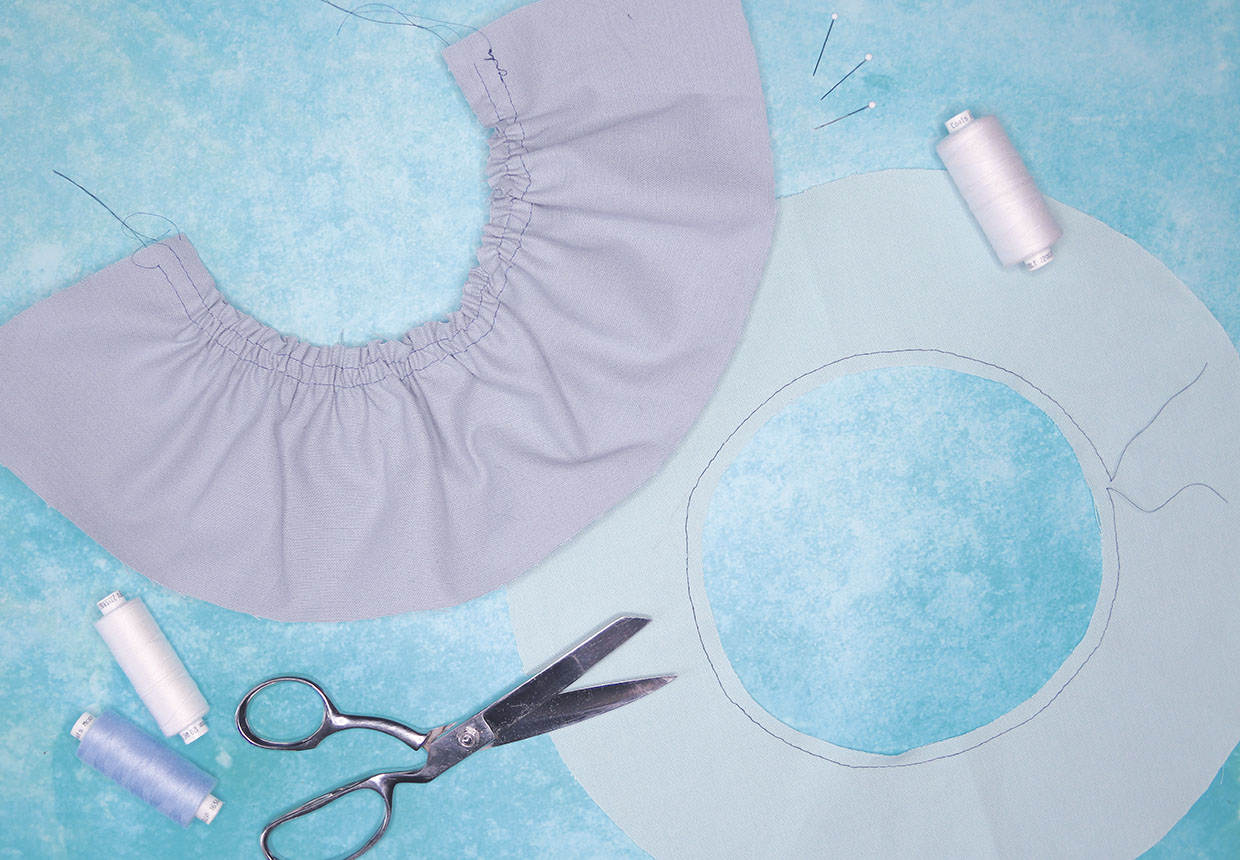
Step 2
Next, decide if you need to create a double ruffle. If you’ve decided to opt for a straight ruffle, the next thing to consider is how you’ll gather the fabric up – will it be ruched along one edge, or gathered in the middle? Ruffles with a central gather are often called ‘double ruffles’ as the end result creates two separate flounces which can be left flat or folded over to create more volume. Mini strips of double ruffles are often used to decorate smaller areas, such as across the seat of lingerie or around fancy cuffs.
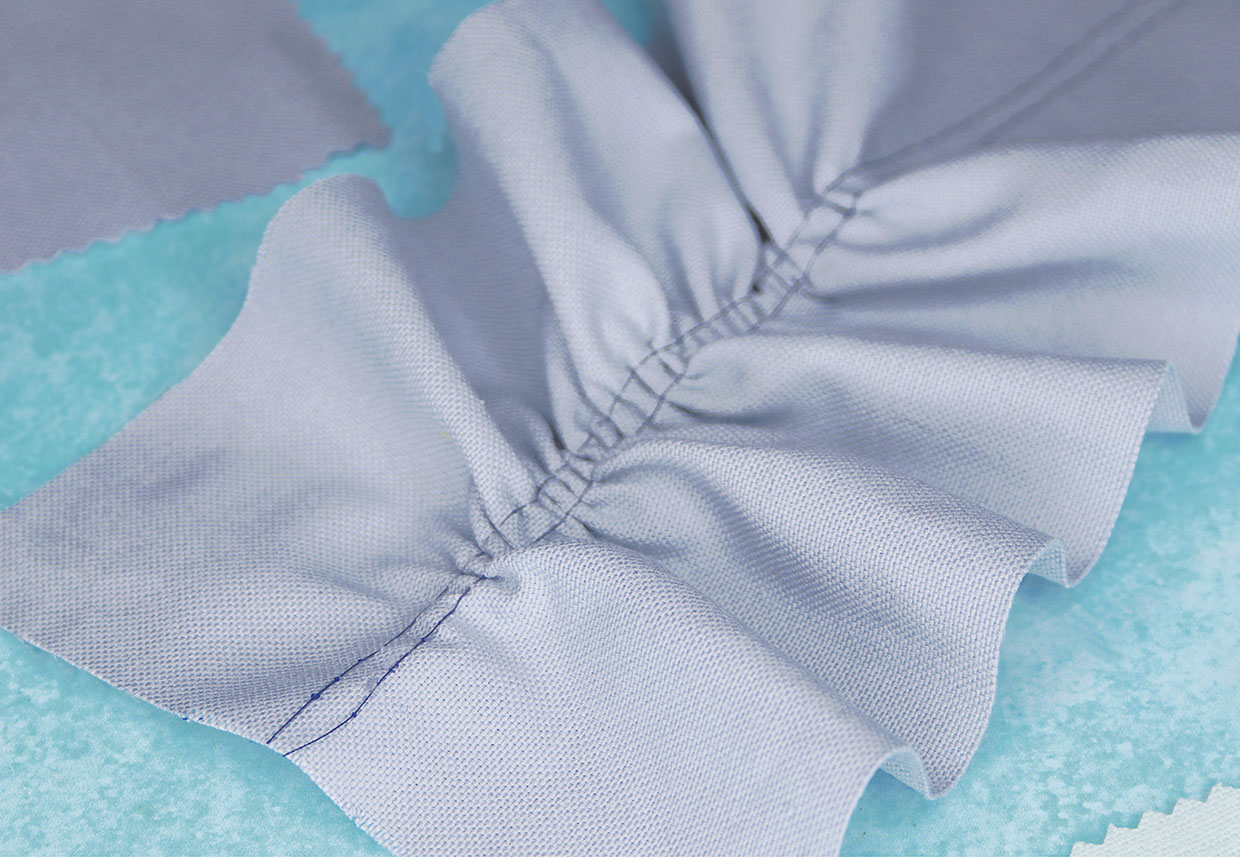
Step 3
Always measure your ruffles twice. One of the most important things to keep in mind when creating ruffles is the extra fabric width that you’ll need to make them. For example, if want to add a straight ruffle to the hem of a garment that measures 100cm in circumference, the strip that you use to create those ruffles will need to be significantly wider. A good rule of thumb is to cut the fabric for your ruffle to twice the width you want it to eventually cover. The more densely you gather the fabric, the shorter it will get, so take that into account when calculating, too.
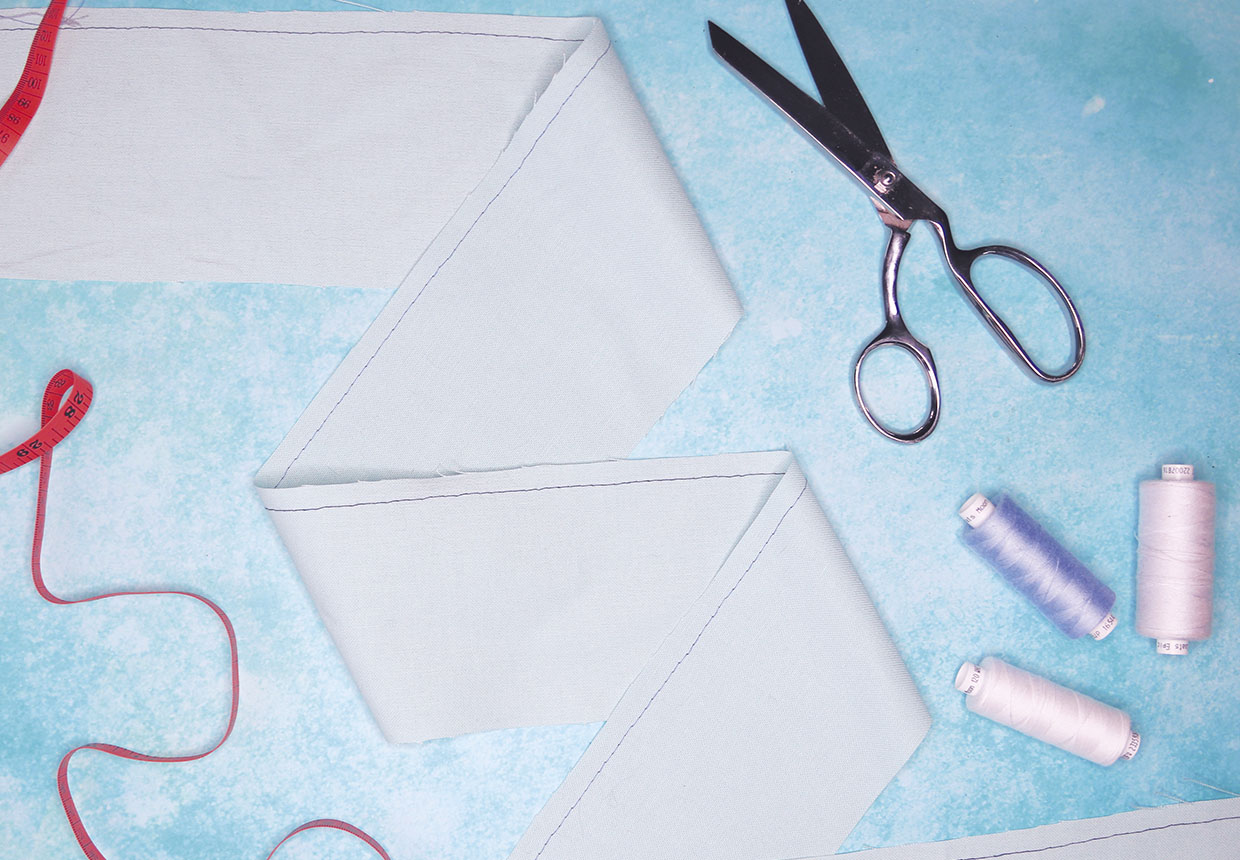
Step 4
Consider your fabric choice before you start sewing your ruffles. As with any dressmaking project, the fabric you choose to make your project from will greatly influence the way the finished garment sits, moves, and wears. The same is true when creating ruffles. The thicker and stiffer a fabric is, the more pronounced your ruffles will be. Sturdy fabrics such as scuba and wool will create much more volume (and therefore, bulk in the gathered seams) than thinner alternatives such as viscose and satin.
Step 5
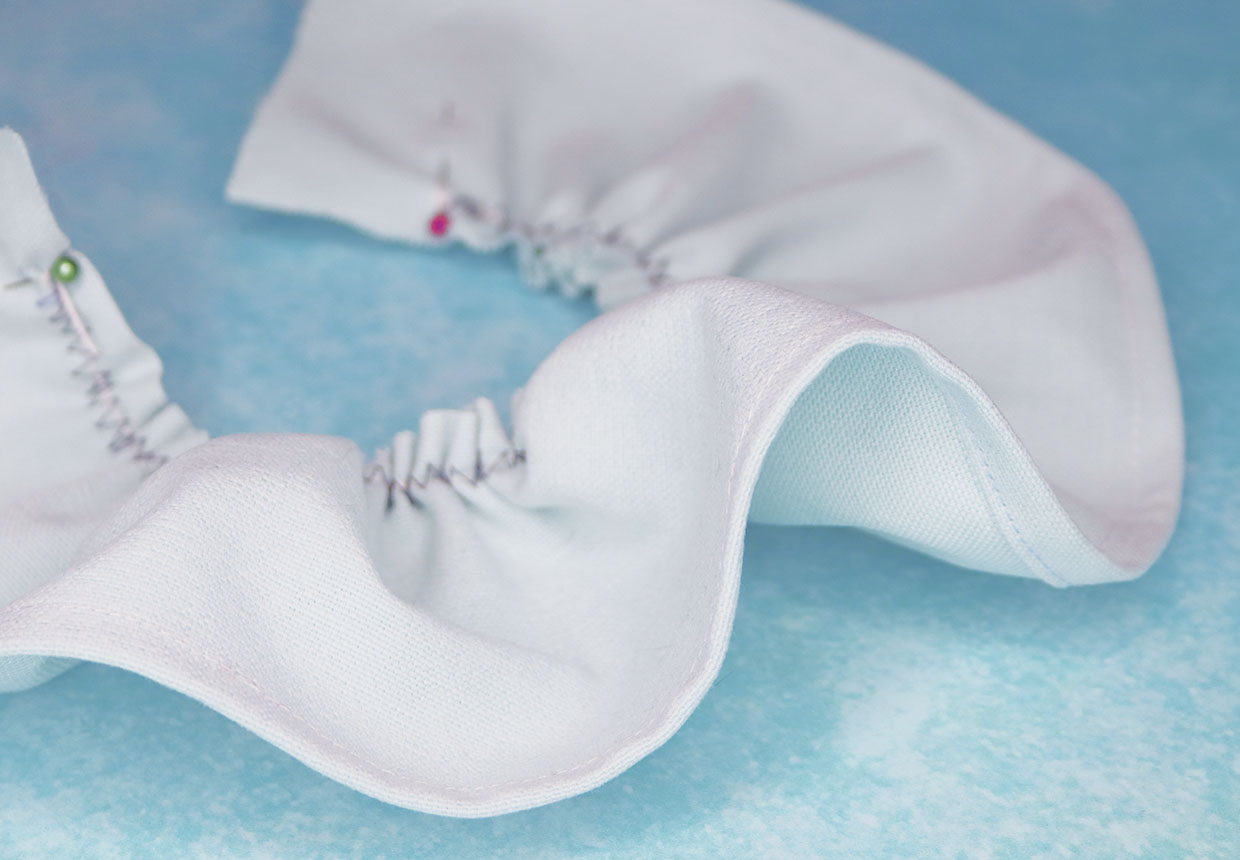
It’s important to finish the exposed edge of your ruffle before you make the rest of it – it’ll be almost impossible to finish once it’s gathered and attached. There are a number of ways you can finish the edge of your ruffle; a regular double-folded hem is a nice simple option, whereas concealing the edge of the fabric in contrast bias tape adds an extra touch of luxury, as well as giving the finished ruffle a little more volume and shape.
Step 6
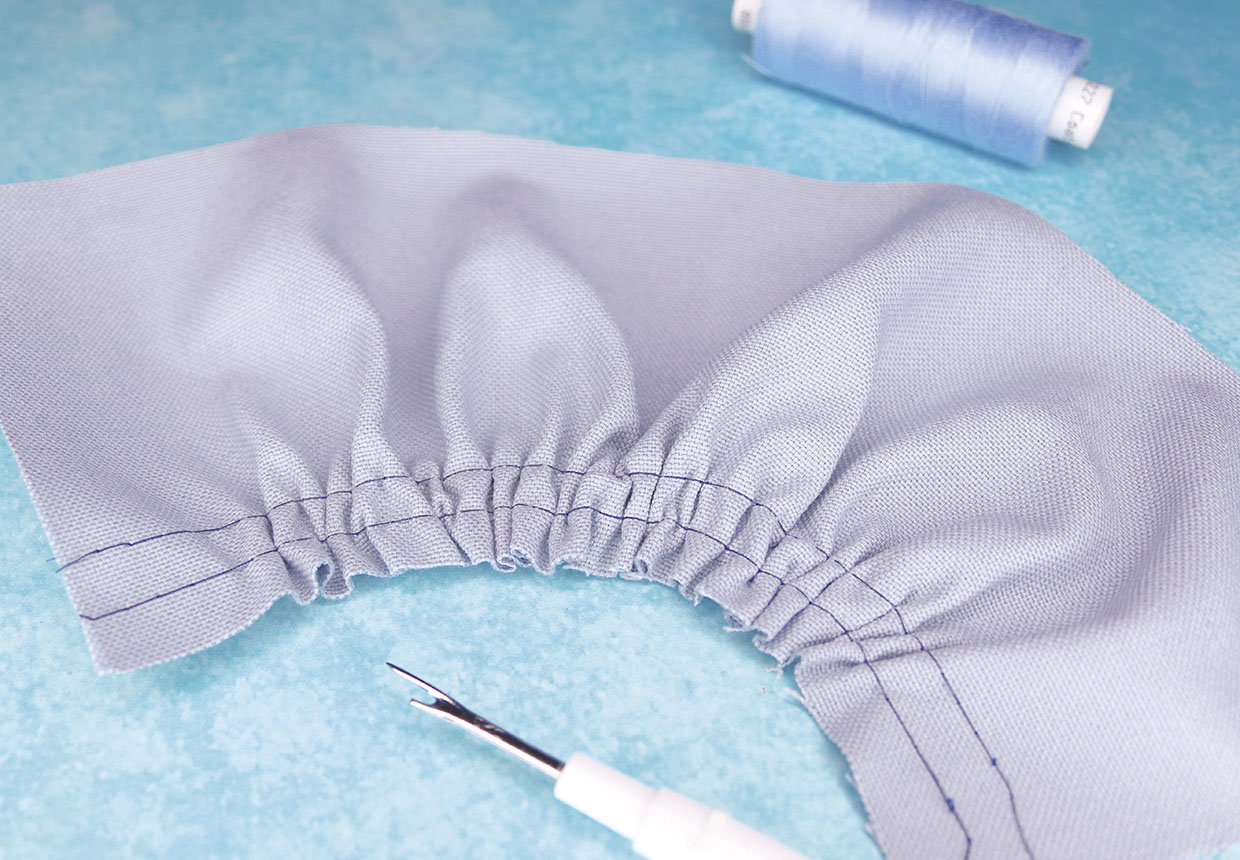
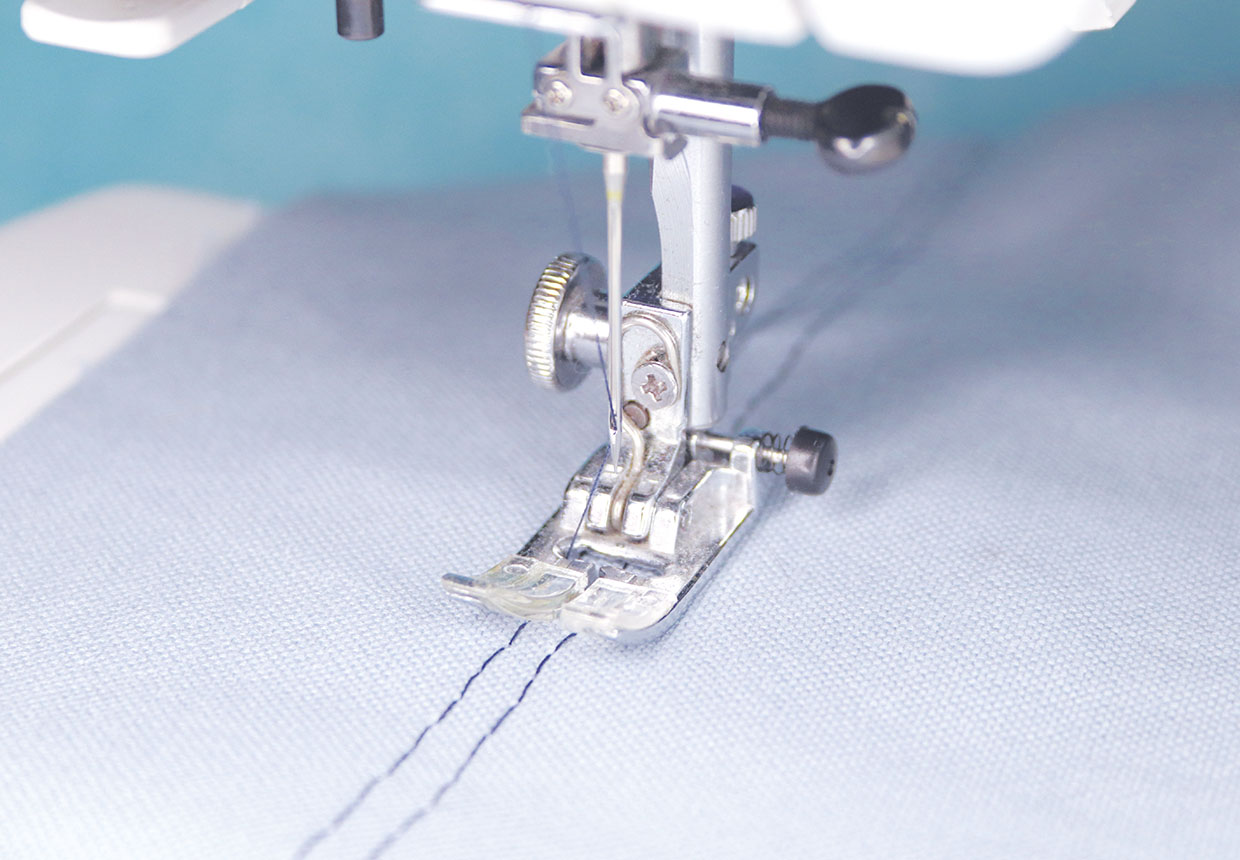
Next, you’ll need to work the gathers. To create a ruffle, stitch two lines of straight, wide machine stitch along the width of your strip. For a standard ruffle, sew a line down one long edge, or sew down the middle to create a double ruffle. Set the two lines around 5mm apart and leave tails of around 15cm at the start and end. Then remove the fabric from your machine and gently tug at the fabric on one side to gather it up evenly until the ruffle is your desired width. Pin your ruffle into position on your garment, right side facing the fabric. Wrap the thread tails around the first and last pins to stop it from unravelling as you stitch.
Step 7
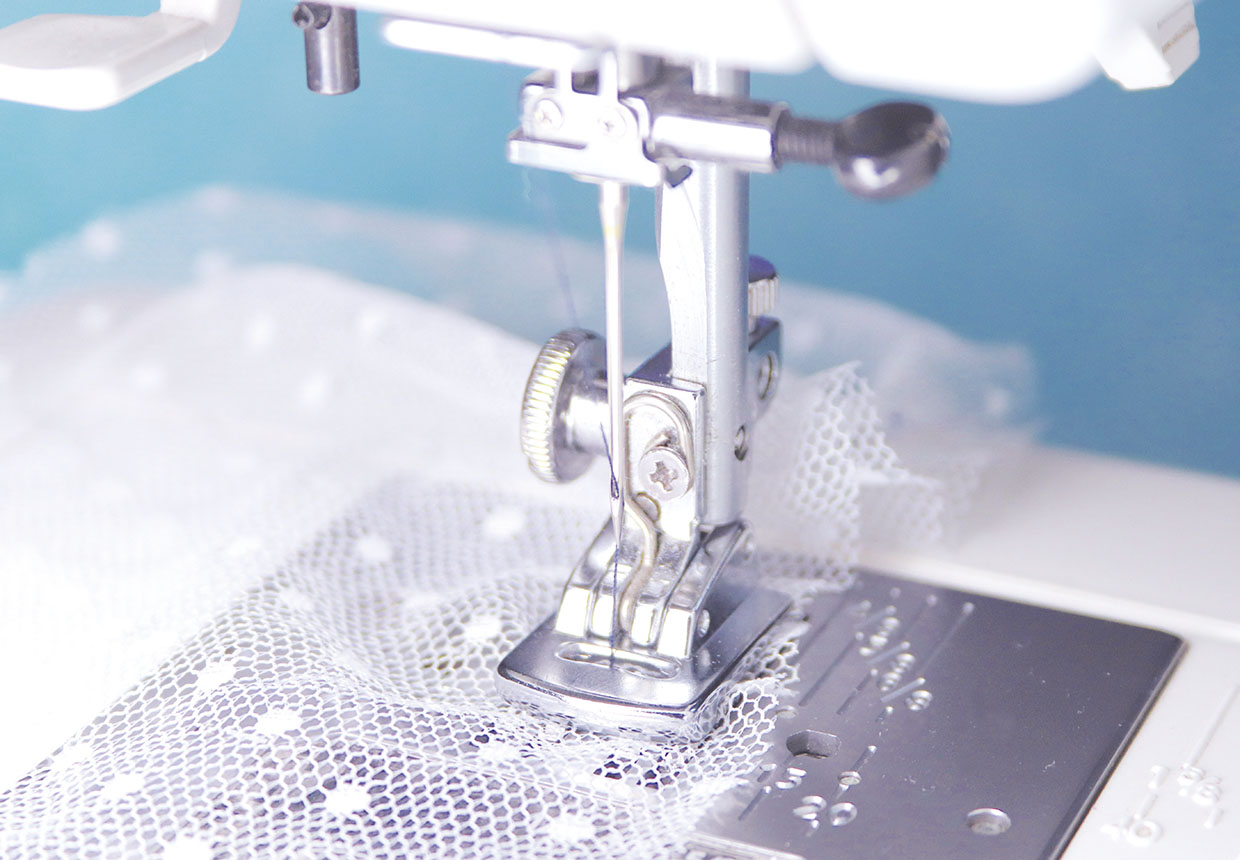
If you’re using a sewing machine, you can speed up the gathering process using a dedicated gathering foot. This clever accessory grabs the fabric as you stitch and ruches it up into equal, evenly spaced ruffles for you. You can even use it to make and attach ruffles in one fell swoop, cutting down on your stitching time even more. However, it can take a little while to perfect the technique, so practise with scraps of fabric before you try it on your final project. Use a long stitch length and a low thread tension – not only does this place less pressure on the threads that will be drawn up but it makes them easier to remove later.
It’s almost always best to use a longer stitch length when working machine gathers. Set your machine to the longest stitch possible – normally 4mm or 5mm – and test a small area first. You should find that the longer length makes the process of ruffling the fabric much easier, and leads to less annoying thread breakages.
Step 8
With several lines of thread to contend with, it’s easy to get confused about which is which as your project develops. Make your gather lines easier to distinguish by using a bright colour of thread that contrasts with the rest of your make. You’ll be able to spot and remove them with ease when your project is finished, leaving the final seams intact.
Step 9
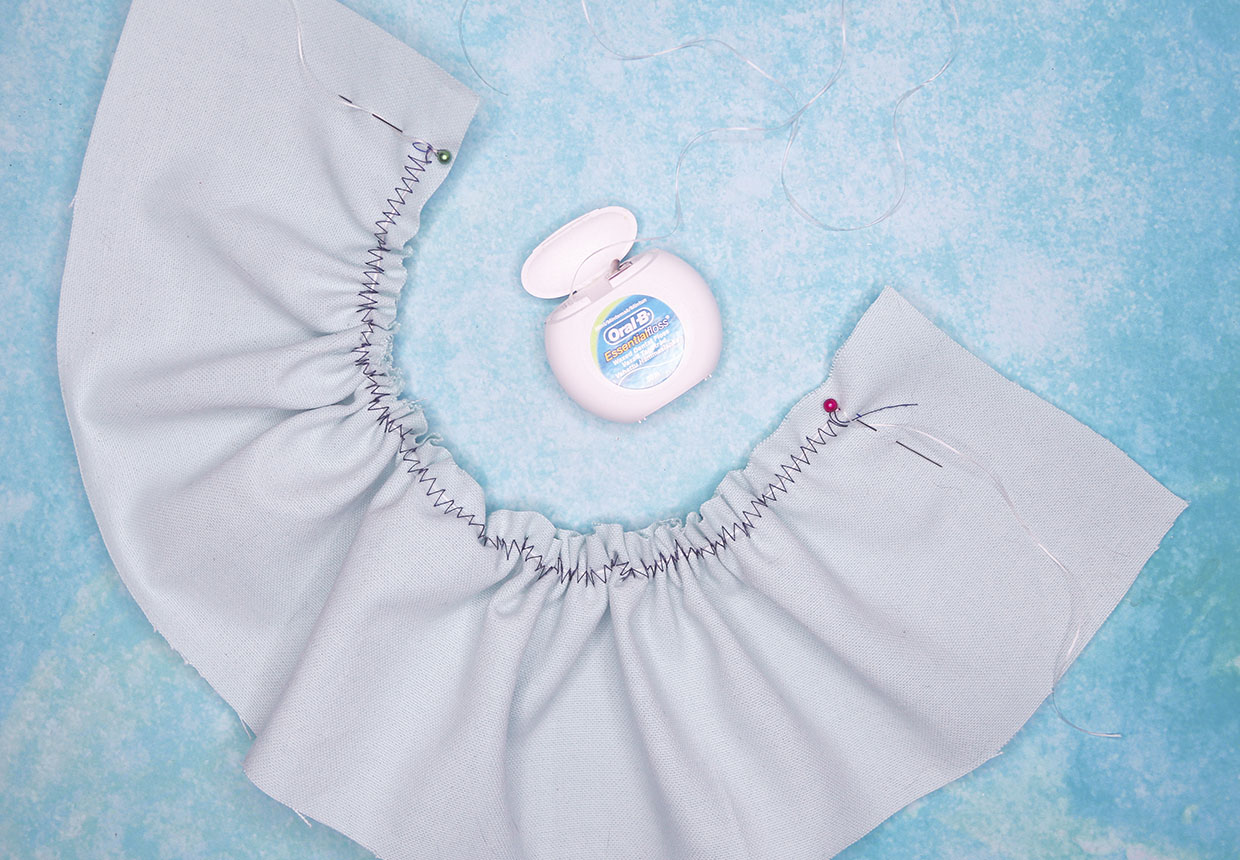
Strangely, dental floss can actually be a great tool when creating ruffles – it’s incredibly strong and easy to spot, so perfect for working gathers. Simply cut and lay a length of floss along the area you want to gather, then use a wide machine zigzag stitch to couch over it in a contracting colour of thread. Once stitched, hold one end of the floss and pull the opposite end to gather the fabric up, then secure to reveal your finished ruffle.
Step 10
Us sewists are a fussy bunch and so it’s important for the ruffle to be finished as neatly as possible. Attaching the ruffle is just as important a step as creating it as wonky positioning can throw off the look of the whole garment! Using notches to position the fabric is a great way to match the edges neatly, and the notches will be within the seam allowance so won’t be visible from the right side. Alternatively, start by finding the middle point of both the ruffle and the edge of the garment you want to attach it to, and work outwards from here, pinning the fabric on either side until the whole seam is matched. It can be tempting to position the ruffle ‘by eye,’ but this could lead to an evening of unpicking!
