All products were chosen independently by our editorial team. This review contains affiliate links and we may receive a commission for purchases made. Please read our affiliates FAQ page to find out more.

How to insert an invisible zipper

Give your garments a neat and professional finish with an invisible zip! Master this essential dressmaking technique with our step-by-step guide to inserting an invisible zipper.

6 issues of Simply Sewing magazine for £14.99|Save 78%!

Published: June 5, 2023 at 11:12 am

Invisible or concealed zips are hidden within a seam and give your garments a neat, professional look. It's a brilliant sewing technique that has been used on The Great British Sewing Bee many times!

Before you start learning how to insert an invisible zipper we'd recommend learning how to sew a zipper first. Our beginner's guide will give you all the basic knowledge that will help you in this tutorial.

We're here to give you a masterclass in invisible zippers. We're covering to cover what they are, why they're great, and show you step by step how to sew them. We even have a handy invisible zipper tutorial for you to sew along with.

How to insert an invisible zipper – video tutorial

Follow our invisible zipper guide and you'll feel like a pro sewist in no time!

Your complete guide to invisible zippers

What is an invisible zipper?

Invisible zips are commonly used in skirts and dresses where you don’t want the zip to show and need a smooth, neat finish. The only part that can be seen from the outside is the zipper slide. They also work well on cushion covers for a seamless look.

They are nylon coil zips with the coil on the back of the zip rather than the front so its teeth are hidden behind the tape. They’re the easiest zip to insert as long as you work carefully.

It’s best not to use them for thicker fabrics or items which will have a lot of strain as they could break if put under too much pressure.

They should be sewn into a seam before you sew the seam above or below it as you’ll get a neater result and it will be easier to insert the zip when the fabric is flat.

Buying a zip

How to insert an invisible zipper

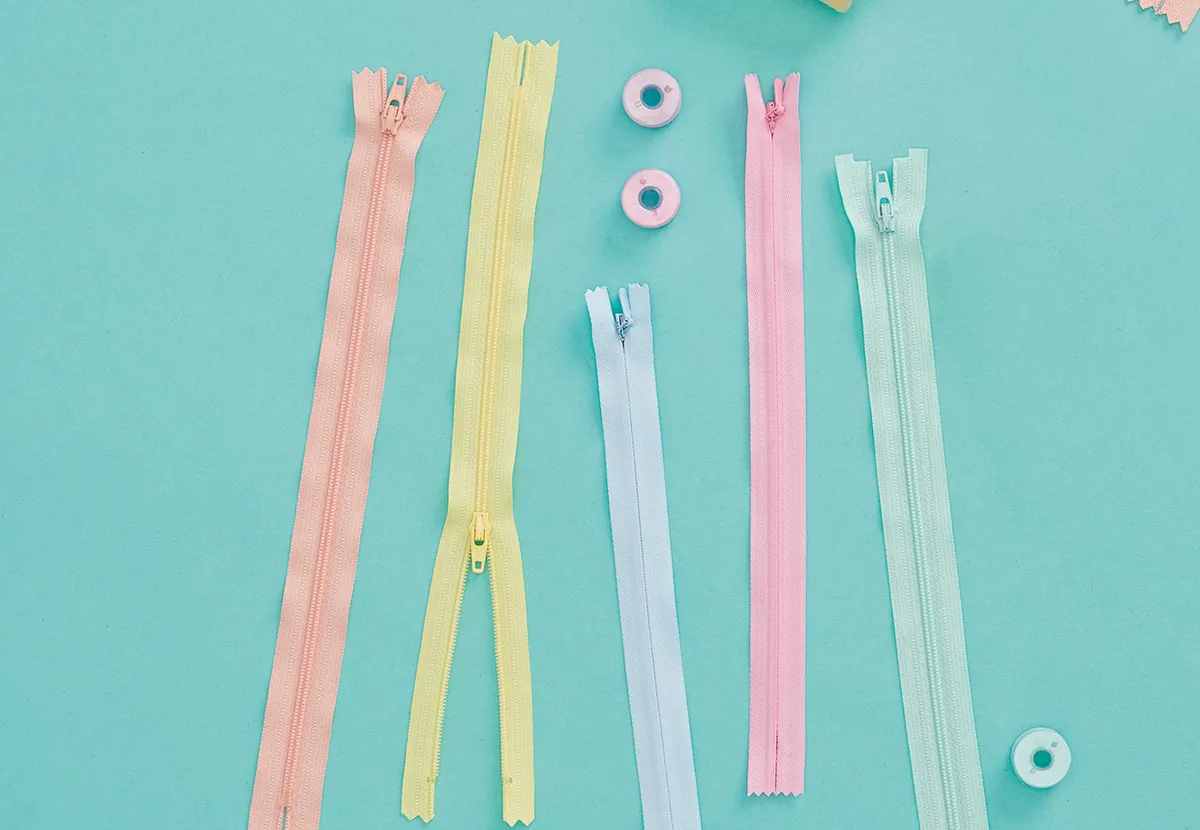
There are different weights, lengths and colours of invisible zips available to buy. Choose one in a colour to match your fabric and a little longer than the seam you want to sew it into for a neat finish at the bottom.

Lightweight and transparent nylon concealed zips are available, which you can use for sheer and lightweight fabrics. Invisible zips can be bought from most craft and haberdashery shops or online.

Preparation for sewing a zipper

If you are inserting a zip into a lightweight or stretch fabric then press a narrow strip of iron-on interfacing to the wrong side of the seam allowance only. This won’t be seen from the front but will stabilise the fabric and stop the seams from puckering as you stitch.

If your garment isn’t going to be lined or the fabric frays a lot then it’s best to finish the edges of the seam allowance that the zip is going to be stitched to with a zigzag stitch. Head over to our sewing for beginners guide to learn how to do zigzag stitch.

It’s really important to get the placement of the zip correct so that the teeth lie just beneath the seam allowance and are hidden from the front. There are several methods of doing this and everyone has their preferred one.

Most people pin one side of the zip tape in place then stitch it on, then repeat on the other side.

Using the method of stitching the seam first before you pin and tack then unpicking it does take a little longer but ensures a neat placement.

It’s important that the zip matches at the top and that any horizontal seams that the zip passes through, such as waistline seams, match up perfectly when the zip is done up.

Do I need an invisible zipper foot?

Invisible zipper foot

In short, for our tutorial, no. If you don’t have an invisible zip foot you can use an ordinary foot instead. An invisible zipper foot will uncurl the invisible zipper teeth while stitching on, but if you iron the invisible zipper first you can unfold it.

Be careful to not have the iron so hot that you melt the teeth.

Invisible zips are attached in a different way to standard zips and are sewn onto the right side of the fabric. It’s easiest to use a special invisible zip foot. These have two small grooves at the bottom for slotting the zip teeth into as you stitch.

Make sure you buy one that fits your sewing machine brand and model as they do vary.

How to insert an invisible zipper – step by step instructions

You will need:

  • Sewing machine
  • Iron
  • Cotton thread
  • Scissors
  • Fabric
  • Dressmakers pins
  • Zip

Step 1

Pin the two pieces of fabric that the zip will be inserted between with right sides (RS) together.

Step 2

Using a long machine stitch, stitch these together along the seam allowance given for your pattern.

How to insert an invisible zip

Step 3

Press the seam open – do this carefully as it’s not as stable as a normal seam.

Step 4

Keeping the fabric wrong side (WS) up place the zip (zipped up) centrally on top RS down. The teeth should lie exactly on top of the seam with the zip slider in the position you want it to be when finished.

Step 5

Now tack it into place so that it’s really secure when you machine stitch it. You should only tack it to the turned over seam allowance and not into the main fabric.

Only tack down to the end of the long stitched seam. A little of the zip will reach beyond this as this gives a neater finish.

How to insert an invisible zipper

Step 6

Undo the long machine stitching you worked earlier.

Your zip is now positioned in exactly the place you want it to be and both sides will match up when stitched in place.

Step 7

How to uncurl your invisible zipper

Undo the zip right to the bottom then roll the teeth over and press the WS of them so they lie flat.

Use a warm, dry iron for this so you don’t melt them. This will help when you stitch the zip in later.

Step 8

How to stitch one side of your invisible zipper in place

Open out the fabric so it is RS up.

The zip will be RS down on top with the seam allowance folded out flat, the zip tape near the edge of the seam allowance and the zip teeth on top of the pressed-under allowance.

Step 9

Swap your general purpose foot for an invisible zip foot (if you don’t have one, see above for working with a zip foot).

Starting at the top of the zip on the left side of the fabric seam, slot the teeth of the zip into the right groove of your invisible foot.

Your needle will go into the zip tape and fabric just to the left of the zip teeth.

How to insert an invisible zip

Step 10

Reverse stitch to start then stitch all the way down the zip, making sure that the teeth stay under the groove on the foot.

Stitch until you reach the end of your tacking stitches so there is a little of the untacked zip beyond.

Step 11

Reverse stitch to secure the seam.

Step 12

Stitching the other side of your invisible zipper in place

Stitch the other side of the zip in place in exactly the same way starting at the top and stitching down to the bottom of your tacking stitches. Make sure the fabric and seam allowance is lying flat.

Step 13

The teeth should lie under the left groove of the foot this time and the needle will go into the zip tape and fabric just to the right of the zip teeth.

Pull up the slider to do up the zip.

How to insert an invisible zipper

Master more pro sewing techniques with Gathered

Now you've mastered invisible zippers, learn how to sew a French Seam!

Step 14

How to stitch the bottom seam of your invisible zipper

Swap to an ordinary zip foot in your machine.

Pin the fabric RS together starting right at the bottom of the zip and finishing at the end of the seam.

Step 15

Hold the loose unstitched part of the zip out of the way and start stitching the seam about 2cm (¾in) up from the bottom of the stitching you worked to insert the zip.

You won’t be able to stitch right on top of this as the teeth will be in the way, so stitch as close as possible without catching the zip tape or teeth.

This is a little fiddly as the zip is in the way. Work slowly, remembering to reverse stitch so the end of the seam is secure.

How to insert an invisible zip

Step 16

Continue stitching the seam using the seam allowance detailed in your pattern.

Start using invisible zippers in your projects

You can use an invisible zip on most garments and even on cushions. It’s the finishing touch that takes your projects from beginner to expert level.

Fitting an invisible zipper is simple and quick, and you don’t even need any specialist equipment!

Fix up your wardrobe with Gathered

Have you broken one of your zips recently and would like to repair it? Find out how to fix a zipper with our quick and helpful guide.

How to fix a zipper