From past to present, sleeves with big impact can be seen as a prominent and popular feature. Throughout history, statement sleeves have been big business – from the early days of feudal Japan when long kimono sleeves often contained pockets, to the 1980s, when huge shoulder pads and gathers made puff sleeves the favourite of fashionistas around the world.
In the Tudor period, wealthy women often had detachable sleeves sewn to wear with their dresses, which would be tied to the shoulders of their gowns with ribbons for an easier removal.
Thankfully, sleeves tend to be less complicated today, but you can still use them to make a fashion statement. From soft drapey shapes to structured balloon cuffs, adding a statement sleeve can make or break a garment.
Looking for more dressmaking tips? Learn how to make sewing patterns, how to use a sewing pattern and how to measure yourself with our sewing guides.
This sewing tutorial has been published courtesy of Simply Sewing Magazine. Simply Sewing is the UK's best-selling magazine for makers who sew will have you at your machine from the get-go! Each issue includes fresh projects for your home & wardrobe, beautiful photos and step-by-step guides.
Read on to learn how to sew sleeves with our step-by-step guide…
1. Pick your sleeve type
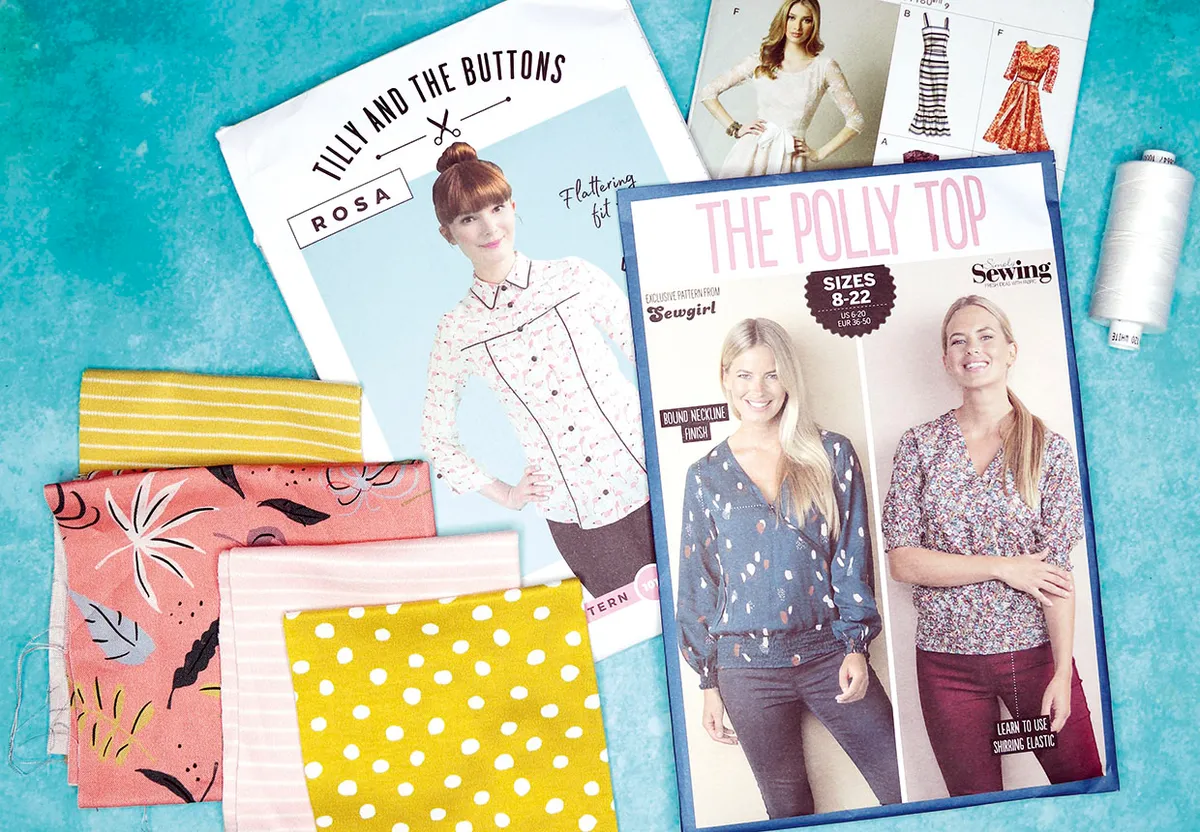
As with many of the elements that create a handmade garment, there are lots of different styles of sleeve and they each have their own merits. Most patterns will come pre-designed with a certain style already, but sometimes you may want to design your own pattern from scratch, or customise an existing one. If that's the case, ensure that the style of sleeve you choose works with the rest of the garment, and the ways in which you intend to wear it.
For example, a voluminous puff sleeve is fantastic when part of a statement piece or a standalone dress, but not quite so practical if you're planning on layering your make with other items. Have a good think about how and where you'll wear your creation first.
2. Choose the right fabric
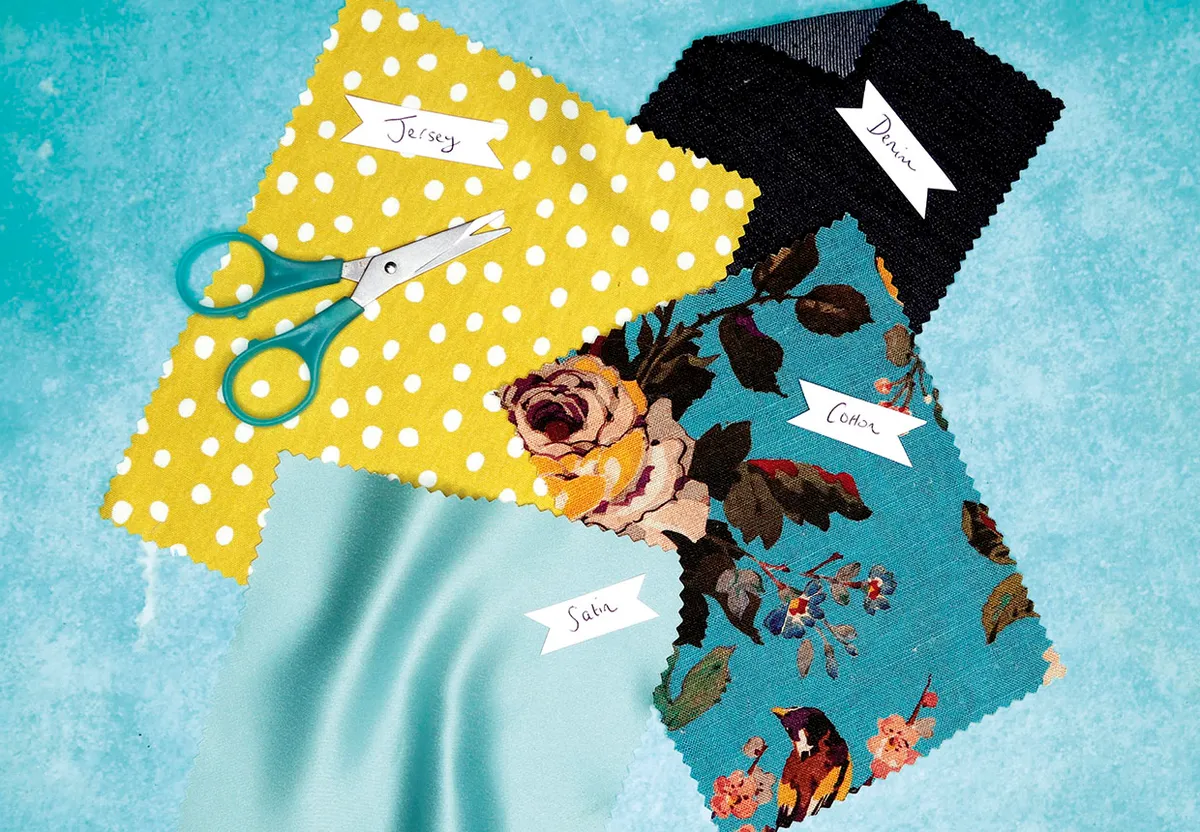
The type of fabric you use to create a sleeve can also have a big impact on its finished look. The thicker and sturdier your fabric is, the more rigid the finished sleeve will be – for example, wool and denim are great for creating strong statement sleeves and sharp shoulders, whereas lightweight fabrics such as chiffon and silk are better for drapey, ethereal looks.
It's worth getting swatches of different fabrics before you buy and examining the way they feel before committing to your choice.
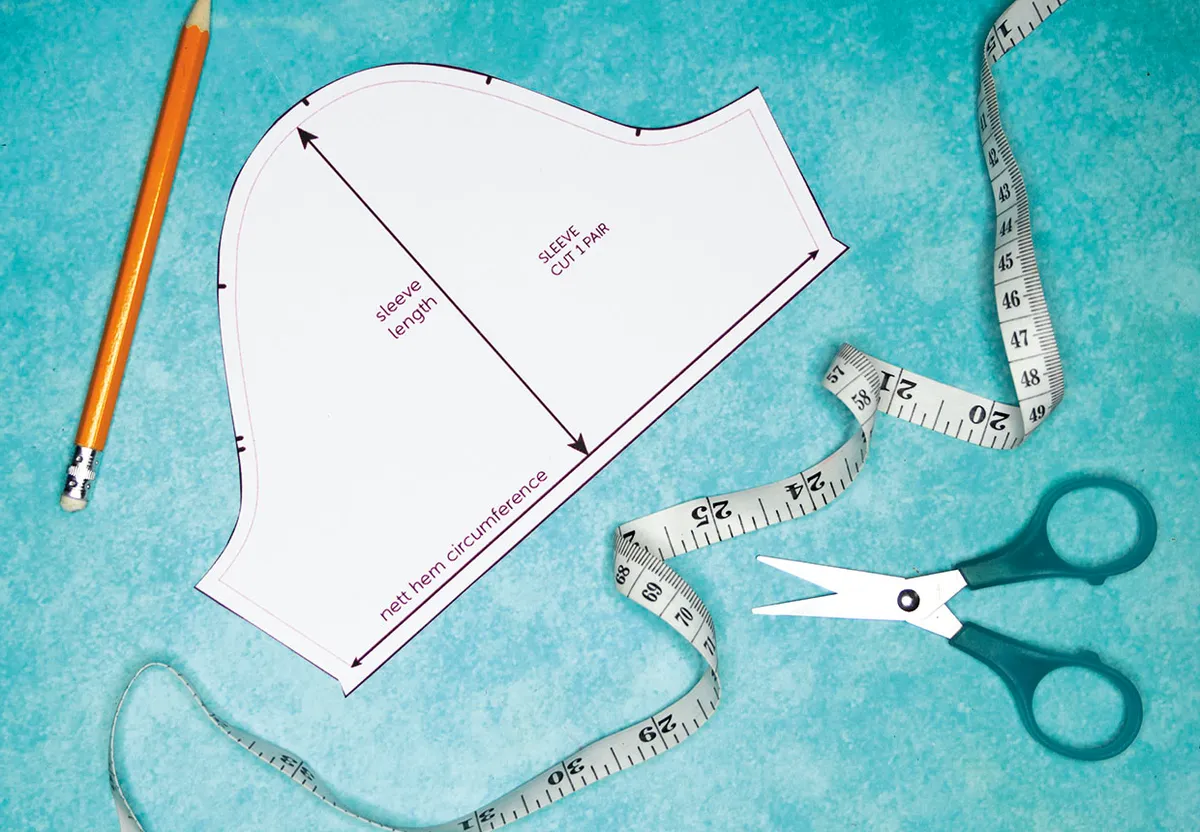
3. Learn your anatomy
Whilst every sleeve is different, they usually have a few similarities, too. The top of your sleeve piece is called the 'sleeve cap' or 'sleeve head', and will usually be curved like a mountain top. The curve may not be symmetrical, particularly on close-fitting garments – this is to match the natural shape of the shoulders on the front and back of your body, which are not particularly symmetrical, either.
The hole that your sleeve will be eased into on the body of the garment is traditionally known as the armscye, though modern patterns may just call it the armhole.
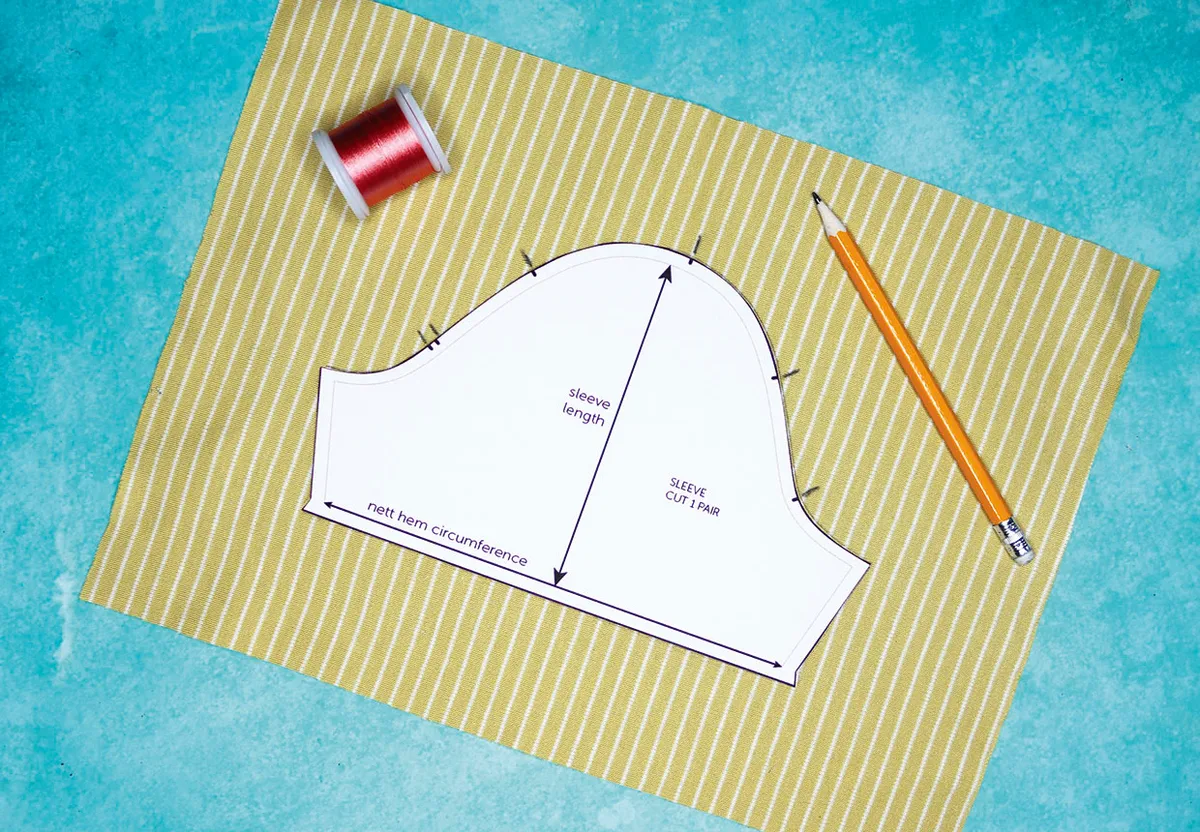
4. Copy the notches
Whenever you're dressmaking it's important to take note of any notches and marks that are printed on your pattern piece, and this is particularly true when adding sleeves to a garment.
Not only will these handy notches usually tell you which part of your sleeve should face the front and back of the garment (a double notch typically marks the back, with a single notch marking the front), but it will allow you to line up the head or cap of the sleeve into position on the armscye neatly, too.
5. What do you mean, ease?
When adding a sleeve to a garment you'll often see the word 'ease' mentioned a lot – but what does it mean in this context? Setting a sleeve into an armscye isn't always as simple as just pinning the pieces together as they come. Due to the shape of the sleeve cap and the bodice of the garment you'll need to set the fabric into place, moving and positioning it carefully as you go to ensure a comfortable, neat finish.
The difference between the measurement of the sleeve cap and the armscye is known as the 'ease'. There are two main ways that sleeves are set into position – 'flat', and 'in the round'.
6. Set it flat
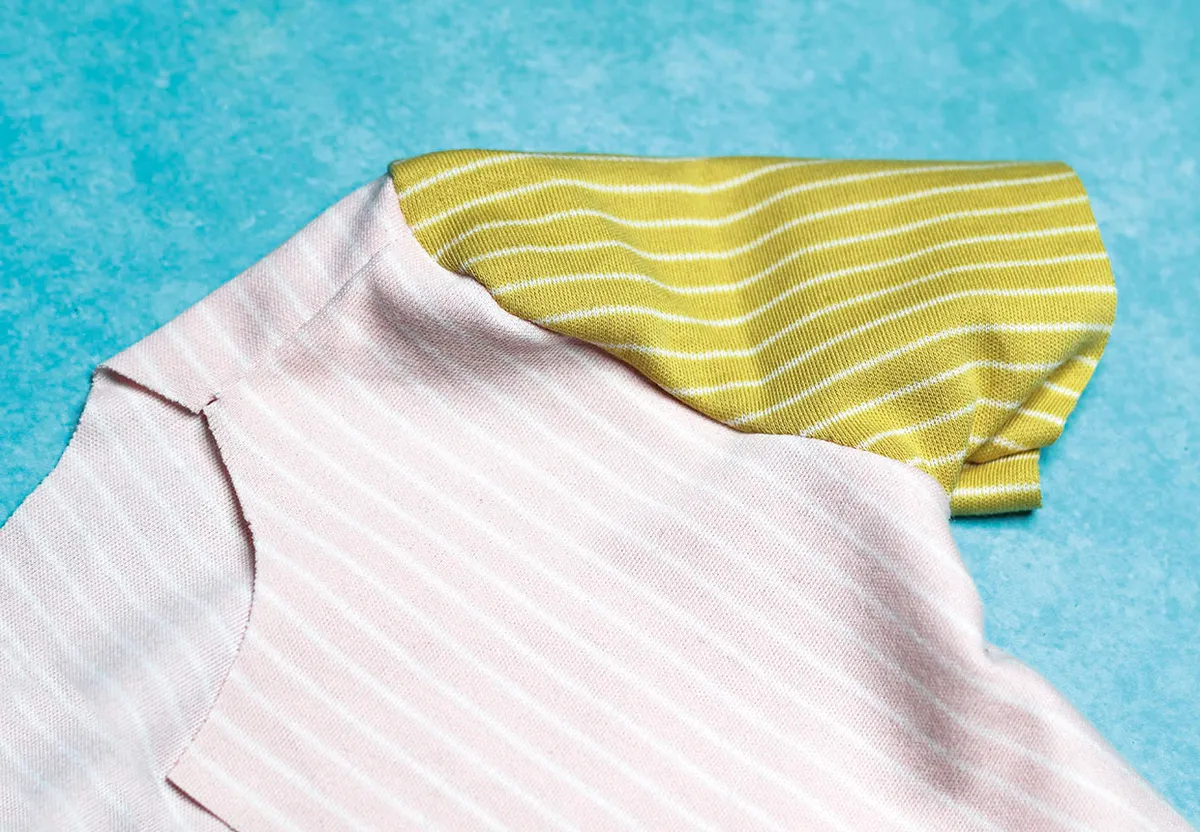
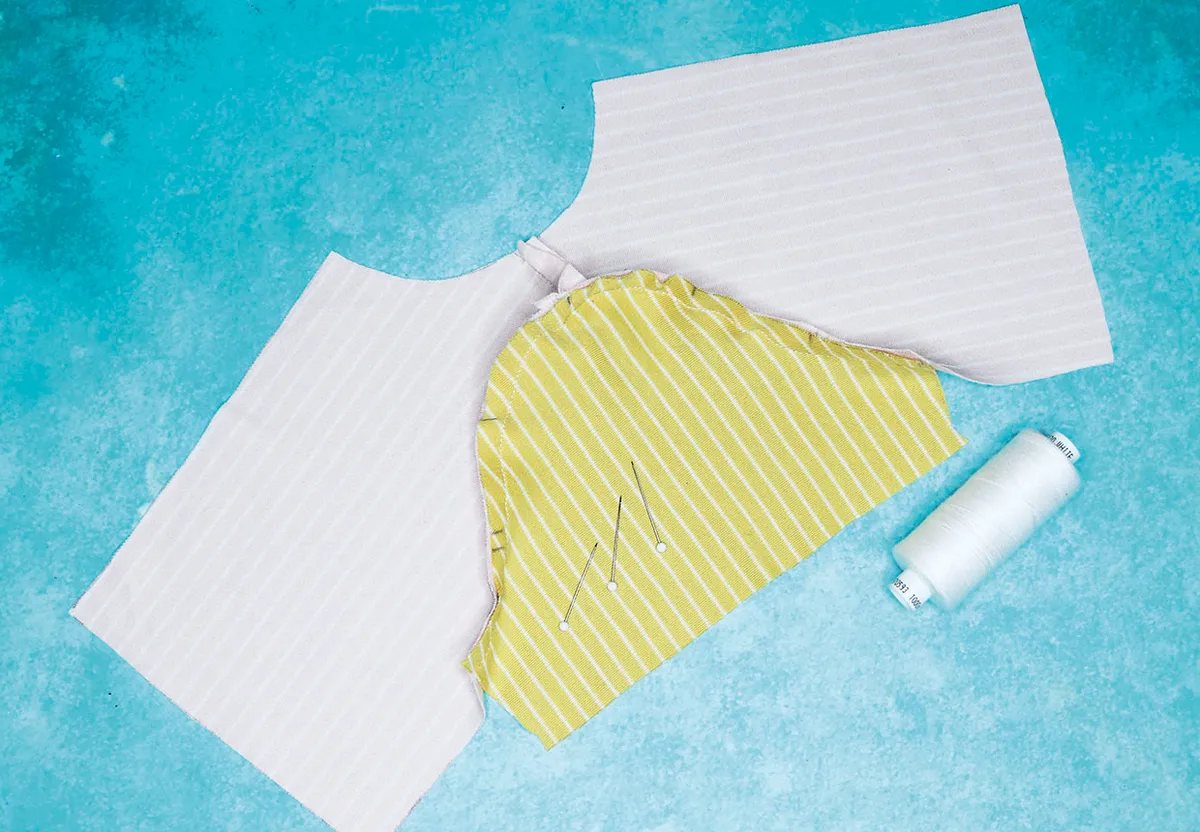
This method is most commonly used in garments made from stretchy fabric. In this technique, the shoulder seams of your garment need to be stitched but the side seams are left open, so that the bodice can open out and lay flat.
Matching up the notches, you'll then ease the sleeve cap into the raw edge of the armscye, making sure they line up. Once the sleeve is sewn into position, you'll usually stitch the bodice side seam and the sleeve seam in one pass.
7. Set it in the round
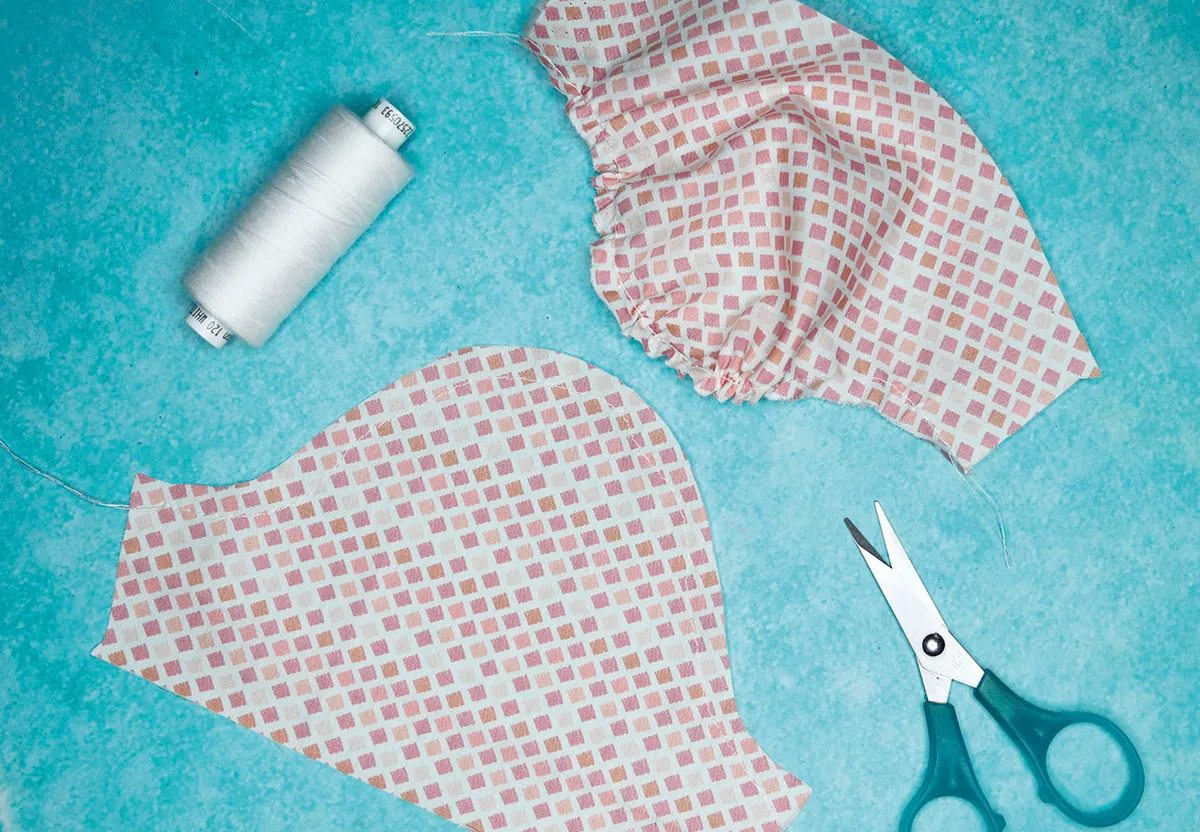
This method is more commonly used with woven fabrics and involves sewing the shoulder and side seams of the bodice before attaching the sleeve, which is also constructed prior to being attached. You'll often need to gather the top edge of the sleeve cap into place for easier fitting. To do this, work several lines of long straight stitches across the top of the sleeve cap, ensuring you leave a long tail at both ends of each one.
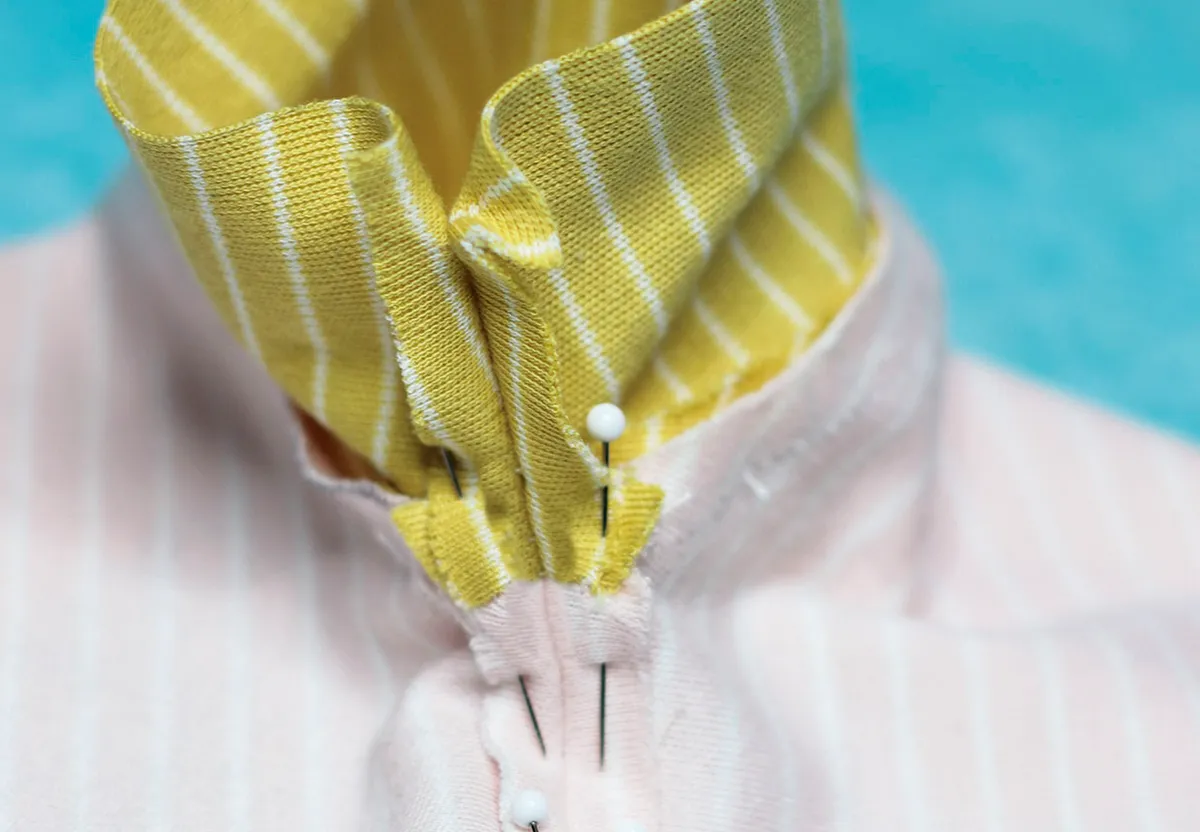
Once you've stitched the underarm seam of the sleeve, gently pull the thread tails of the lines you stitched to gather up the stitches, then pin the sleeve cap into position in the armscye, repositioning the gathers as you go to ease the two together and match the notches. Stitch around the armscye, smoothing the fabric as you go so there are no wrinkles in the seam.
8. Reduce bulk
When setting sleeves in flat, you can sometimes find that the combination of the side seam and sleeve seam coming together in the underarm area leaves excess bulk. To reduce it, leave a few centimetres at the start and end of your initial armscye/sleeve cap seam unsewn.
Stitch your long arm seam and bodice side seams separately, then press the seam allowances of both open. Tuck the remaining part of your armscye seam into place, matching up the underarm and bodice side seams. Because you pressed the seam allowances open, they should match up perfectly and sit flat, reducing bulk. Stitch across the gap to close the seam neatly.
New to sewing or want to brush up your sewing skills inspired by the Great British Sewing Bee? Check out our sewing for beginners and how to use a sewing machine guides. You can also stock up on supplies with our best sewing machines for beginners and sewing kits for beginners guides.