
Machine appliqué is surprisingly easy to do with a little practise and quicker to work than hand appliqué, though you get quite a different effect. The appliqué shapes are more securely sewn on, so if your item is going to have a lot of wear then machine appliqué is the perfect option. In this beginner's guide to how to do machine appliqué we'll show you how it's done and talk you through each step to get started with machine appliqué.
And if this post gives you a taste for it, you might also like our complete guide to how to appliqué.
This article was first published in Simply Sewing magazine – the UK best-selling magazine filled with projects for everyone who sews or wants to start.
Attaching your appliqué shapes
The easiest way to machine appliqué is by sticking your fabric shapes to your base fabric with Bondaweb before you start sewing. This will keep them securely in place, which is particularly important when you're moving the fabric under your machine needle. If you want to appliqué a shape that isn’t symmetrical, you must first reverse the shape. To do this, trace the shape then turn the tracing paper over and draw over the lines on the back. Use this reversed pattern shape to trace the shape onto the paper side of the Bondaweb.
Next, cut out the Bondaweb roughly 5mm (¼in) outside the shape. Press the traced Bondaweb paper side up onto the wrong side of your appliqué fabric, then cut it out along the traced lines. Remove the paper backing, turn it over so that the fabric is right side up and press this appliqué shape to your base fabric.

Choosing your fabric and thread
Cotton fabric works best as it doesn’t fray too much, is a good weight and comes in a huge range of colours and patterns. You can, of course, use other fabrics, but starting off with cotton fabric is best while you learn the technique. Use a cotton or polyester thread in a colour which matches your fabric shape. As you become more practised you can experiment with other threads such as metallic, iridescent, matching, contrasting and even invisible thread.
Stitching the appliqué
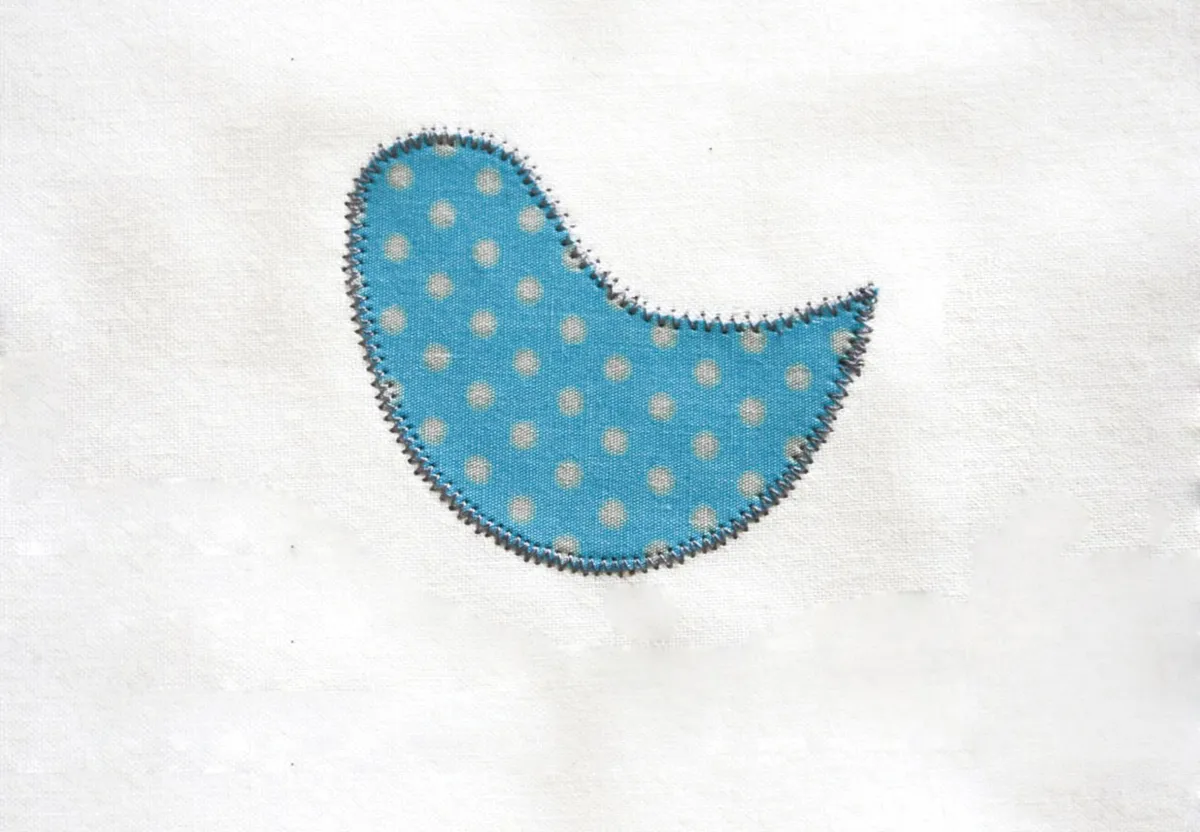
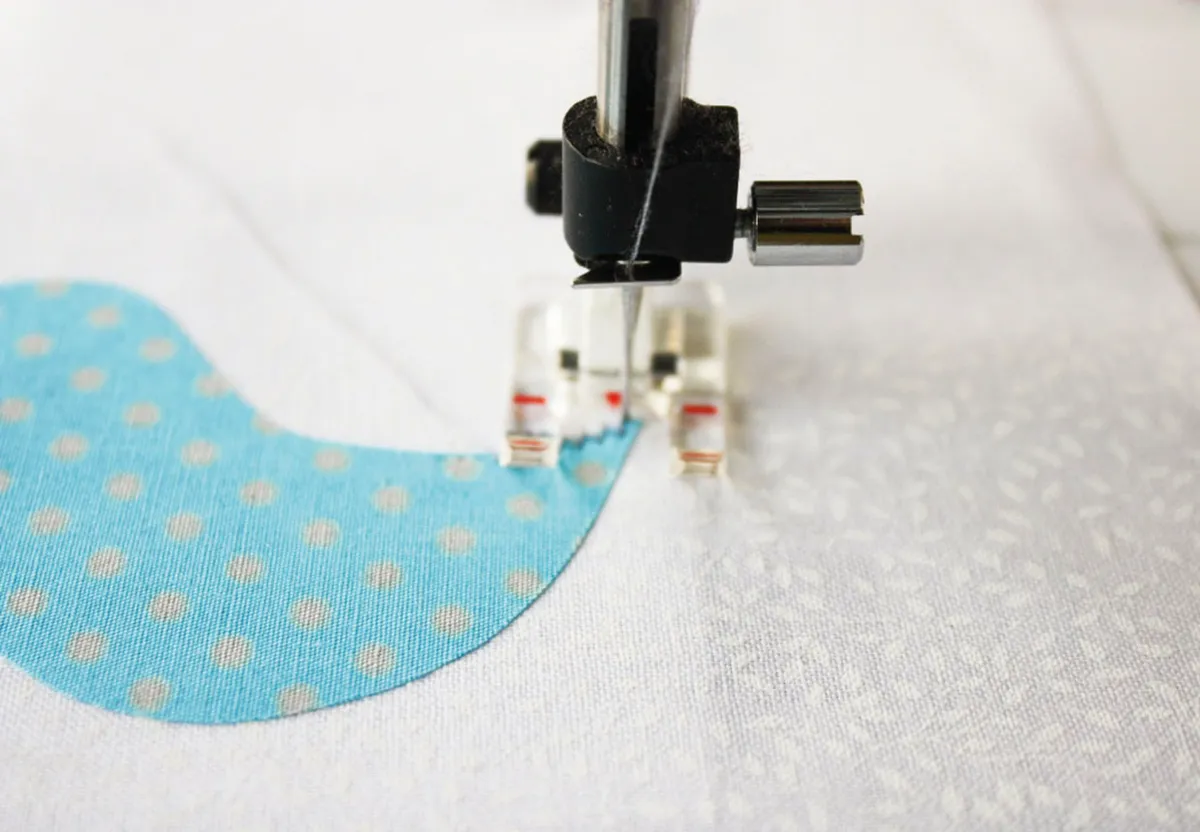
The most common stitch used for appliqué is a zigzag stitch as it secures the shape into place without being too dominant. You need a fairly close zigzag so the fabric won’t fray but not too tight or the stitching will be overly dense. A stitch width between 1 and 3mm is about right. Set the stitch length just above the satin-stitch setting, or between 0.5 and 1mm. Practice setting the stitch length and width on spare fabric until you’re happy with the finished effect. Using a clear presser foot if you have one, line up your appliqué shape right in the middle of your foot, so that the needle will go into the fabric right at the very edge.
First, take a few very small straight stitches along the edge of the shape to secure the thread. Now stitch around the shape so that the needle goes into the fabric just outside the space and into the fabric again just inside the fabric shape. To finish off, work a few backstitches to secure the thread.
Stitching corners
If your shape has corners, manually place your needle right at the corner, in the main fabric. Lift your presser foot, pivot the fabric until it’s aligned, then begin stitching again.
Stitching curves
On larger, more gradual curves, stitch slowly around the curves, easing the fabric as you go to achieve a smooth line of stitches. On smaller or tighter curves, pivot the needle in the same way as for corners but move the fabric around a little so you work around the curve gradually. When you stitch inner curves, stop stitching at the first pivot point with the needle down in the appliqué fabric. Now raise the machine foot, move the fabric around slightly then stitch to the next pivot point. Continue in this way until you have stitched the whole curve. Work outside curves in the same way but pivot with the needle down in the base fabric instead.
Using stabiliser
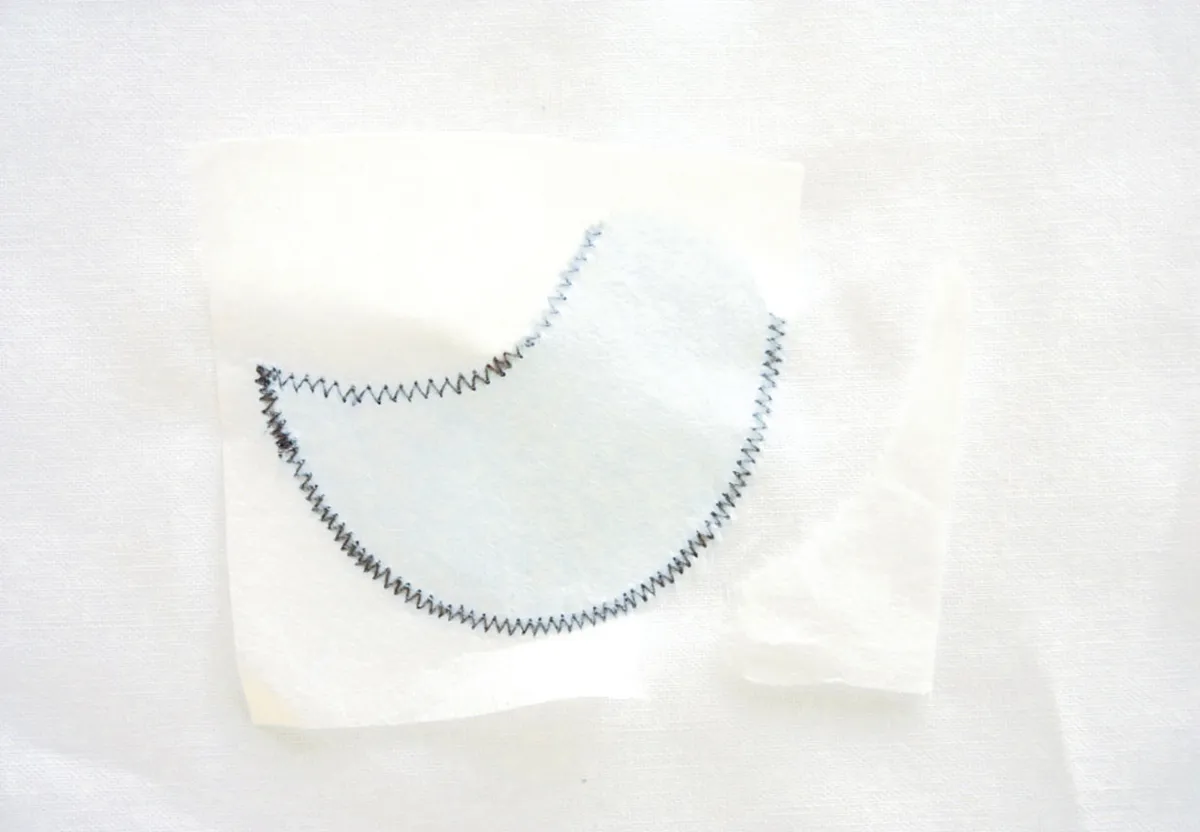
Stabilisers are really important in machine appliqué, especially when you’re using a narrow zigzag stitch as they keep your stitches even and stop the fabric from pulling out of shape. Place a piece of stabiliser slightly larger than your appliqué shape beneath the base fabric you are appliquéing onto. Stitch the appliqué fabric on in the usual way. Once you’ve finished all your stitching you can remove the stabiliser from underneath so that just the stitches remain.
Read on to try using machine appliqué techniques to make a cushion.
Looking for more sewing tips? Learn how to sew buttonholes, check out our know your interfacing guide or or follow our step by step guide to discover how to make roller blinds.
Notes
- Use a 1.5cm (5⁄8in) seam allowance unless otherwise stated.
- Download the cushion templates.
- Use the basic instructions above for working your machine appliqué.


