All products were chosen independently by our editorial team. This review contains affiliate links and we may receive a commission for purchases made. Please read our affiliates FAQ page to find out more.

Picnic blanket pattern

Live your best botanical life with Alicia Halls natural-dyed picnic blanket pattern.

Try 6 issues of your choice of craft magazine from just £9.99

Published: July 15, 2021 at 8:53 am

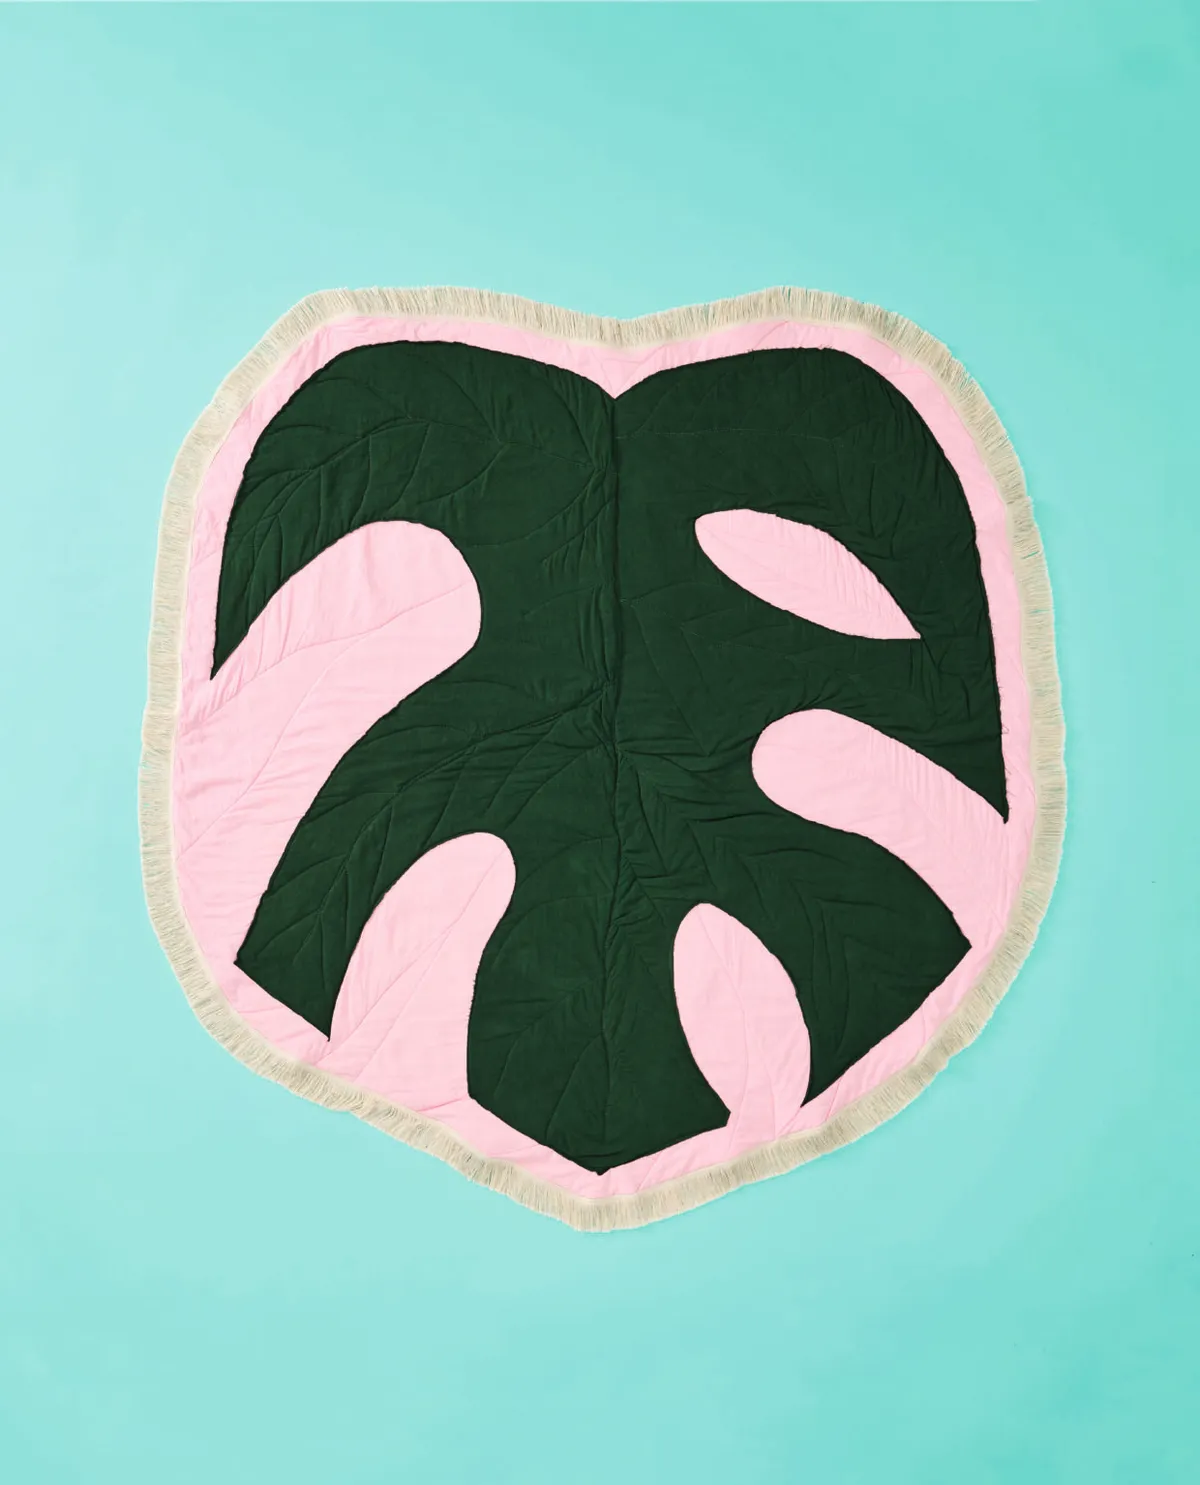
The weather’s finally heating up and strawberries are in season: it’s officially picnic time. So, why not immortalise the leaf of the moment by sewing an Insta-worthy blanket for your alfresco jaunts? Alicia Hall has created this gorgeous picnic blanket pattern for you so you can dine in style.

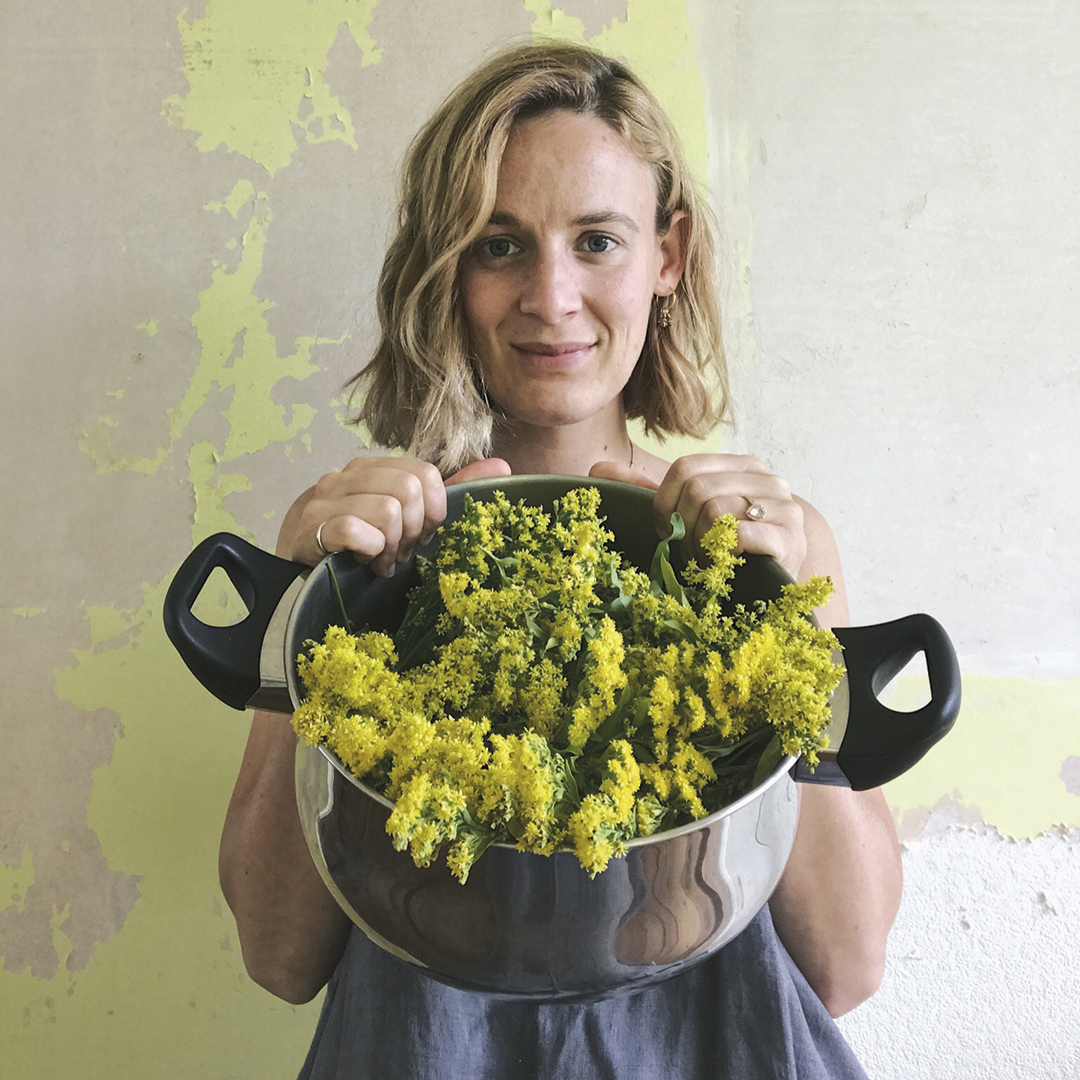
Not only is the botanical shape a shameless love letter to the monstera but you’ll also even be dyeing it with a plant dye. To achieve a more olive-green shade, you can swap the chlorophyll powder for nettles. If you want to go full nature goddess, you could even dye the pink fabric and fringed trim using avocado stones.

This project was created by Alicia for Mollie Makes magazine – for more easy-make craft projects and creative inspiration, subscribe to Mollie or click here to find out more.
Materials

  • 130 x 130cm (511⁄4 x 511⁄4") cotton fabric in white
  • Two 1.5 x 1.5m (591/8 x 591/8") squares of cotton fabric in pink
  • 1.5 x 1.5m (591/8 x 591/8") cotton wadding
  • 4m (1571⁄2") cotton fringing
  • Sewing thread in pink, green, and cream
  • 5g chlorophyll extract powder
  • 2l soya milk
  • Tailor’s chalk

If you're new to sewing then head over to our sewing for beginners guide and our sewing kits for beginners. We also have a round-up of the best sewing machines for beginners too if you're looking for a new machine.

Looking for more summer sewing ideas? Why not try making your own swimsuit? We've put together our pick of the best swimsuit patterns for you to sew.
Picnic blanket pattern

You will need:

  • Fabric
  • Wadding
  • Fringing
  • Thread
  • Chlorophyll extract powder
  • Soya milk
  • Chalk

Step 1

Picnic blanket pattern Step 1

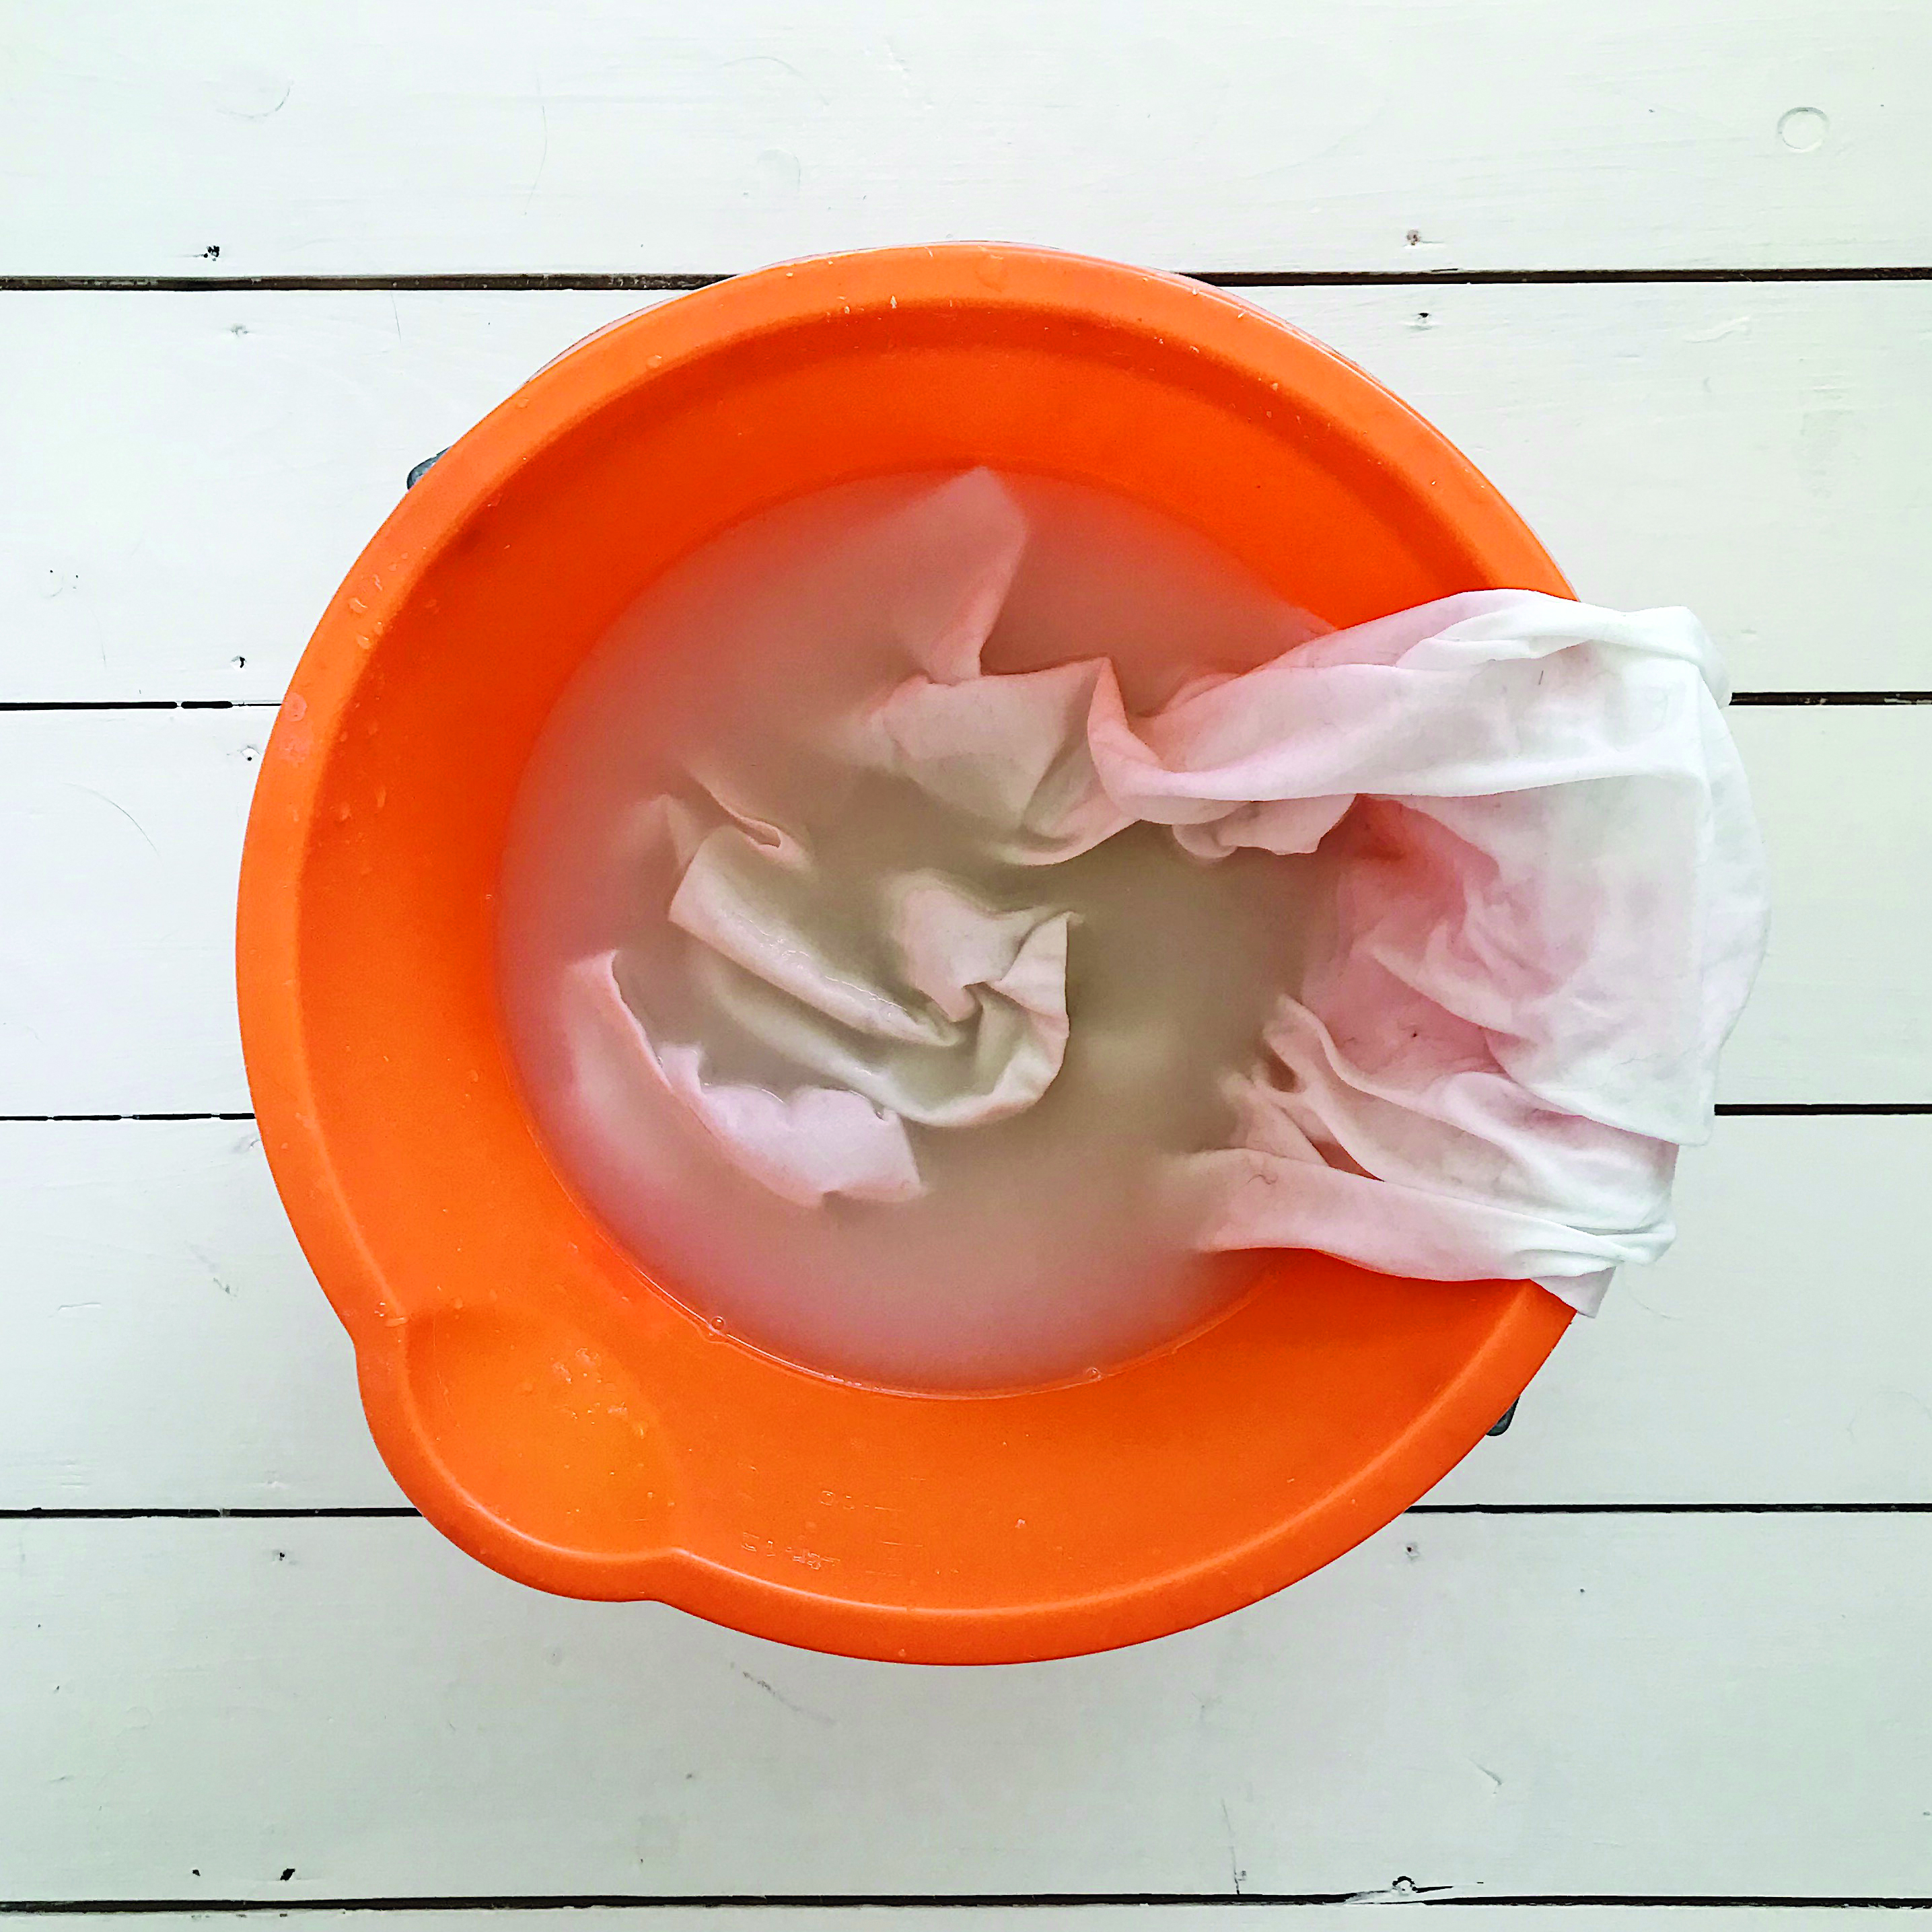
Wash the white cotton fabric, then place it in a bucket with a mixture of 2l soya milk and 4l water. The soya milk will act as a binder to help the chlorophyll dye stick to the fabric. After at least 12 hours, remove the fabric and put it on a spin cycle in the washing machine before hanging it out to dry. Leave the fabric for about a week before moving onto the next step, as this will give the soya milk plenty of time to react with the fabric, giving better dye results.

Step 2

Picnic blanket pattern Step 2

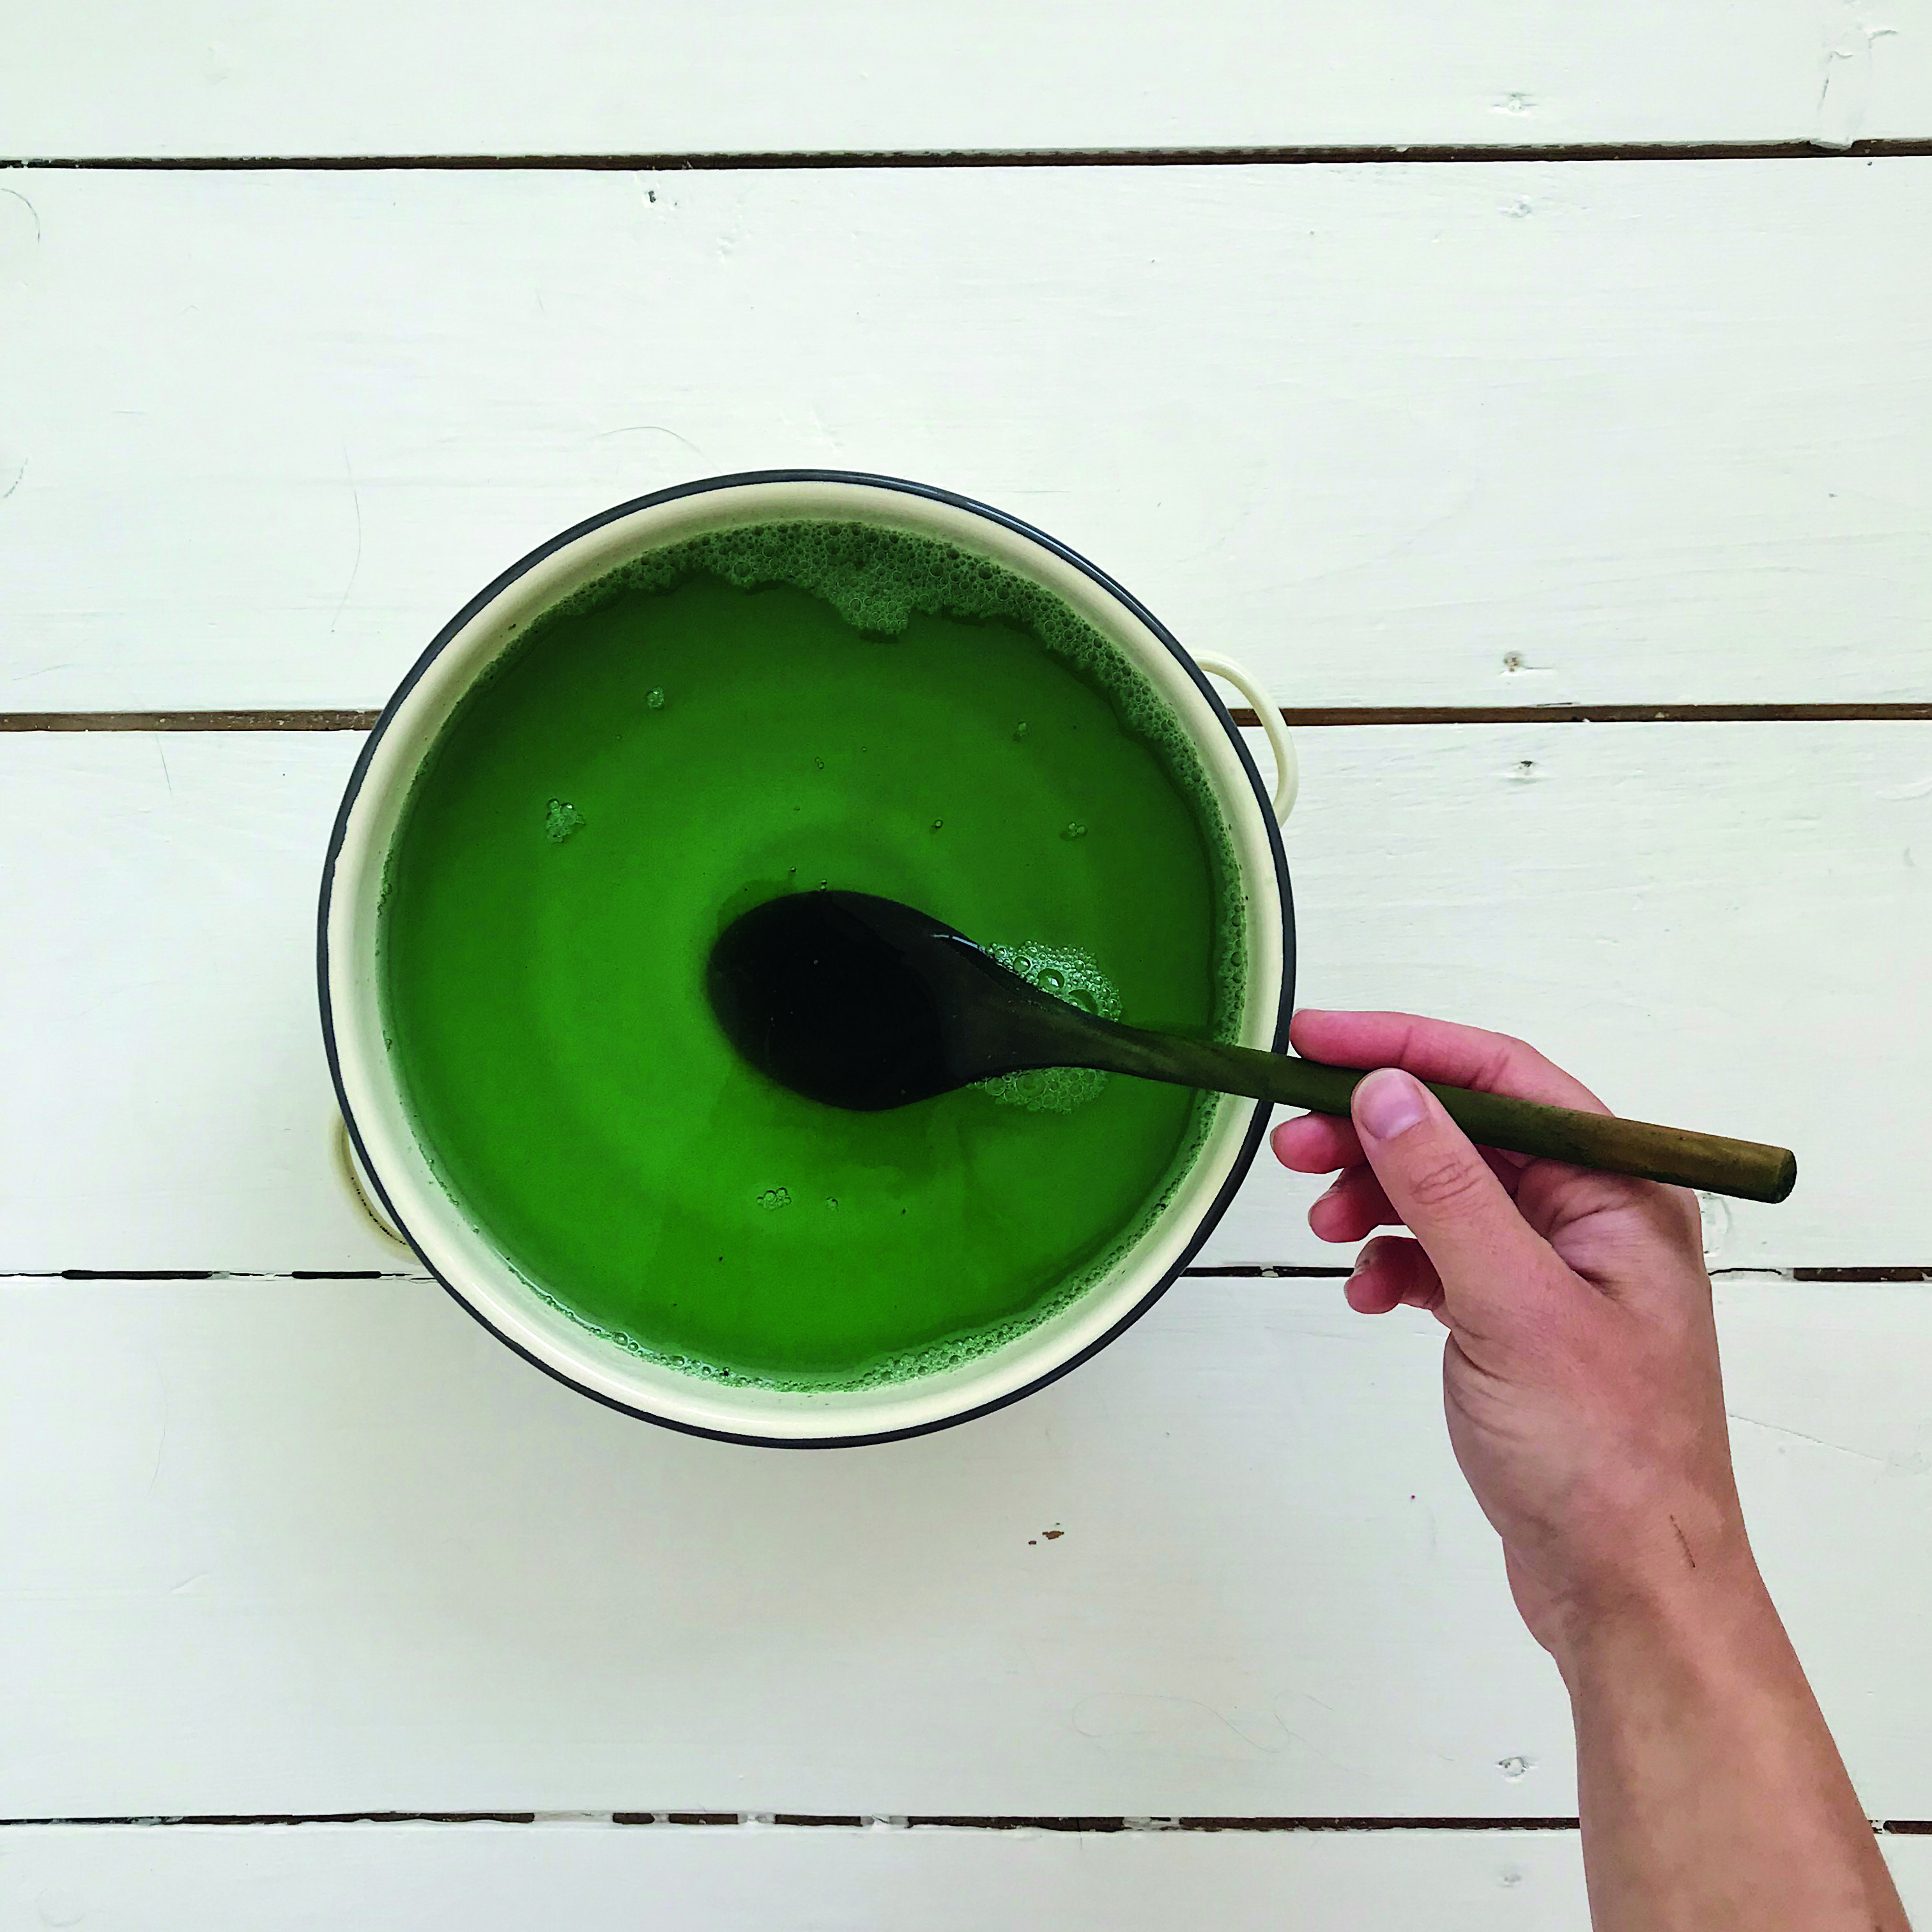
Weigh out 5g of chlorophyll extract powder and add it to a large saucepan. Gradually add 2l of water, stirring the powder to make sure it’s dissolved, then heat the dye so it’s gently simmering.

Step 3

Picnic blanket pattern Step 3

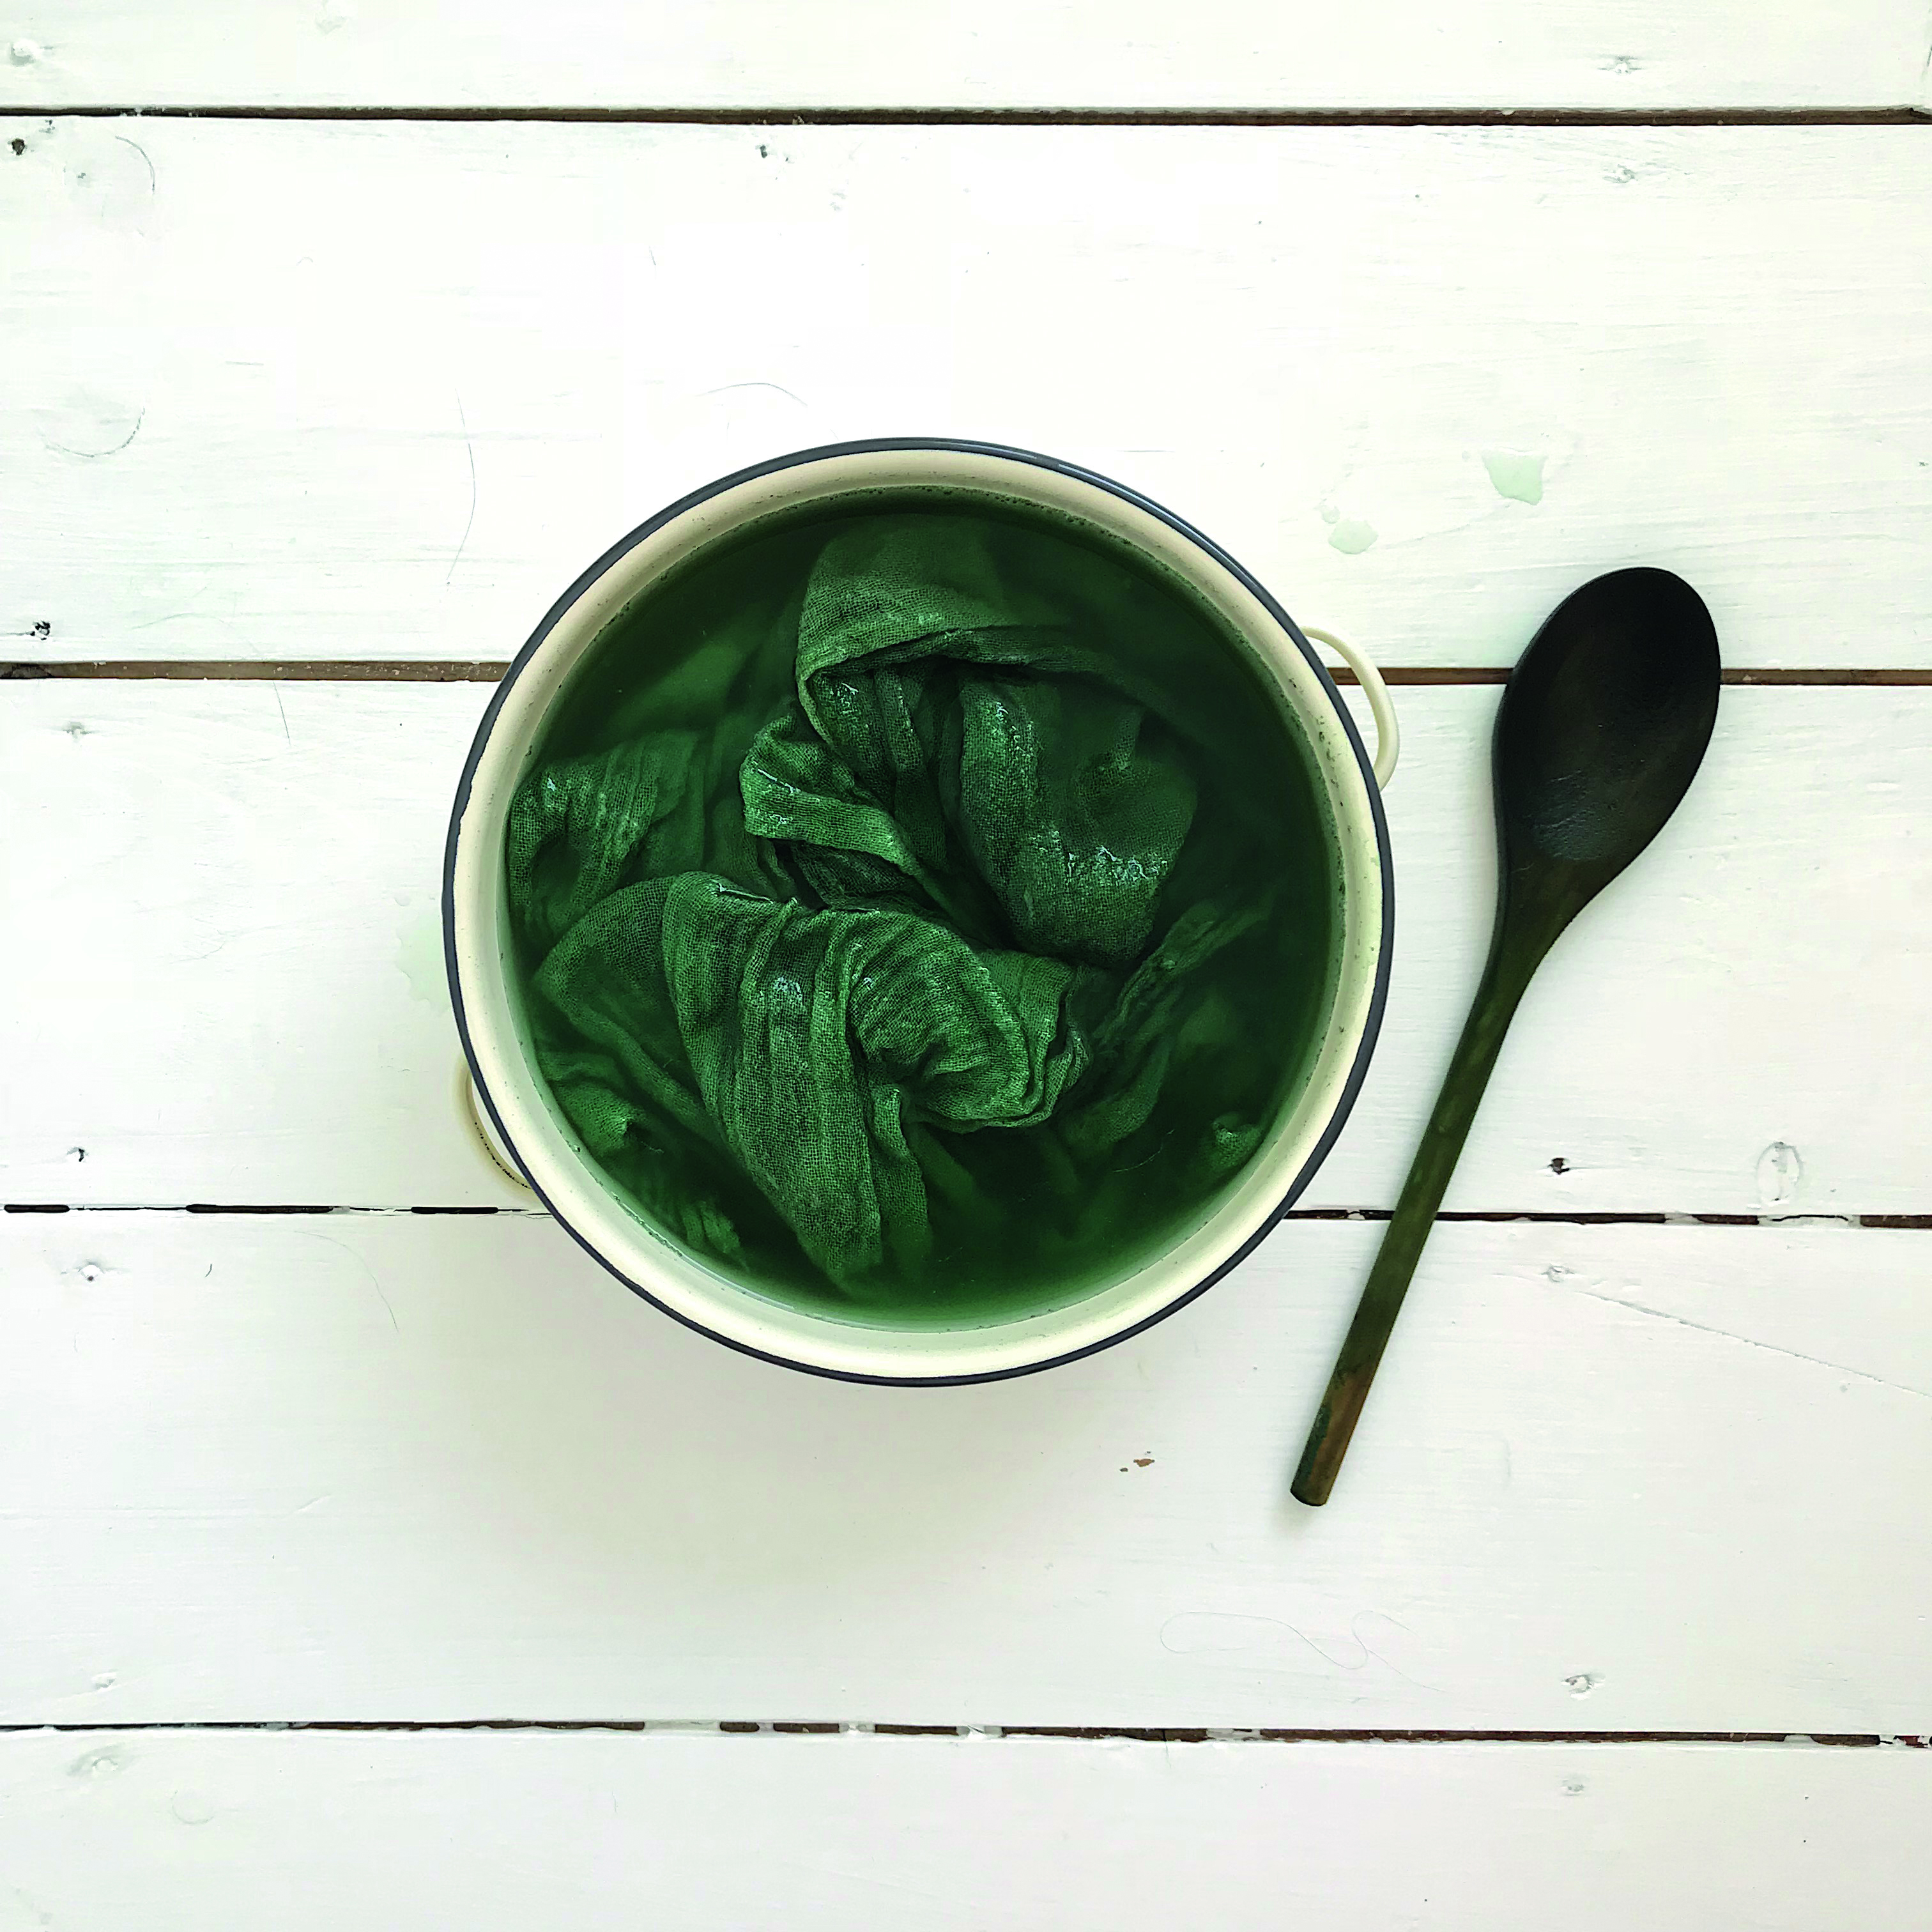
Wet the soya-treated fabric and add it to the dye pot, stirring it with a wooden spoon so the dye is evenly distributed. Turn off the heat and allow the dye to cool.

Step 4

Picnic blanket pattern Step 4

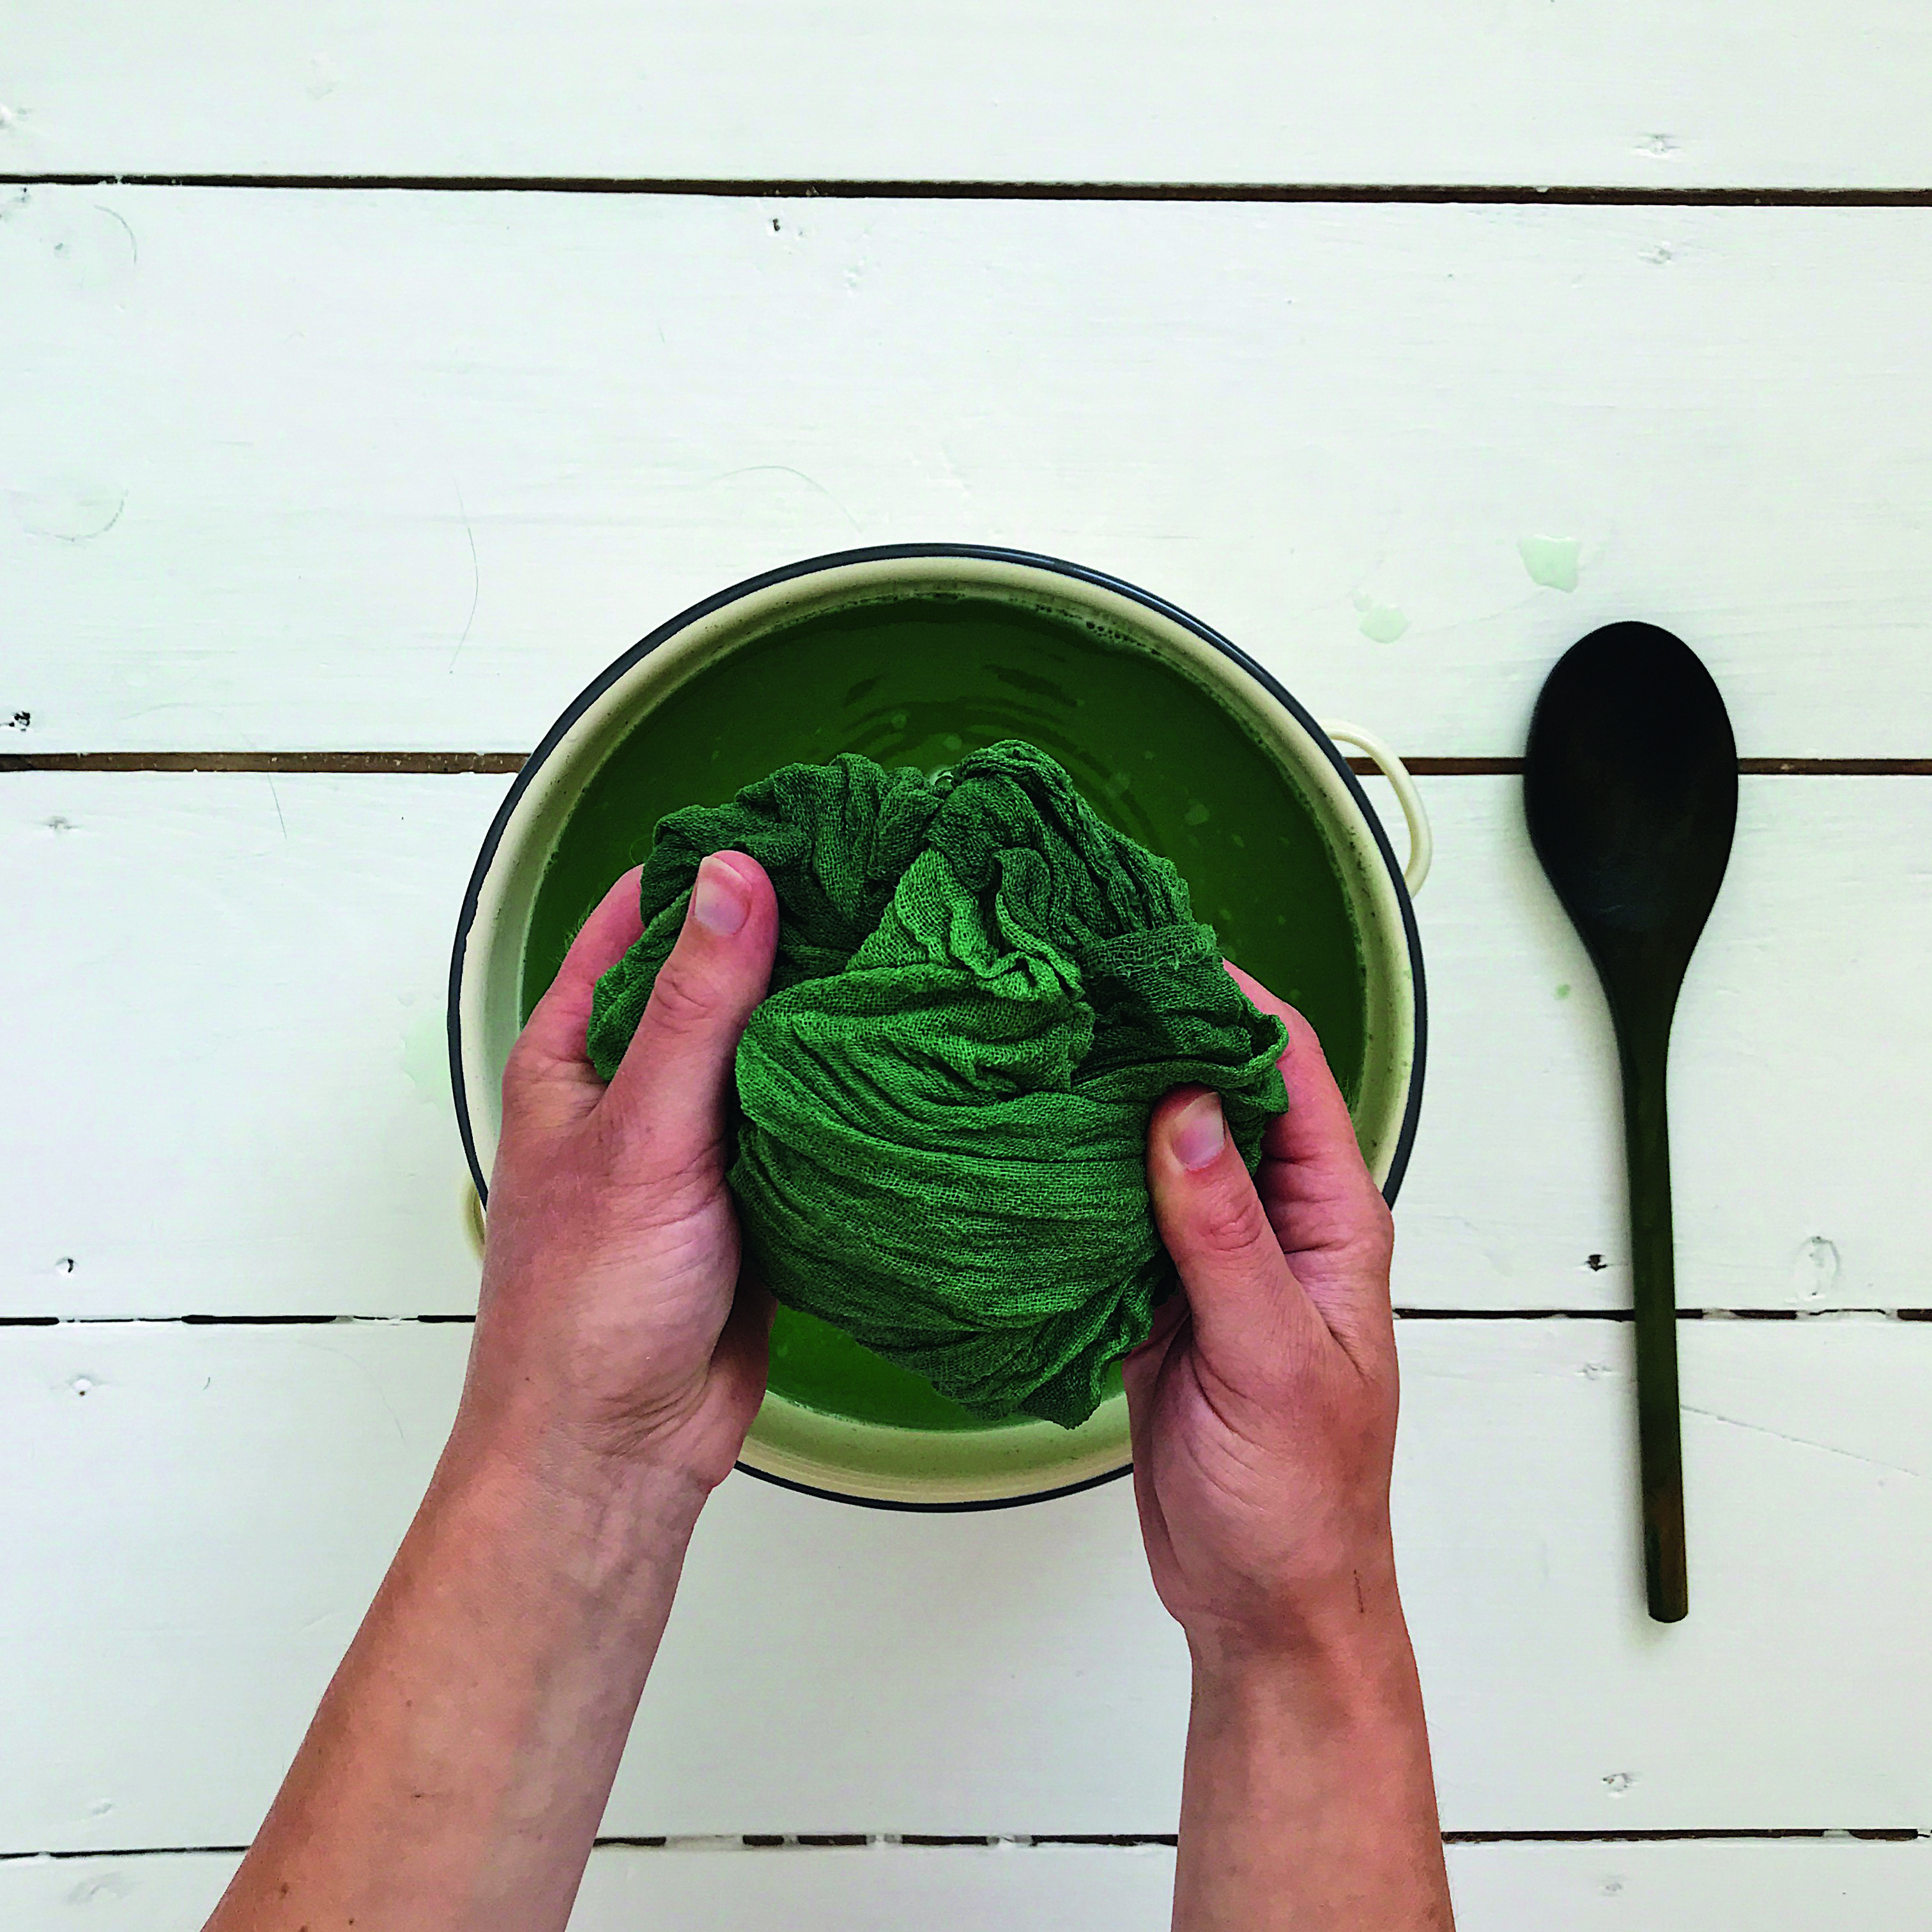
Once the dye is cool, remove the fabric and squeeze out the excess dye back into the pot before hanging it outside to dry. If you require a darker shade, the fabric can be dipped into the dye again. Otherwise, simply iron the fabric to set the colour, then rinse it in the washing machine on a cool water cycle.

Step 5

Picnic blanket pattern Step 5

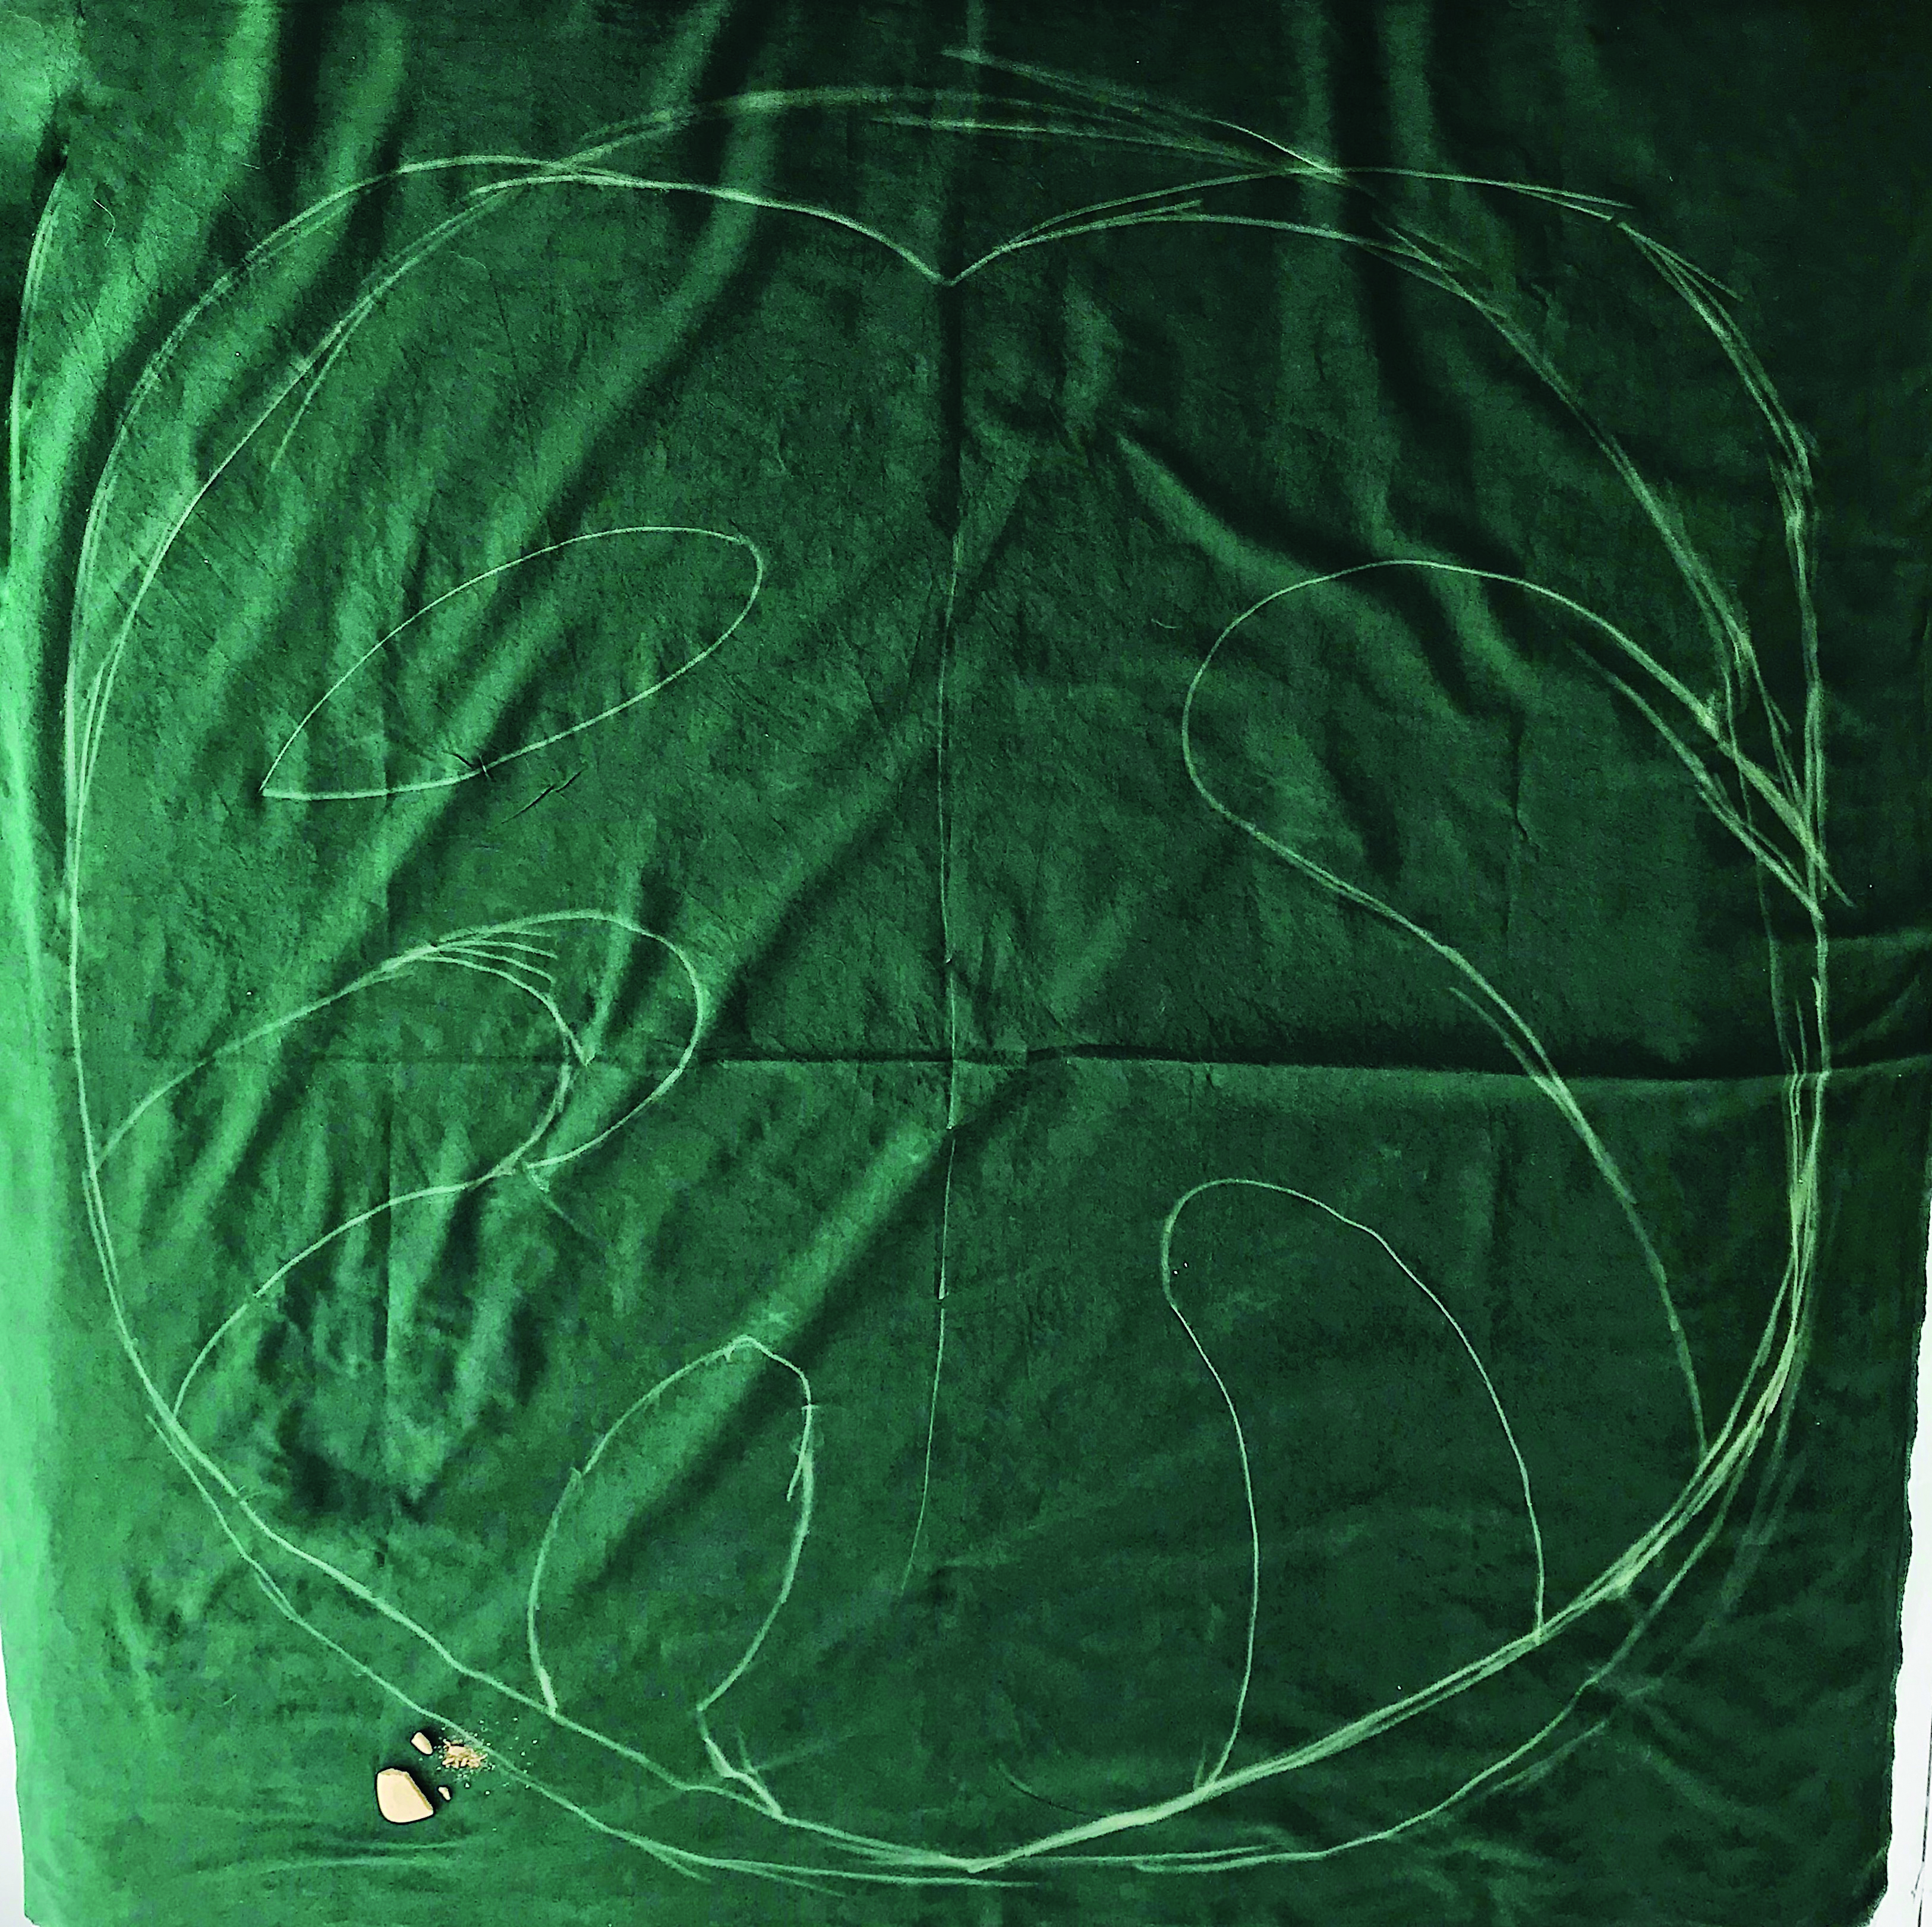
Using tailor’s chalk draw a monstera leaf design onto the wrong side (WS) of the dyed green fabric before cutting it out. Avoid creating any narrow sections in your design as these will be harder to sew. Drawing the design out on the WS of the fabric means that any chalk lines will be hidden eventually, so you can amend the design until you’re happy with it.

Step 6

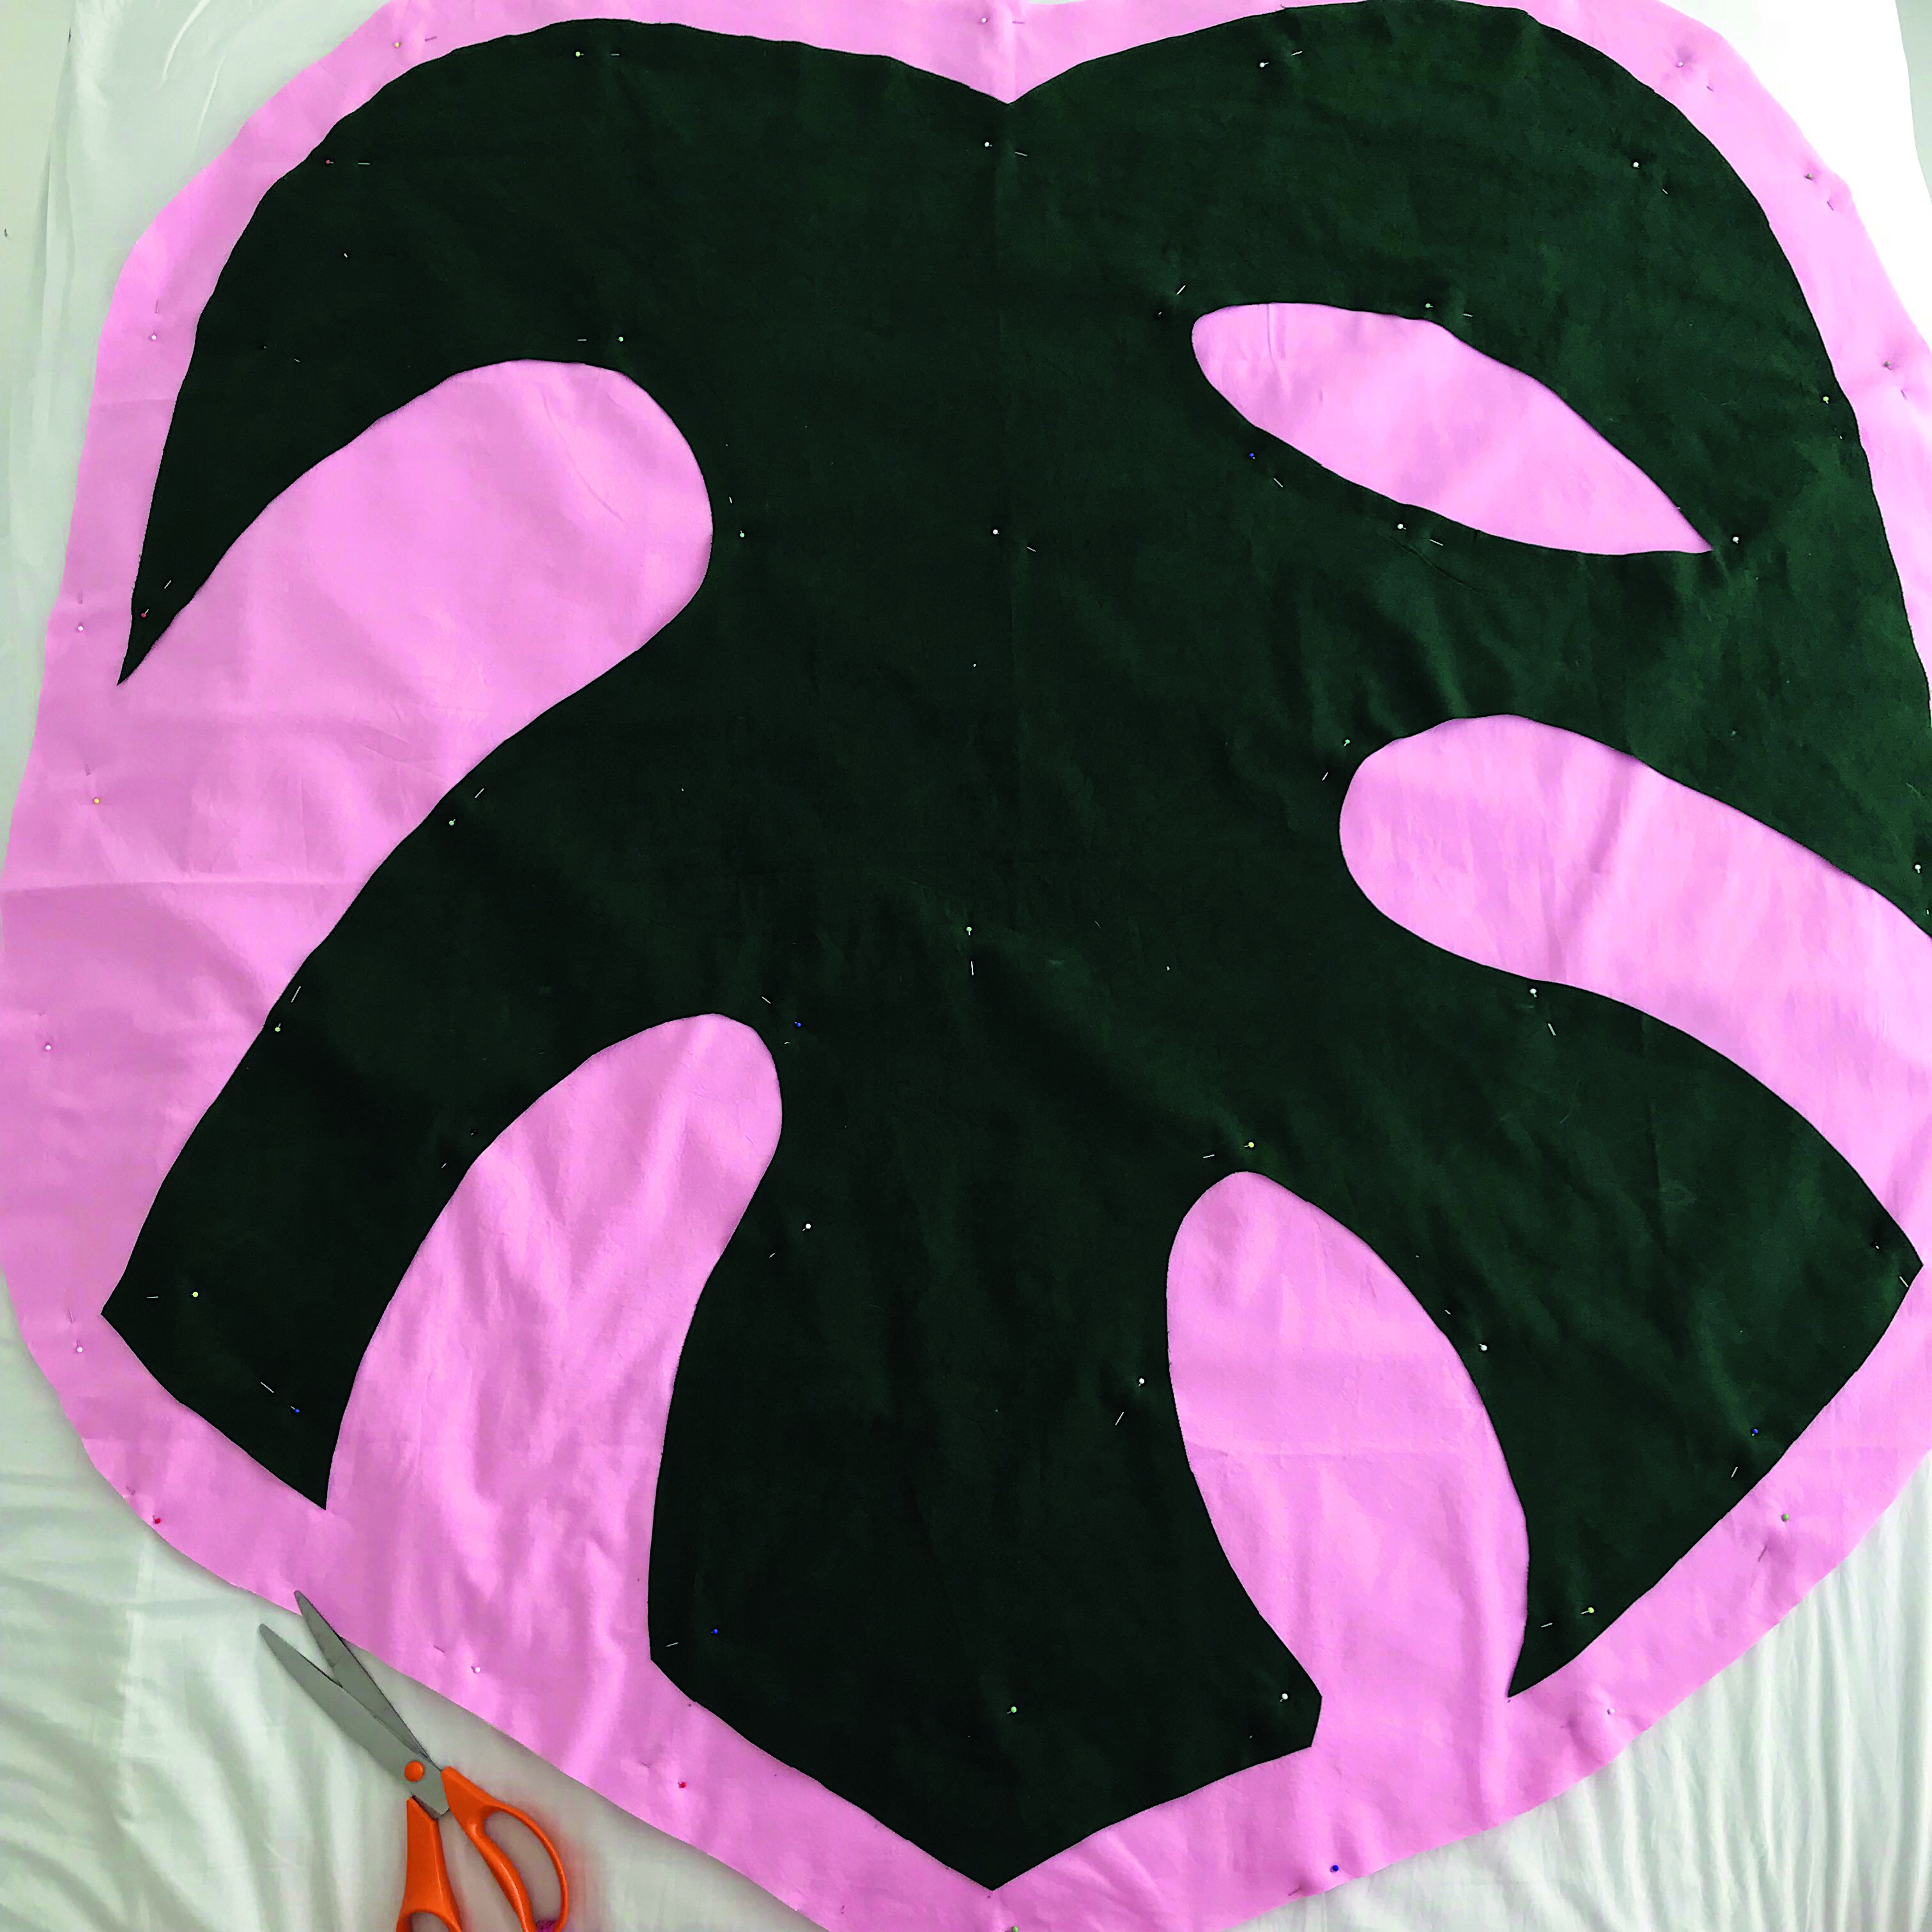
Place the two pieces of pink fabric with WS together and the wadding in between, then place the leaf shape on top, right side (RS) up. Pin the sandwiched fabrics together, paying special attention to the outer edges of the leaf.


Step 7

Picnic blanket pattern Step 6

Following the leaf shape, trim the layers of pink fabric and wadding to approximately 10cm (4") from the edges of the leaf all the way around to form a border.

Step 8

Picnic blanket pattern Step 7

Following the leaf shape, trim the layers of pink fabric and wadding to approximately 10cm (4") from the edges of the leaf all the way around to form a border.

Step 9

Picnic blanket pattern Step 8

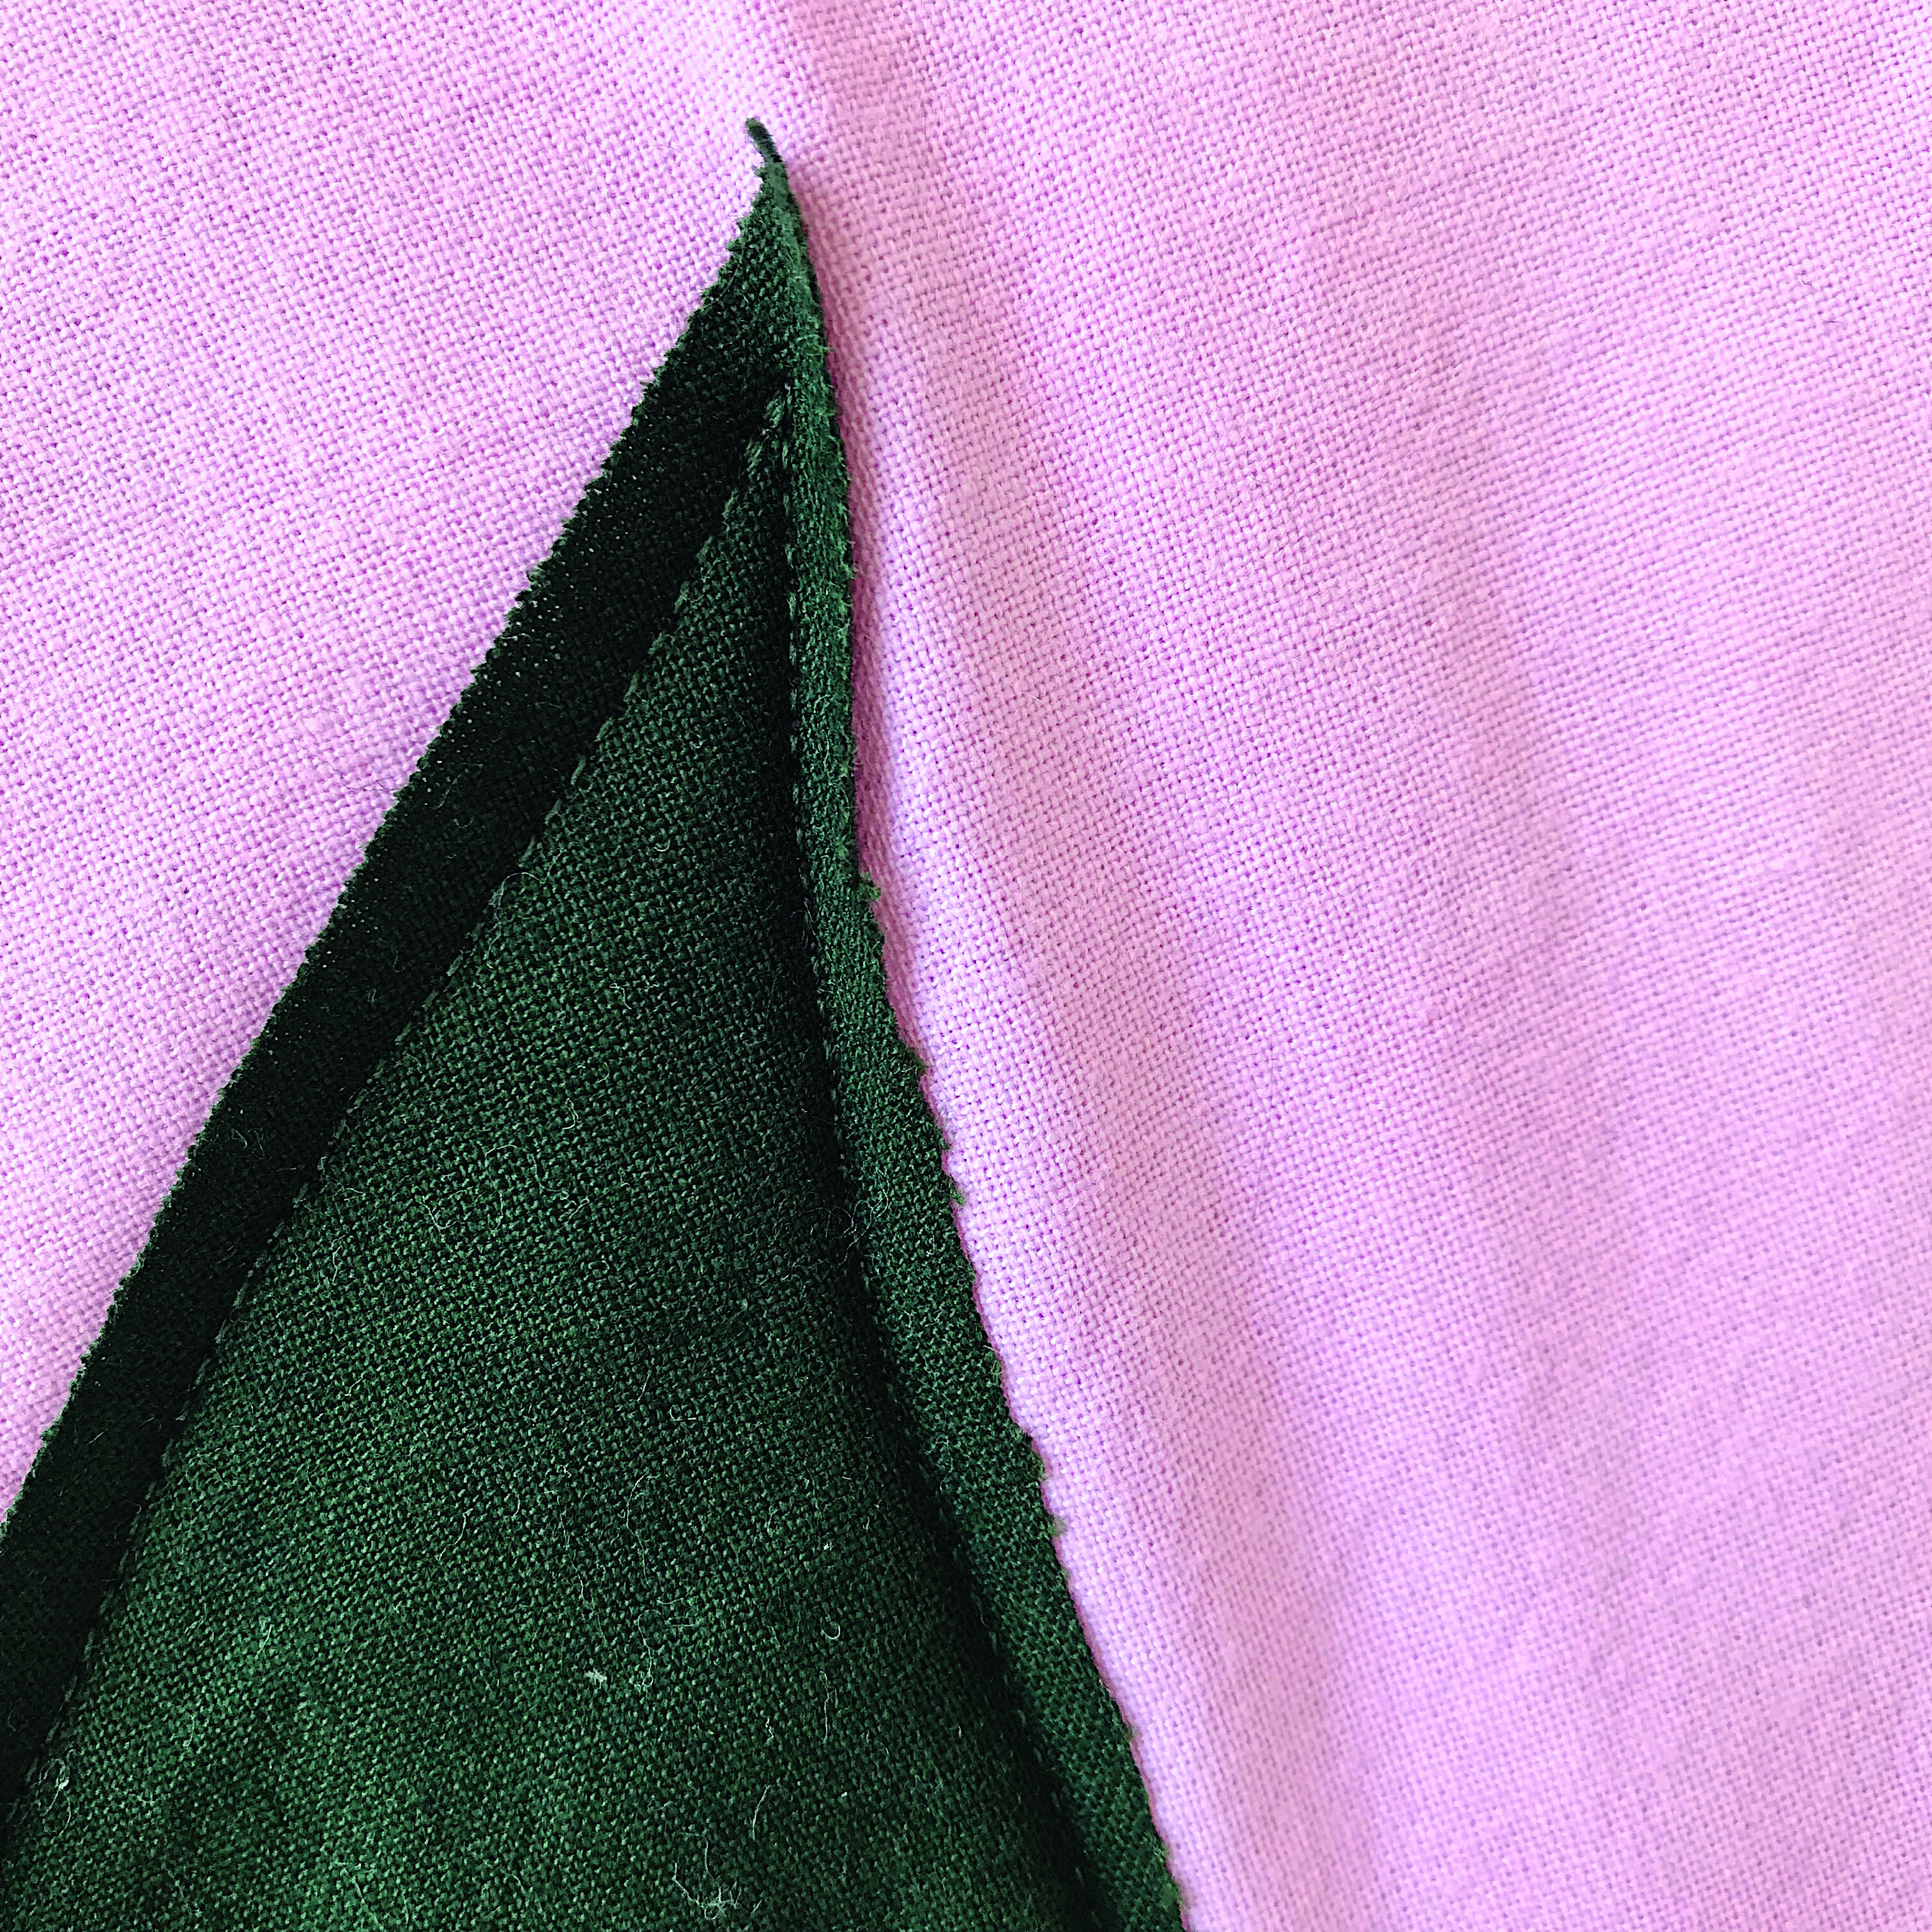
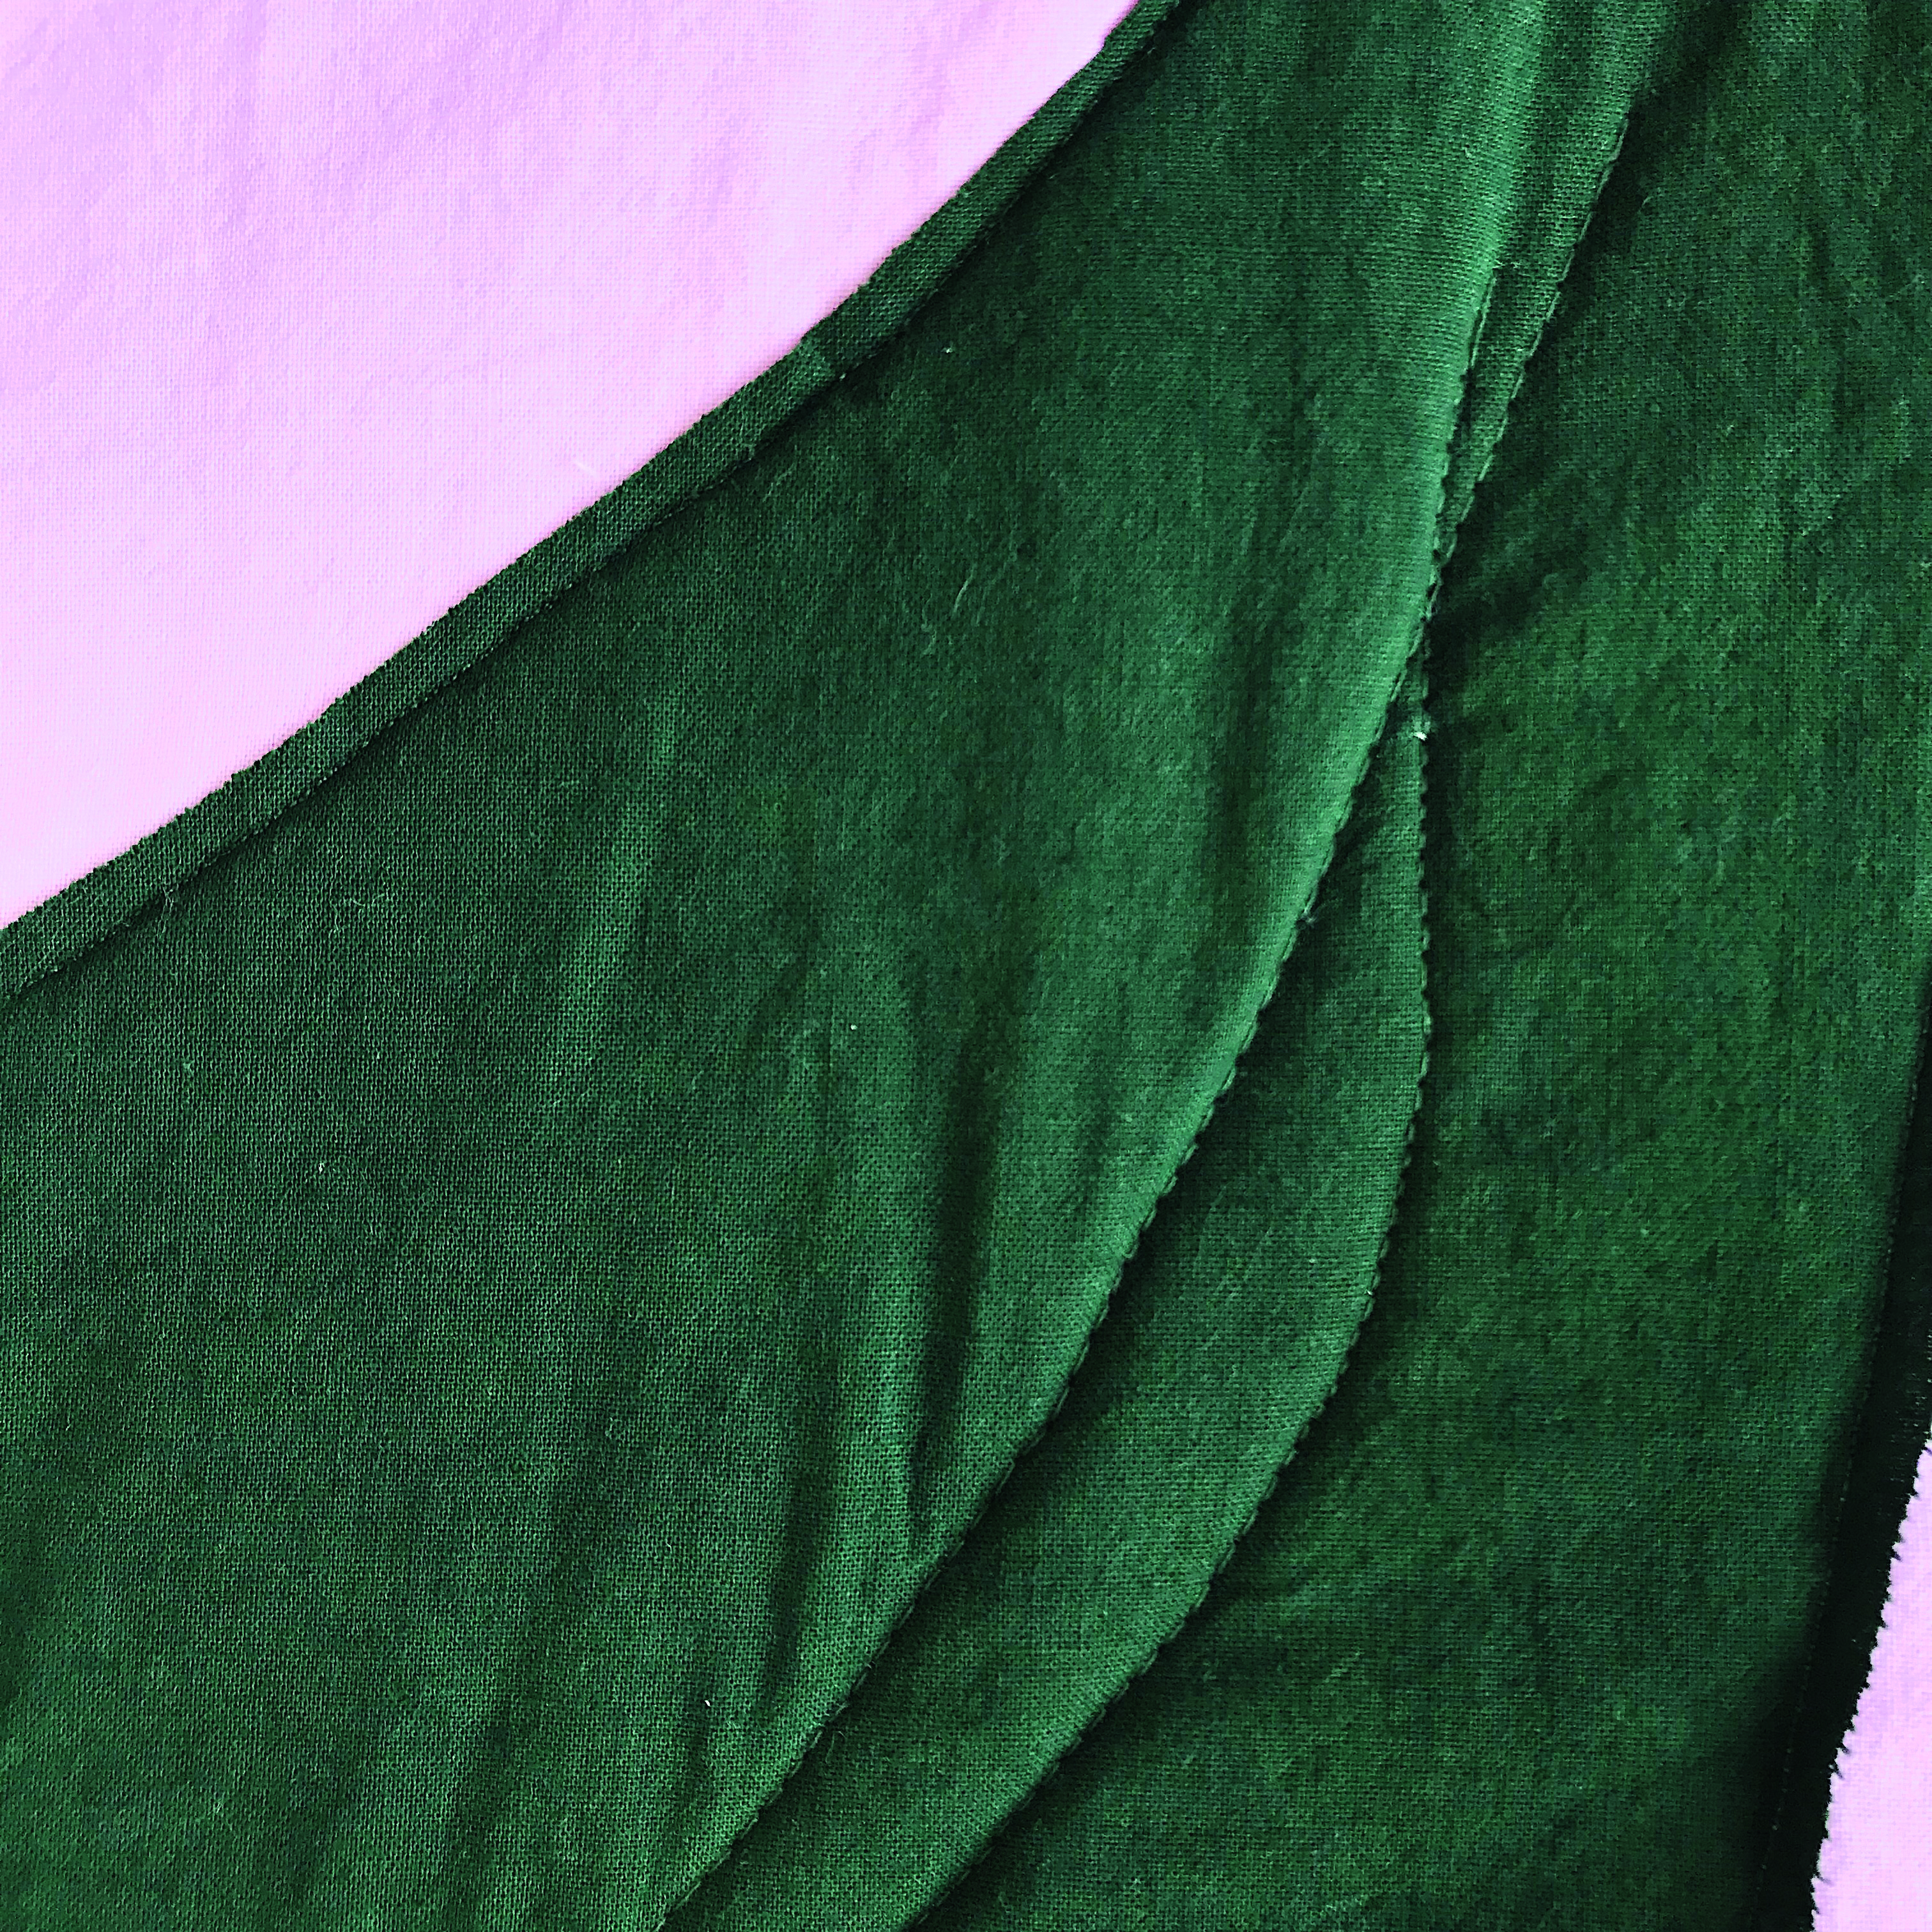
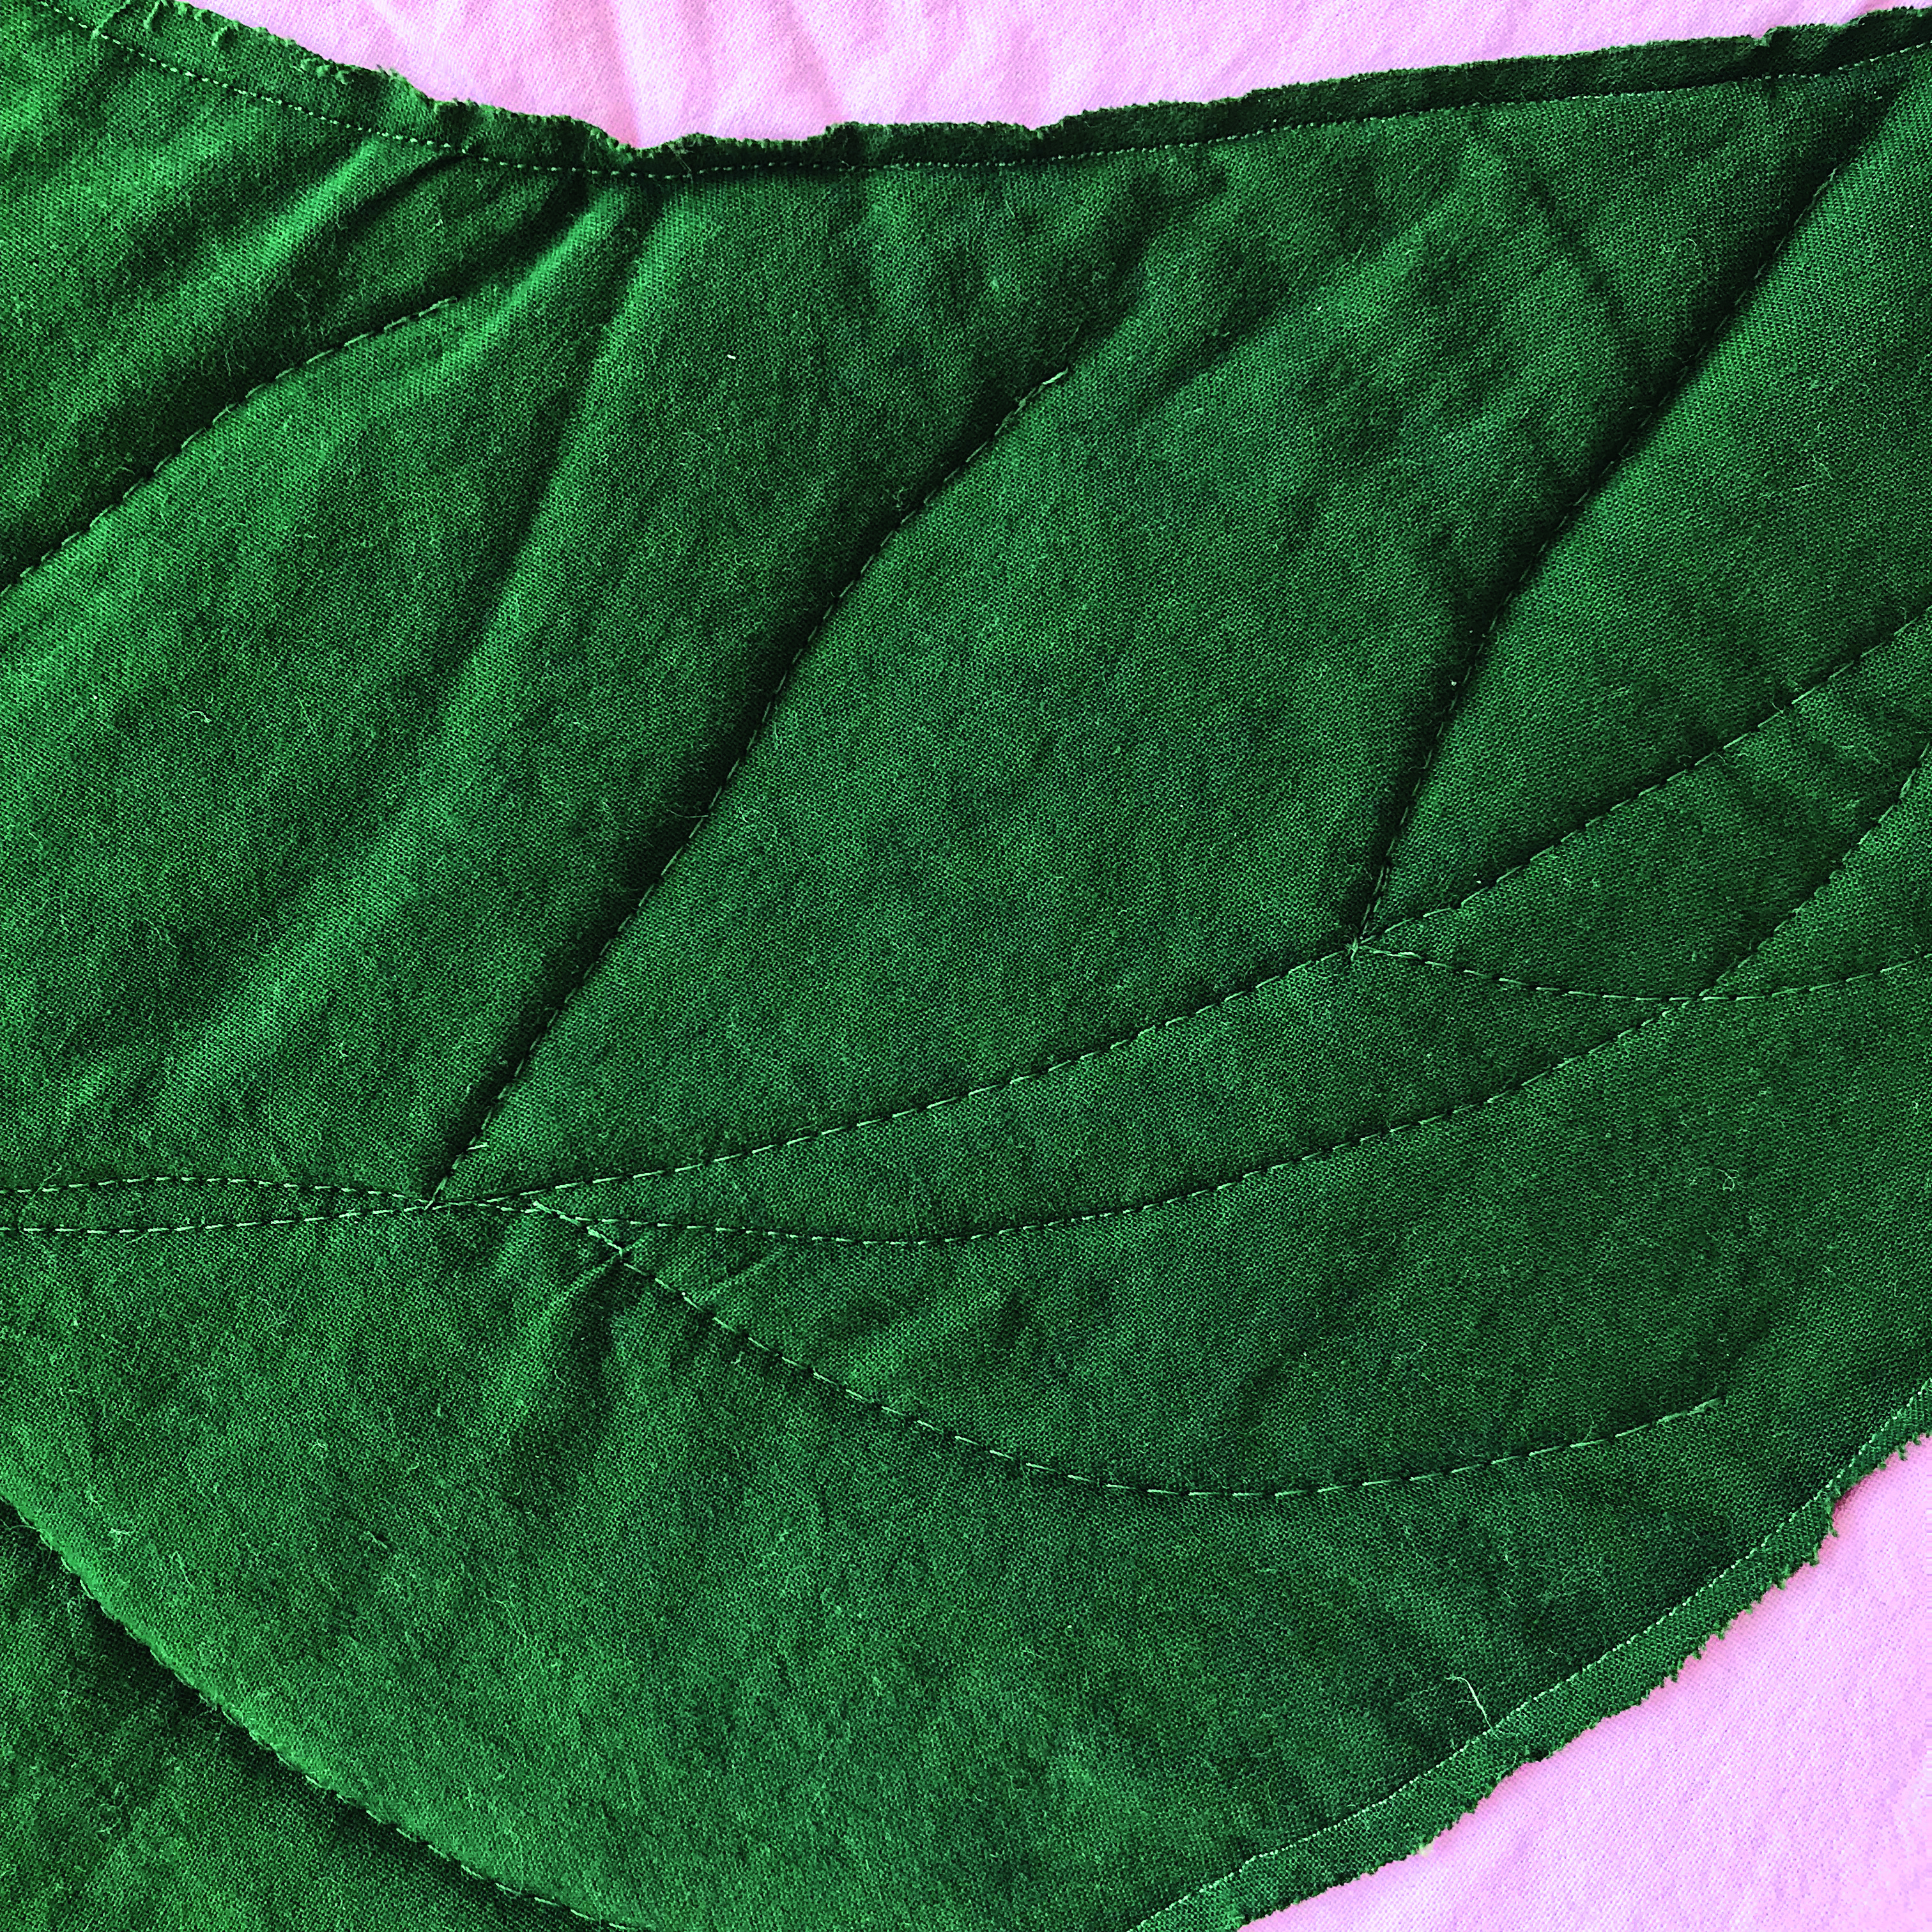
Once the leaf is secured to the pink fabric, quilt the blanket by stitching an organic pattern that mimics the veins of a leaf onto the green fabric, starting with the larger areas of the leaf. Use the main image for reference.

Step 10

Picnic blanket pattern Step 9

Next, sew a more detailed pattern, as shown, filling in any smaller gaps on the green fabric.

Step 11

Picnic blanket pattern Step 10

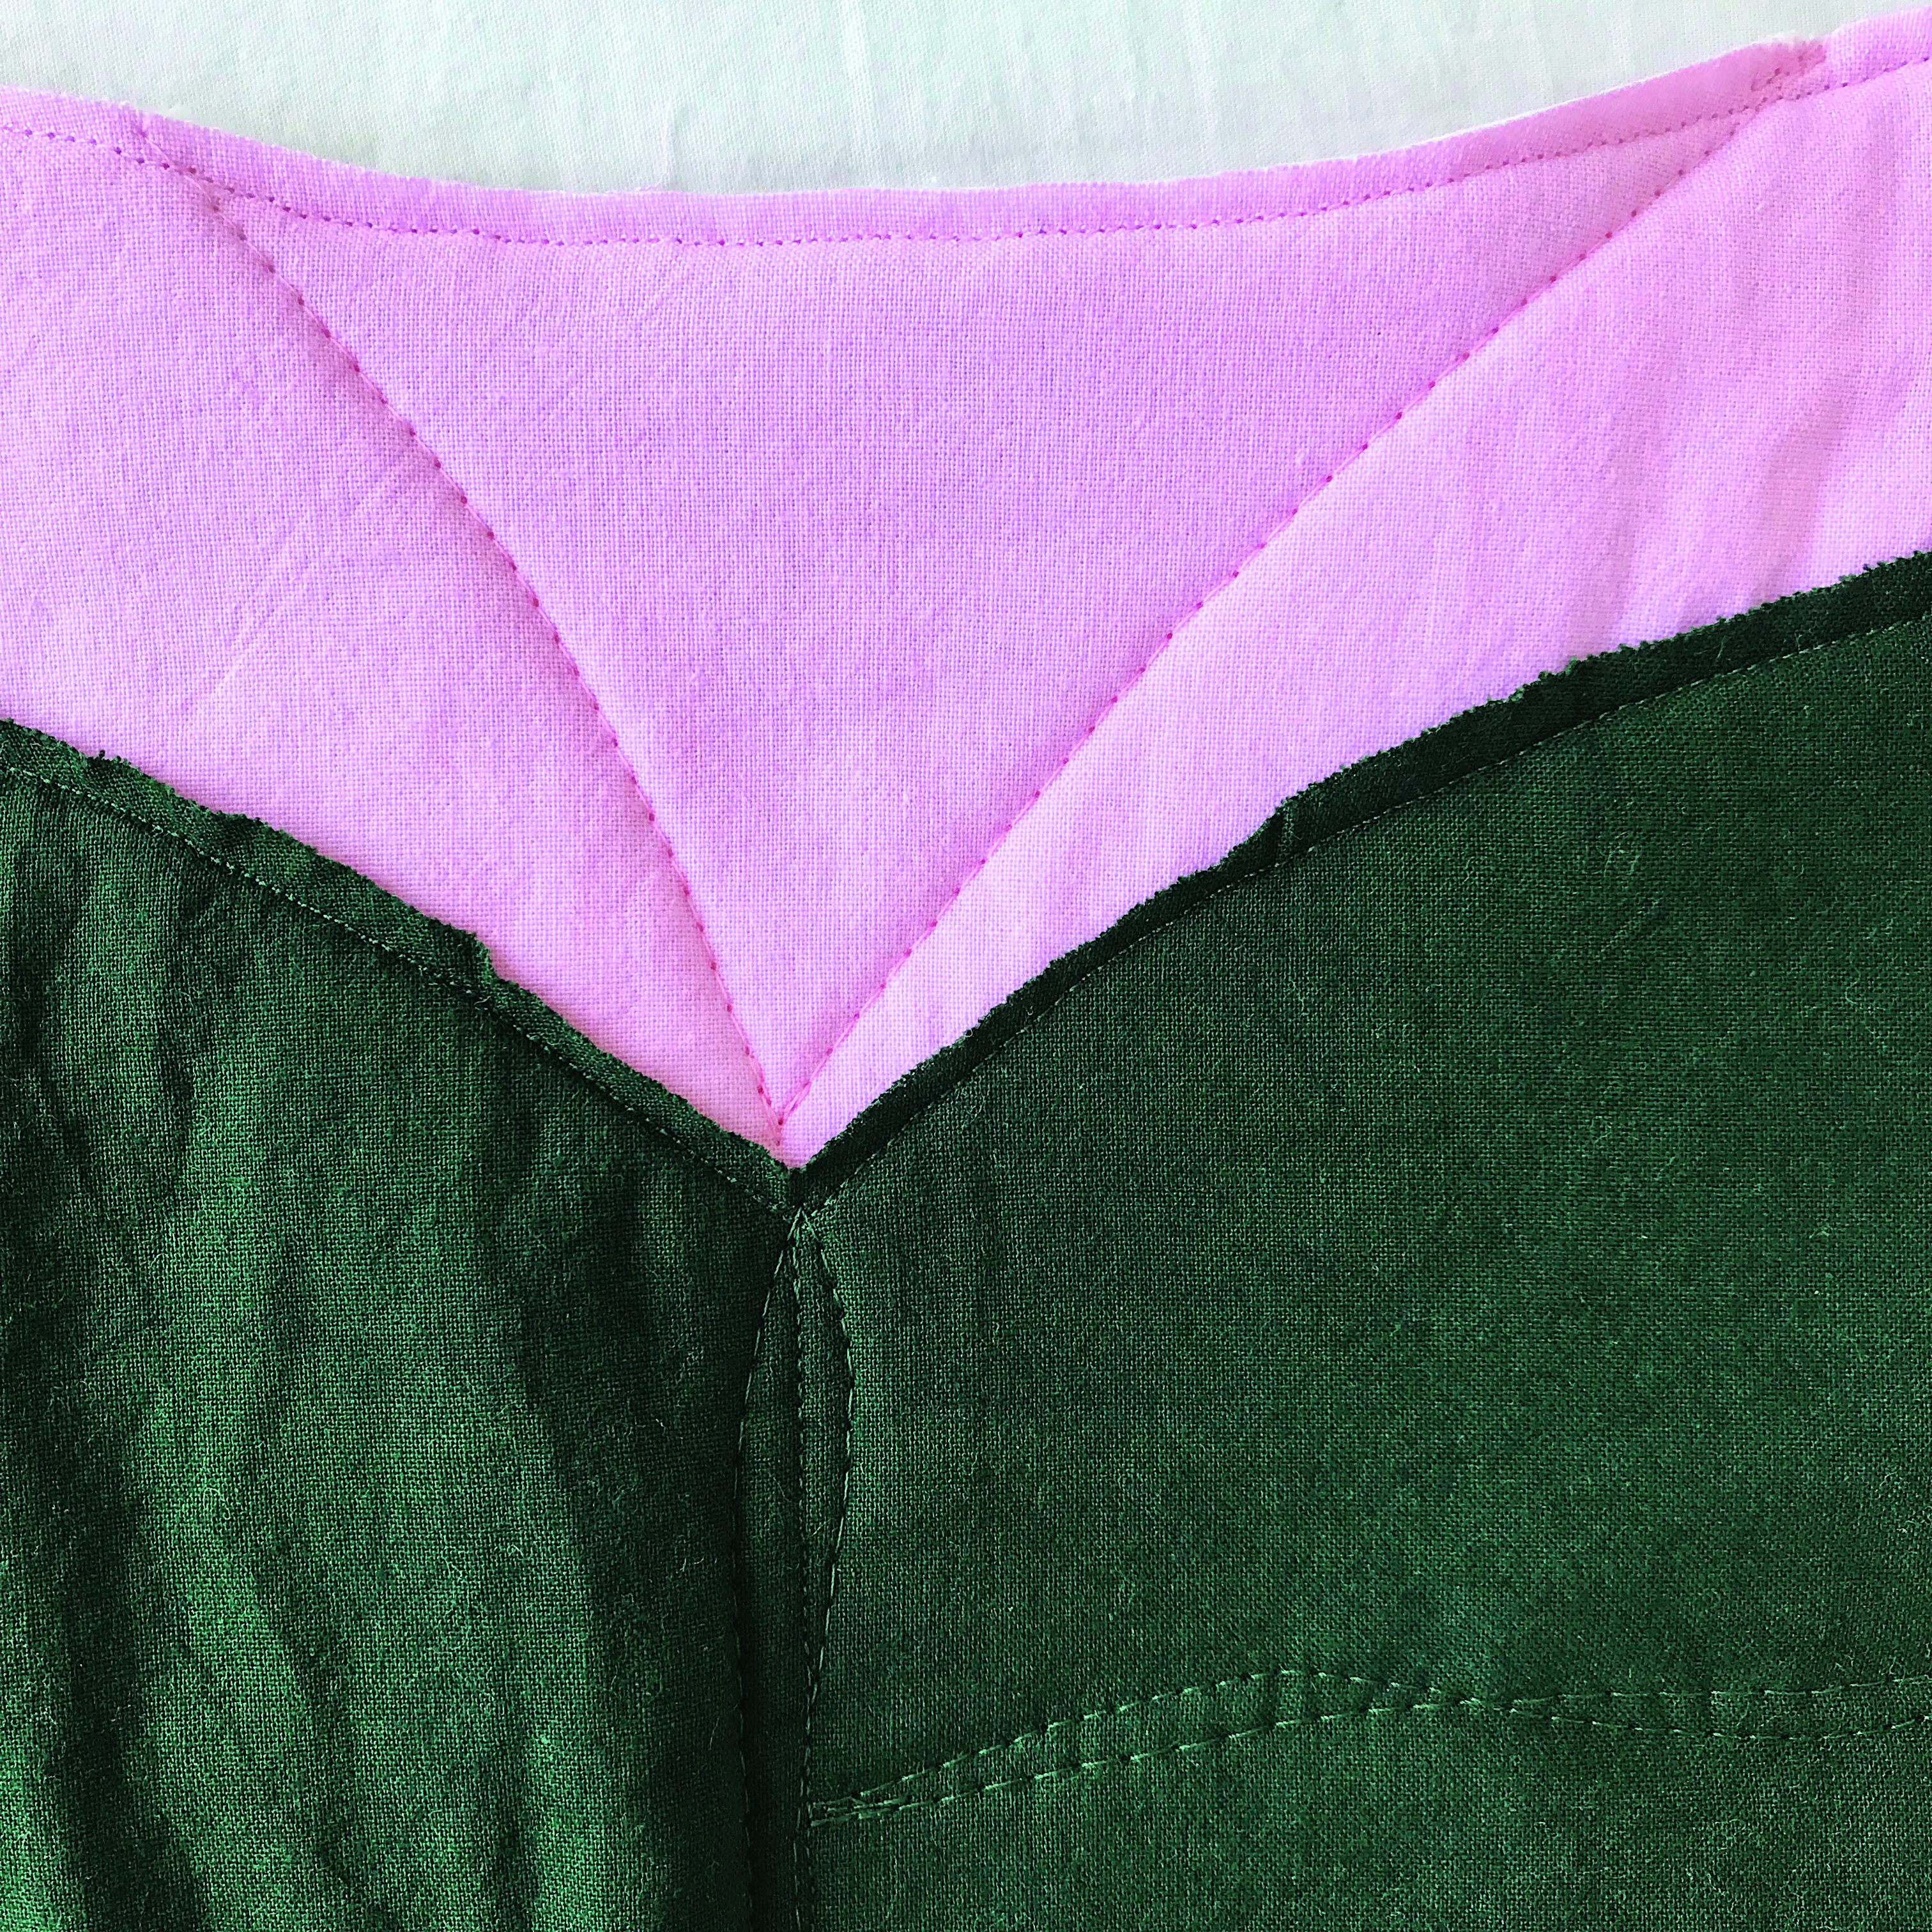
To secure the outer edges of the blanket, thread the sewing machine with pink top thread and sew several curved lines from the edge of the leaf to the outside of the quilt, then sew around the outside of the quilt, 0.5cm (1⁄4") in from the edge.

Step 12

Picnic blanket pattern Step 11

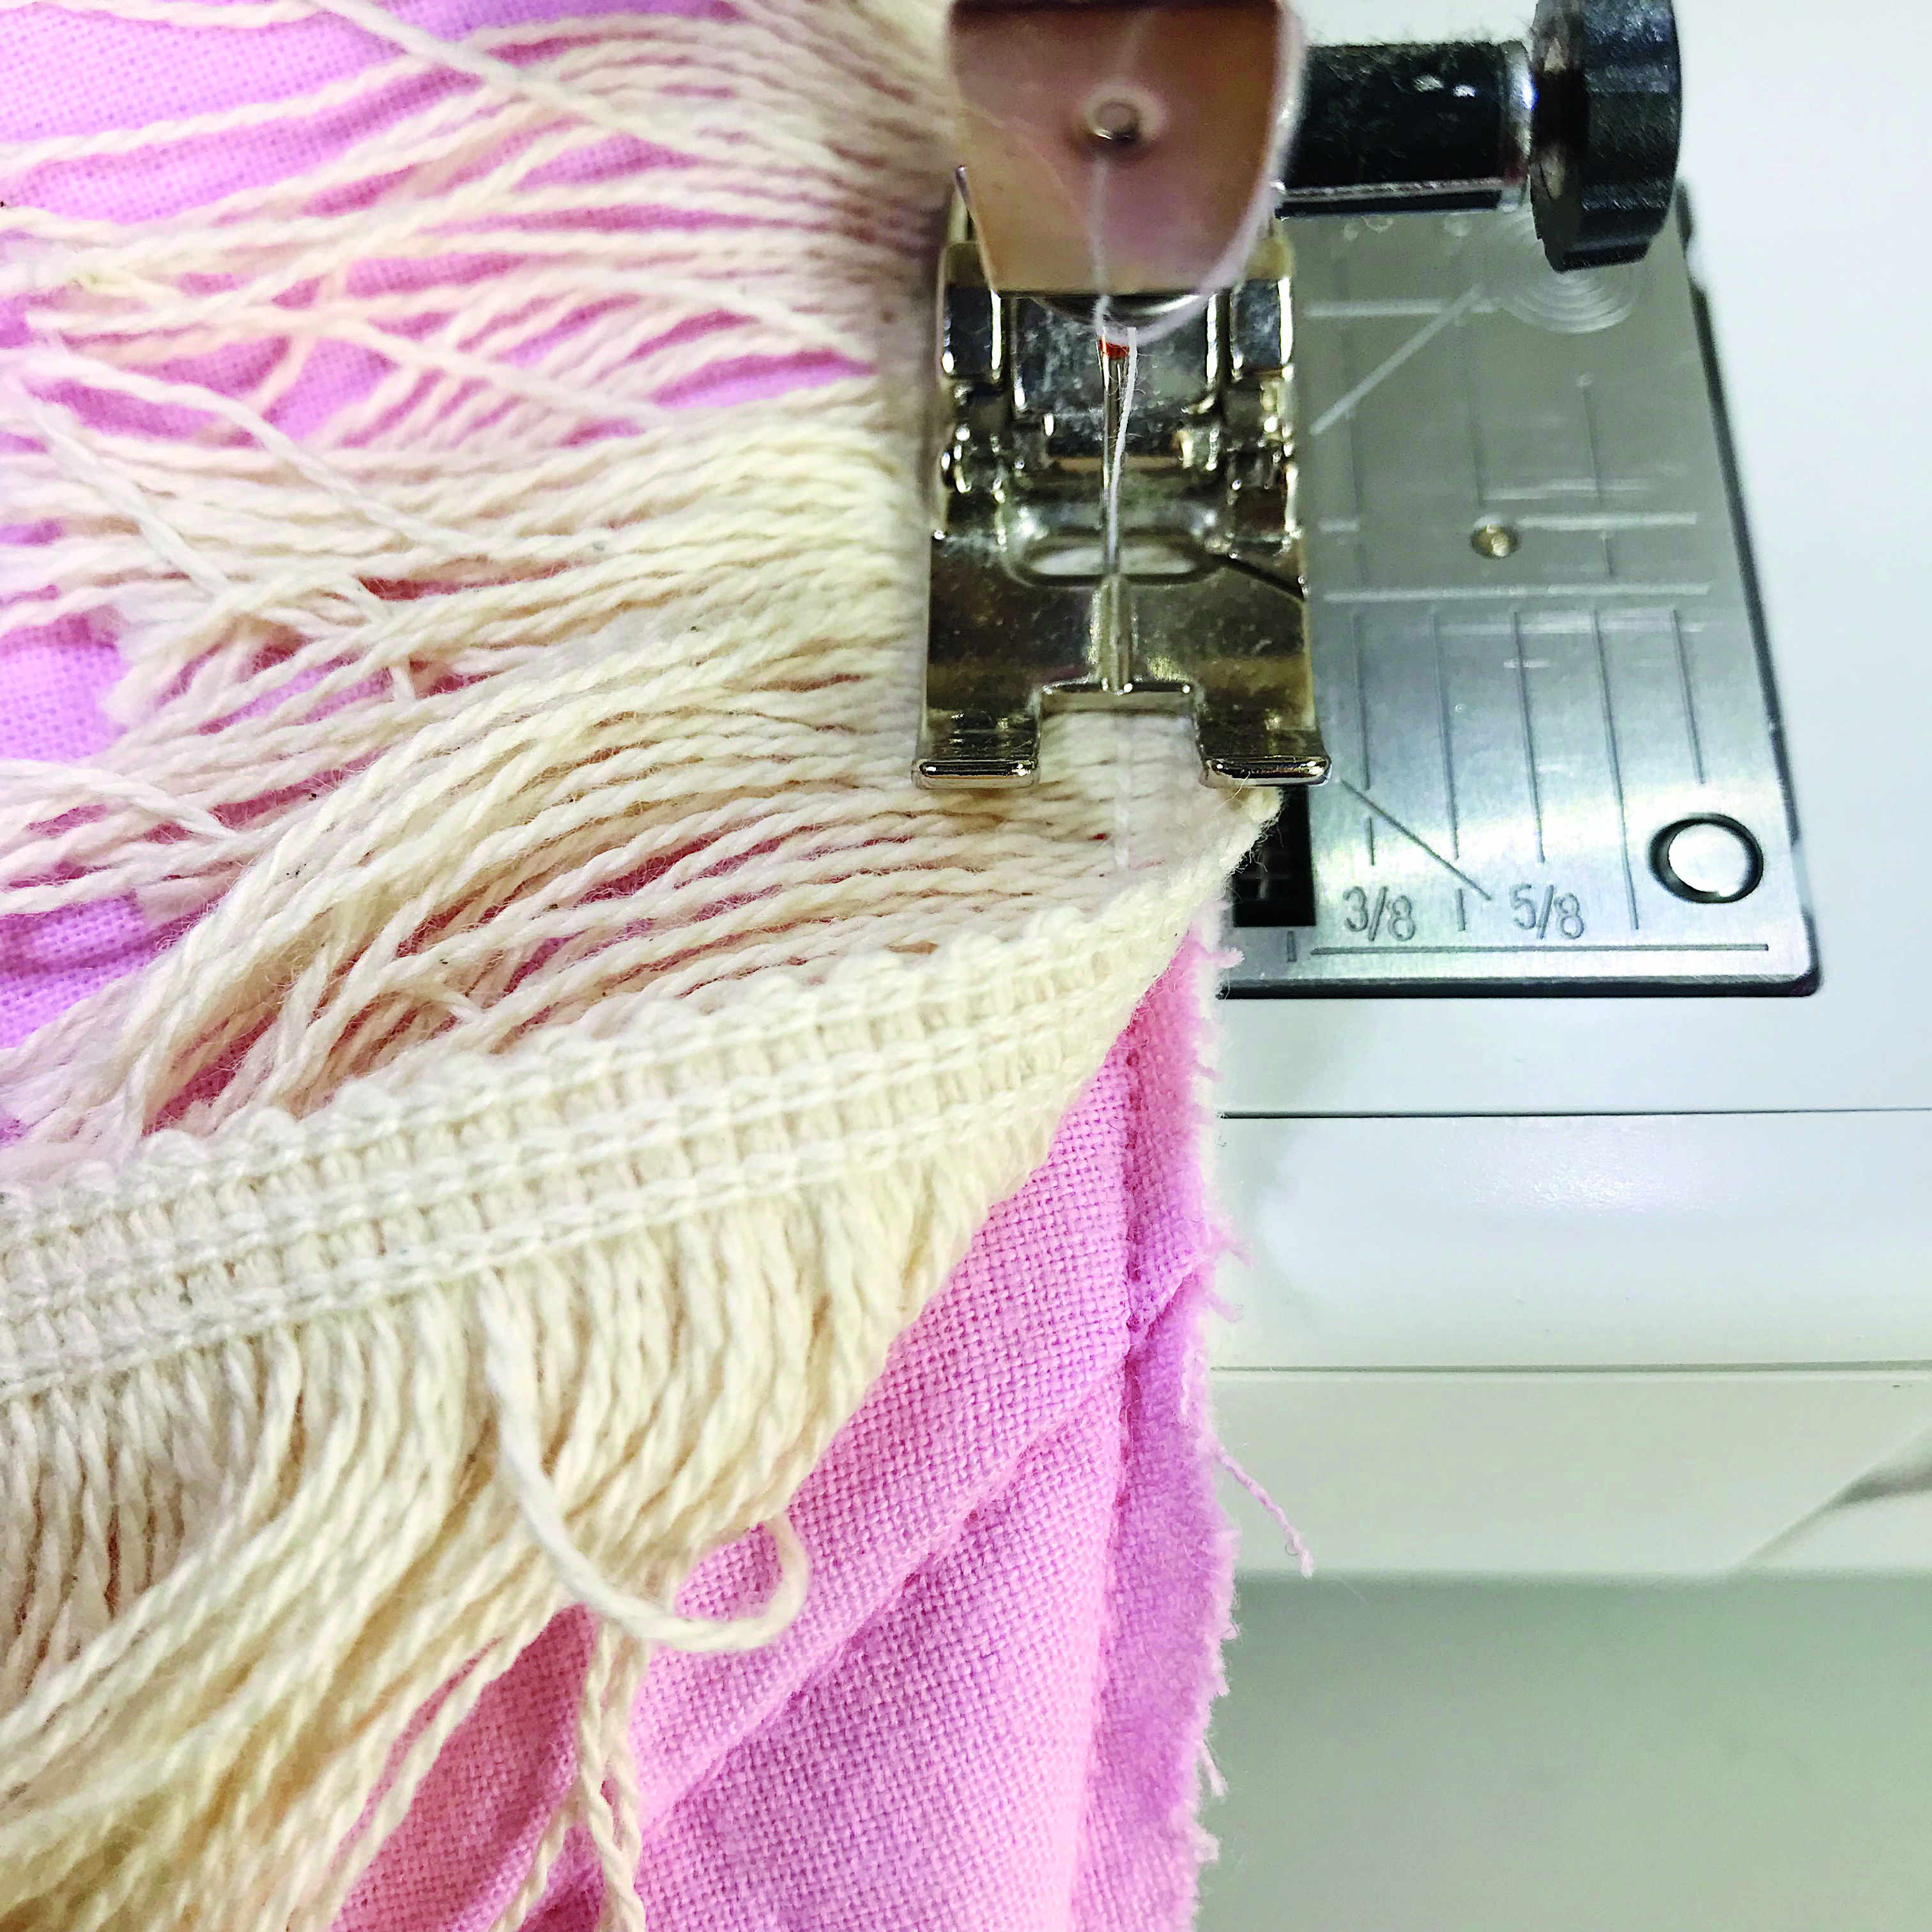
To attach the fringing, pin and sew to the WS of the fabric using cream thread, with the woven edge of the fringing along the raw edge of the quilt.

Step 13

Picnic blanket pattern Step 12

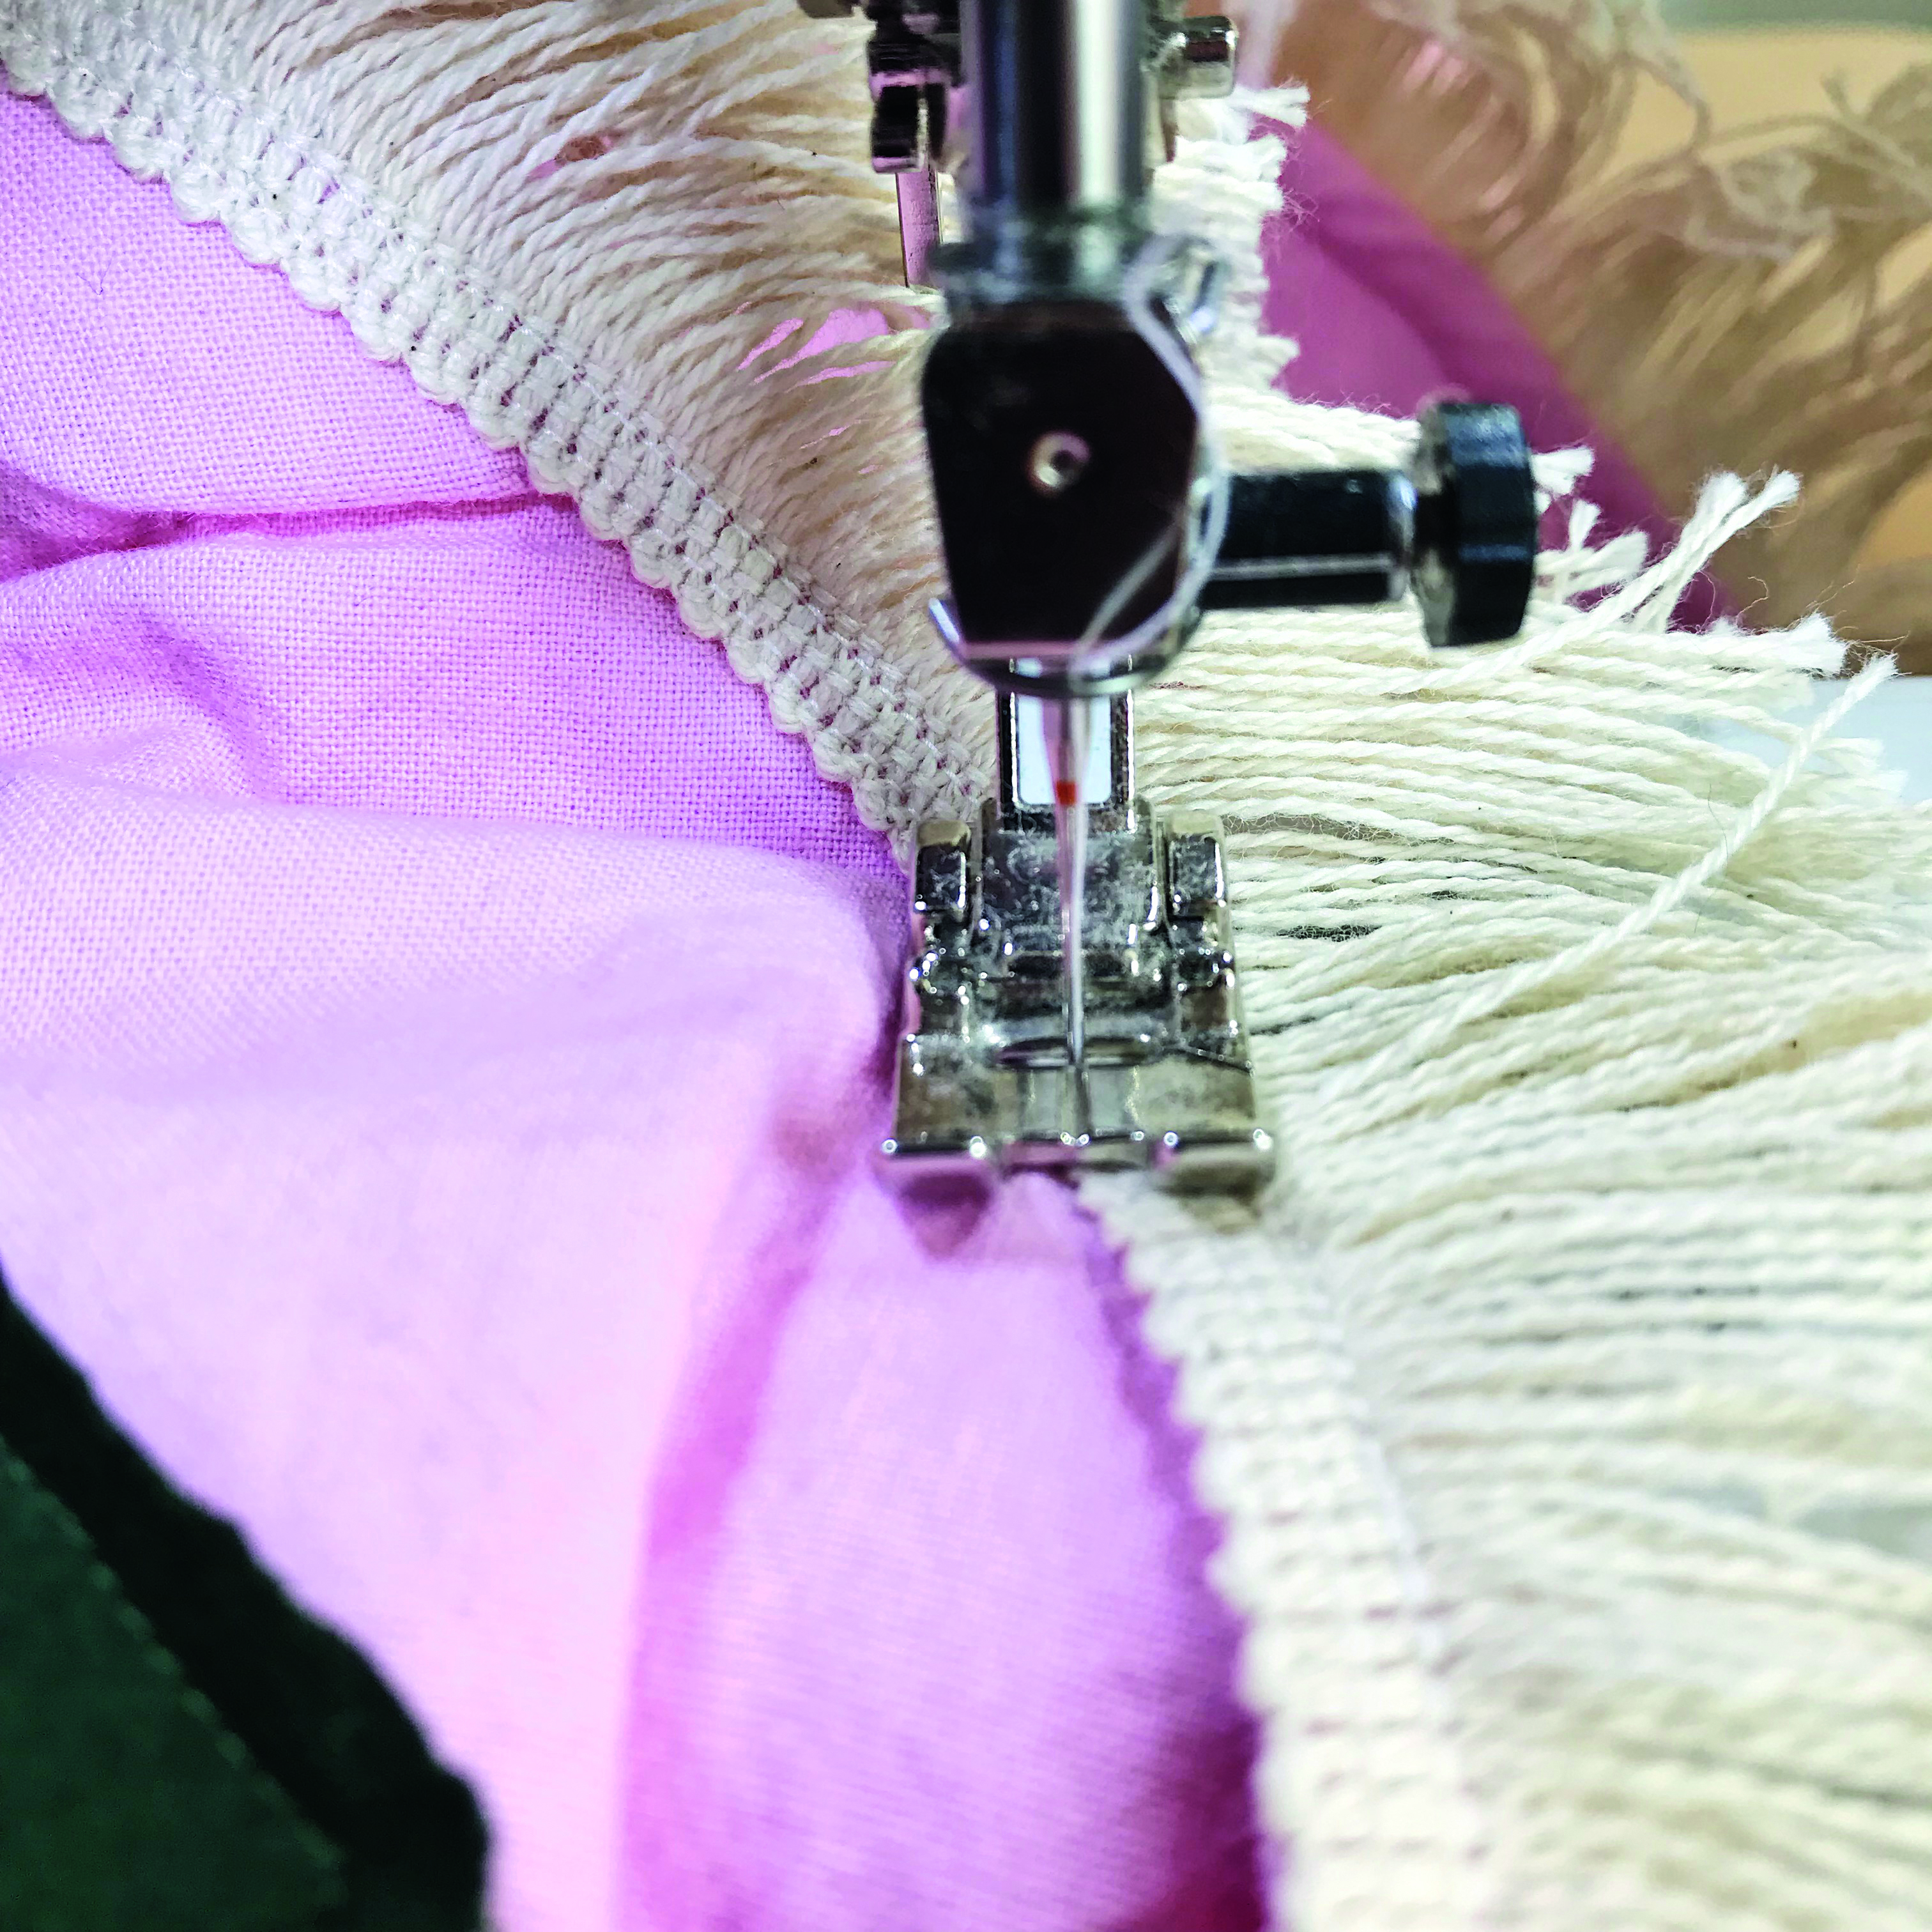
To finish, turn the edge of the fringing over to the RS of the fabric and sew another line of stitching to secure it in place.

We hope you’ve enjoyed sewing Alicia’s picnic blanket pattern! Now you need another project to work on why not head over to our sewing patterns for beginners? It’s full of free projects like our free rabbit sewing pattern and a pinafore dress sewing pattern.