Sun top pattern

Whip up a wear-with-anything top with Portia Lawrie’s speedy, simple and super-stylish sarong refashion. You'll be making this gorgeous sun top pattern all summer!

6 issues of Simply Sewing magazine for £14.99|Save 78%!

Published: May 5, 2021 at 8:52 am

Feeling inspired by the creative transformations on the Great British Sewing Bee? This beautiful sun top pattern is a great way to turn an old sarong into a summery top! It fits loosely, so it'll help you to stay cool and comfortable on hot summer days.

Designer Portia says: “What’s great about sarongs in refashioning terms is that they are flat panels of fabric – no seams, darts, collars or such like to work around. This project combines a beach staple with a grown-up take on that children’s classic, the pillowcase dress. It’s quick and straightforward to make, and, thanks to the lightweight nature of sarong fabric, is the perfect top for sunny picnics and balmy evenings.”

This is a good sewing project for a beginner to try – and if it goes wrong, you haven't wasted any expensive fabric! You could sew a channel at the hem and make another matching sash for a tie-waist top, or piece together two different sarongs for a chic colour-blocked look.

This pattern was first featured in Simply Sewing Magazine. Discover what's inside the latest issue or see the latest subscription offers.

Portia's refashioning tips

  • You could use shop-bought ribbon instead of making your own sash, or make it in a piece of contrasting fabric.
  • You can easily lengthen or shorten where the top sits on you by adjusting how tightly you tie the sash at the shoulders.
  • Use the same technique to refashion skirts, shirts, tees or pashminas into new summer tops. If you can make a tube of fabric out of it, then you can make one of these!

Looking for more summer patterns to make? Discover 20 of the best summer dress sewing patterns, learn how to turn a scarf into a summer cover up, or keep cool with our bucket hat sewing pattern.

If you're new to sewing, take a look at our beginner's guide to sewing, sewing patterns for beginners and our guides to the best sewing machines for beginners and how to use a sewing machine.

Read on to learn how to make Portia's sun top pattern…
You will need:

  • Sarong
  • Basic sewing kit
  • Safety pins
  • Sewing machine
  • Overlocker (optional)

Step 1

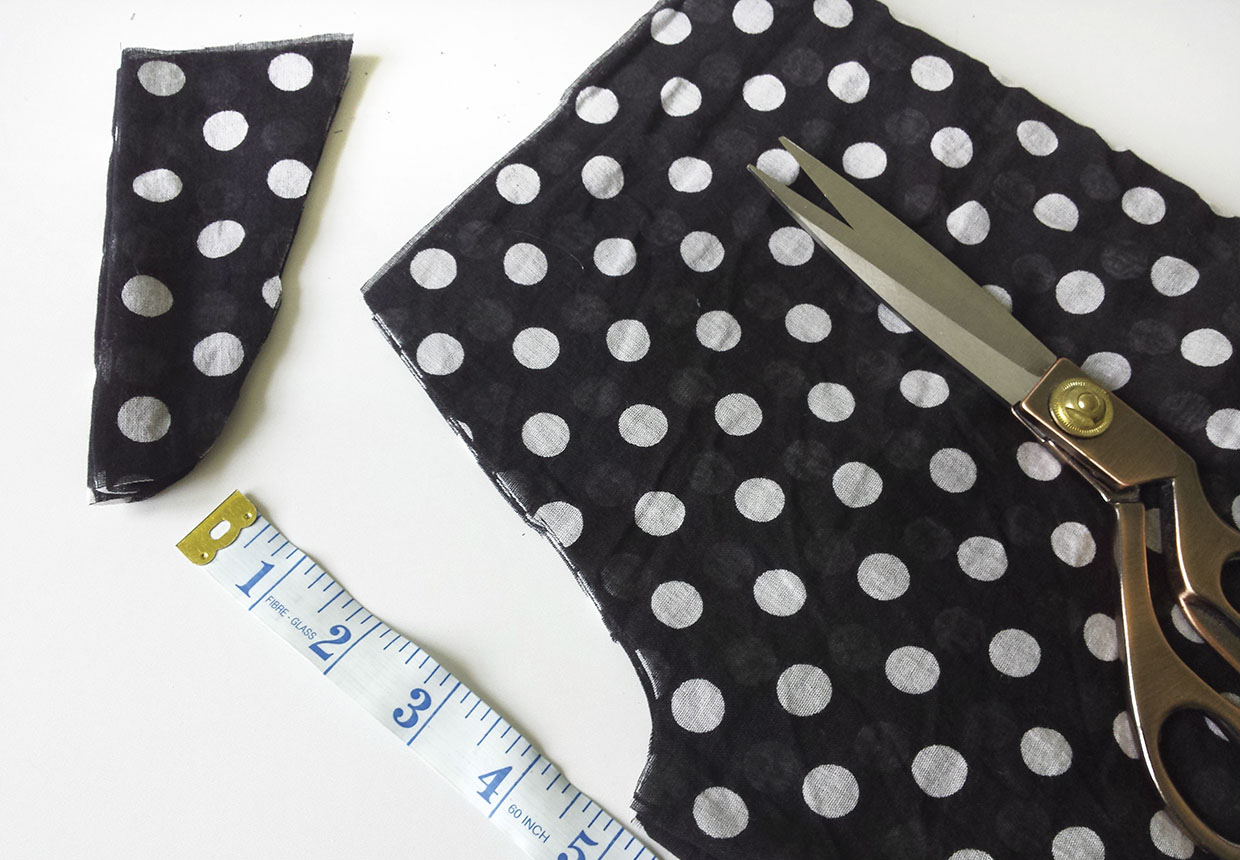
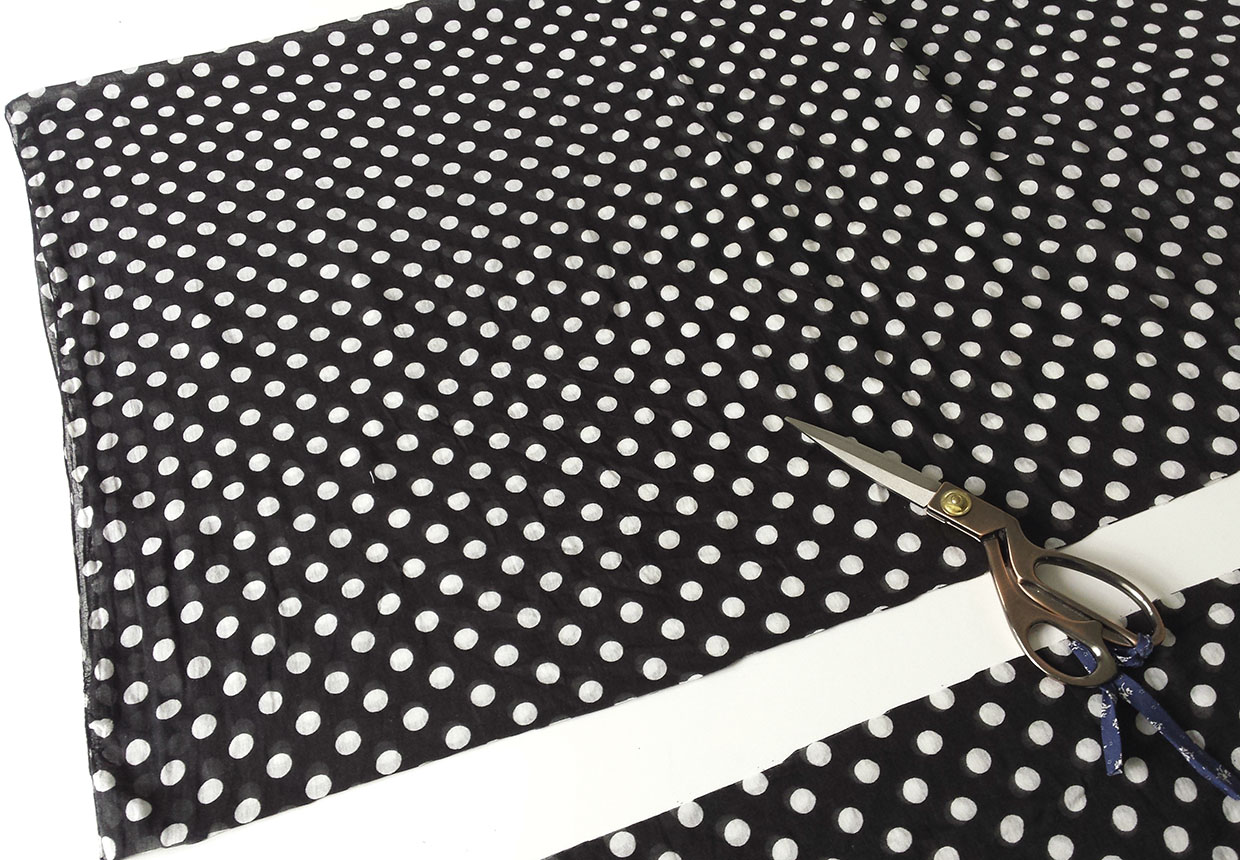
The top I’m making is to fit an 86cm (34in) bust. My sarong is 101cm (40in) wide, which gives me 15cm (6in) of play for wearing ease and seam allowance. When selecting a sarong, take your bust or hip size (whichever is the largest) and add 15-20cm (6-8in) – that’s how wide your sarong will need to be. Fold the sarong in half lengthways. Measure 70cm (28in) down from the folded edge and cut straight across at that point. Set aside the excess.

Sun top pattern step 1

Step 2

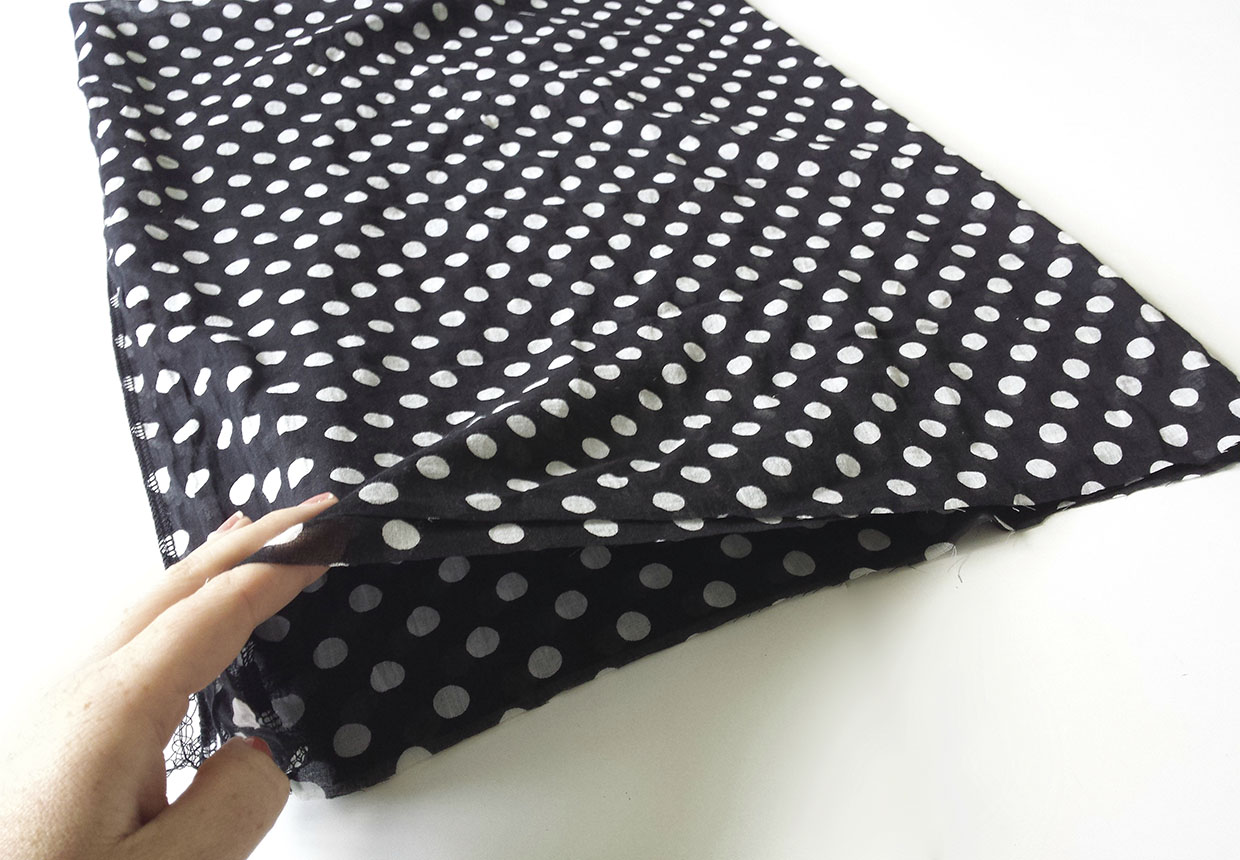
Open up your main fabric piece. Fold it in half lengthways with right sides facing, then sew together to create a long tube of fabric. Fold the tube back on itself so that your stitching is enclosed between the two layers of fabric. You’ll end up with a shorter tube consisting of a double layer of fabric. One end will have a folded edge (this will be the hem), the other end will be your raw edges aligned – like a pillowcase that is open at both ends.

Sun top pattern step 2

Step 3

Lay the tube out flat then arrange it so that the seam line runs down the centre of the back. Fold your tube in half from one side over to the other side. It will help you press it lightly at this stage to keep it all flat. Now you need to cut out a shallow armhole shape about 5cm (2in) in from the outer edge and 12-15cm (5-6in) deep. You could draw this out onto tracing paper first to use as a pattern.

Sun top pattern step 3

Step 4

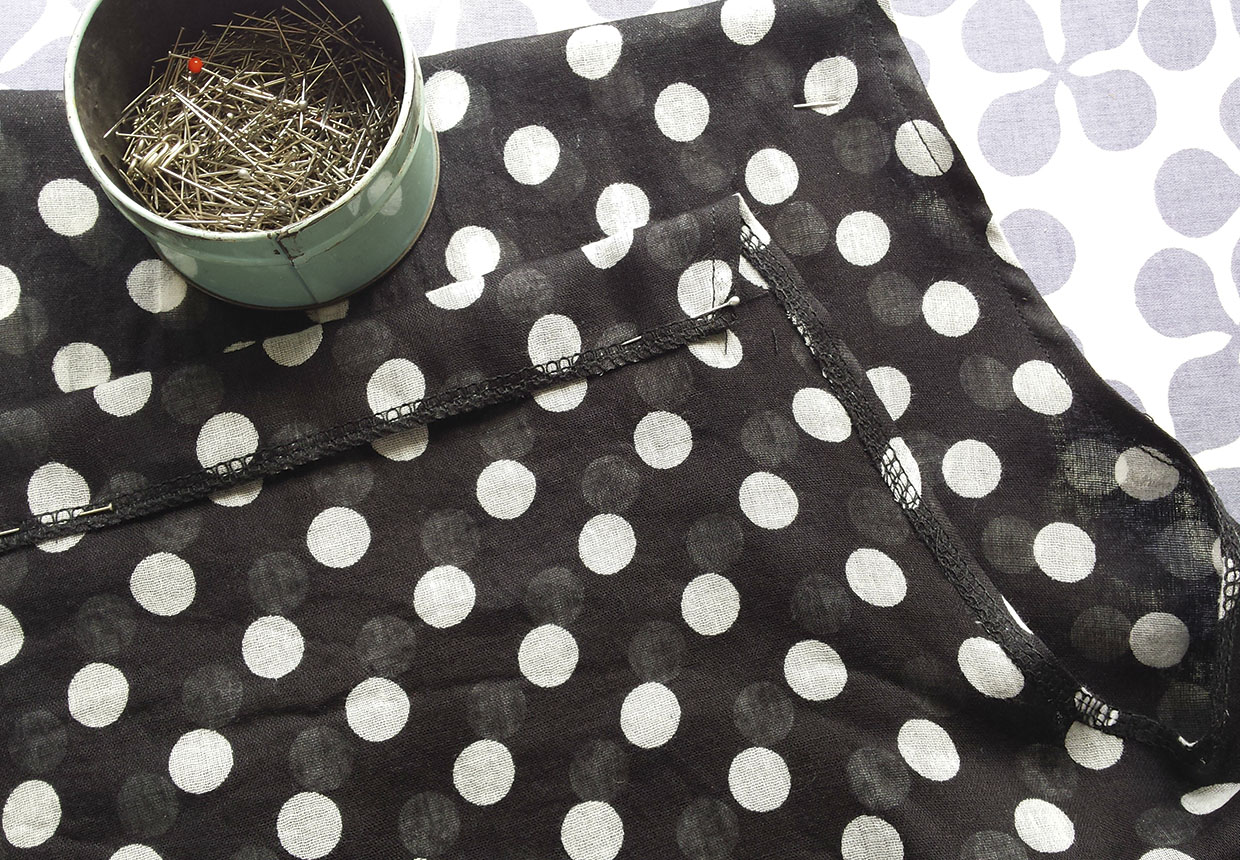
Overlock or zigzag along each of the armholes and top edges to neaten them and prevent them from fraying. Turn under the armhole edges by 1cm (38in) and topstitch in place, stitching carefully to make sure that the fabric lies neatly in place. Now, turn over the straight top edges on the front and back by 3cm (1¼in) and press then pin into place. Stitch these turned down edges to create a channel for the shoulder tie.

Sun top pattern step 4

Step 5

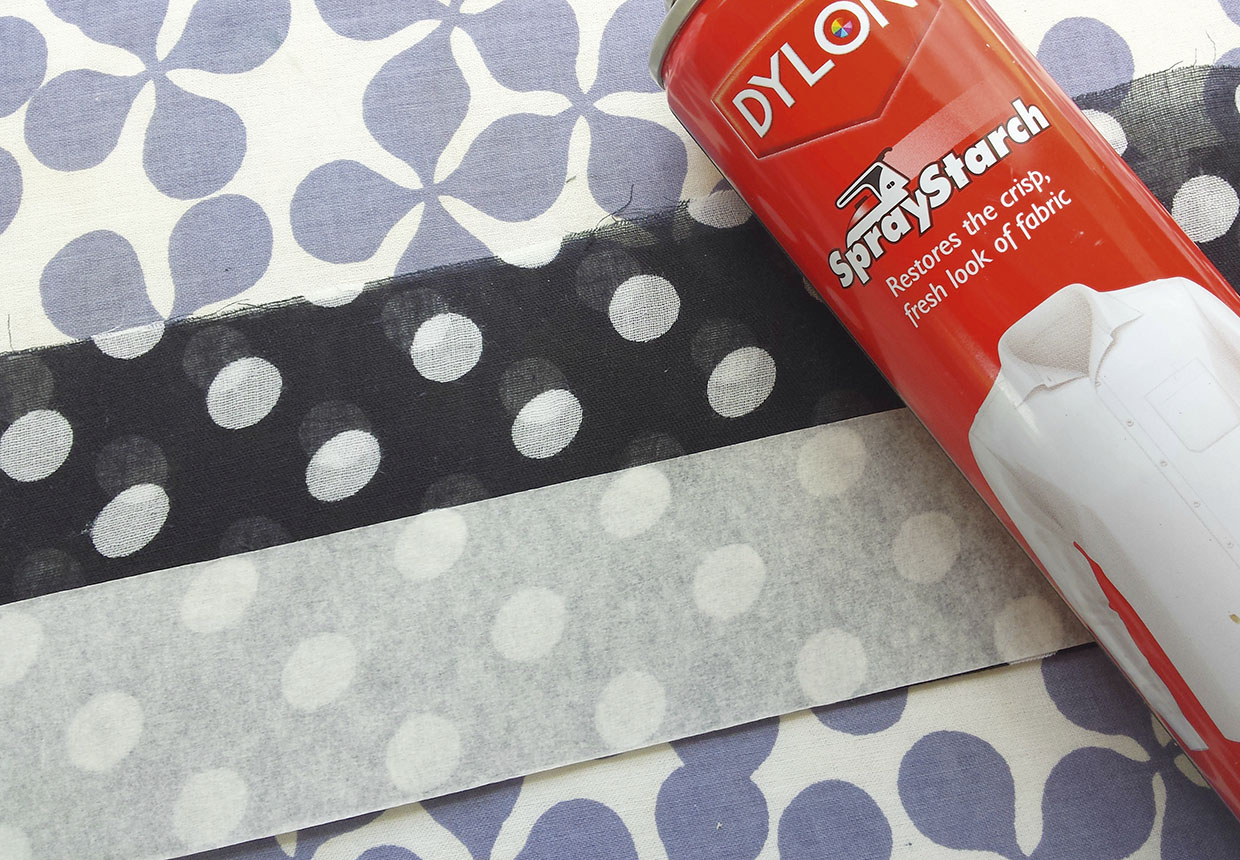
Take the offcut from step one and use it to make a shoulder tie. It needs to be around 12cm (4¾in) wide and 150cm (60in) long so you may need to piece the leftovers together. Fold it in half lengthways and sew together along the length and ends, leaving a 8cm (3in) gap for turning. Turn, press and stitch the opening closed. Sarong fabric is flimsy, so I used spray starch to temporarily stabilise the fabric, as well as masking tape for a sewing guide.

Sun top pattern step 5

Step 6

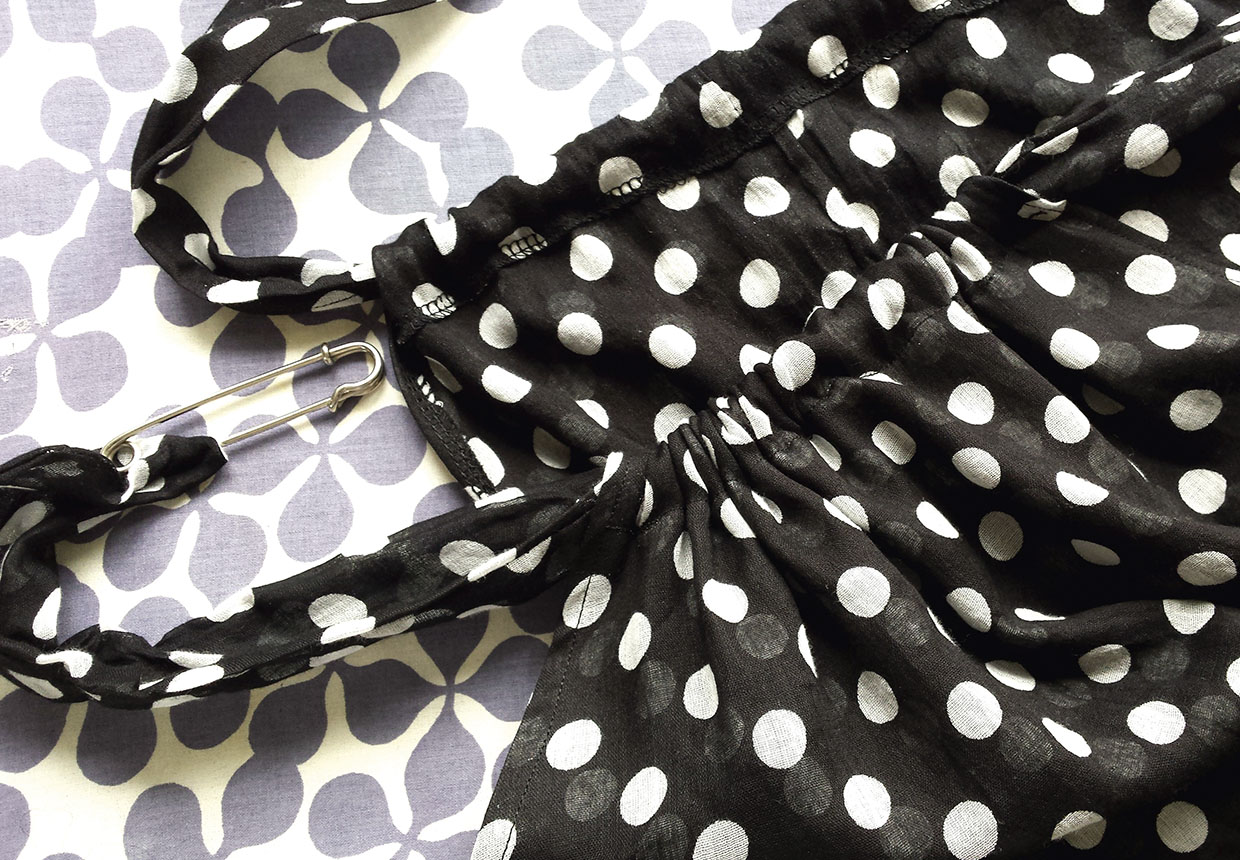
Attach a safety pin to one end of your shoulder tie and thread it through the front and back neckline channels. Pull the shoulder tie through so that both ends are the same length. Now put your top on and tie the shoulder tie with a pussy bow effect over one shoulder so that it hangs evenly. Tres chic, oui?

Sun top pattern step 6

You’ve finished making your sun top pattern! Enjoy wearing it all summer long.

Sun top pattern