Acrylic painting is one of the most popular painting mediums and it’s easy to see why. It’s versatile, fast-drying and comes in an array of richly pigmented colours.
It’s used by everyone from painting novices to experienced artists and can create everything from still life canvases to lively portraits.
While acrylic paints are both affordable and accessible, it can take time to become a truly proficient acrylic artist. You can only really do this with practice and by taking the time to understand the basic principles of acrylic painting. You won’t regret spending time brushing up your painting techniques – and you’ll really see the improvement in your work.
In this guide, we’ll look at some simple acrylic painting for beginners tips as well as more advanced techniques for artists looking to take their skills to the next level.
We will also look at some quick acrylic painting tips which are lots of fun for everyone to try. Happy painting!
27 acrylic painting techniques
1. Wet on wet
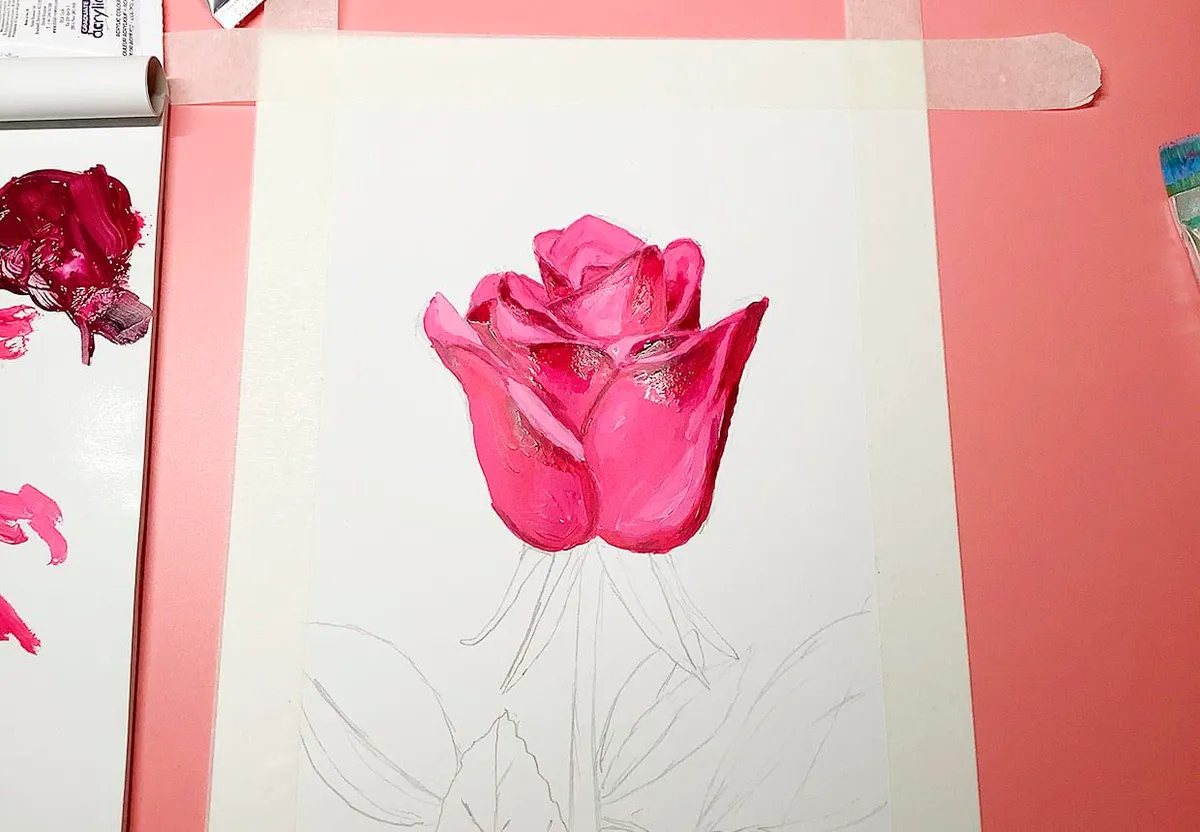
Wet on wet is a technique that involves applying your acrylics onto a layer of paint that is still wet. This is a good way to blend two different colours together, but you will need to work quickly because acrylic paints have a short drying time.
Take a look at our how to paint a rose tutorial to see this technique in action.
2. Wet on dry
Once your first layer of acrylic paint has dried, it’s easy to paint thick or thin layers of the top. It’s worth making sure that earlier layers have dried out before adding the next layer, otherwise the moisture may reactivate the colour underneath.
3. Scumbling (dry brush technique)
You don’t always need to dip your brush in water or dilute your paints. Instead, take a dry brush, pick up a little acrylic paint and drag it across your canvas. This can be used to create interesting textures on your canvas and it’s a great way to build up layers of colour on your painting. This technique is referred to as scumbling or as the dry brush technique.
Try dragging the paint in different directions, or use a dry brush to blur the edges of blocks of colour.
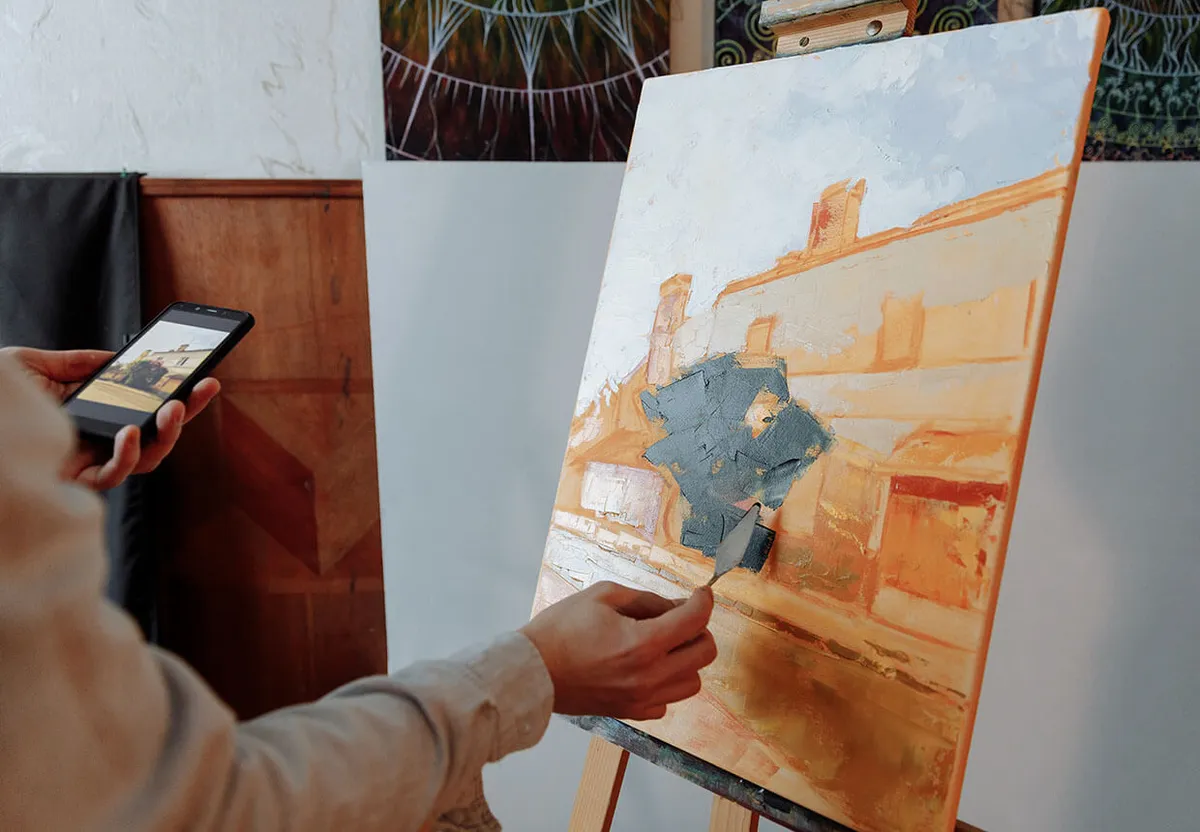
4. Palette knife painting
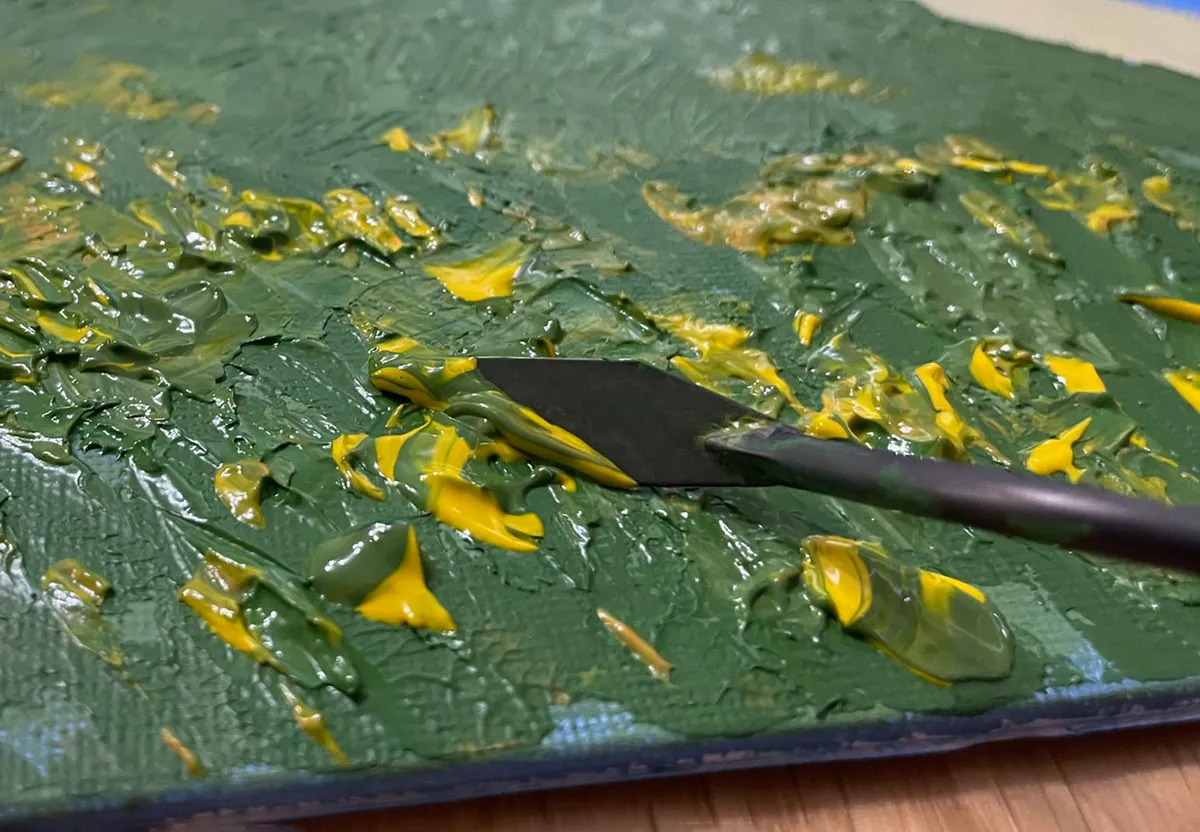
If you’re stuck in a rut with your art, picking up a palette knife can instantly transform your painting style. Palette knife painting is a real skill and requires practice to master, but the results make it well worth the effort.
It’s much easier to use a palette knife when you’re working with thick paint. You can either buy heavy body acrylic paints or thicken your paint using an acrylic paint medium such as modelling paste.
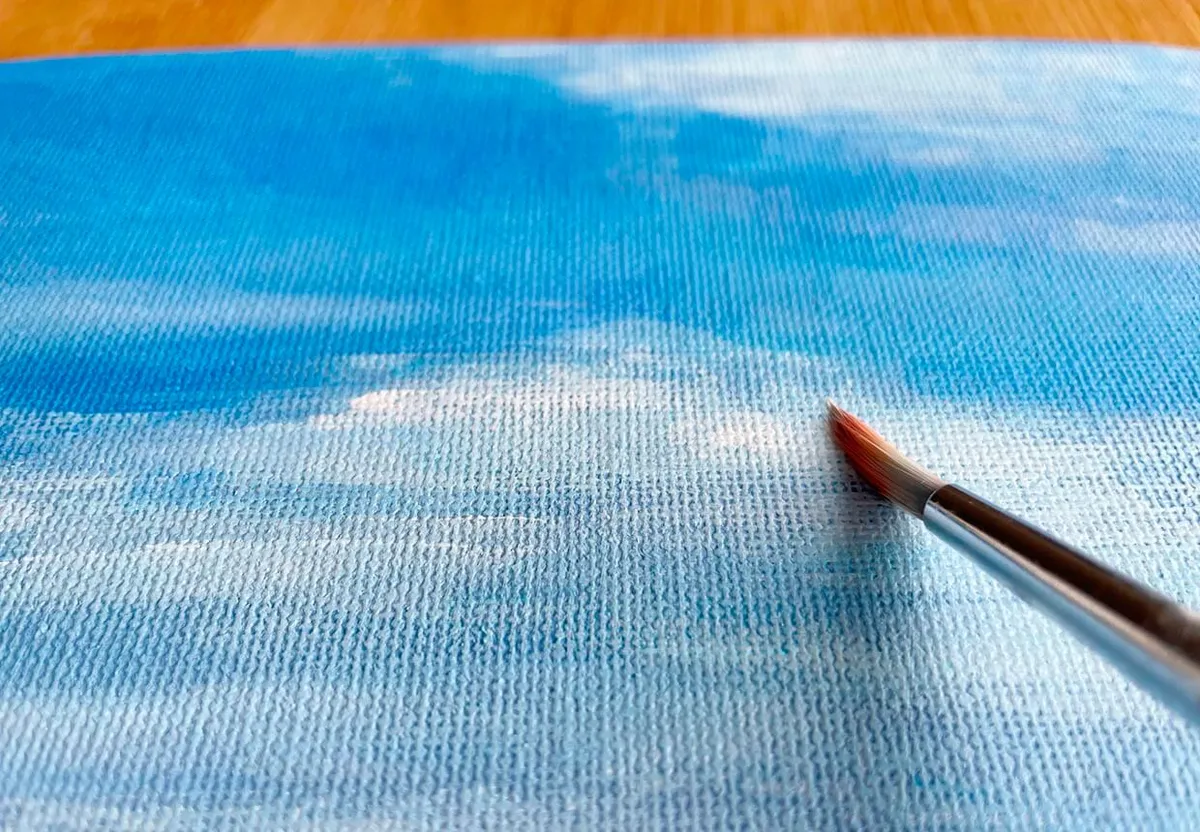
5. Dabbing
Varying the length of your brushstrokes can give your painting a completely different style. Use a paintbrush, sponge or even a paper towel to apply paint by dabbing the canvas. Layer different shades of colour on top of one another for stunning results, or dab your canvas with partially mixed paints for a textured look.
This technique can be used to create floating clouds, distant forests or give your whole painting a loose, Impressionistic feel. It also works brilliantly for colourful abstract designs. Play around with this technique and see what you can achieve!
6. Acrylic paint pouring
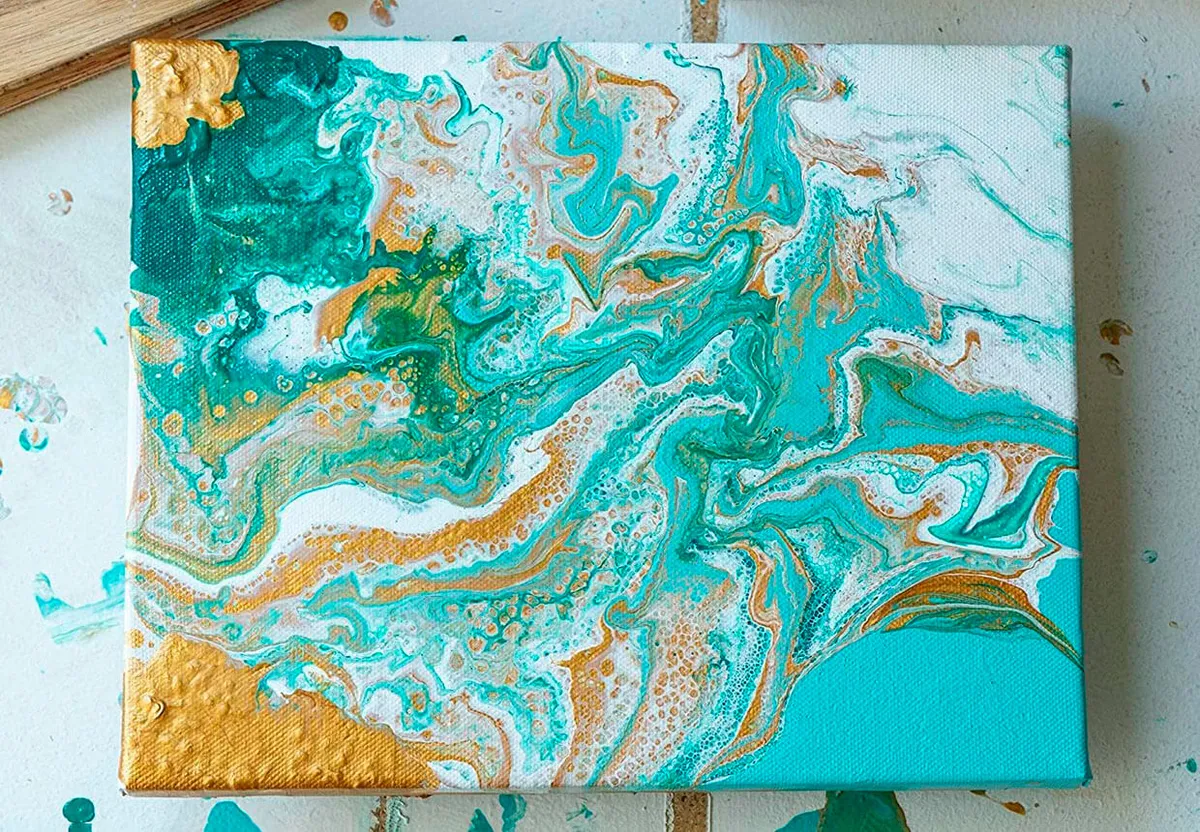
Acrylic paint pouring is a painting style in its own right and can be used to make beautiful marbled canvases.
Paint is mixed with a medium to give it a runny consistency, then you simply pour it over your canvas. It can get quite messy, so make sure you protect your surfaces and wear clothes that you don’t mind getting dirty.
7. Dripping
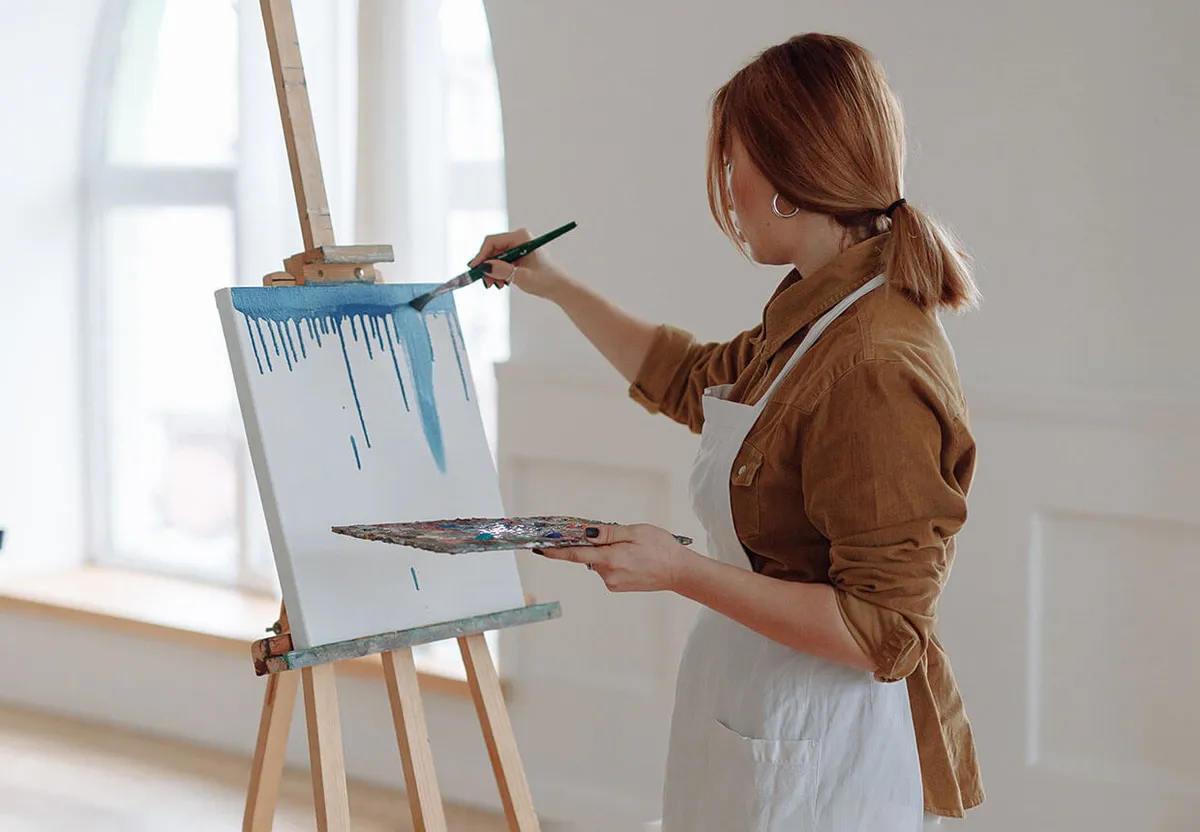
On the theme of pouring, dripping can be used on your canvas with great effect. You can dilute your paint with water or blend it with a flow aid medium to give it a looser consistency.
Tilt your canvas on an easel and allow gravity to do its work or pick up the canvas and tip it until you’ve created the effect you want to achieve. The results are not always predictable, but that’s all part of the appeal.
8. Splattering
Ever feel like hurling paint at your canvas? Flicking or throwing paint towards your painting is an easy way to create an abstract design. If you need inspiration, take a look at the work of Jackson Pollock to see what you can do with this acrylic painting technique.
On a smaller scale, adding small splashes or flicks of paint to your work can bring your painting to life. For example, try putting a small amount of white paint on a toothbrush and flicking the bristles to add a sea spray effect to an ocean scene.
Think creatively and experiment with this fun technique. Sometimes, just adding a few flecks of colour on your painting can be enough to take your work to the next level.
9. Glazing
Glazing is a painting technique that’s often seen in oil paintings, but it can be used in acrylic paintings too. It’s an alternative way of applying colour, which can produce luminous results.
The first step is to produce an underpainting in one colour, which is used to get the tonal value of the painting right. Then you paint thin layers of colour on top until you achieve the shade you want. The paint can be thinned using water or blended with a glazing medium to get the correct consistency.
Learn how to glaze with acrylics with this excellent guide from thevirtualinstructor.com.
10. Washes
When you add water to acrylic paint, it can be thinned so that it resembles watercolour paint. If you just want to add a hint of colour to your painting, a diluted wash of acrylic is the perfect solution.
However, when you dilute acrylic paints with water they become more transparent. If you’d like the colour to stay intense, then consider using an acrylic flow medium to change the consistency without losing any of the vibrancy of the colours.
11. Mediums and gels
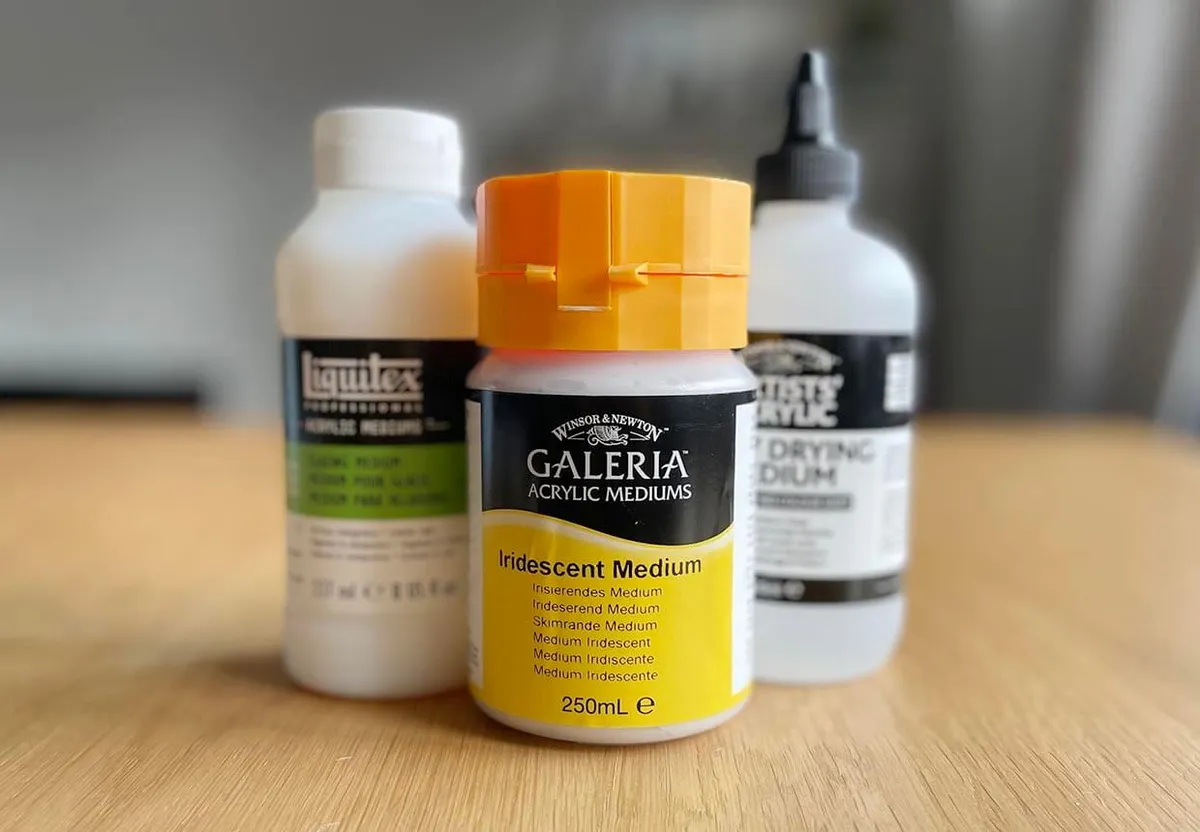
We’ve mentioned acrylic mediums and additives briefly before, but we’ve barely touched upon the wide range of uses and effects that they can be used to produce.
There are a wide range of products out there which can completely change your approach to acrylic painting. There are mediums to thicken the paint, modelling pastes to reveal your brushstrokes or gels to give your paint the texture of sand.
You can even add mediums that will give your paint a show-stopping iridescent sheen. Take the time to research mediums and start introducing them into your artwork.
12. Artist’s tape
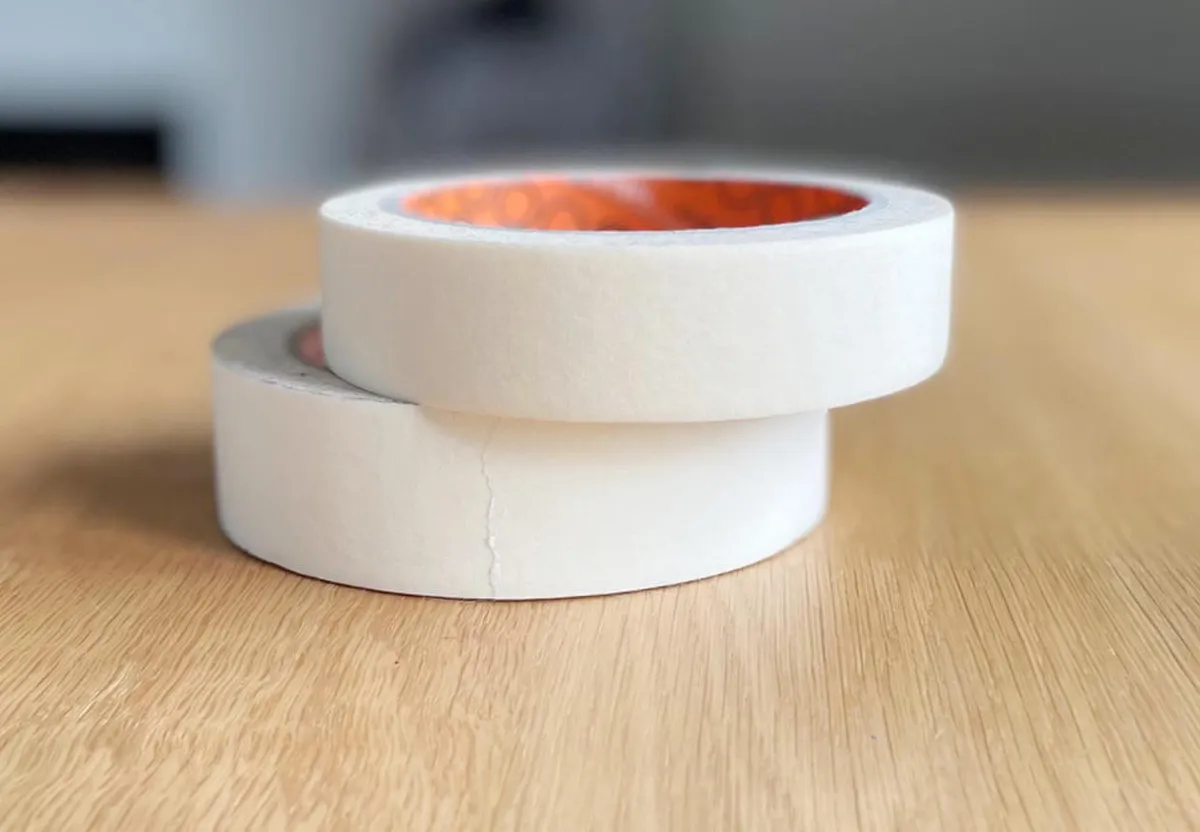
Artist’s tape is an essential tool for any painter. It can be used to create crisp borders, protect areas of your work or to give a clear horizon on a landscape painting.
Use strips of artist’s tape to produce interesting geometric canvas art – simply paint over the top and peel it away when the paint dries.
Artist’s tape is designed to be low-tack (not very sticky, so that it doesn’t damage your painting when it’s removed). If you’re using it on paper, we’d recommend pressing it against a tabletop to remove some of the tackiness before sticking it onto paper. This will help to prevent the paper from ripping when you take it off.
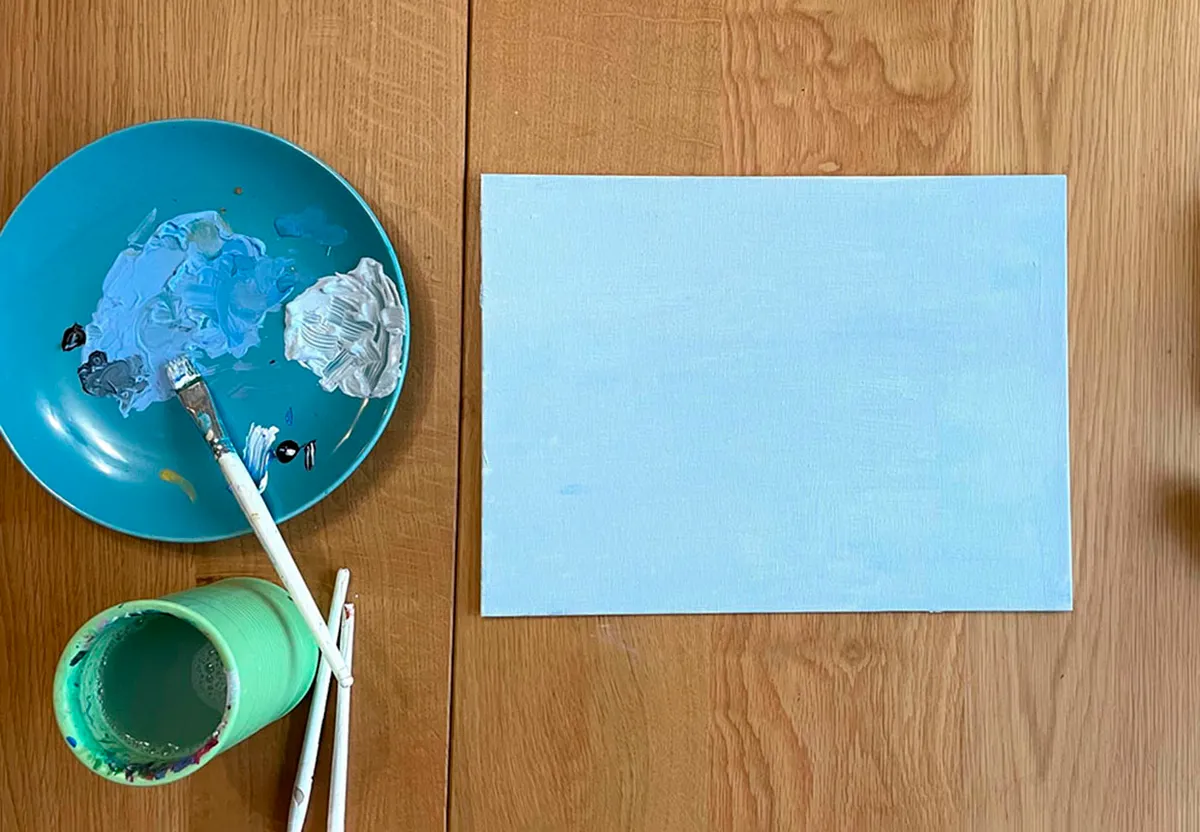
13. Colour chart
When you’re new to painting, it can be difficult to recreate a colour for a second time when you’re not sure what specific shades you used last time. A colour chart is an incredibly handy tool for any painter and it’s very simple to set up.
To create a colour chart, simply mix your colours together and paint a small swatch onto some paper. Underneath the swatch, make a note of the precise colours that you used to create that shade. You can work through your painting set methodically to see what shades can be created with each colour, or you can make a note as you work on your painting.
Over time, this can become a valuable resource for you to refer back to when you want to mix a specific shade.
14. Underpainting
Underpainting is one of the first layers of a painting. It’s usually a monochrome painting which is used to determine the layout of the painting before other colours are added on top.
Preparing an underpainting also gives you the opportunity to get the shadows and highlights correct without having to worry about using the right colours.
You can then paint over the top and take your time focusing on your colour blending. It should ensure that all of the light and dark values are balanced in your painting – something many people struggle with.
Acrylic vs oil paints: which is best?
Acrylic paints and oils both have their own benefits and disadvantages. We’ve weighed up the pros and cons in our acrylic vs oil paint guide.
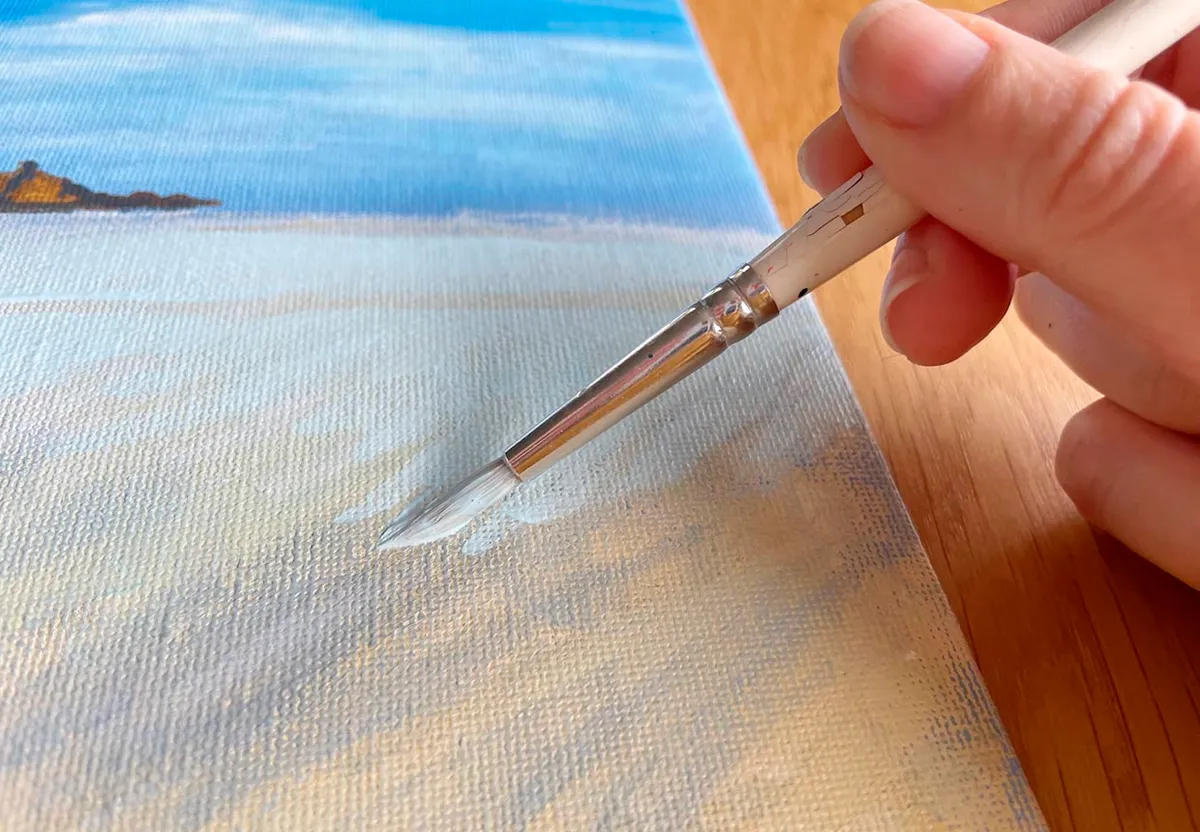
15. Sponge
Don’t feel restricted to using a paintbrush – switch things up and have a go at using a sponge instead.
Sponges can be used to dab paint lightly, which lends a softer texture to any painting. It also means that you won’t have any visible brush marks on your canvas.
16. Mix paint on the canvas
Feeling brave? Skip the palette and mix your paints directly on the canvas. This is a good technique to try on more abstract paintings.
Another great way to add interest to a painting is to partially mix paints before applying them to the canvas. This means that you can have brushstrokes with streaks of unblended colours, which may have flecks of other shades too. The results are not always predictable, but this technique can really bring your painting to life.
17. Sgraffito
The term ‘sgraffito’ comes from the Italian word meaning ‘scratched’. It’s a technique that can be used to add rough texture to a painting.
First, paint a base colour and allow it to dry, then apply a second layer of painting on top and scratch the surface with a palette knife while it’s still wet. This will let the base colour shine through! As acrylic painting dries quickly, you may need to scratch away your design at speed to get the desired effect.
If you want your painting to be really textured, try using modelling paste for this technique.
18. Impasto
Impasto is a term used when paint is applied thickly onto a canvas. If you want to try this technique with acrylic paints, we’d recommend using some modelling paste or thickening your paint with another acrylic medium. Alternatively, you can buy heavy body acrylic paints and start painting right away.
For best results, be generous with your paints to add dimension to your art.
19. Smudging
Acrylic paint can be used to create beautiful clean lines on your canvas, but if you want to free up your style then embrace messiness. Smudging is a good way to start to free up your painting technique and experiment with textures.
You can smudge the edges of a shape or roughen up a block of colour by rubbing it while the paint is still wet. No special materials are needed – a rag or a piece of kitchen towel will do. A brush can also be used to smudge your painting if you don’t mind seeing visible brush strokes.
20. Stippling and pointillism
Stippling and Pointillism are two painting techniques which use dots to create an image. Stippling is simply making a painting by dotting the paper or canvas with your brush. This can be used to give the effect of light and shade or to vary your colours. This can be done with a wide or narrow paintbrush and the brushstrokes don’t need to be even.
Pointillism is slightly different. Instead of mixing colours, you combine tiny dots of different colours close to each other. From a distance, the coloured dots will appear to blend together into one colour.
If you’re interested in learning more about Pointillism, take a look at the work of artists such as André Derain and Georges Seurat, who both used this style with great effect.
21. Detailing
Painting something with lots of fine details can be incredibly satisfying, but it can also be very frustrating if it goes wrong.
We’d recommend buying a good quality fine paintbrush from an art shop and looking after it very carefully. Fine brushes are easy to damage, so keep the protective cover on when it’s not in use, or even store it separately from your other paintbrushes.
To get neat brushstrokes, water down your paint or combine it with a acrylic paint medium before you dip your brush into it. If the paint is too thick, you won’t get smooth lines and it can even look rough. Look out for lumps of acrylic on the tip of your brush – this is an indication that your paint is too thick.
22. Mist your paints
As we all know, acrylic paints can dry out very quickly. You can slow the process a little by spritzing your paint palette with a mist of water.
If you’re feeling bold, you can spray your painting with water too. This can make the paint run and drip down the painting. On Landscape Artist of the Year series 8, Rose Strang used this technique to make the clouds on her work look as though they were bursting with rain. It looked very impressive!
23. Add a gesso base
Before you start painting on a canvas, check whether or not it has been primed. A primed canvas is one that has been coated with a layer of gesso, meaning that it’s ready to use straight away. If your canvas hasn’t been primed, you’ll need to coat it with gesso before you use it.
If you like, you can add an extra layer of gesso to make the surface smoother and less absorbent. You can also add a touch of colour to the gesso so that you’re not starting with a completely blank canvas (much less intimidating!).
24. Work from dark to light
When you’re using watercolour paints, it’s recommended to work from light to dark. With acrylics, many artists like to do the exact opposite. This is because it’s easier to put light acrylic paints on top of dark ones rather than the other way round. Give it a go!
25. Use your fingers as the brush
Finger painting isn’t just for kids – it can be a lot of fun for grown-ups too. You can make astonishingly sophisticated paintings using your fingertips and it’s a fantastic way to break out of a creative block.
A good exercise to try is to sketch the outline of your picture using your fingertip and a little paint. Keep your arm relaxed and go with the flow – the results may surprise you.
26. Blocking
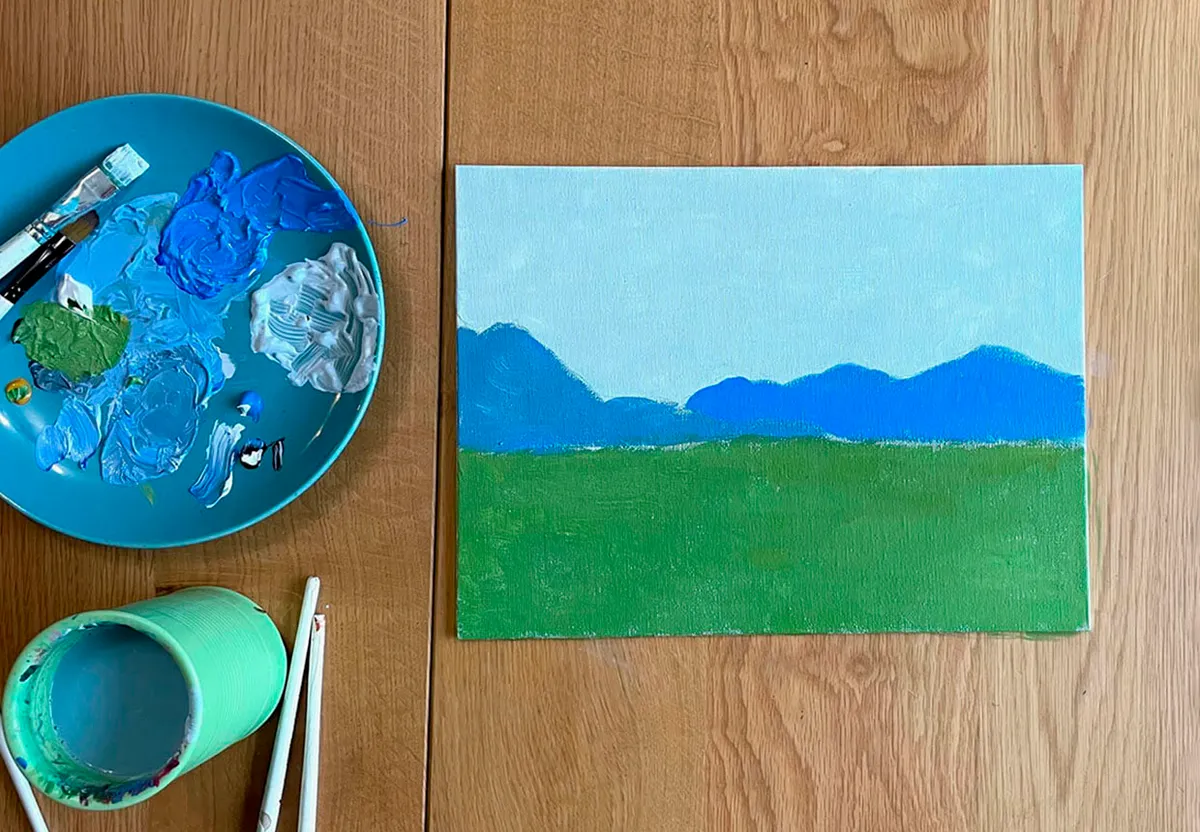
Blocking is often one of the ugliest stages of a painting, because it can look clumsy and rough-edged.
This starting technique is used to colour in sections of a painting in the main colour for that area. For example, if you were painting a hill you might paint a large area of dark green before you begin to refine your composition and add more detail.
Blocking may initially be a bit unattractive, but it doesn’t last long! Don’t be demoralised by how your painting looks at this stage – simply push through it and trust the process.
27. Gestural brush strokes
Gestural is a word that is used to describe brushstrokes that are full of movement. They are often expressive and free flowing. Gestural brushstrokes can help you to bring emotion into a painting or capture the mood of your subject.
If you’re a perfectionist, gestural painting can take some getting used to. However, you may find it easier to work quickly with this technique as you don't have time to dwell on the details of your painting.
Gestural painting comes naturally to some painters and less easily to others, but it’s a painting technique that can radically change your work.
How to use acrylic paint like a professional
Acrylic paints are one of the most accessible mediums for artists: they’re versatile, affordable and come in a selection of rich colours.
While anyone can pick up a brush and start using acrylics immediately, it takes time to become a skilled artist, so it’s worth spending time studying acrylic painting techniques to reach your full potential!
Find your next project with our acrylic painting ideas
Ready to get stuck into an exciting new painting project? Sometimes the hardest part is deciding what you want to paint! Luckily, we’re on hand with lots of creative ideas to inspire you.
Check out these easy acrylic painting ideas from Gathered.
