Acrylic paint pouring is an ideal way to while away an afternoon, and it's an art technique that almost anyone can master relatively quickly. WIth acrylic pouring, you can create beautiful swirling masterpieces, and once you get your eye in, you'll soon get a feel for what colours work well with each other.
There's plenty of room for experimentation, so don't be afraid to try new combinations. The results are eye-catching abstract art, and we are delighted to be able to share our expertise with you in this article, a beginner's guide to acrylic paint pouring.
So what is acrylic paint? If you need a refresher, check out our acrylic painting guide, or browse the best acrylic paint sets to help you get started.
If you’re in a crafty mood, why not make your own DIY stained glass? Check out the best glue gun and best die-cutting machine. Thinking about buying a craft printer? Check out our review of the best printer for card making.
We love seeing what you make, so don’t forget to share your craft projects with us on Instagram, Facebook, or Twitter, too!
What is acrylic paint pouring?
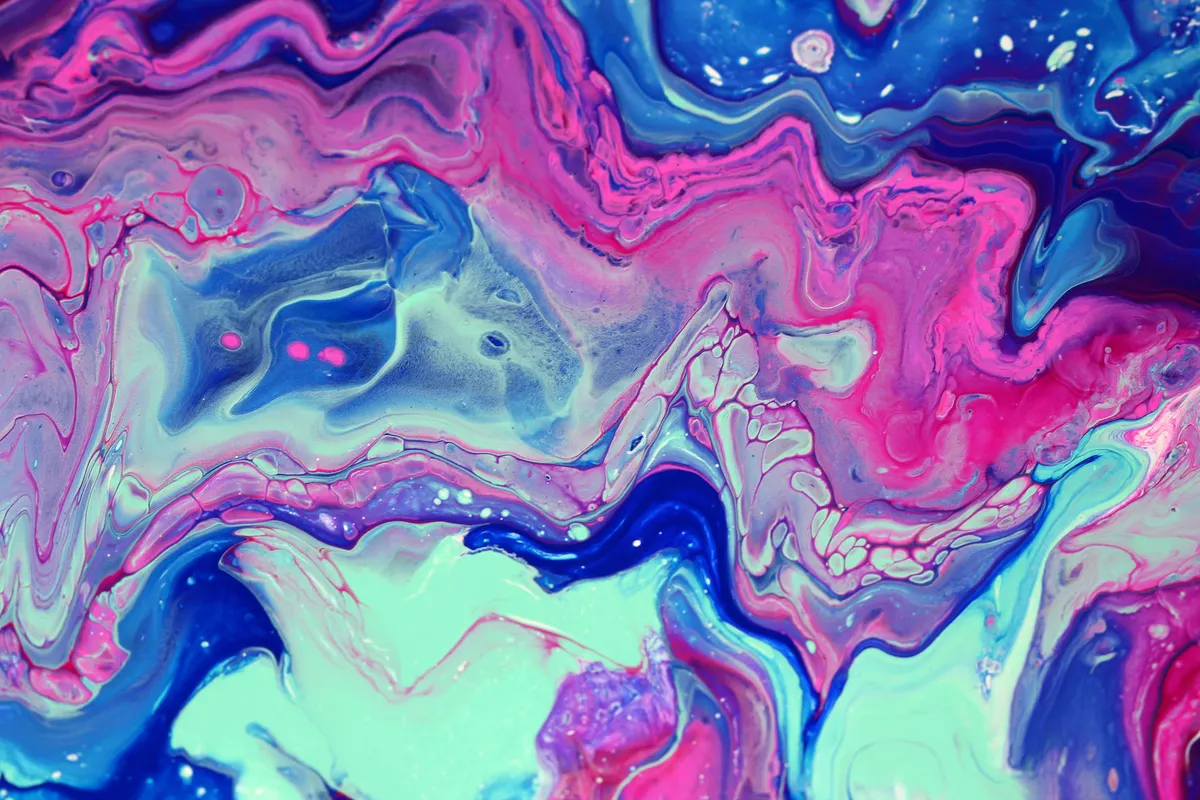
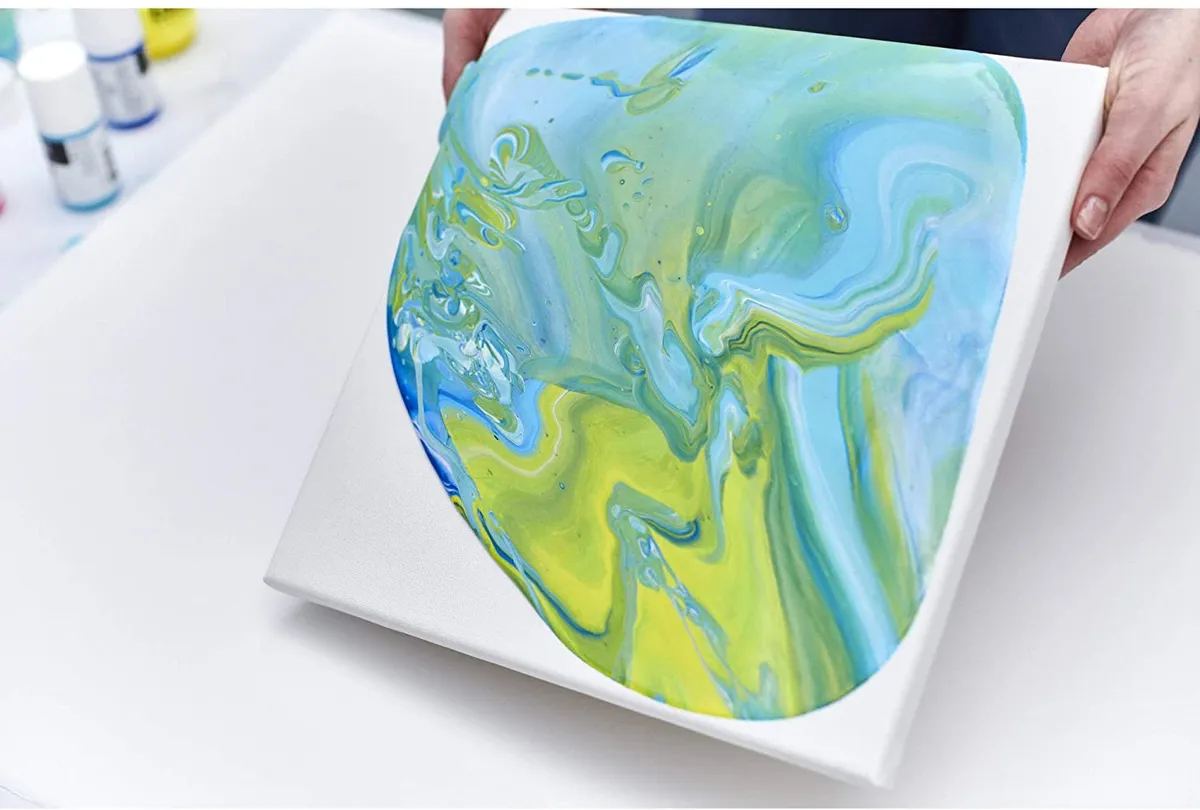
Acrylic paint pouring is a random, fluid painting technique, that - quite literally - involves pouring acrylic paint over a surface. It is a great way to create unique, bespoke coasters, canvases, tiles or even flower pots. When poured, the acrylic paint creates beautiful, swirling, marbled patterns. You can tilt your canvas while the acrylic paint is still wet, to further manipulate the patterns. Alternatively, you can use a cocktail stick, or even a fork, to drag the colours into each other while wet.
Acrylic paint pouring is a fabulous on-trend craft, with individual results every time! The craft itself is relatively quick, but be sure to allow enough time to play around with colour combinations, choose your project, as well as setting up and clearing away your equipment, as things can get messy.
Ideally, you'll need an entire kitchen table-sized area to work - you'll want to spread out your paints and other equipment so that it's all within easy reach. Also, make sure you have somewhere where your masterpieces can dry safely for a few weeks where they won't be disturbed.
What do you need for acrylic paint pouring?
In order to manipulate the acrylic paint so that it can be poured easily, we need to mix it with a pouring medium. Acrylic paint on its own has a thick, buttery consistency, which, when painted onto a surface, retains its brushstrokes. Mixing the acrylic paint with a pouring medium decreases its viscosity so that when poured, it will give a high gloss finish.
Acrylic pouring can be (very) messy, so it's important to have all the equipment ready before you start. So to do acrylic pouring, you will need:
1. Acrylic paints
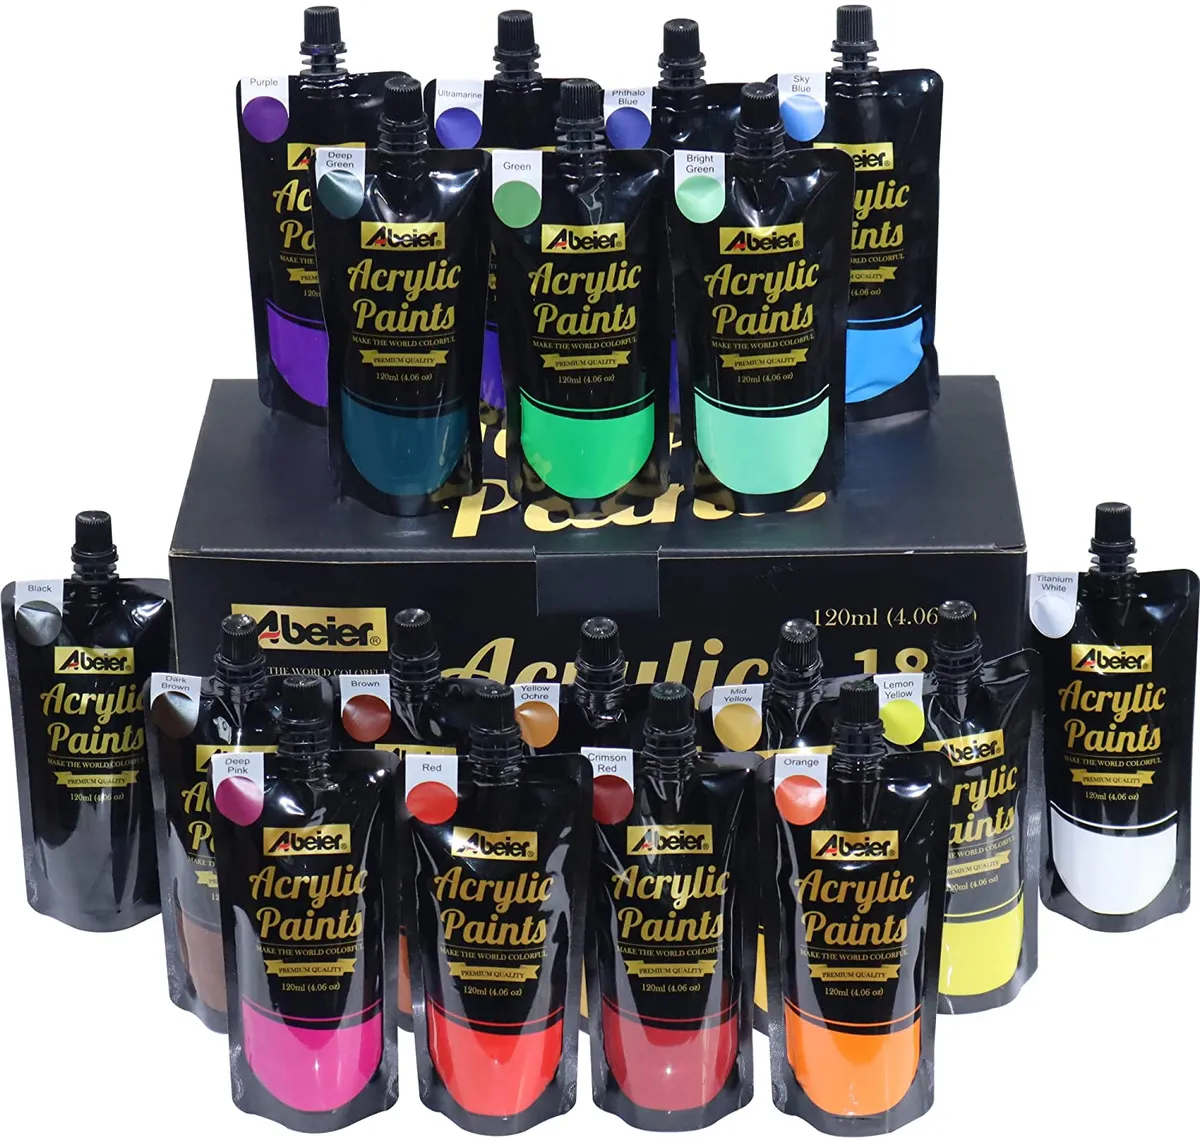
Buy now: £26.99, Amazon
You're going to get through a lot of acrylic paint, so it's a good idea to get some larger, cheaper bottles of the more basic colours then supplement these with smaller bottles of nicer paints.
2. Additional white acrylic paint
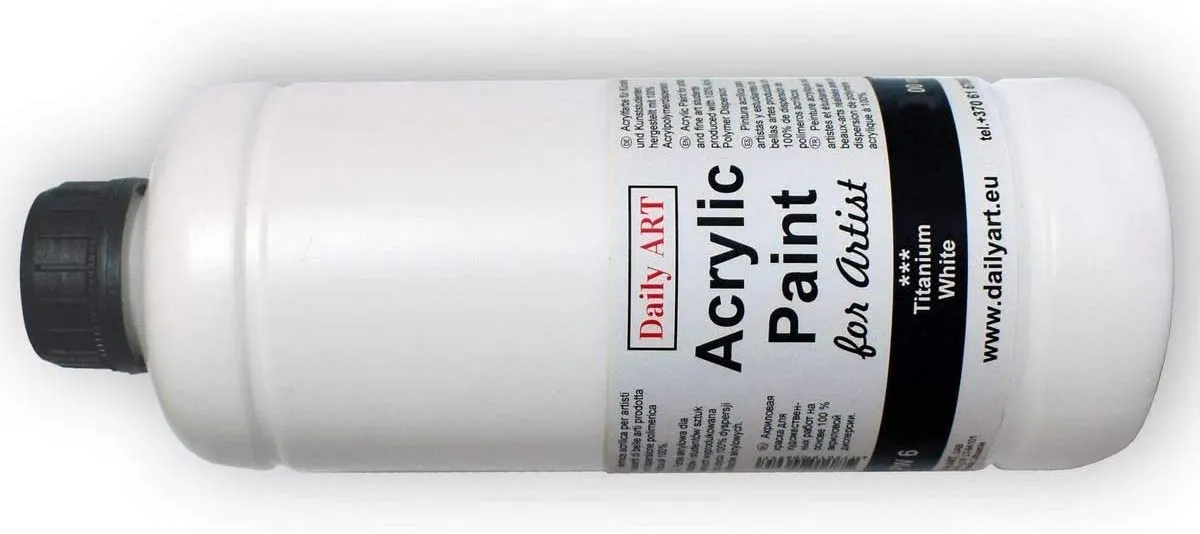
Buy now: £14.13, Amazon (1000ml)
You'll also need a lot of white (or black) paint to use as a base, so be sure to get plenty of that. Opt for larger, value bottles of white/black paint - because, trust me, you will use a lot.
3. Pouring medium
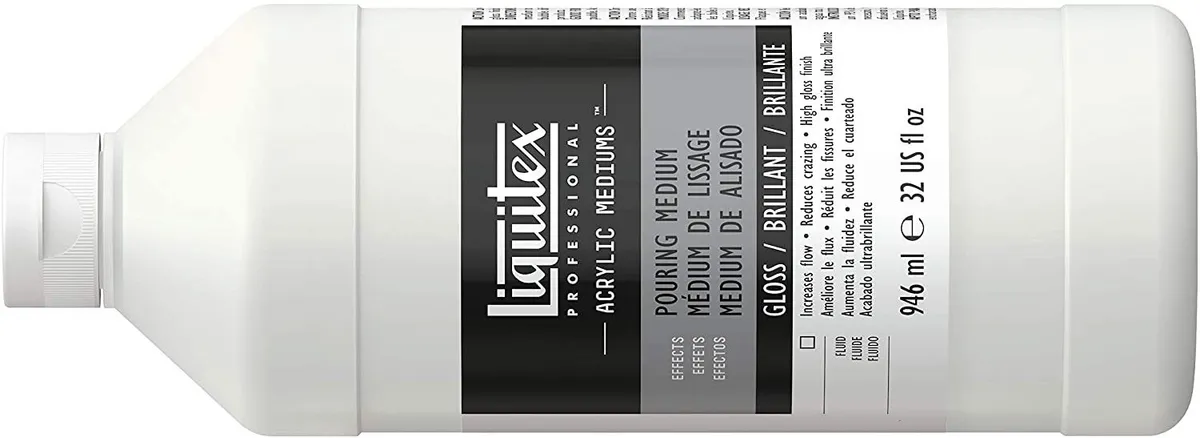
Buy now: £18.86, Amazon
Mix Liquitex acrylic pouring medium with your acrylic paints to allow easy manipulation of the paints. It thins the paint and gives you more time to work with it to create patterns. It's easy to mix and is the most popular pouring medium used.
4. Floetrol

Buy now: £38.62 (2.5l), Amazon
If you prefer smaller cells, then opt for Floetrol over the Liquitex as your pouring medium. It's often easier to get hold of and is sold in most hardware stores as a paint extender.
5. Silicone
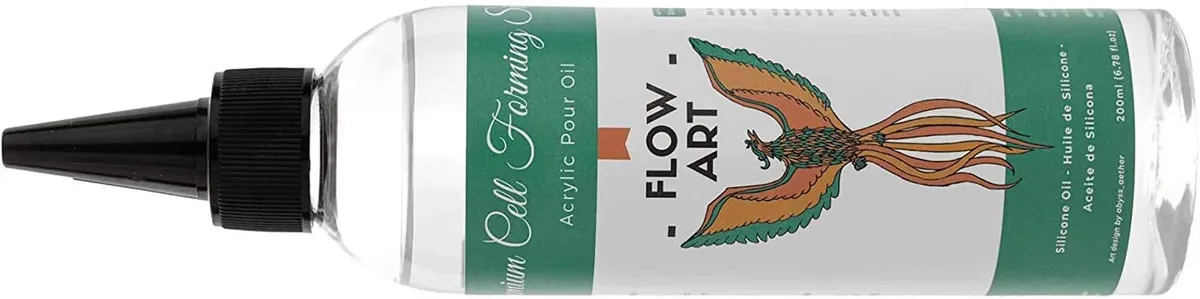
Buy now: £14.95, Amazon
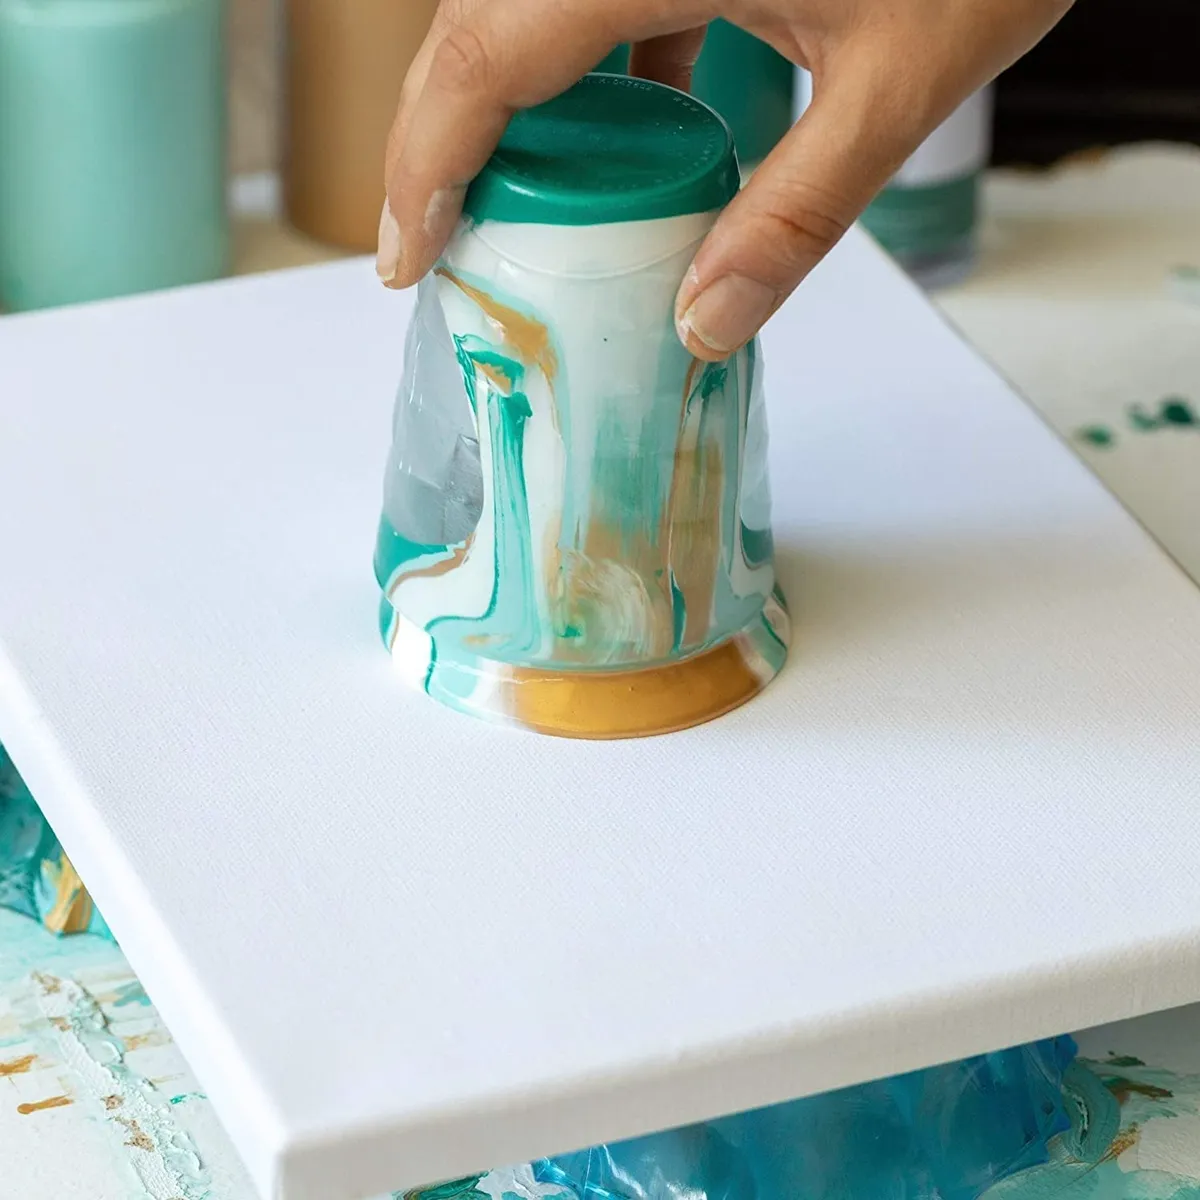
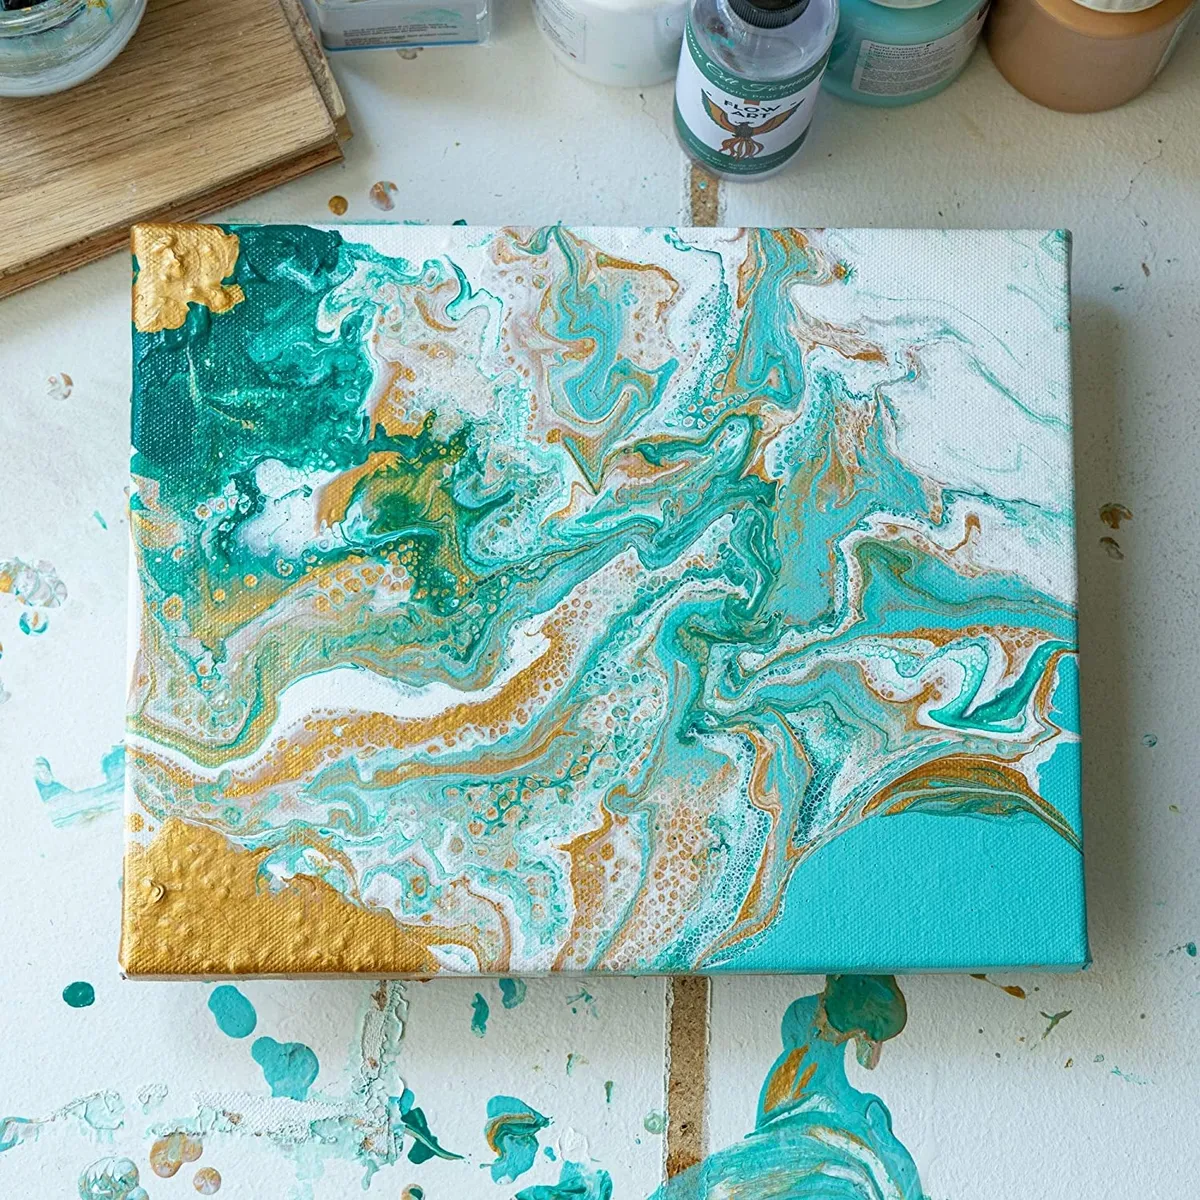
If you want to create larger, more impressive cells (the bubble-like structures) in your acrylic pouring masterpiece, mix a few drops of silicone in with your paints.
6. Pouring surface
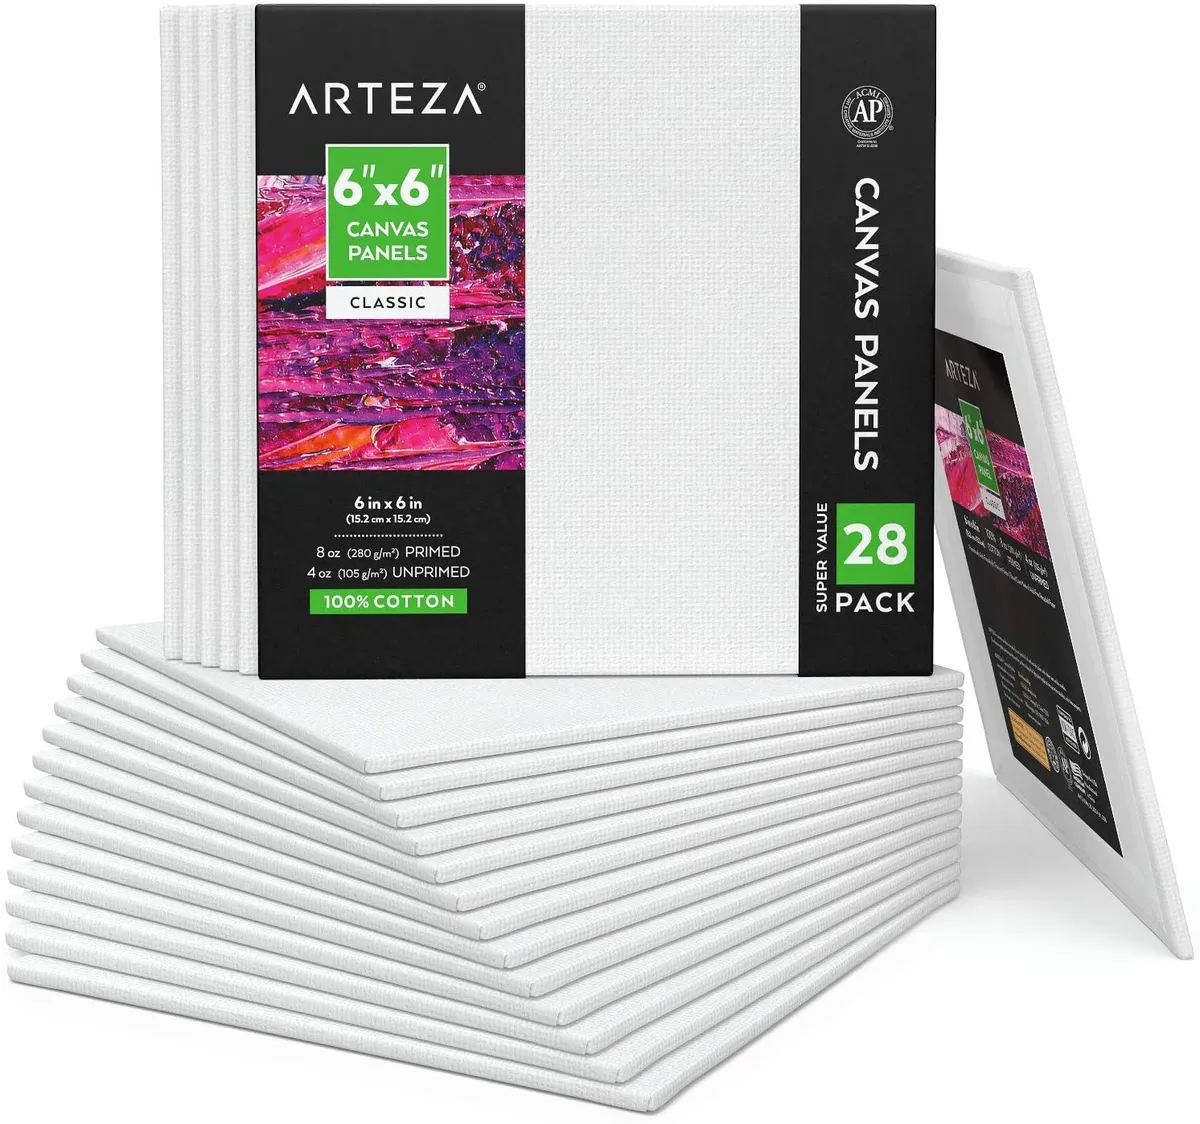
Buy now: £17.99, Amazon (pack of 28!)
What do you want to create? Decide what you want to make - be it canvas or coasters, pebbles or pots. If you opt for canvases, then bulk buying is a great option, as it gives you practice canvases, too. I personally always love using pebbles, as they make beautiful decorative pieces (and gifts) once dry.
7. Containers
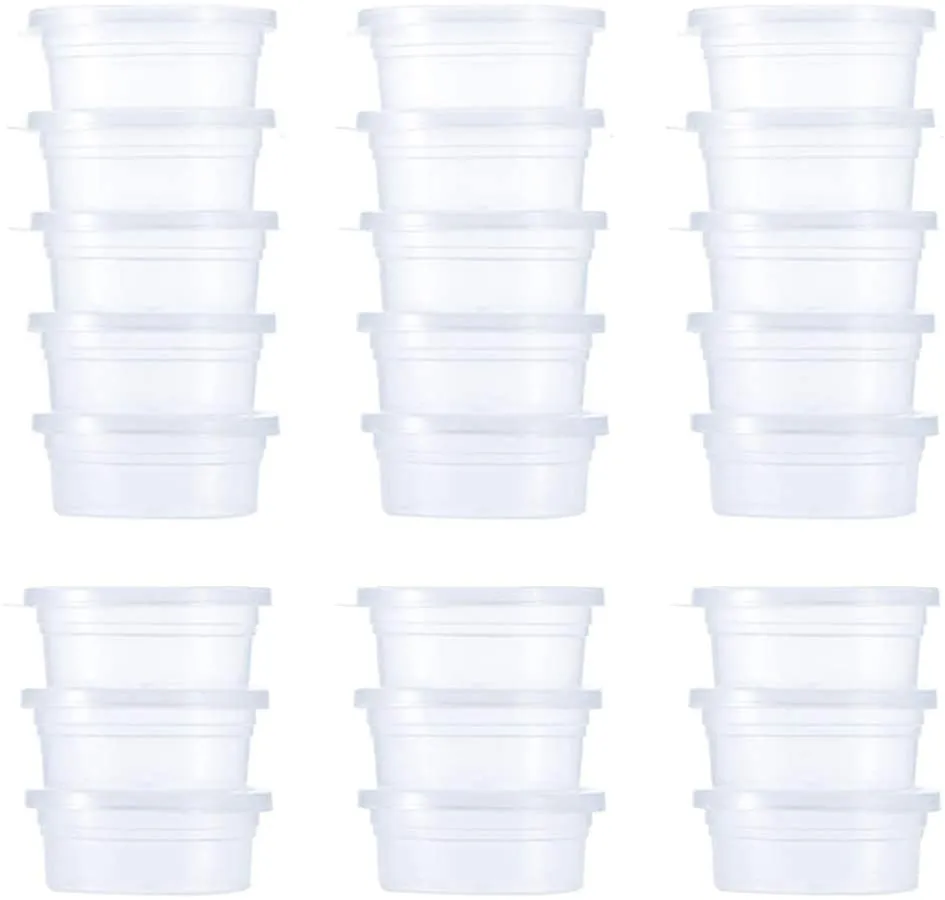
Buy now: £6.99, Amazon
Before you pour the acrylic paints onto your surface, you'll need to mix the paint with the pouring medium. Small cups like these are ideal, as you can pop a lid on the top and anything you don't use you can keep for later. They'll last several weeks - so if you've hit a creative block, take a step back and come back to it later.
8. Mixing sticks
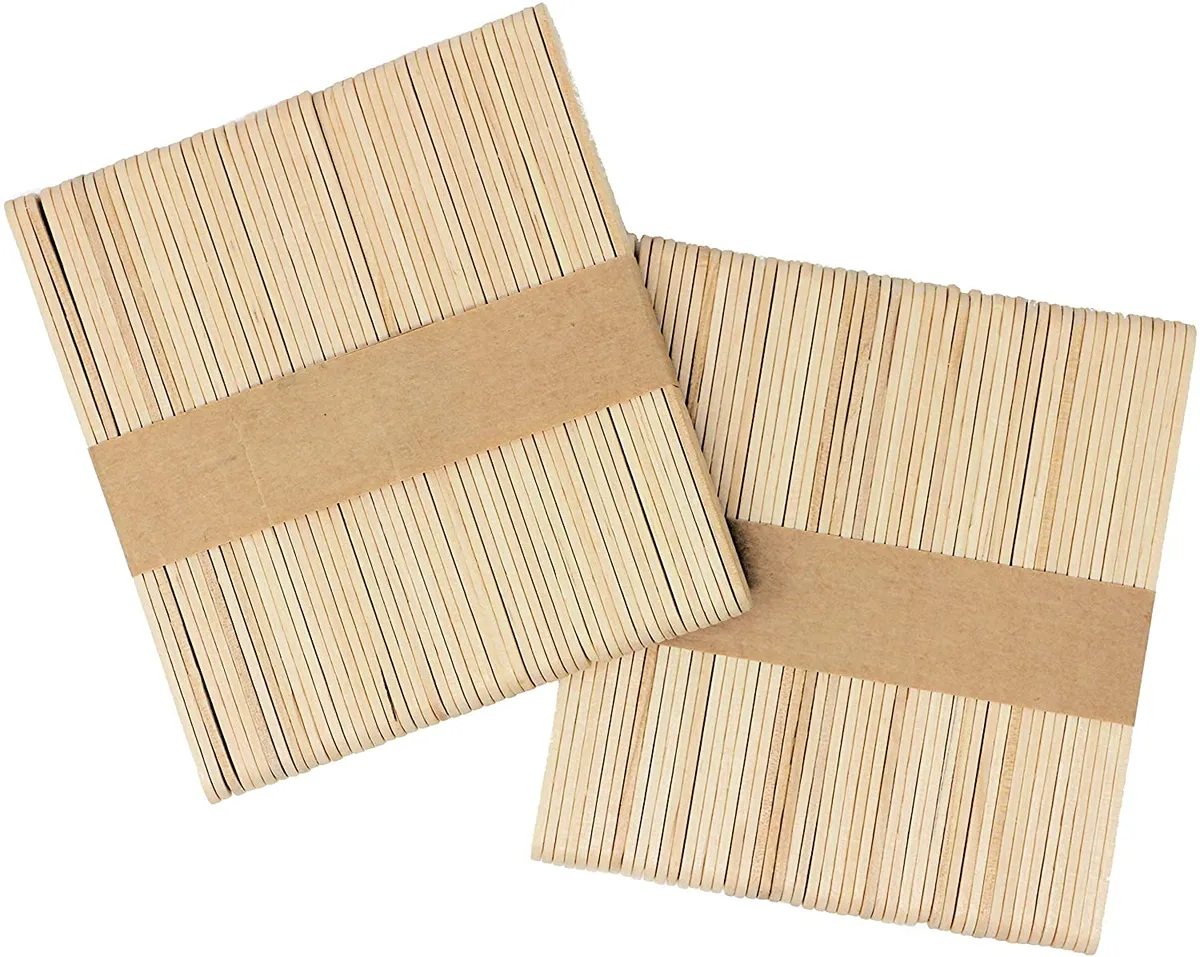
Buy now: £3.89, Amazon
To mix your pouring medium with acrylic paints, you'll need some mixing sticks. Better yet - head over to the supermarket and grab some ice lollies. Enjoy a well-deserved break to eat the ice lollies and BOOM. You'll have your mixing sticks.
9. Drying rack
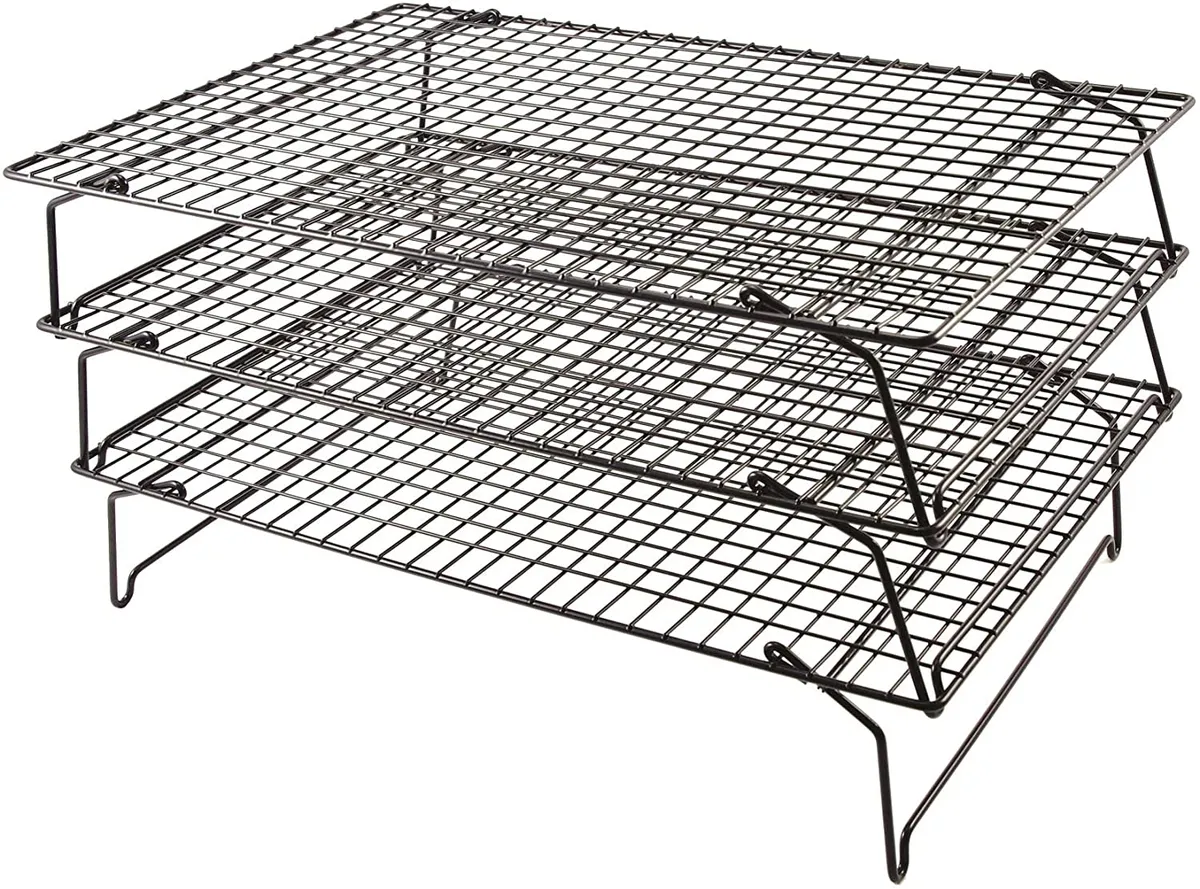
Buy now: £13.99 £9.99, Amazon
You'll need somewhere you can safely store your artwork, as artwork created by acrylic pouring can take around 2 or more weeks to dry. This is because of the chemical reactions that take place as you mix the acrylic paint with the pouring medium and the silicone - normal acrylic paint, as I'm sure you know, will be dry in just a few hours. So make sure you are able to store your work somewhere safely, where paint can freely dribble off the sides without ruining your table. Popping an old kitchen drying rack inside a cardboard box is a great option.
10. Gesso
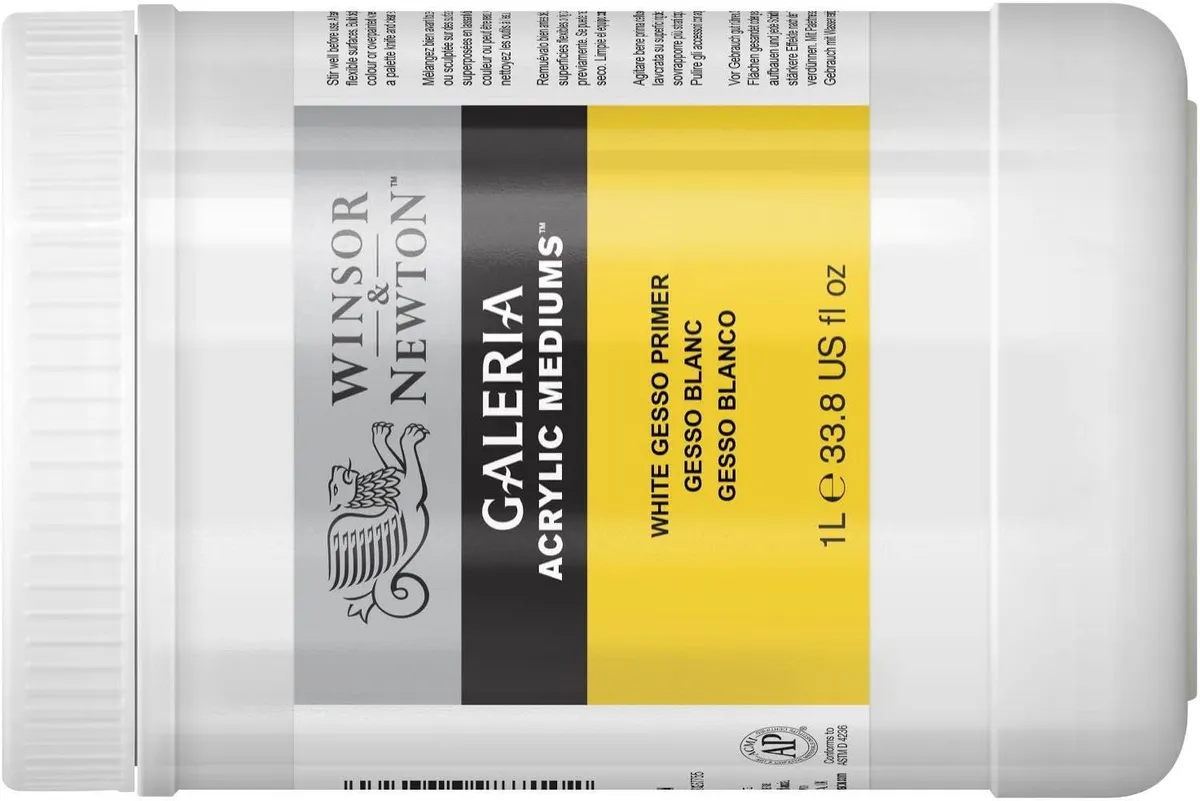
Buy now: £13.11, Amazon
If you're pouring onto canvas, it's a good idea to prep your canvas first by painting with a coat of Gesso. This helps to achieve a nice smooth finish when the acrylic paint is poured onto the canvas. It's not at all necessary, but priming your canvas does help to achieve the best possible results in your acrylic pouring.
11. Varnish
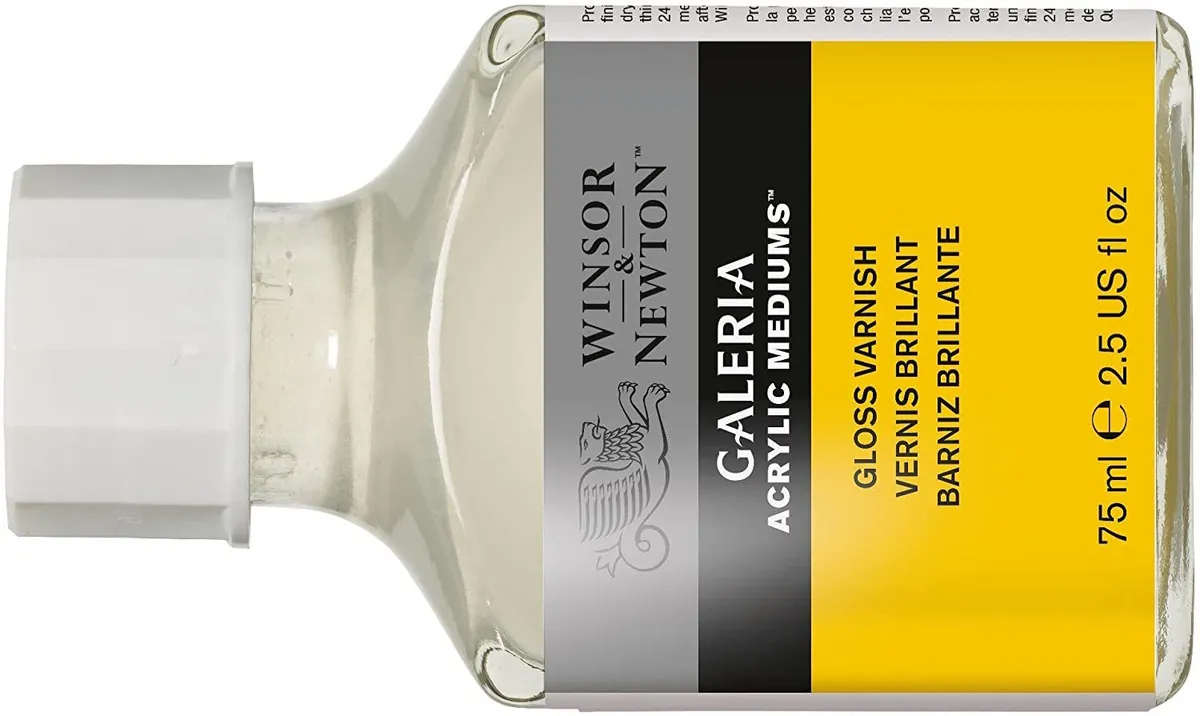
Buy now: £6, Amazon
Once you've created a design you're happy with, you. might like to varnish it to protect it from the dings of everyday life. If your artwork is going outdoors (for example, if you've created some lovely acrylic poured pebbles), then be sure to get an outdoor varnish suitable for protection against the elements.
How to do acrylic paint pouring video
We've filmed a video guide showing how to do acrylic paint pouring. It is so satisfying watching those swirling paint colours come together into beautiful canvases. It is fun to see just how messy the process can be, too! Check out out video to see paint pouring in action. You'll find full written instructions with photos below this too. So if you prefer written tutorials or want to refer to these, make sure you read on for more detailed tips and instruction on how to pour acrylic paint.


