All products were chosen independently by our editorial team. This review contains affiliate links and we may receive a commission for purchases made. Please read our affiliates FAQ page to find out more.

How to draw a majestic lion

Discover the tips and tricks that will have you sketching like a pro with our step-by-step lion drawing tutorial.

Try our magazines – get 6 issues from just £9.99!

Published: February 29, 2024 at 4:24 pm

Lions are impressive creatures that have fascinated humans for thousands of years. They’re powerful and majestic animals, so it’s not surprising that the lion is often referred to as the King of the Jungle.

In this tutorial, you will learn to draw your very own lion. Your male lion starts off life as a series of ovals, stacked around a vertical and horizontal line.

Once the construction lines are in place, you’ll learn how to use these as a guide to add the details. It’s important to get the proportions correct, so learning how to draw in this way will help you create other animals, too.

You can make him as detailed as you like, but you don’t need to add a lot of detail to make him look realistic. A few lines here and there are enough to emphasise the muscle and form of the lion.

For the purposes of this lion drawing tutorial, we’ve used red to show you where to sketch your construction lines, then lightened them when adding the detail on top.

undefined

Once you’ve drawn your lion, you can define the outline by going over it with a black fineliner pen, or use pencil shading techniques to introduce rich colours.

It's easy to learn how to draw a lion with our step-by-step tutorial, and although this project is aimed at the keen beginner, it’s a fun project for anyone at any level. Read on to get stuck in…

Top tips for drawing lions

1. Plan the composition

Start by building up the shape of your lion by using basic shapes, such as ovals and lines. Once these are in place, and you’re happy with proportions, you can go in and refine the details.

2. Study from real life if possible

Wildlife parks and reserves are the ideal place to study lions. Next time you head out, take a sketchbook, and spend a few minutes making some quick sketches from life. This will help you get a feel for the lion’s natural form and behaviour.

3. Photos are a good substitute

However, chances are you don’t have lions on your doorstep, so photos are the next best substitute for the real thing. If you’re starting out, try to choose a photo where the lion is standing straight-on to the camera. Avoid pictures with funny angles, as this can skew your perception of proportions.

4. Consider proportions

The mane of the lion makes up a considerable proportion of the lion itself. In the animal kingdom, it’s considered a sign of dominance and the mane will often extend along the lion’s belly. It’s a big feature of the lion, so be sure to dedicate enough time and detail to this mound of floof.

5. Male lions are larger than female lions

Keep this in mind if you’re creating a whole pride, but other than the iconic mane, you can apply the same techniques in this tutorial to draw a female lion.

6. Think about colour

We’ve gone for pencil shading in this tutorial, but you might like to colour your lion drawing using pencil crayons, markers, paint, or the colouring medium of your choice. In general, lions are a sandy yellow colour, but their manes can range in colour from nearly black to almost white. Typically, a lion’s mane will darken in colour as the lion gets older, so take this into account.

7. Use tracing paper

If you don’t want construction lines to appear on your final lion drawing, and don’t want the hassle of erasing them, use the tracing paper technique. Plan out your lion on one piece of paper, then overlay a second piece of paper (tracing paper) and draw your final lion on the overlay. Alternatively, you can use a lightbox.

This way, you’ve got a record of both your construction lines, and a finished drawing that looks professional and slick. You’ll also be able to use the same construction lines time and again, so you can refine and perfect your artwork without having to start afresh each time.

Flex your claws with our selection of art materials

Here’s what we recommend you’ll need for this lion drawing project…

Sketching pencils

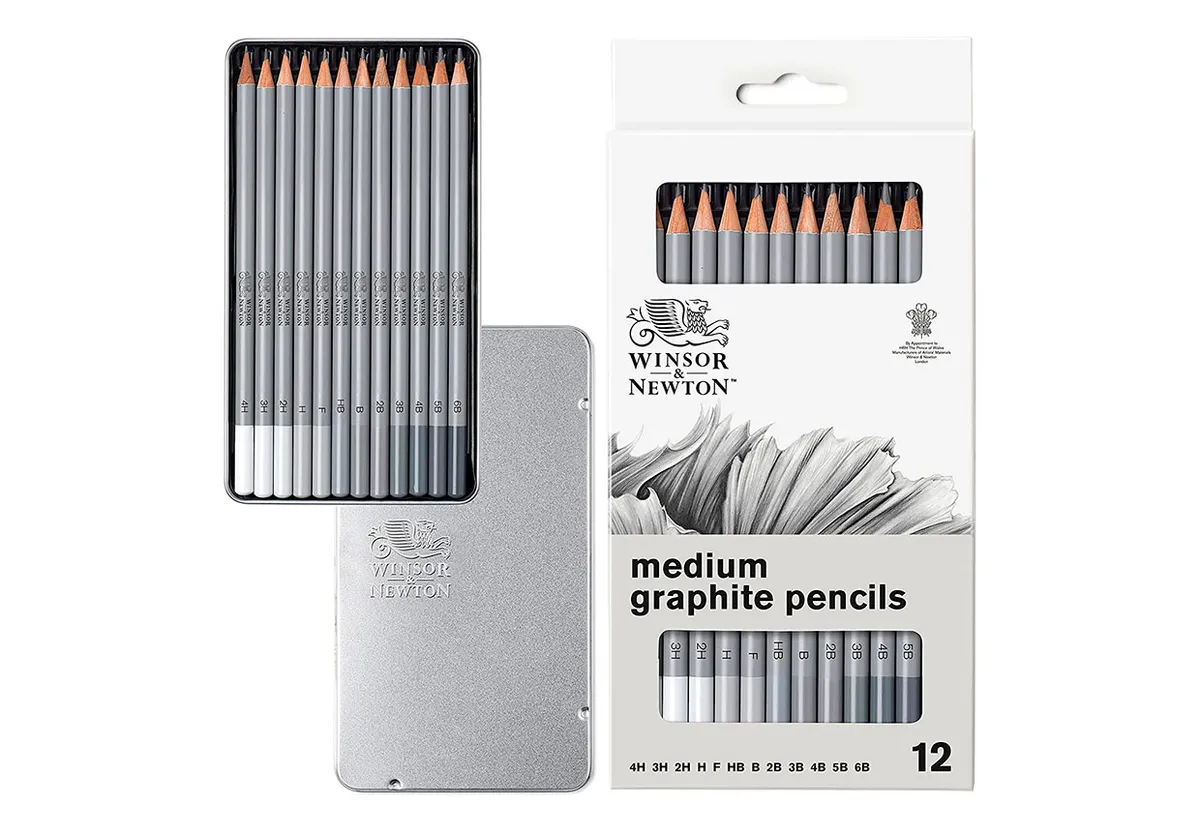
This collection of sketching pencils from Winsor & Newton has a good selection of hard and soft pencils.

The soft pencils (the Bs) are ideal for planning out your construction lines, while the hard pencils (the Hs) are ideal for adding fine details to your lion drawing, like the eyes. Meanwhile, the B or 2B is recommended for the main bulk of the sketch.

You could opt for a selection that has even more of the softer, or harder pencils – but this one is a great compromise as it sits right in the middle of the hardness scale, so you’ll get a lot of use out of it. And, this particular set is often on sale, too.

Fineliner set

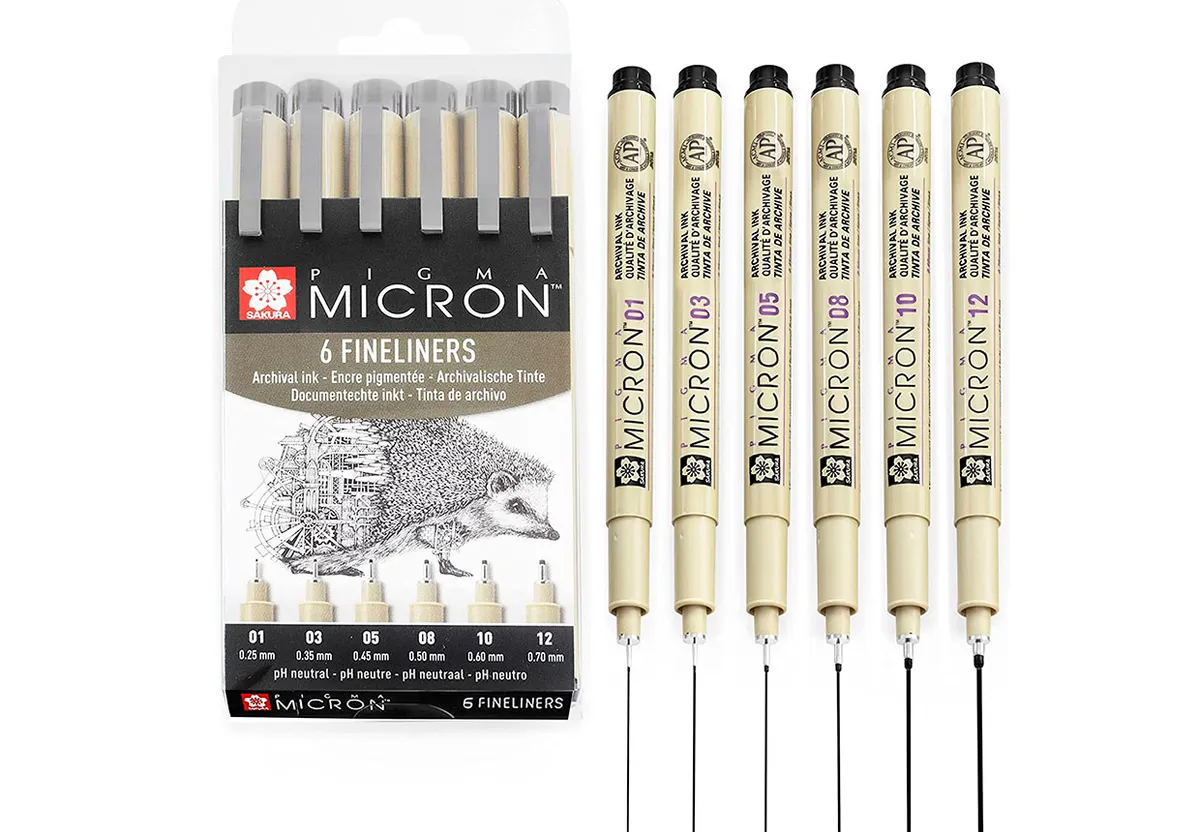
Working with fineliners is a great way for the beginner artist to gain confidence in drawing. They’re ideal for adding detail over the top of your construction lines, or for creating quick, messy on-the-go sketches.

Sometimes, removing a safety net (the ability to erase your drawing) is a great way to help you progress. These Micron fineliners are a designer favourite, and they use archival ink so your work won’t fade, or otherwise deteriorate, over time. Of course, you don’t have to use fineliners to add detail, you can use pencils or whatever medium you prefer.

Talens Art Creation Sketchbook

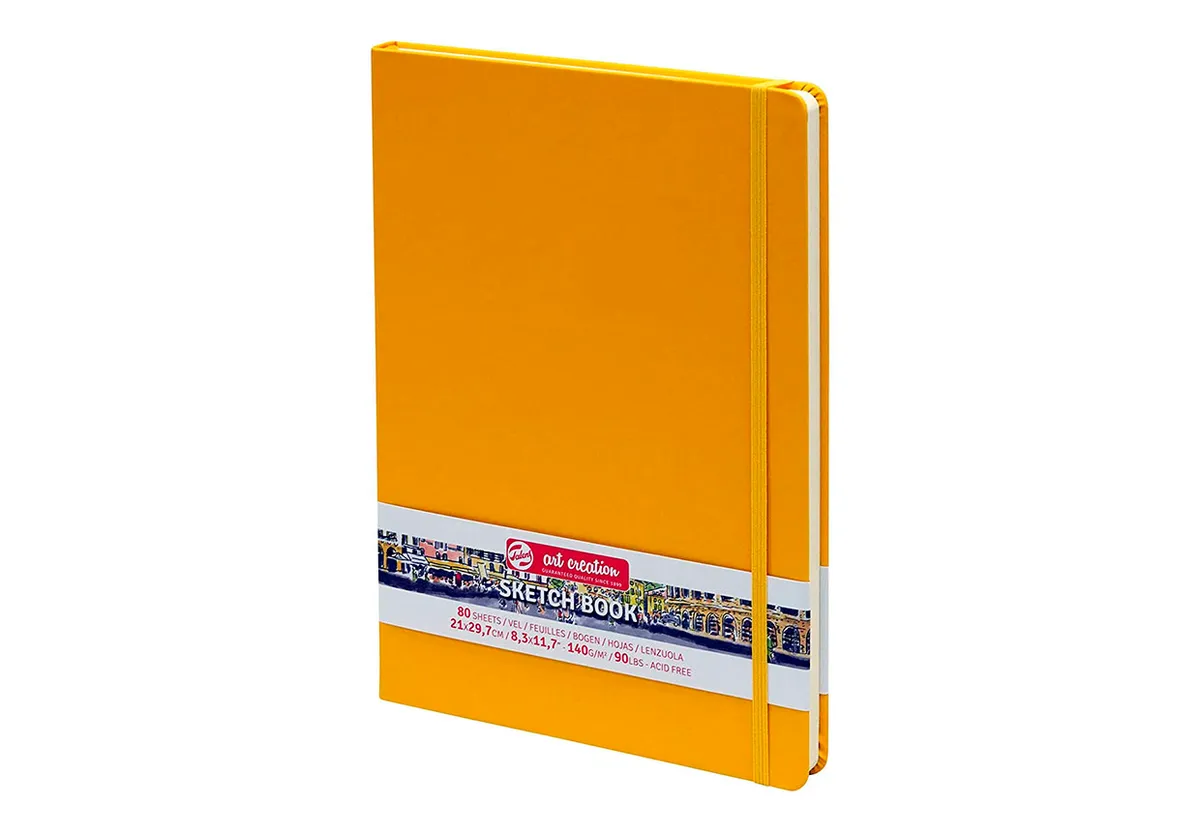
This sturdy, hardcover sketchbook will keep all your sketches organised in one place. It’s ideal for a range of materials, including pencil, ink, charcoal, pastel, acrylics, and gouache, and comes in different sizes to suit your needs.

This one is 21 x 29.7cm, so it’s ideal for practising techniques and keeping a record of what works and what doesn’t. It’s even lion coloured (ish)!

How to draw African animals

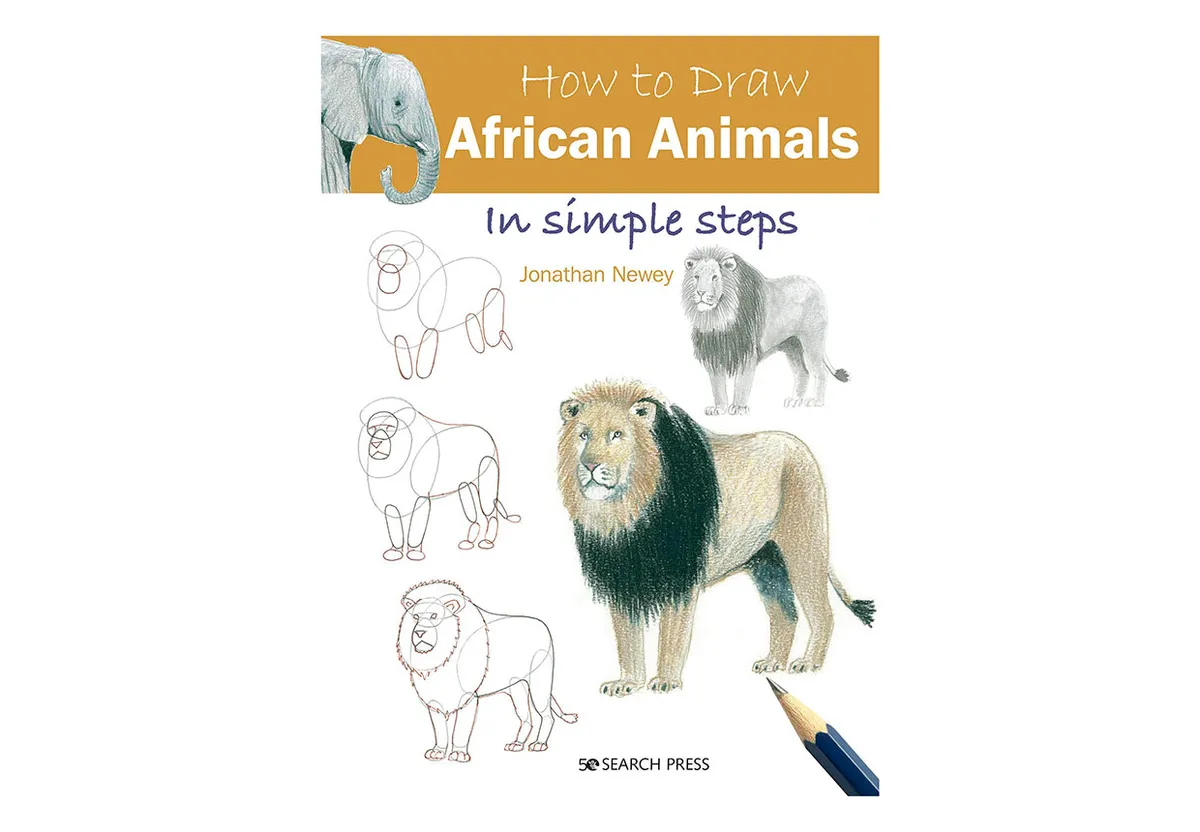
Get your fill of drawing tutorials with this project book by Jonathan Newey. This book, How to Draw African Animals, contains drawing tutorials for a selection of over 20 animals, including elephants, chimpanzees, zebra, meerkats, crocodiles, vultures, warthogs, giraffes, buffalo, flamingo and cheetah – among others.

Each project is split into simple steps, and it’s a fantastic book to practise drawing animals; your sketchbook will be full in no time!

Derwent shaped erasers

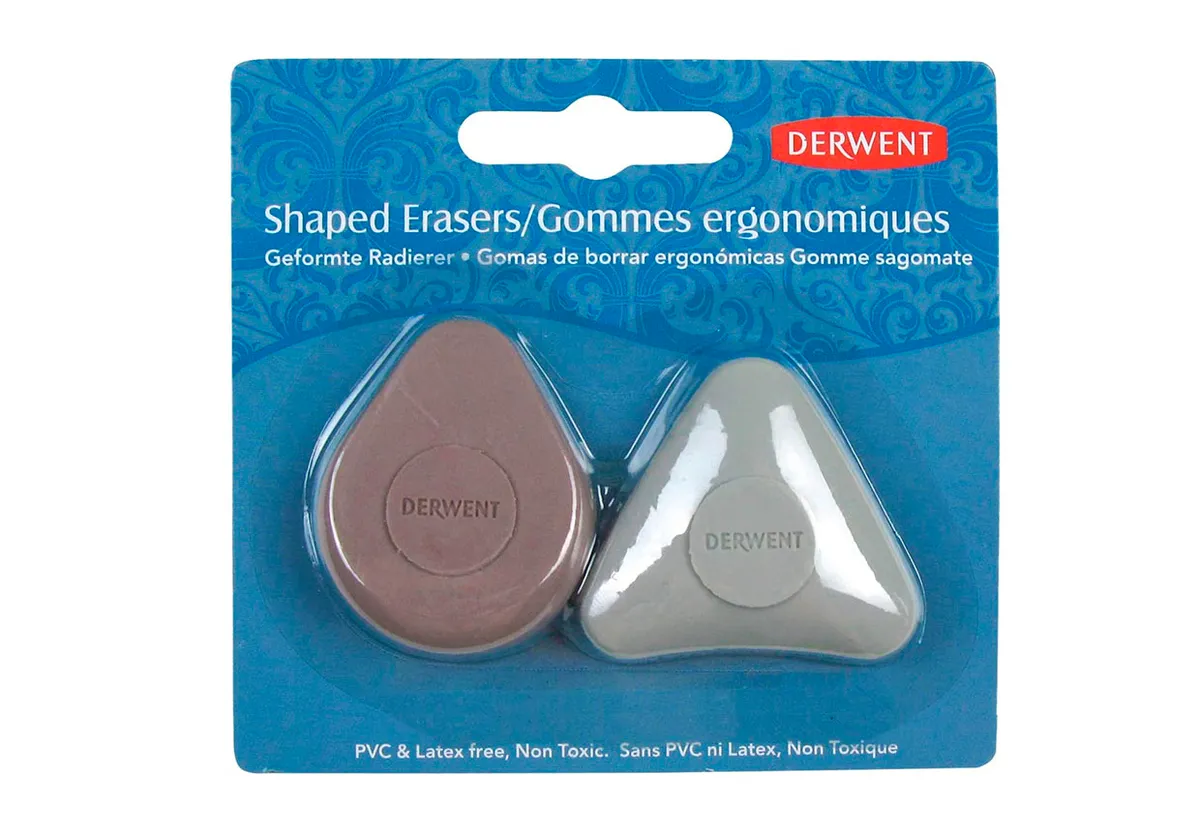
When erasing a large area (for example, lightening the construction lines to add detail), it’s a good idea to use a hard eraser. Opting for a hard eraser (over a kneadable one) ensures that it won’t be flip-flopping all over the place and working itself into a sausage on the page.

There are certain occasions where kneadable erasers are preferred, but for this tutorial I recommend something like these pointed erasers from Derwent. They’re long-lasting and smudge-resistant, so they’ll keep your artwork looking as neat as possible, and they’ve been designed for an ergonomic grip – so they’re comfy to hold.

How to draw a lion

You will need:

  • Sketching pencils
  • Black fineliner pens
  • Sketchbook or paper
  • Eraser
  • Pencil sharpener
  • Coloured pencils (optional)

Plan the composition of your lion drawing

Step 1

Plan out the proportions

Start by drawing a vertical line in the middle of your page. Draw a horizontal line near the top and draw a large oval where the two lines intersect. This helps to determine the height and length of your lion drawing. The large oval is the main body of your lion.

Lion drawing, step 1

Step 2

Extend the lion’s body

Decide which direction you want your lion to face. Ours is facing the left, so at the front of your lion draw a large, upright oval, overlapping with the body. This will be the mane, and you’ll want to make it slightly larger than the main body oval you drew in step 1.

Inside the mane, draw a smaller oval in the top left-hard corner for the face. At the rear of your lion, draw another oval for the hind quarters. Position the top of the hind quarters slightly higher than the top of the body oval.

Lion drawing, step 2

Step 3

Add some strong legs

Using the vertical line as a guide, draw four stick legs extending down. For the front legs, make them straight; the first positioned where the main and the body meet, and the second slightly behind this.

For the back legs, make them bend slightly at the knees. Start one in the middle of the oval for the hind quarters and the other slightly further to the rear.

Lion drawing, step 3

Step 4

Draw the knees

Draw a circle in the centre of each of the legs. These will help guide you when filling out the legs.

Lion drawing, step 4

Step 5

Give your lion sturdy feet

At the bottom of each of the legs, add in some feet. The top of the feet forms a C-shape, while the bottoms are very slightly curved.

Lion drawing, step 5

Step 6

Fill out the body

Give your lion some substance by filling out the legs. Using the knee-circles as a guide, join the feet to the body to create the legs. Make the legs slightly wider at the top.

Bulk out the rest of the lion by joining the ovals together using smooth curves. Join the legs onto the body by using short curves.

Lion drawing, step 6

Step 7

Give your lion drawing a sweeping tail

To add in a tail, start by drawing a long curve, extending from the top of the hind quarters, then down into a flick at the end of the tail.

Once you’re happy with the position of the tail, draw in a series of ovals along the length of the curve, to help determine its thickness. At the end of the tail, draw a triangle for the tuft at the end.

Complete the tail by drawing a second curve below the first one, joining the small ovals together and closing in the shape of the tail.

Lion drawing, step 7

Step 8

Plan the shape of the lion’s face

Lions have fabulous faces, and it’s easy to get bogged down in the detail. So, to keep things simple, start by drawing two semi-circles above the face, for the ears. The bottom of the ears will be obscured by fur, so they don’t need to join onto anything.

Divide the face by drawing three horizontal lines across it. Start the top-most line at the base of your ears, then the next a little way below that. In-between these top lines are where the eyes will sit.

Then, draw a third line roughly halfway between the horizontal line (that you drew in step 1), and the bottom of the face.

Lion drawing, step 8

Step 9

Sketch a nose

Give your lion a nose by drawing a triangle on top of the main horizontal line. Position it around 13 of the way inside the face, as measured from the left-hand side.

Underneath the nose, add another triangle (this time the other way up), and connect the two with a short line.

Lion drawing, step 9

Step 10

Draw some fierce eyes

Using the two horizontal lines as a guide, draw a pair of eyes between these lines. Keep them simple: draw a larger curve for the top of the eye and a smaller curve for the bottom of the eye. From the left eye, draw a line down and connect it with the nose.

That’s the construction lines all planned out, so in the next part of the tutorial we’ll look at adding some detail to finish your lion drawing.

Lion drawing, step 10

Bring your lion to life with fine details

Step 1

Make the eyes bolder

Starting with the eyes, add detail by going over the construction lines. Shade the iris in grey and the pupil in black. Give the eyes a twinkle by drawing in a small white circle, offset to one side of the pupil, for a highlight.

As with all animals, adding a highlight to the eyes helps the eyes look in a certain direction.

Lion drawing, step 11

Step 2

Define the facial features

Add detail to the nose and mouth, making the shapes more rounded and natural-looking. In the gap between the nose and the mouth, add in some lines of spots, curving them round so they roughly follow the curve of the mouth.

Lion drawing, step 12

Step 3

Complete the lion’s face

Finalise the face by adding in some whiskers, curving them downwards slightly, and go over the ears by drawing two parallel curves, spaced relatively close together. Add a furry chin by drawing a series of short, curved lines, clumping them together to create tufts of fur.

A curved line gives your lion a cheekbone, while a series of Vs stacked on top of each other, creates detail and interest on the forehead.

Lion drawing, step 13

Step 4

Start building the mane

The mane is made up of a series of curved lines, clumped together to form wavy triangles. Roughly follow the curve of the oval you drew for the mane (in step 2), as you draw these open-topped wavy triangles.

Around the outside of the mane, you’re aiming for an enclosed shape, so draw the curves so that they’re all touching. Inside the mane, you can be a little more random.

Lion drawing, step 14


How to draw a tiger

Looking for more easy drawing tutorials? Why not learn how to draw a tiger and add another animal to your hand-drawn zoo?


Step 5

Fluff up the mane

For a fully grown, male lion, their mane is often very thick. Add bulk to the mane by building it up around the top of the head. Cover the bottom of the ears with tufts and position the curved lines so that the face is enclosed.

Lion drawing, step 15

Step 6

Add detail to the body

Continue the mane down the back of the lion for a short distance. Taper the bottom of the mane to a point below the lion’s face. Go over the construction lines for the front leg, adding in some simple toes as you do so.

Lion drawing, step 16

Step 7

Add even more fur

Add a tuft of fur underneath the lion’s front legs. You can continue this along the length of the lion’s belly if you wish.

Lion drawing, step 17

Step 8

Finalise the lion’s body

The next part is relatively simple; go over the construction lines that make up the body, legs, and tail, smoothing out the shapes in the process. Add some simple toes on each foot, and some lines at the end of the tail, to emphasise that it’s a tuft of fur.

Lion drawing, step 18

Give your lion depth with realistic shading

Step 1

Use light colours to add subtle highlights

Using a light pressure, add in some shading to help define the musculature and form of the lion. Add some shading along the top of the lion, along the lion’s ribcage, in his cheeks, on the left side of the face and on the two legs on the opposite side. Colour in the end of the tail and nose a darker colour.

Lion drawing, step 19

Step 2

Use darker colours to emphasise key features

Finally, colour in the mane, underarm tufts, and ears, to complete your lion drawing. Then, if you haven’t already, erase the construction lines and enjoy your work!

Lion drawing, step 20

How to draw a lion the easy way

Drawing a lion is easy once you know how to construct the basic form of the animal. Start by planning the proportions of your lion, and to keep things simple, choose a posture where the lion is standing up straight. Work from a photograph if you can, but make sure you can see all parts of his body (feet for example, are often hidden in long grass).

Once the basic form is planned out, the next step is to add some detail to your lion drawing. Go over the construction lines using the tool of your choice – a black 0.5mm fineliner pen works well – finalising the features and refining the details as you go. The mane is one of the most recognisable and defining features of a male lion, so first plan the size by sketching a large oval, then build it up using short, curved lines to create tufts of fur.

Shade your lion in using sketching pencils, or why not opt for coloured pencils (or pastels) to really bring your lion to life? Experiment by using different types, and colours, of paper to get the most from your art. You’ll soon get a feel of what materials you like to work with, but the most important thing is to have fun and enjoy the process.

This easy lion drawing is a fantastic project to advance your drawing skills, and you can transfer the techniques you’ve learnt in this tutorial to create other four-legged animals.

Draw more animals with expert tutorials from Gathered

If you’ve enjoyed this lion drawing tutorial, we have lots of other similar projects here on Gathered for you to practise your sketching skills.

This horse drawing tutorial follows the same process of using basic shapes to build up the form before going in with the detail – and it’s packed with expert advice, too.