Wood burning, known as the art of pyrography, is an engaging and professional-looking craft that has seen a surge in popularity in recent years. Appealing to artists, illustrators, traditional woodworkers and hobbyist crafters, it has many different applications and can create a huge range of designs and styles.
Although there is an element of risk due to the high temperatures used, with the help of our beginner’s guide you can safely try this fun and on-trend craft.
Beginners guide to pyrography
Keep reading for our in-depth guide to wood burning, or use these handy links to jump directly to a specific part.
- What is Pyrography?
- Is wood burning safe?
- How to choose wood for wood burning
- What tools do you need for pyrography?
- The best pyrography kits to buy online
- How to do pyrography
- Wood burning resources
- Creative ideas for wood burning
What is pyrography?
The term ‘pyrography’ comes from the Greek words pur and graphos, meaning “writing with fire”. Pyrography is the art of decorating wood or other materials with burn marks from a heated object, usually a heated pen-like metal tool.
It is thought that pyrography has been around since prehistoric times when humans created designs using the remains of their fires. It can be officially dated to the Han Dynasty when it was known as “fire needle embroidery” and has been practised by many cultures throughout the world.
While these traditional wood burning practices would have used irons or pokers heated in a fire, modern pyrography is done with an electrified wood burning iron. These devices come in two mains styles, solid tip and wire tip, and are visually similar to soldering irons (although pyrography irons will normally go to much hotter temperatures).
Wood burning is an extremely versatile craft that can be used to create unique decorative objects. Designs can range from simple embellishments or decorations to very intricate and delicate pieces of art. Pyrography allows you to personalise objects and once you get confident using the tools the possibilities are endless.
Is wood burning safe?
Wood burning has its risks, but as long as you take the proper precautions pyrography can be perfectly safe.
There are three main risks with pyrography – accidental burn risks, inhalation of fumes and fire hazards. We’ll run through these key risk areas, however if you still have concerns you can find further wood burning safety advice available online.
Burn risks

Pyrography tools are designed to be hot enough to burn into wood and other materials – so they’ll have absolutely no problem burning into skin and flesh! Wood burning irons can reach temperatures anywhere between 400-750°C, so even if you accidentally touch the iron for a second you can get a serious and painful burn.
Make sure that your wood burning tools are always out of reach of children, but also adults who may not be aware of the potential dangers. Never operate when under the influence of alcohol or drugs (including certain medications that could make you drowsy). Pyrography irons can take a while to cool down so can still pose a risk when turned off – store safely in a stand or holder when no longer in use and never leave a hot wood burning tool unattended.
It is good practice to ensure you have an appropriate first aid kit to hand and to plan how you would deal with a potential accident. You can find information on how to treat burns as well as when to get professional help on the NHS website.
Inhalation of fumes and other particles
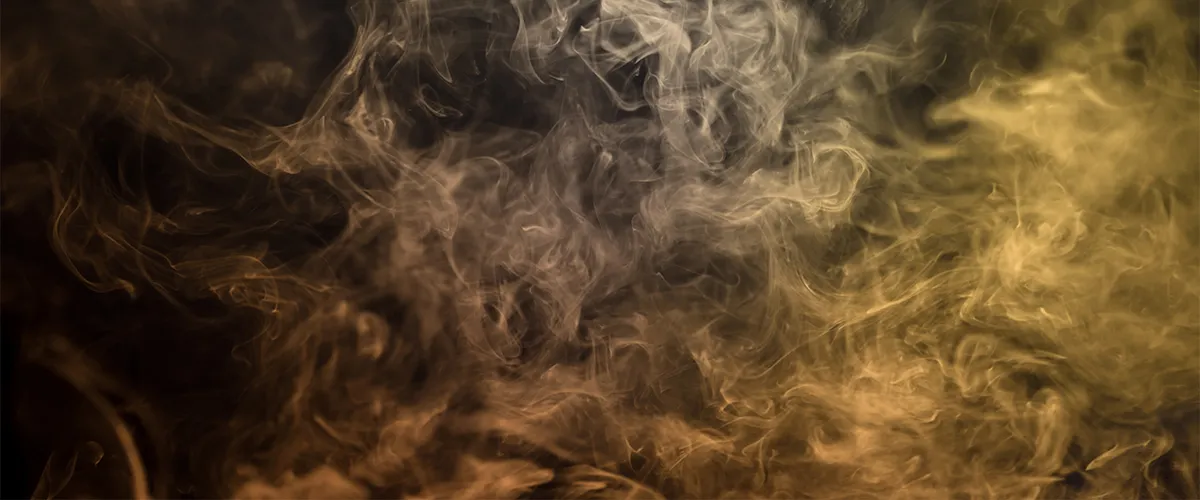
When you’re burning wood, leather or any other material with your pyrography tool, there are going to be fumes created. While the toxicity of these can vary depending on the materials used, it’s best to try and avoid them completely with the use of a protective breathing mask. Smoke and fumes can also affect and irritate your eyes too, so safety goggles are also recommended.
You should make sure that you work in a well-ventilated area, with an open window and you can use fans to help circulate the air. Sanding your wooden materials is important to obtain a smooth surface for pyrography, although it’s important to do this in a well-ventilated area (or outside) and wear a protective mask, goggles and gloves to avoid any risk from the particles.
As a rule of thumb, wood burning should only be done on natural untreated materials, so avoid anything that has been stained, painted or pressure-treated (as well as man-made materials such as plywood, MDF or OSB chipboard). This applies to leather too, as dyes or sealants could produce toxic fumes. You should always carefully select and fully research the suitability of any material before trying pyrography on it.
Fire hazards
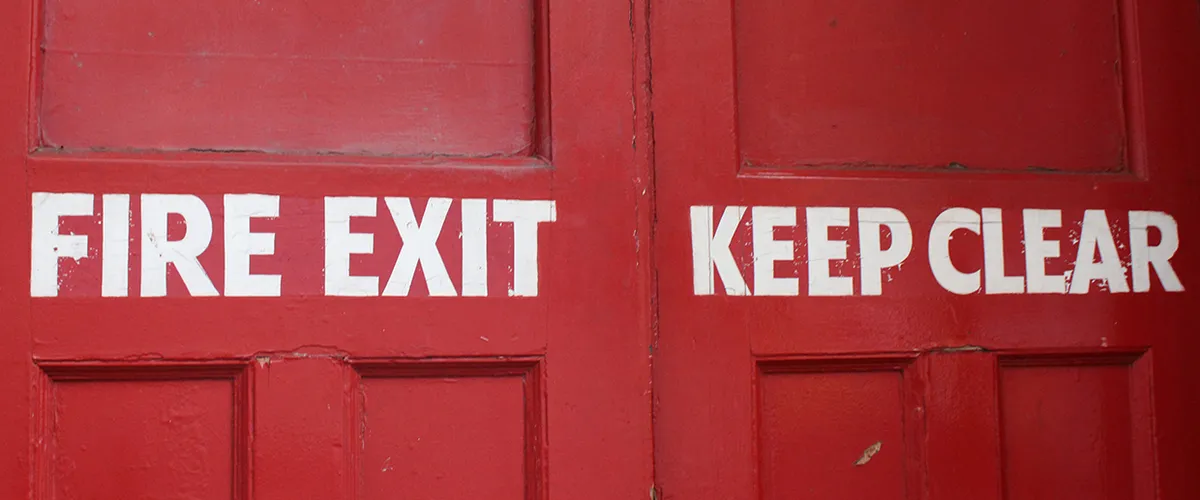
The final pyrography risk is that it could potentially pose a fire hazard. This is not so much from the act of wood burning itself, but from the fact that the tools are very hot and can take a while to cool down. Always store your wood burning iron in its stand or holder (most come with one supplied) and never leave a hot iron unattended, even if it’s switched off at the power source.
Make sure your working environment is clear and tidy. Things like sawdust or paper could become a fire risk if your pyrography iron was knocked onto them, so keep the area around your pyrography tools clear. Also be careful not to stretch or precariously arrange power cables – if caught it could lead to your iron falling onto something flammable, injuring someone or at very least damaging a surface.
How to choose wood for wood burning
While pyrography can be done on leather, egg shells, gourds, cardboard, paper, and even on bone, teeth and horn; however the most popular material is definitely wood. It’s important to know exactly what wood you’re working with and if it’s suitable for wood burning.
As we mentioned earlier, woods that have been stained, painted, pressure treated or moulded should be avoided altogether, as well as any man-made woods such as plywood, OSB or MDF as these can all produce toxic fumes.
The most common materials for wood burning are fine-grained lighter woods such as beech, birch, or sycamore, although you can also use darker woods like maple or oak. Whichever type of wood you choose to use, you should always research and examine it first to check if it’s suitable. Your key factors are that you want an untreated, smooth and fine-grained wood that won’t contain lots of sap or resin.
Worried about your wood selection? There are resources available online of common wood types you should never burn, or you can check out this handy list of wood allergies and toxicity. If you’re really confused and don’t know what type of wood you’ve got, you can also check out this handy wood identification guide.
What tools do you need for pyrography?
All you really need for pyrography is the object/material you want to decorate and a pyrography tool (often called a pyrography pen or wood burning iron). However, there are plenty of extra tools that will help you make better designs and work more safely.
You can check out our full guide of every wood burning tool you need for pyrography for more in-depth information. Here’s a quick list of items we think no wood burner should be without:
Essential wood burning tools
- A wood burning iron
Options range from basic solid tip irons to adjustable temperature dual wood burning irons - A selection of solid nibs or wire tips for your iron
(Normally supplied with your iron) - Holder/stand for your iron
(Normally supplied with your iron) - Needle nose pliers and appropriate sized screwdriver
(You may need these to change nibs) - Safety goggles
- Protective breathing mask
- Sandpaper
Optional wood burning tools
- Pencils
- Carbon transfer paper
For transferring designs onto your wooden object - Stencils
For planning lettering - Paints
To add colour to your finished design - Wood oil/sealant
For a professional finish
The best pyrography kits to buy online
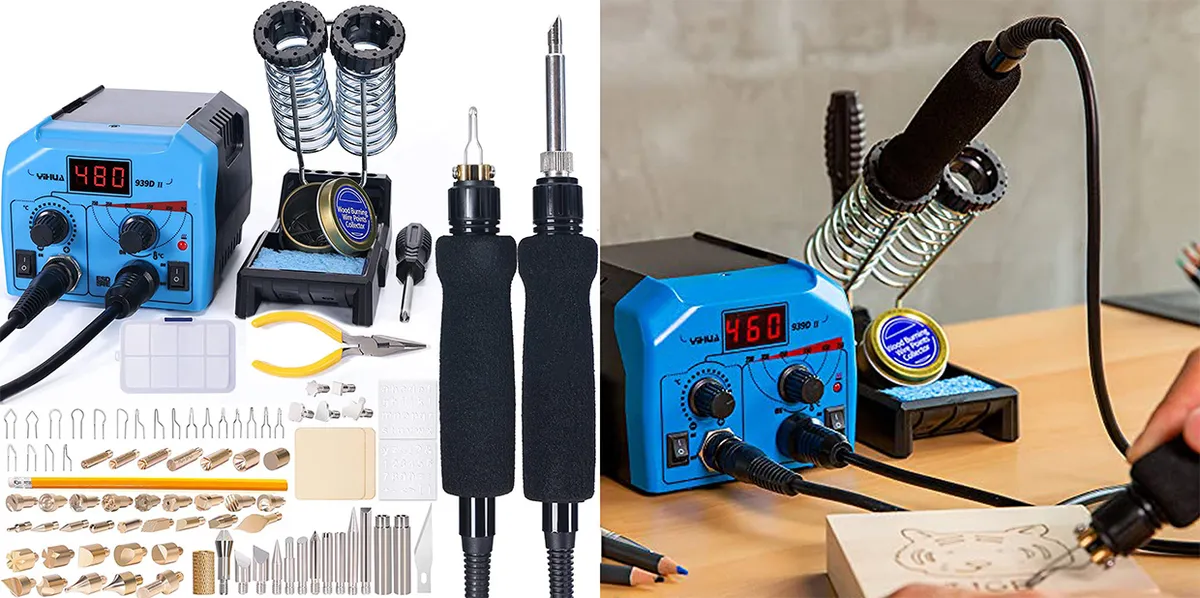
For those looking to try wood burning for the first time, one of the best ways to start is with a wood burning kit. The majority of kits come with all of the accessories and tools you need, and sometimes a project to get you started – but they can vary quite a lot.
We’ve included a range of different types in our pick of the best pyrography kits to buy online, ranging from budget gift options to professional tools.
How to do pyrography
In the following steps, we’ll show you how to get started and create a simple design using a basic pointed solid tip. Let’s get started.
First things first – always start by making your work area safe! Ensure you have a tidy work surface, make sure the area you are working in is well ventilated and wear a protective mask and safety goggles.
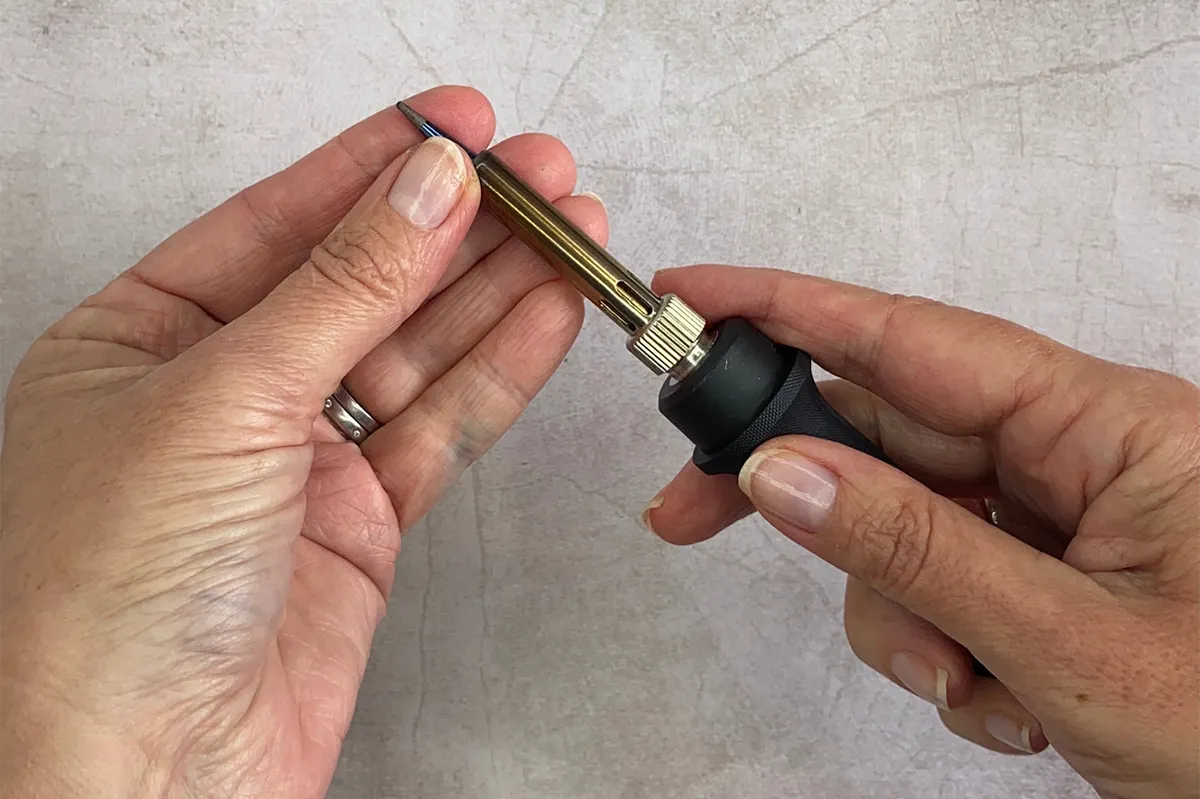
Step 1
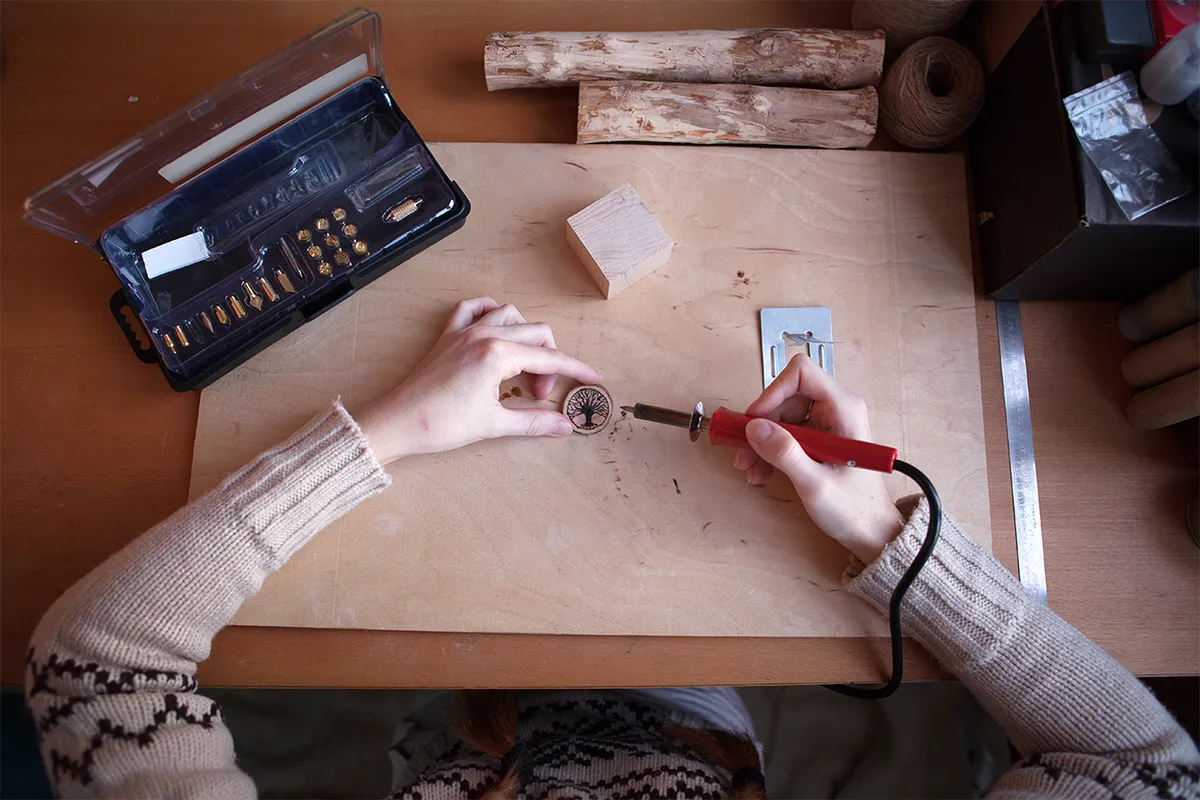
Use the instructions provided with your pyrography pen/iron to place and secure the pointed tip in the end – you may need a screwdriver to do this. Never try to insert or change nibs when the tool is hot or connected to a power source. If you’re unsure if a tip has cooled down completely you can quickly dab it on a damp sponge – if it sizzles or hisses then it’s still hot. Some people will also use needle nose pliers to hold/remove the tips, although you should still wait for the nib to completely cool down first.
Place the stand on a flat surface, place the pen in the stand and then plug in and switch on. Top tip – tape your stand down onto your work surface to ensure it can’t slide about or fall over.
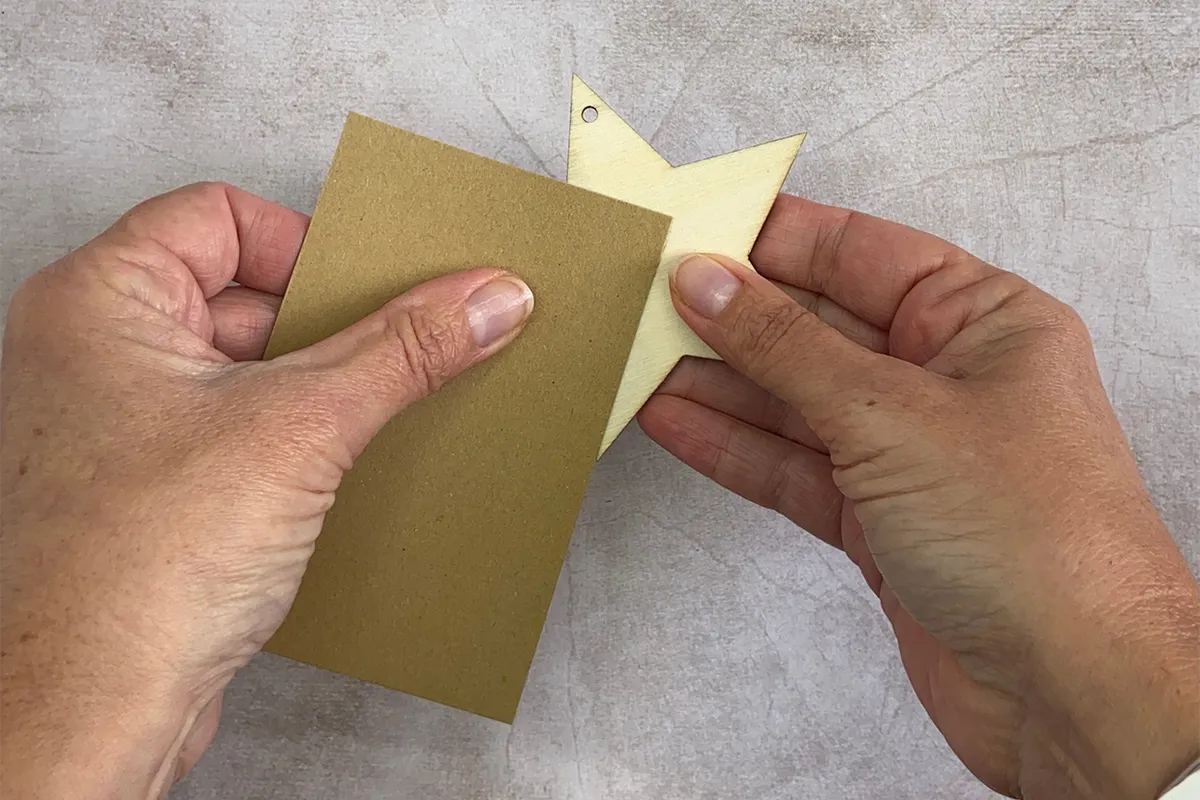
Step 2
While the wood burning tool is heating up, check the wood shape you wish to use and smooth off any small lumps and bumps with a piece of sandpaper. Remove any dust from the surface.
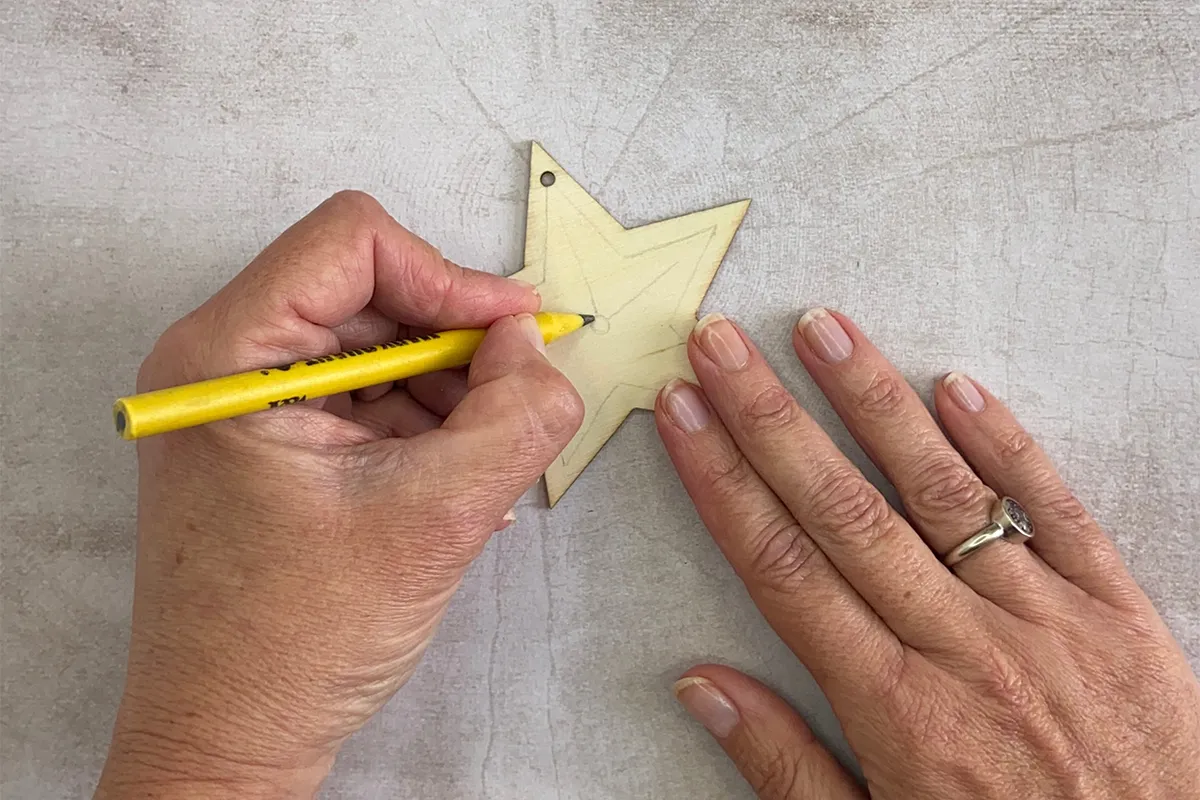
Step 3
Lay your wood shape on a flat surface then lightly draw a simple design in pencil on the front.
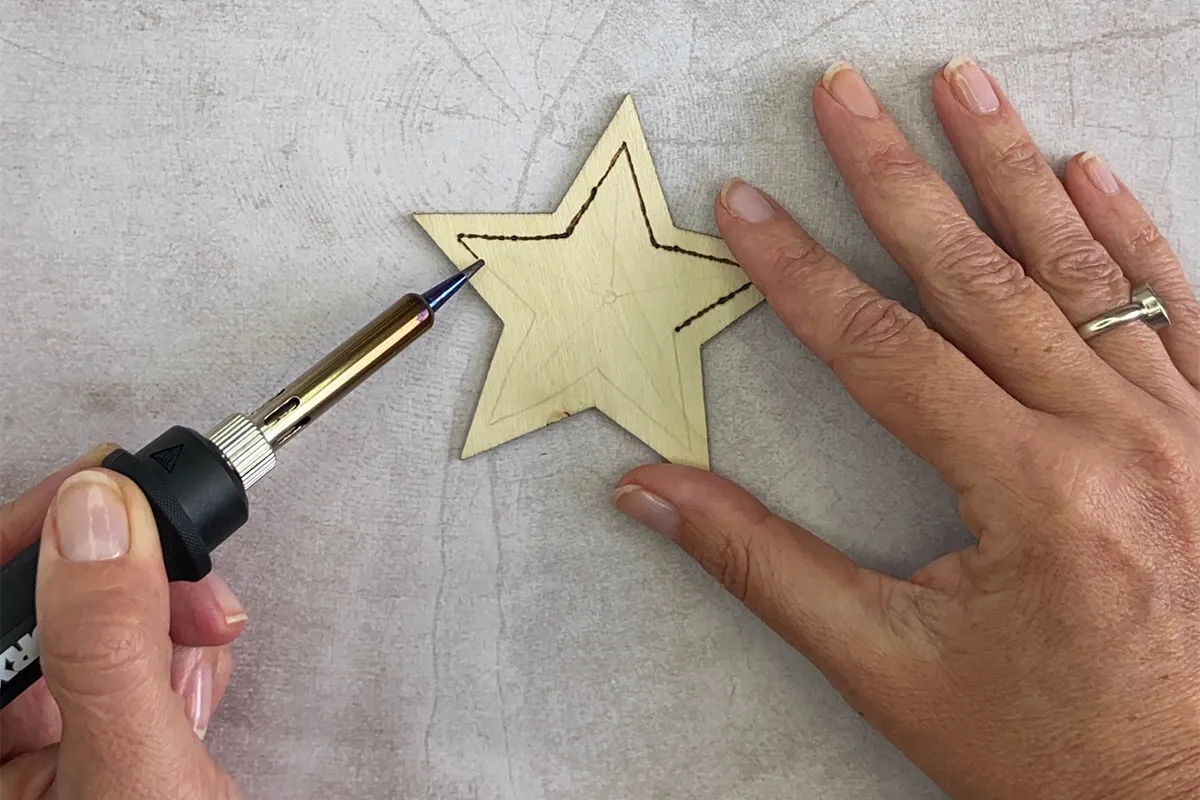
Step 4
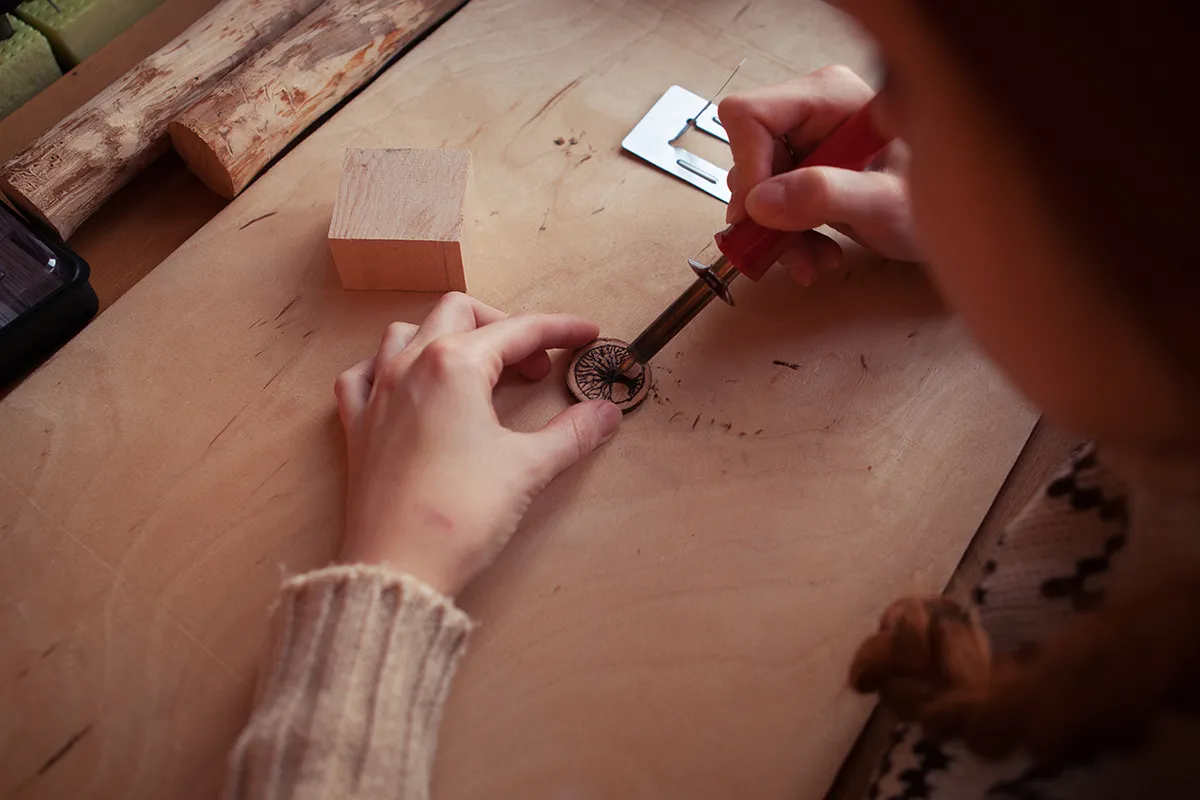
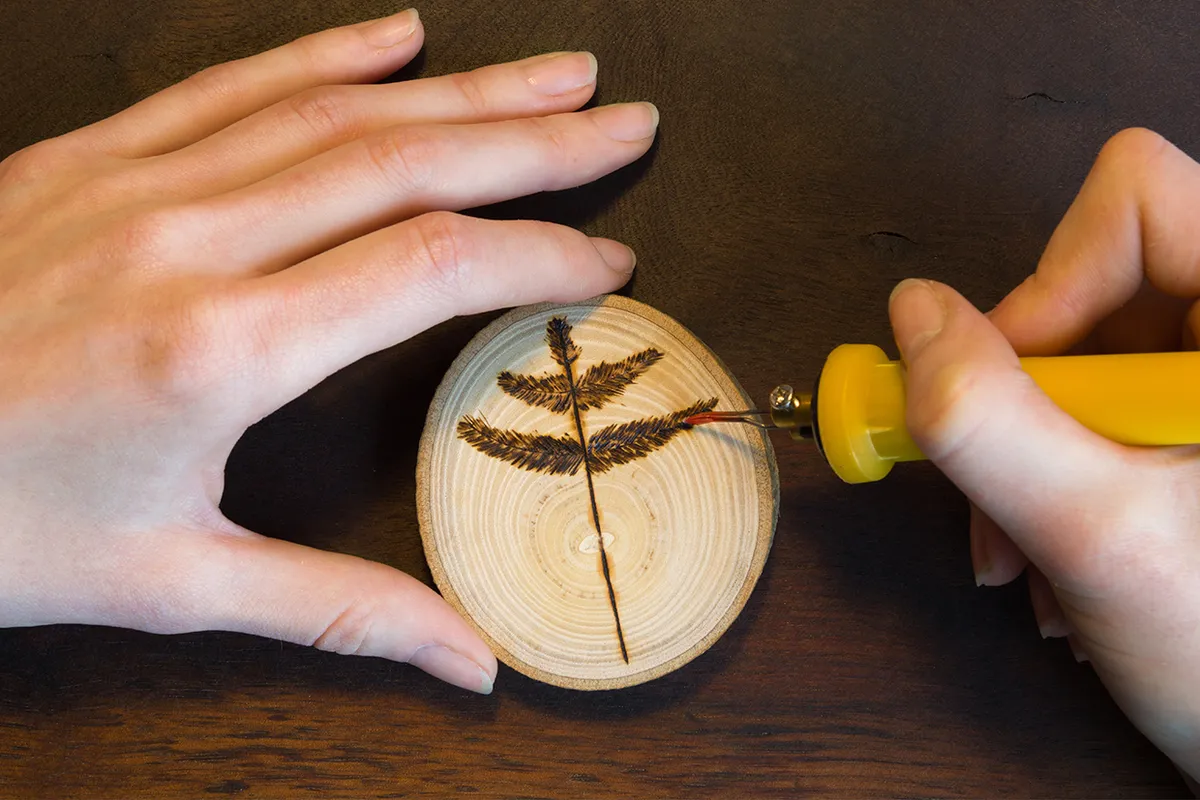
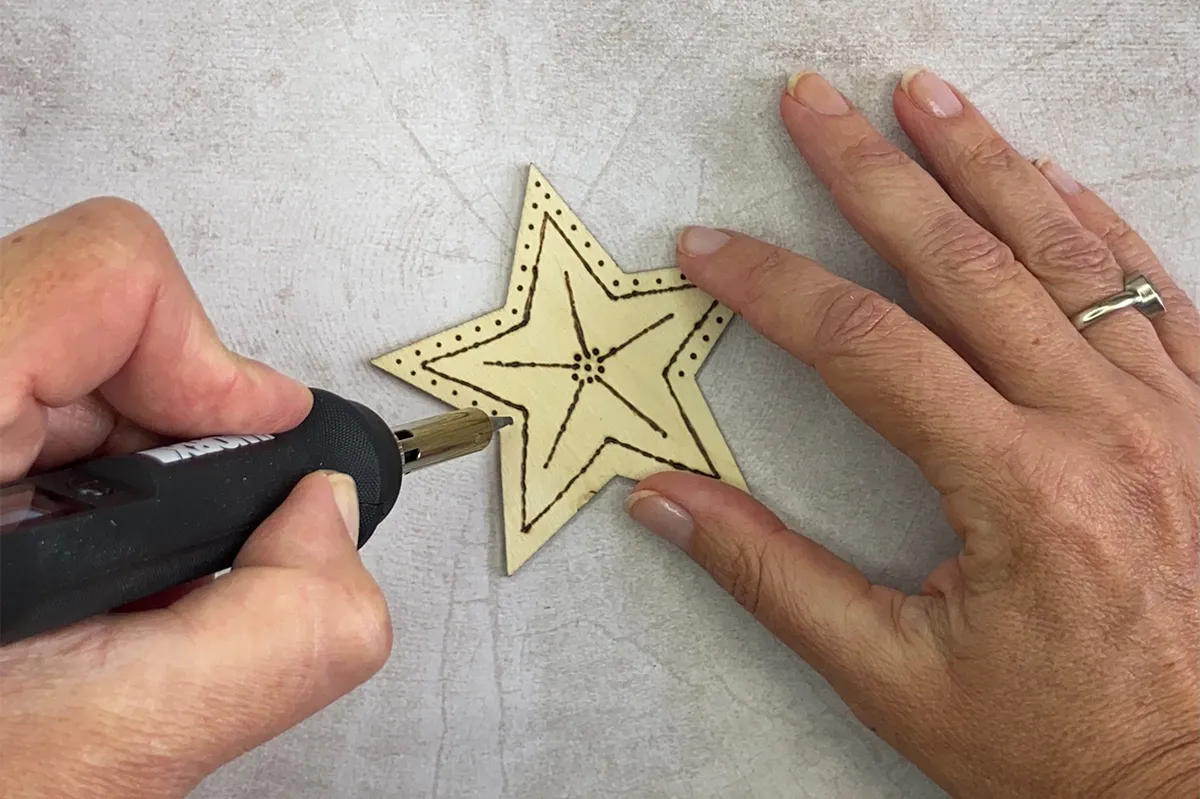
Hold the wood burning iron in one hand, then hold the wooden shape in place with the other. Place the end of the nib point at the start of one line, then steadily and slowly move along the line to burn into the wood. To avoid a lumpy line, don’t push too hard and keep the point moving.
Step 5
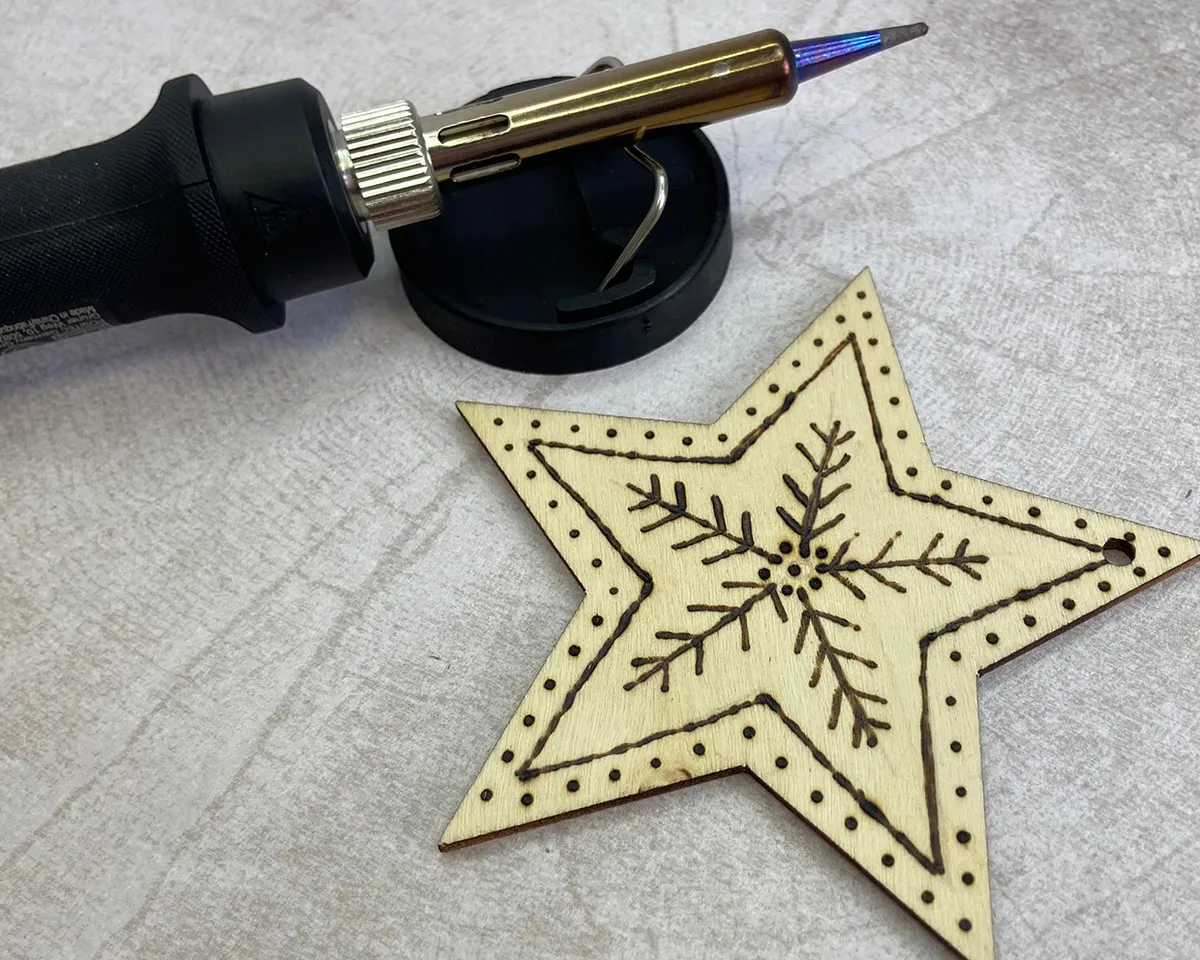
Hold the wood burning tool upright and burn in small dots by pressing just the very end of the nib in the wood for a couple of seconds.
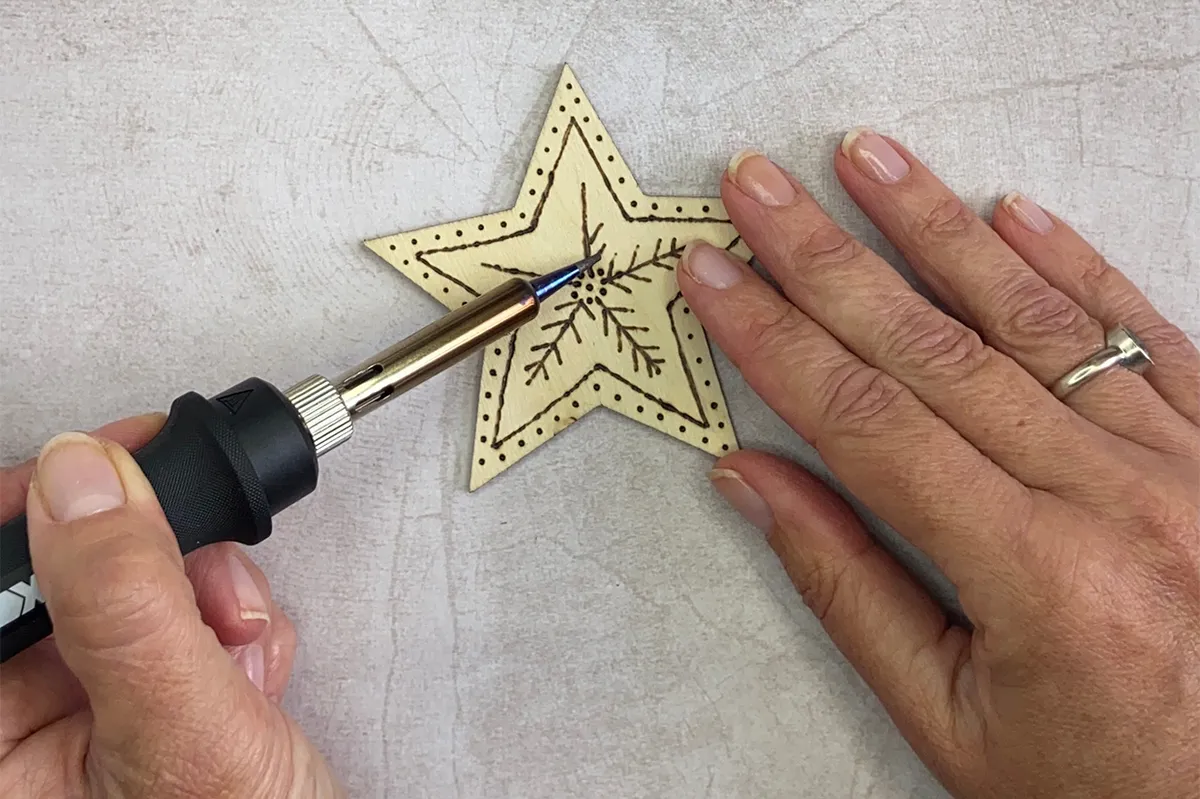
Step 6
Burn in some small, delicate lines into the wooden shape to finish the design. The point may feel a little harder to push along the wood when it goes against the grain, however this will get easier with practice.
Step 7
Once the design is complete, place the wood burning tool back in the stand, switch it off and leave it to cool down completely. Remember to never leave a hot wood burning iron unattended!
Wood burning resources
Now that you know how wood burning works and the tools you need, there are a few ways to get a really thorough introduction to this exciting craft.
Try an online class
If you prefer to learn with the help of a video guide, Skillshare has some excellent online classes.
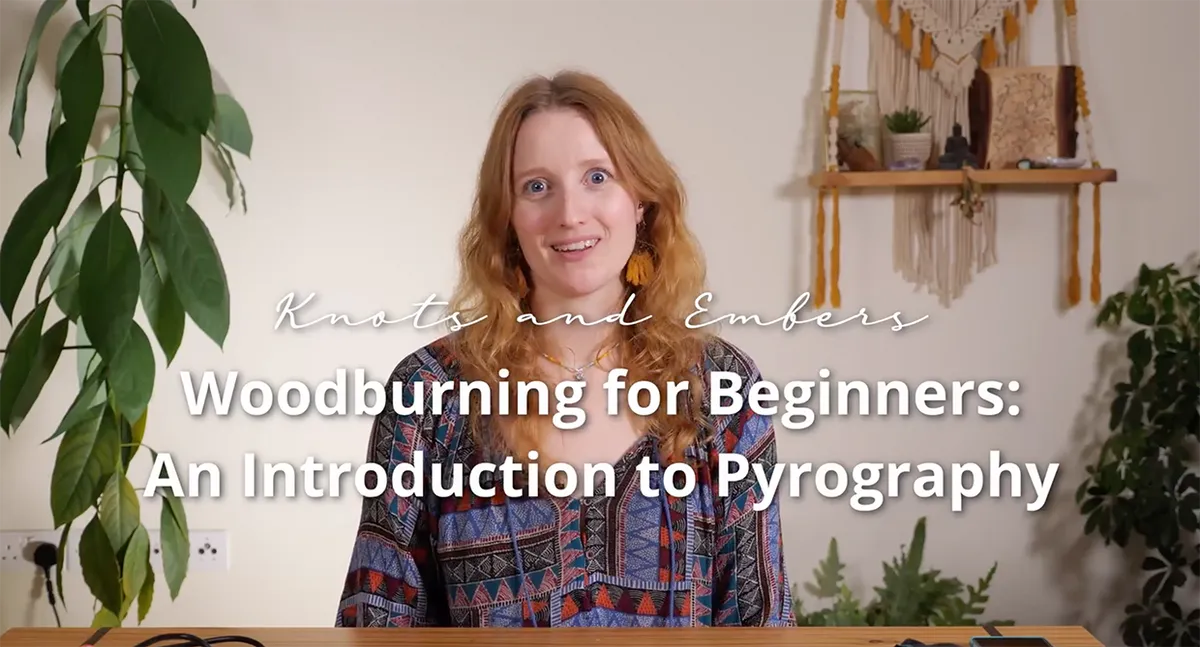
This pyrography for beginners course is perfect for those who want a bit of professional guidance for their first wood burning project – in this case you’ll make a lovely fern design.
Each section is split into separate videos so you can go at your own pace, and covers everything you need to know through safety, preparing, burning and sealing your wood burning artwork.
- Check out the Wood burning for beginners class on Skillshare
Get a good resource book
Here at Gathered we love learning new skills online, but there’s still a special place in our hearts for books. They’re great for researching and reading up on a craft before starting, helping you to feel prepared and confident when you’re ready to tackle your first project.
Having a wealth of comprehensive information in one place can also make finding an answer to your specific craft question far easier than trawling through search results.
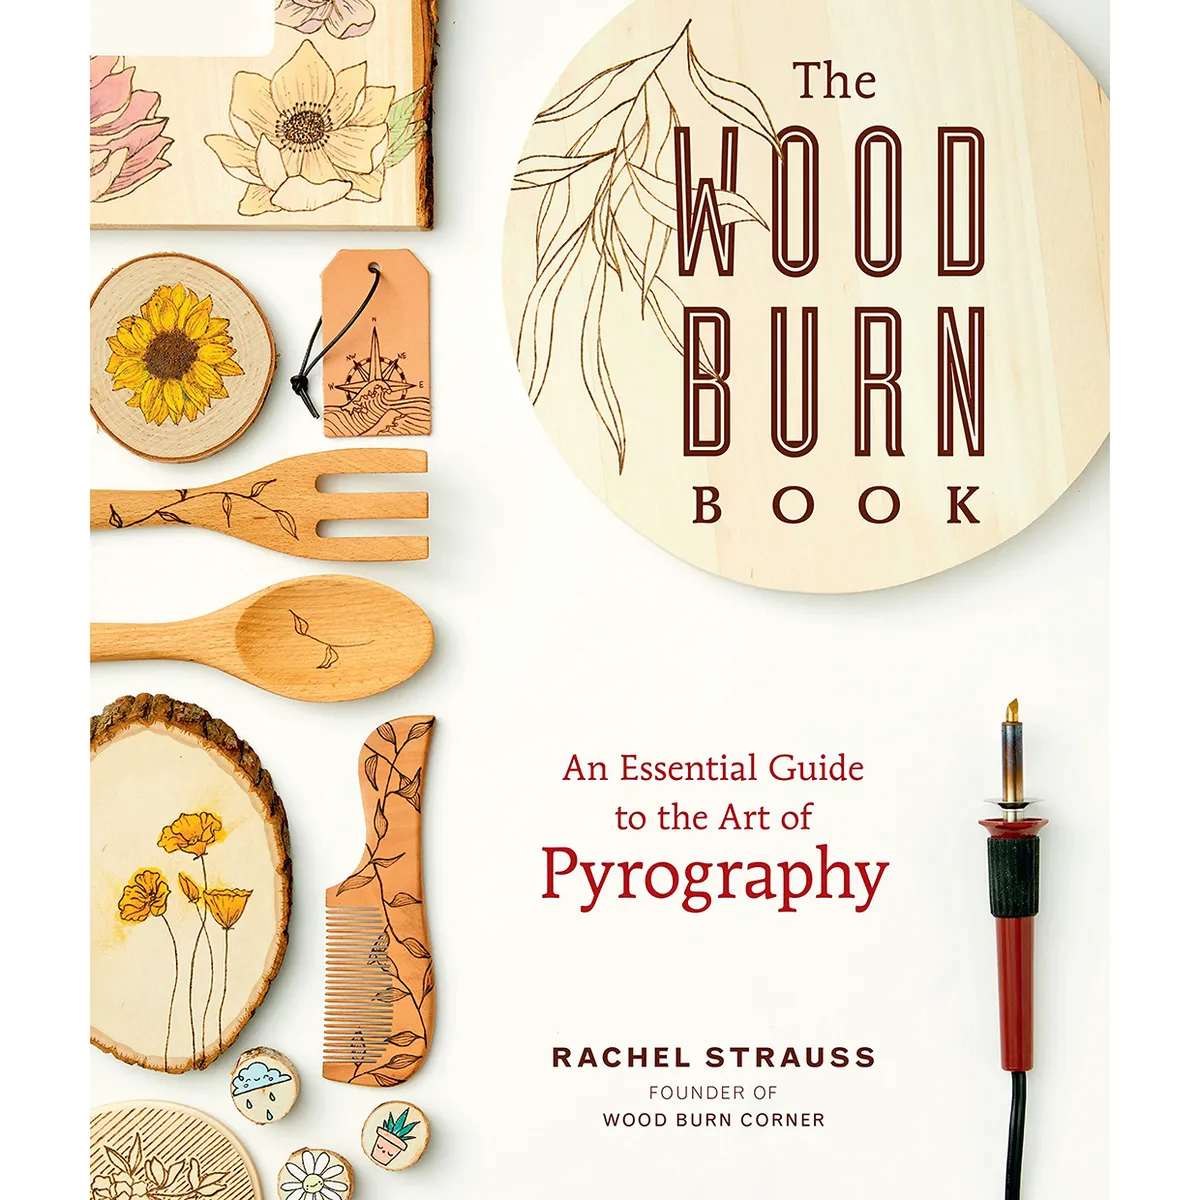
We’d recommend The Wood Burn book by Rachel Strauss as it’s perfect for beginners and is also a great reference book to refer back to when you’re more experienced. It contains everything you need to know about the art of pyrography, from tools and techniques to surfaces and safety.
There’s plenty of projects inside for you to try and it’s also available to buy as an ebook too.
- You can find the The Wood Burn book on Amazon
Creative ideas for wood burning
Once you’ve got all of your wood burning tools and have done a few practice pieces, you’re ready to get creative – but where do you start? Fortunately there’s loads of different designs you can make with pyrography, from intricate projects to quick simple makes.
Practise your linework by adding some personalised text to an object, or try a ton of techniques by covering a wooden object in different pyrography patterns.
If you’re not confident with your drawing skills, you can print out a design and use carbon transfer paper to create a guideline on your surface to follow.
Get inspired by the things you love. Landscape, food, nature and animals are all popular subjects for wood burning. Remember that there are no rules when it comes to creativity – you could be inspired by your favourite TV show, music or sport.
Check out our list of wood burning ideas and inspiration and find your next must-make project.
Wonderful wood
You don’t need loads of tools to work with wood. Check out our pick of the best wood crafting kits for some fun and creative constructions.

Put your pyrography knowledge into practice
Now that you’ve had a thorough introduction into the world or wood burning, it’s time to give it a go. Remember, it’s incredibly important to make sure you stay safe when wood burning: wear protection, keep your work area tidy and make sure you have adequate ventilation. Perhaps most importantly, don’t take unnecessary risks and never leave a hot wood burning iron unattended.
Don’t let the hazards put you off though, follow the simple safety steps and we think you’ll quickly fall in love with this cool craft.
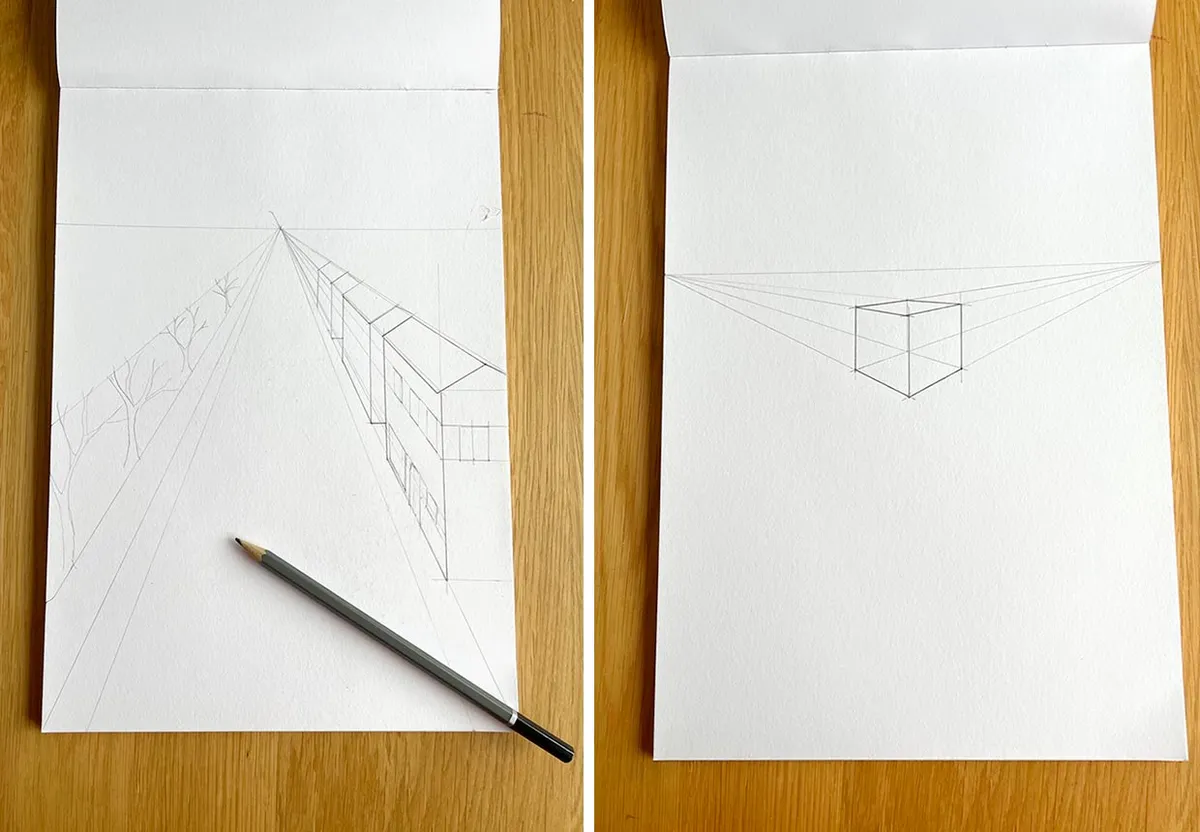
Create your own amazing designs
Whether you’re an accomplished illustrator or can only draw stick figures, everyone can improve their drawing skills (and make better pyrography designs) with these Top 20 quick drawing tips to make you a better artist from Gathered.