
Top 20 quick drawing tips to make you a better artist
It takes time to become a skilled artist, but the right drawing tip or technique can transform your approach in minutes.
Art is a journey and it’s important to keep learning along the way. Even if you’ve studied art in the past, you can still uncover surprising new ideas that change the way you create your work. You might even discover some ideas in this article that you haven’t come across before!
If you’re a beginner, there’s lots to learn about perspective, shading and composition – including what all of those terms mean! It can feel daunting, but you probably instinctively use some of these techniques already without knowing what they’re called.
We’re here to demystify some of the jargon that you’ve come across and explain some simple drawing hacks that will improve your work.
In this guide, we’ll reveal some quick drawing tips and theories that will shake up your approach to your work and inspire your next creative project.
20 drawing tricks to try today
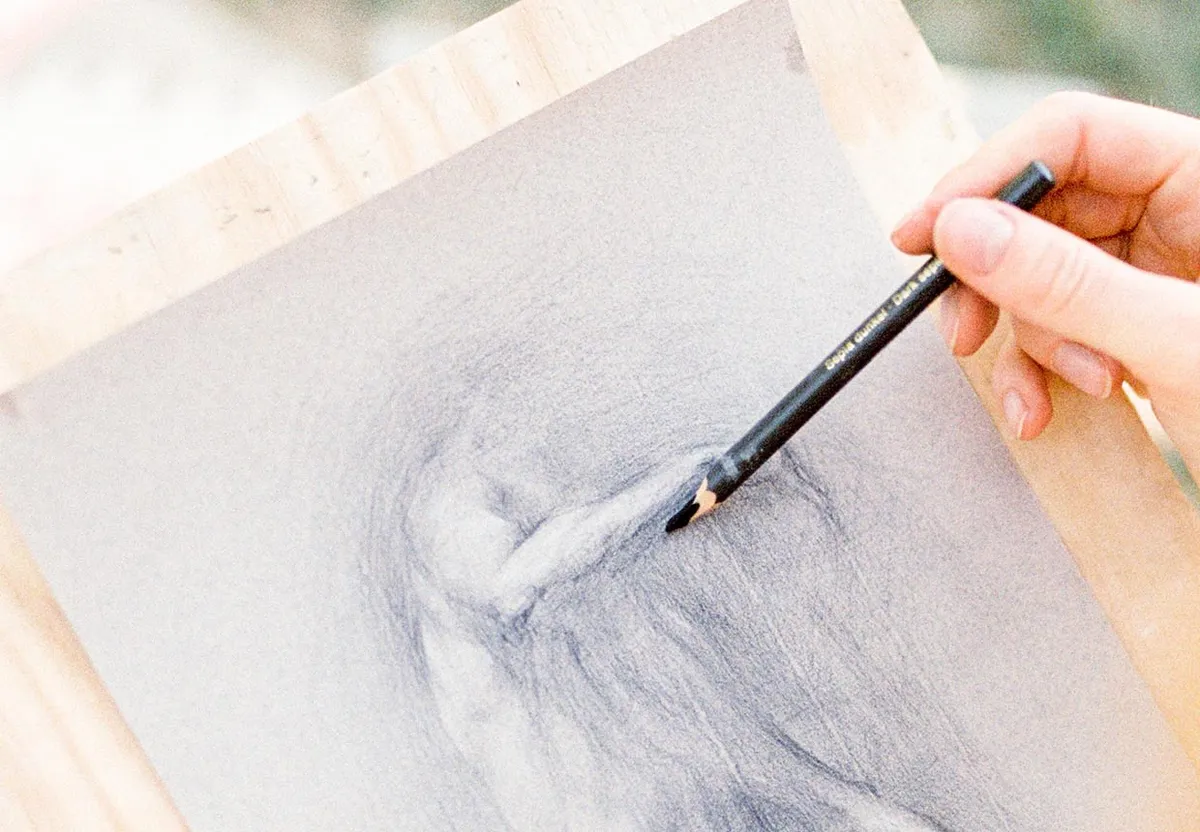
1. How to blend like an expert
If you’re drawing using graphite pencils, you can achieve smooth gradients by rubbing your drawing with a paper stick known as a blending stump. You can also buy blending pencils and markers to make your shading look more even. Blending tools will work with coloured pencils too.
Top tip: blend coloured pencils using a little baby oil and a cotton bud (Q-tip). Start with a tiny amount of oil and add more if you need to.
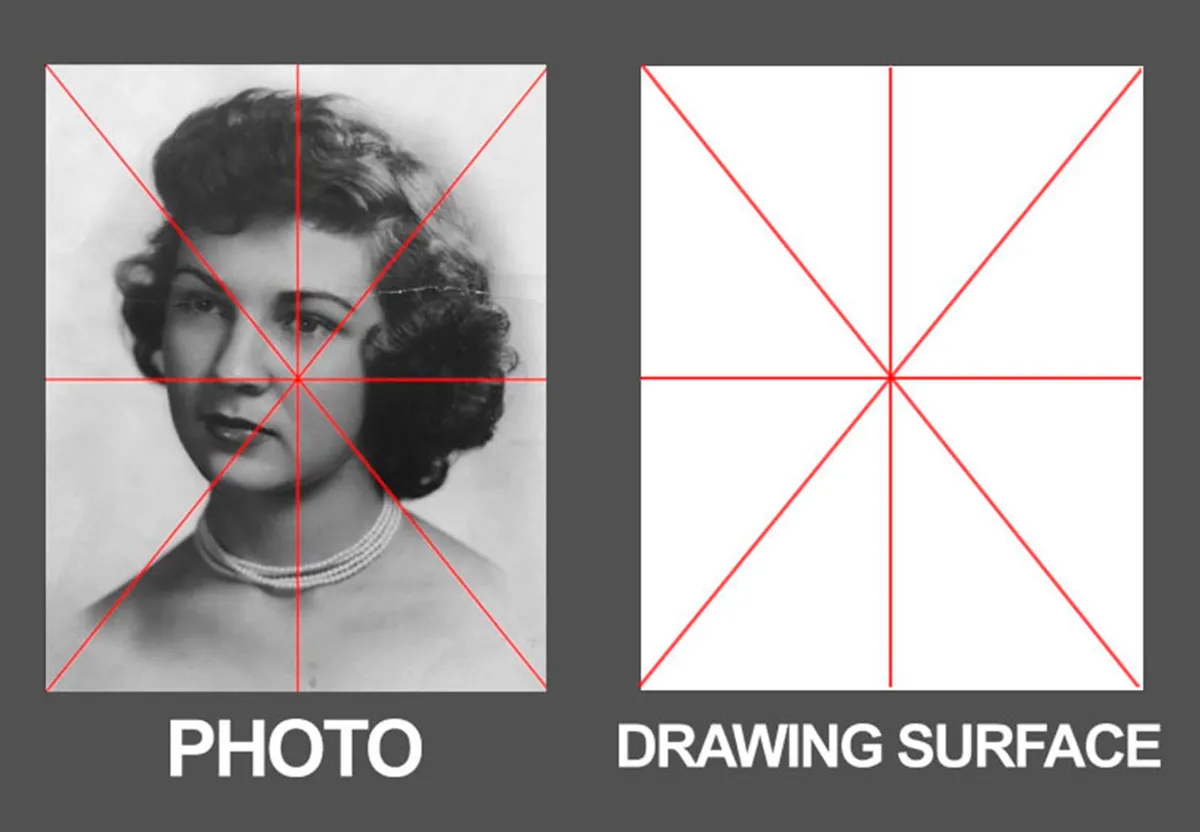
2. Try the grid method
Getting your drawings in proportion can be tricky, especially for beginners. The grid method is often used by experienced artists to make sure that their drawings are accurate – and it’s a real game-changer.
This technique can also be used to increase the scale of a drawing or painting. For example, if you’ve drawn a great sketch in your notebook and you’d like to recreate it on a large canvas.
How the grid method works
- Take a ruler and a pencil and draw a grid over your source image, then draw a grid on your canvas with the same number of squares.
- Next, copy the contents of each square onto your larger canvas.
- Look at where the lines meet on the edges of each square to keep your proportions the same.
It takes a little practice to get the hang of the grid method, but it can save you a huge amount of time and frustration! Find out more about the grid method with letsdrawtoday.com.
You can take your grid to the next level by breaking the squares up with triangles to make your drawings even more precise. Watch the video above to see how it’s done.
3. Creating depth in your drawings

We can learn a lot about how to create interesting drawings from the world of photography. If you focus your camera on an object that’s close to you it’ll appear in sharp detail, while the background will be softer and out of focus.
You can steal this effect and use it in your drawings to add depth to your work. Add lots of detail to your object and gently blur the background. As a result, your object will be the sole focus of the drawing and will dominate the foreground of your picture.
4. Fade into the background
When drawing landscapes, make the foreground of your drawing darker than the background. This will make distant scenery feel farther away and give depth to your picture.
If you’re working in colour, try adding a blue tint to the background of your drawing for an atmospheric feel.
5. One and two-point perspectives
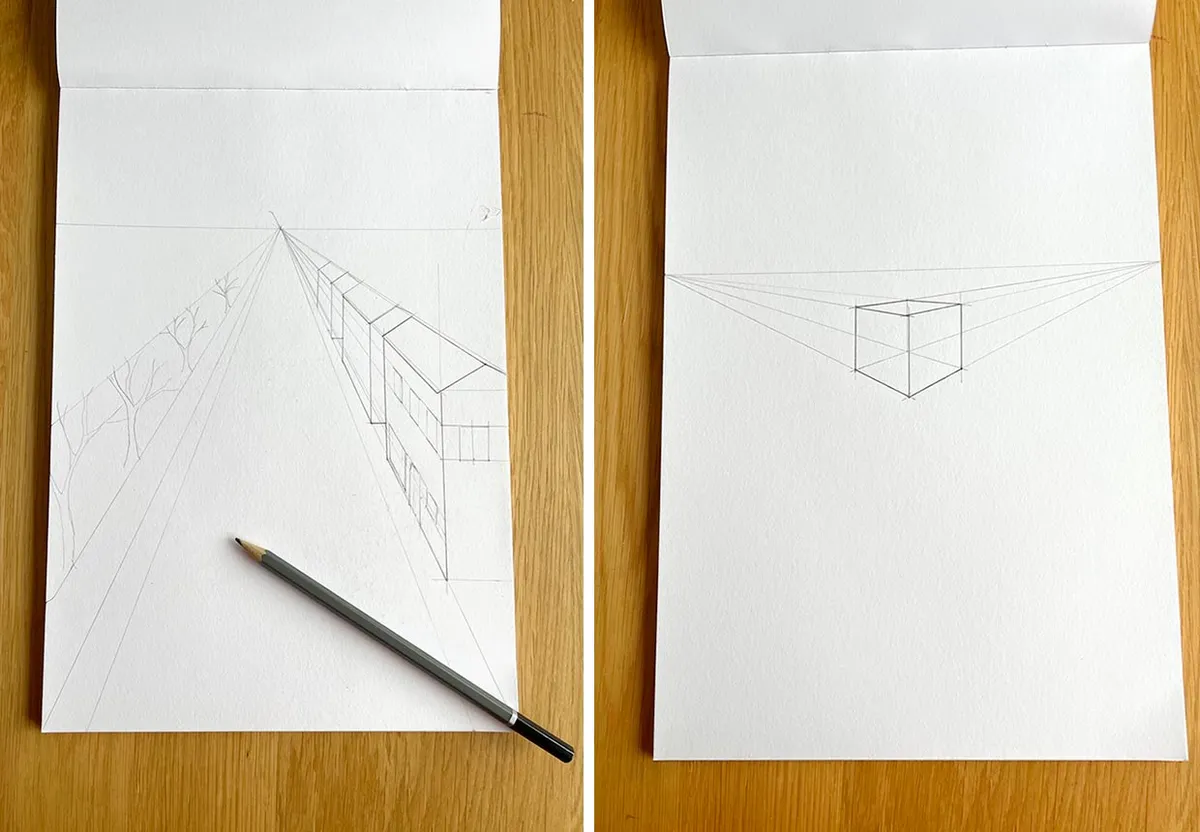
One and two-point perspectives are really useful concepts to understand if you want to make your drawings three-dimensional or draw a realistic landscape.
To create a sense of perspective in your art, objects in the foreground must be larger and decrease in size as you move into the distance. If you’re using one point perspective, all the lines in your drawing must head towards a point in the far distance, this is known as the vanishing point. This is a good method to use if you want to draw a long street stretching away from you.
Two-point perspective uses two vanishing points on opposite sides of your paper. This method is often used by graphic designers and architects to draw pictures of products or buildings.
6. Draw upside down
This may sound like a strange idea, but bear with us! When you’re drawing the right way up, it’s easy to get hung up on the way you think things should look, rather than what’s really there.
Flipping your drawing upside down can help you to look at the shapes and shading in a different way. Try it for yourself and see if it makes a difference.
7. Change your shading style
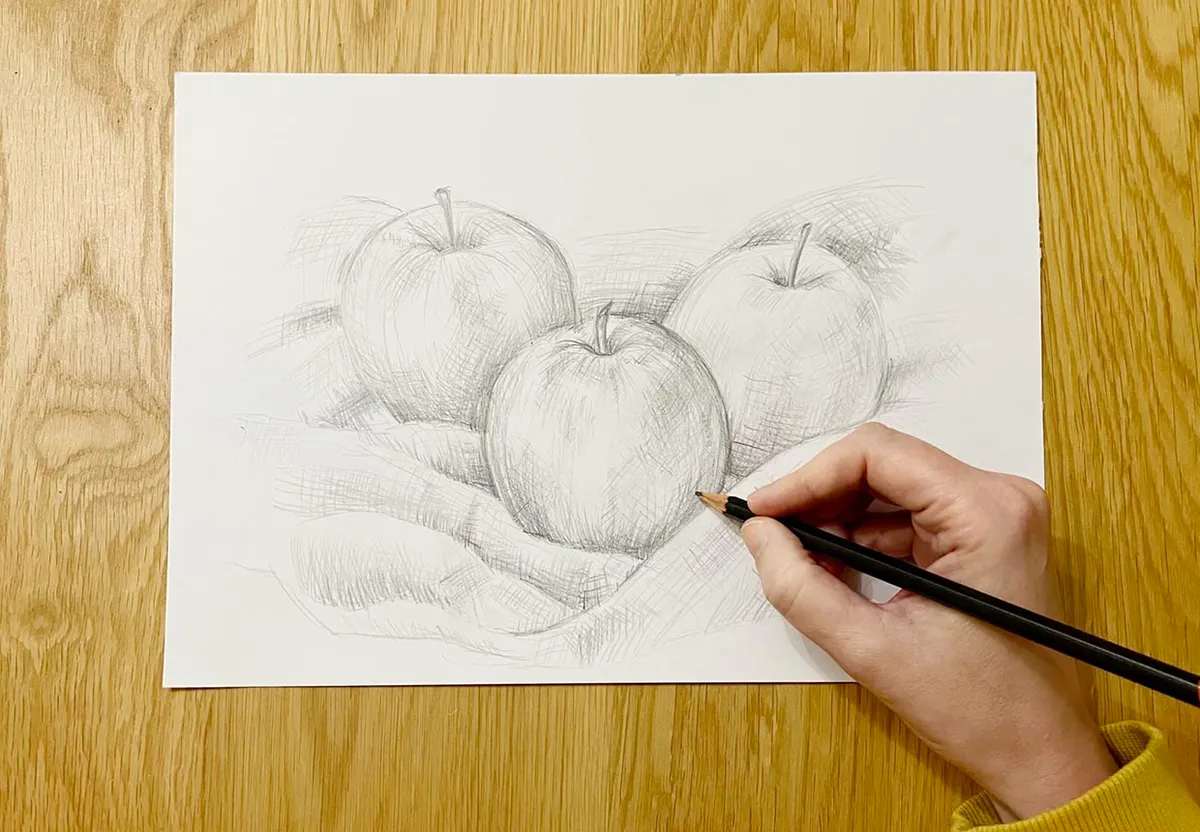
Feeling in a rut? Switching your shading style can really change the mood of a drawing. There are lots of different techniques to explore, such as cross hatching, scumbling or stippling.
Cross hatching (pictured) is a great technique which can add a rustic feel to any drawing. Scumbling is a brilliant way to introduce texture and stippling creates beautiful tonal drawings.
8. Draw without lines
Most artists like to start with a light outline of their picture before they begin to add shading and other details. For this exercise, have a go at drawing your picture without an outline. Instead, you’re going to create an outline using shading alone.
This exercise forces you to use the contrast between light and dark to make your drawing stand out. It also makes you think about tone and shade in your work. It’s a good practice for both beginners and more advanced artists to explore.
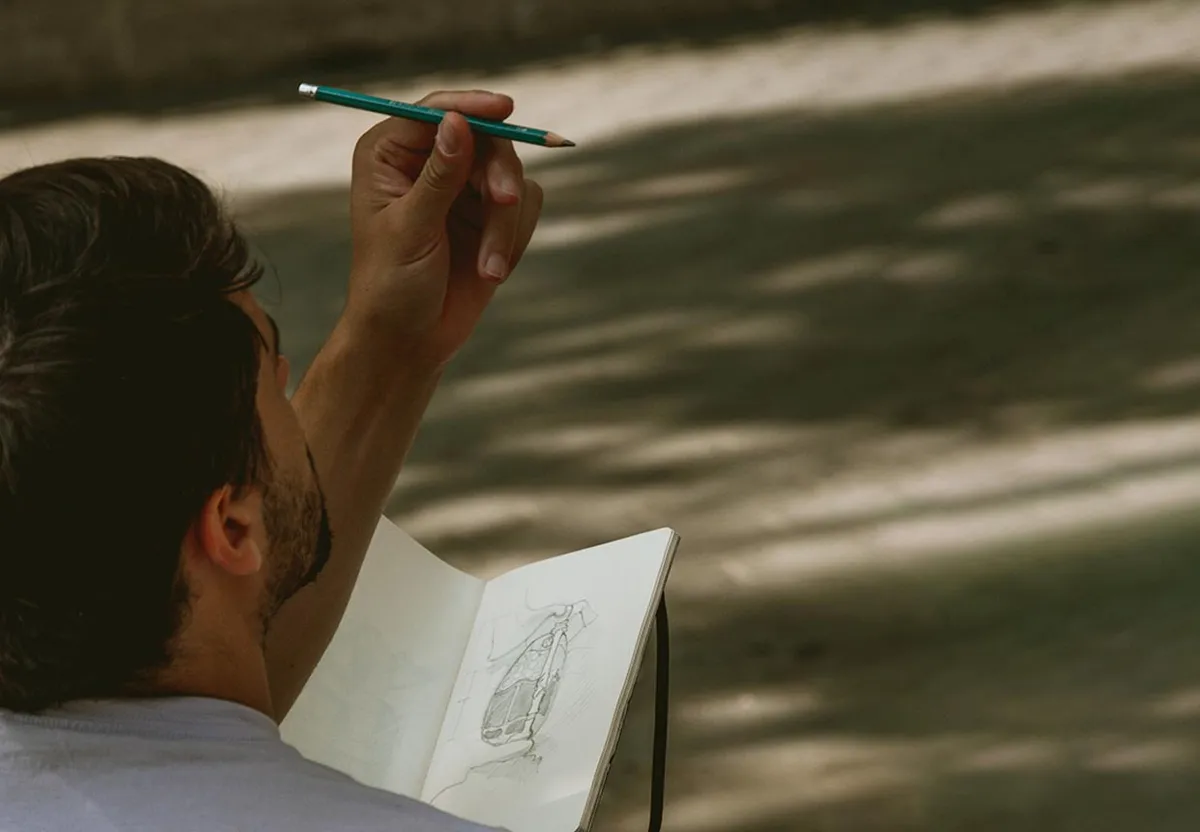
9. Relax your style with speed drawing
Speed drawing is a good warm-up exercise to do before you get stuck into a more complex project, but it’s a fun idea in its own right. This practice is used by illustrators because it encourages you to focus on capturing the essence of your subject without adding too many details.
Choose a subject (such as a horse) and practice drawing it with a time limit, giving yourself less time for each drawing. Finish by drawing your picture in under a minute. Compare your drawings and look at what you managed to achieve in a short space of time.
10. Measure using a pencil
A clever way to make your drawings accurate is to measure distances using your pencil when you’re drawing from life. This will help you ensure that your picture is accurate and in proportion.
Let’s say that you’re drawing a vase of flowers. Hold up your pencil vertically and line up the tip with the top of the vase, then slide your fingers downwards until they’re in line with the base of the vase. Look at the distance between your fingers and the tip of the pencil, then mark your measurement lightly on the paper. You can repeat this step to work out the width and position of the flowers too.
Use this technique to work out where different elements of the drawing sit in relation to one another. For example, the distance between the vase and the flowers.
You’ll have some basic measurements to work from and can fill in the rest of the outline much more easily.
Make sustainable art at home
Give a new lease of life to old magazines or paper scraps by turning them into an eye-catching collage. Discover creative projects to make at home with Gathered’s collage art ideas.
11. Step back
Getting too close to your art means that you won’t notice a mistake until it’s too late. It’s a good idea to physically move away from your drawing regularly and look at the artwork as a whole. It’ll give you an insight into which parts of the drawing need more work and which you should leave alone.
12. Use quick glances
Similarly, it’s important to look at what you’re drawing frequently, especially when you’re sketching your initial outline. Keep glancing at whatever you’re drawing then down at your page to make sure you’re getting the shapes right.
When you’ve moved on to the shading, keep checking back to make sure you’re getting your tones and textures right.
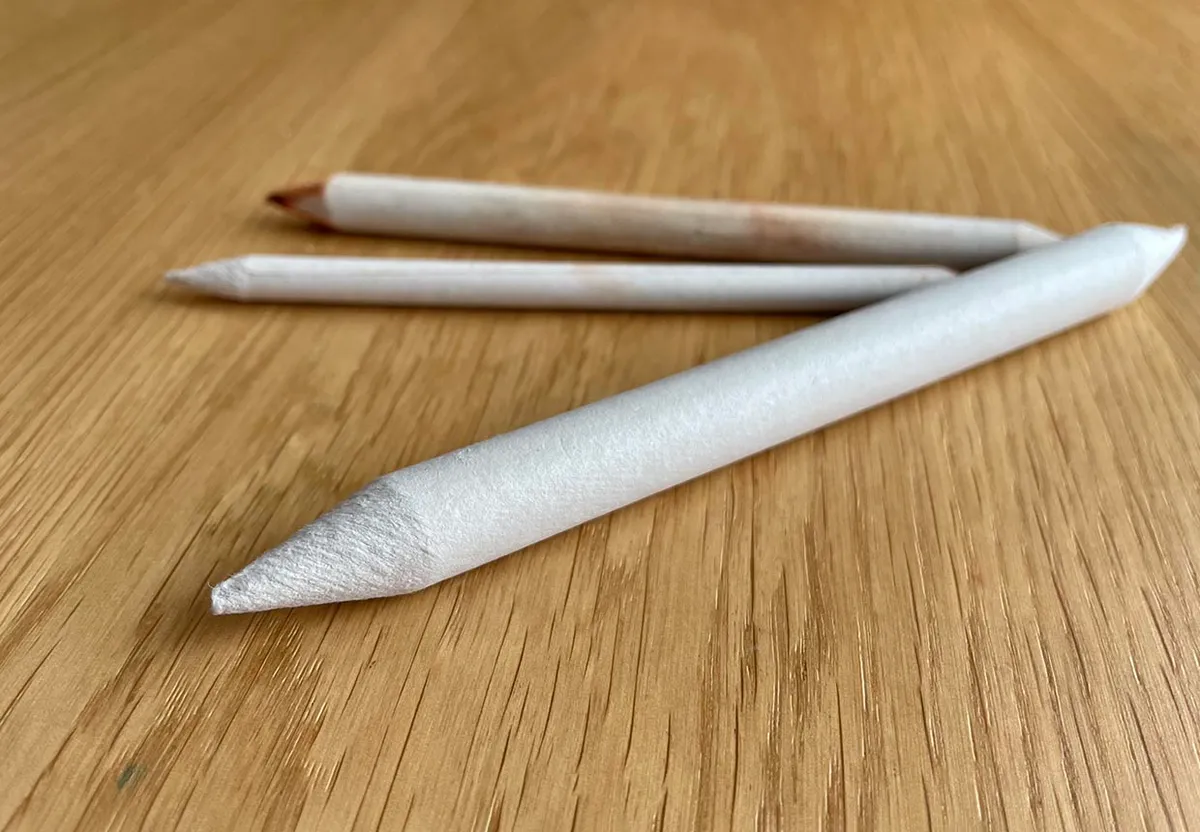
13. Sharpen your pencil like a pro
Professional artists often like to whittle away the wooden shell of their pencil to expose the graphite core underneath using a knife. The core is then sharpened with a sanding block until it has a fine point.
This makes the pencil tip the ideal shape for shading and you won’t need to stop to sharpen it so often. You’ll need to store your sharpened pencils carefully as the leads will snap more easily. Find out how to sharpen your pencil like an artist with Draw Paint Academy.
14. How to hold your pencil
The way you hold your pencil can alter the marks you draw on the page. If you hold it near the tip, the pencil lines will be heavier and you’ll naturally apply more pressure, but your lines will be more controlled. For looser and lighter pencil lines, grip your pencil further away from the tip.
When you’re shading, you’ll need to hold your pencil at a low angle so that you’re using the side of the tip rather than the point.
You don’t need to keep your hand in one position as you would for writing – change the angle to whatever feels most comfortable.
15. Move your paper
Everyone has their own preferred way to work. If you like crisp borders and want to keep the paper still, you can apply some artist’s masking tape to secure your drawing and produce crisp edges.
On the other hand, you may find that you can shade and draw more easily if your paper is tilted at an angle. Try both methods and see which you like best.
16. Stop smudging
If you’re prone to smudging your work, slip a piece of scrap paper under your hand while you draw to protect your work. If you do this and find that you’re still smudging your work, then try working on your drawing from the top down or from one side to another. This means that you’re not dragging your hand over your drawing as you work.
17. Break down your drawing into shapes
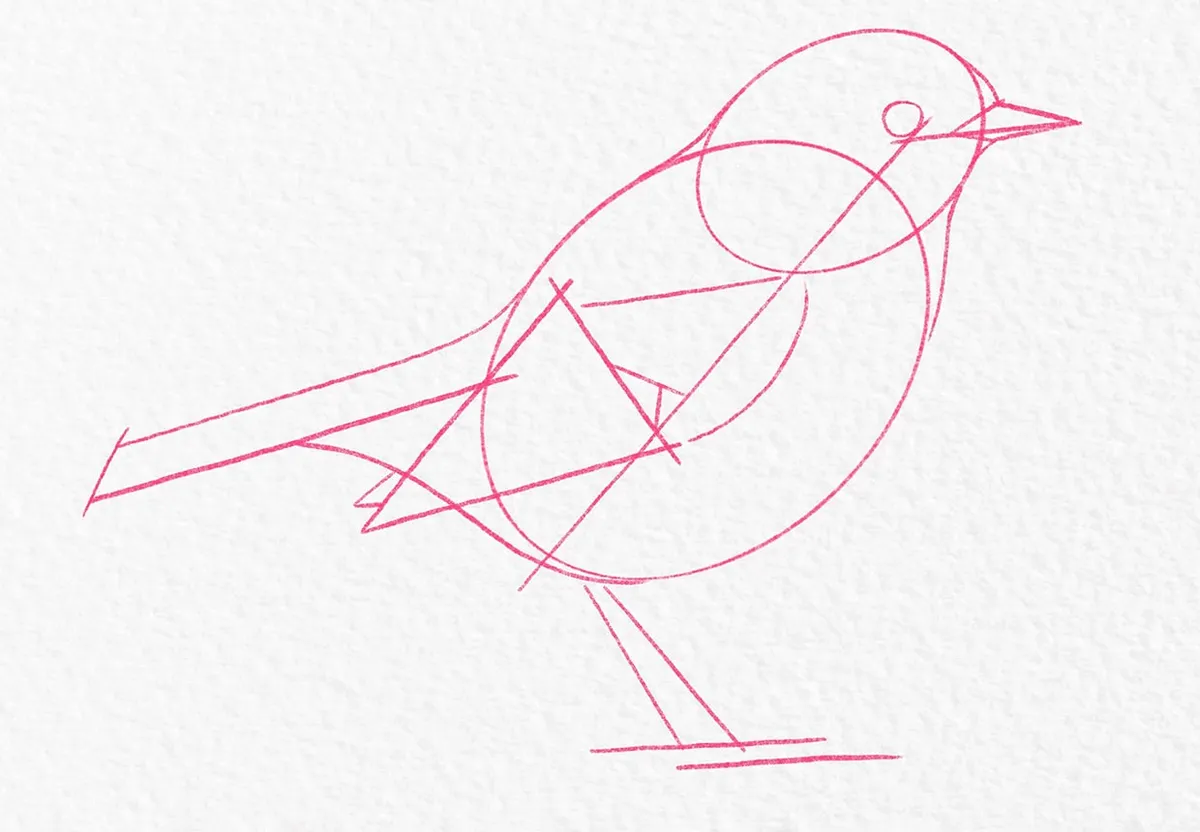
Thinking of your drawing in terms of different shapes can simplify the initial step of sketching an outline. This is a common drawing technique and the good news is that it can be applied to any subject or theme!
Look at your subject and try to pick out rough geometric shapes. A tree might be similar to a triangle in shape, so sketch it out on your paper. You can then build on your first shapes and tweak it until your outline is correct. This is a good approach to try if you feel intimidated by the blank page and you don’t know where to begin.
The example above is taken from Holly Spanner's brilliant how to draw a bird tutorial.
18. Try the triangular grid method
An alternative way to draft your outline is using the triangular grid method. This is more complex than the grid method, but you may find it suits your drawing style.
How the triangular grid method works
- Draw a vertical line down the middle of your paper, then cross it with a horizontal line. Next, draw two diagonal lines from the corners of the page to create eight triangles.
- Draw the same grid on your source photo. You can then draw little marks on your paper to indicate the position of important details.
- You can use a drawing compass or a ruler to measure these points from the centre of the picture for accuracy.
- After that, it’s just a matter of joining the dots together.
Find out more about the triangular grid method with thevirtualinstructor.com.
19. Experiment with negative space
Negative space is the area that surrounds an object, which may be empty or feature minimal details. It can be a very striking tool to use in your drawings and is sometimes referred to as white space.
Explore this by drawing everything surrounding an object, but leaving the object itself out of the picture. For example, you could draw the handle and outline of a mug using shading without revealing the mug itself.
Thinking about negative space when you’re drawing makes you consider the shape of an object. This can be really helpful when you’re trying to get the initial outline down on paper!
20. Loosen up with line drawing
Take a break from shading to discover the delights of line drawing. For this exercise, you’ll only need a pencil or a fineliner pen. Draw a picture without any pencil outline, just with a pen. You won’t be able to correct any mistakes, so think carefully before adding each mark to the paper.
If you’re looking for a bigger challenge, have a go at continuous line drawing. This is where you draw a picture without lifting your pen from the paper – it all has to be one flowing line. This will put your creativity to the test and can provide some unexpected results!
Learning drawing tricks can boost your artistic skills instantly
Whether you’re an absolute beginner or a total pro, it’s always worth investing the time to improve your drawing techniques. Sometimes the right tip can transform your outlook and take your art in a new direction.
For anyone new to drawing, understanding a few basic art concepts will make your life a lot easier. Taking the time to get to grips with shading techniques, perspective and composition will drastically improve your drawing style in a short space of time.
The art world is often full of jargon and unfamiliar words, but you may already be using some of these techniques instinctively.
Even experienced artists can still learn new tricks and refine their drawing skills along the way. Experimenting with fresh ideas can completely change your approach in minutes and bring more complexity into your work.
Staying open to new ways of doing things will ultimately make you a better artist!
Add drama to your drawings with expert shading techniques
Shading is an essential drawing technique and when it’s done well it can be used to create dramatic artwork. It can even make your drawings look as realistic as a photograph!
Learn how to perfect your shading techniques with Gathered’s in-depth guide.

