Step 1

If you’re using a sheet or larger tablecloth for the project, make sure to hem the edges first so it fits the intended table. If not, start with Step 3. To hem, cut the fabric to the right size for the table, then fold the edges to the wrong side by about 2cm (3/4inch). Pin along each folded edge, as shown.
Step 2

Use a sewing machine and matching sewing thread to sew along the pinned edges. Use a 1.5cm (5/8") seam allowance and remove the pins as you go. (If you’re new to sewing check out our sewing for beginners guide and our how to use a sewing machine tutorial).
Step 3

To make the stencil, use the templates from Mollie Makes 107 to cut out the different terrazzo shapes. Next, arrange the cut out shapes on the YUPO paper, or on a piece of thick card, making sure to space the shapes out evenly. Draw around each one with a pencil.
Step 4

Cut out the shapes using a craft knife and cutting mat. Although YUPO paper is fairly tough, be careful not to tear it when cutting, as this will affect the stencil.
Step 5

Mix the first colour using the acrylic paint as it is, or by mixing multiple colours together to create your desired shade. When you’re happy with the colour, add the textile medium. Add one part textile medium to one part paint and mix together thoroughly, stirring for about 30 seconds to make sure they’re fully combined.
Step 6

Lay the tablecloth out on a flat surface – you may want to place newspaper underneath it to protect the surface. Place the stencil on top of the tablecloth and use a paintbrush to paint the first colour on through one of the shapes. Brush from the outside in so the paint doesn’t go under the edge of the stencil, and don’t use too much paint at once. Once the first shape is filled, move the stencil to another spot and paint the shape again. Continue repeating this process until the first shape is evenly distributed across the DIY tablecloth.
Step 7

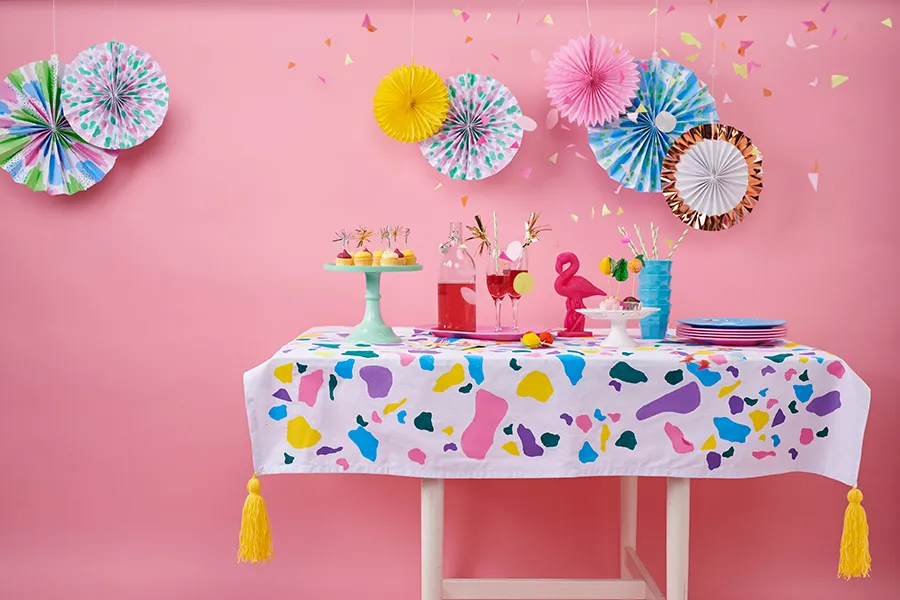
Repeat Steps 5 and 6 for each of the other paint colours, moving the stencil around and painting until the tablecloth is covered. Use the main image as a guide.
Step 8

Leave the tablecloth to dry for 24 hours before heat setting the paint. This isn’t an essential step, but if it isn’t heat set, the paint will come off when the tablecloth is washed. To heat set, simply iron on a medium heat with no steam – this will ruin the paint – focusing on one area at a time. Press each painted area for around three to five minutes to make sure it’s fully bonded to the fabric.
Step 9

To make the decorative tassels (you could add pom poms instead learn how to make a pom pom here on Gathered) wrap the yarn around a piece of card approximately 20cm (7 1/8") in length. Keep wrapping until you have enough yarn for the thickness of tassel you’d like. The more yarn you wrap around, the chunkier the finished tassel will be.
Step 10

Cut along one end of the bundle, as shown, holding it securely at the opposite end to keep the strands of yarn in place. This will create a bundle of yarn that’s folded at one end and loose at the other end.
Step 11

Cut another length of yarn and wrap it around the bundle roughly 2cm (3/4") down from the folded end. Tie it securely to keep the bundle in place, then let the ends hang down with the other strands.
Step 12

Sew the finished tassel onto one corner of the tablecloth. Repeat Steps 9-12 three more times to add a tassel to each corner of the DIY tablecloth. Trim the ends to neaten.