How to make a macrame rainbow
Learn How to make a macrame rainbow and brighten up your home with this charming Macrame Rainbow wall hanging

Published:
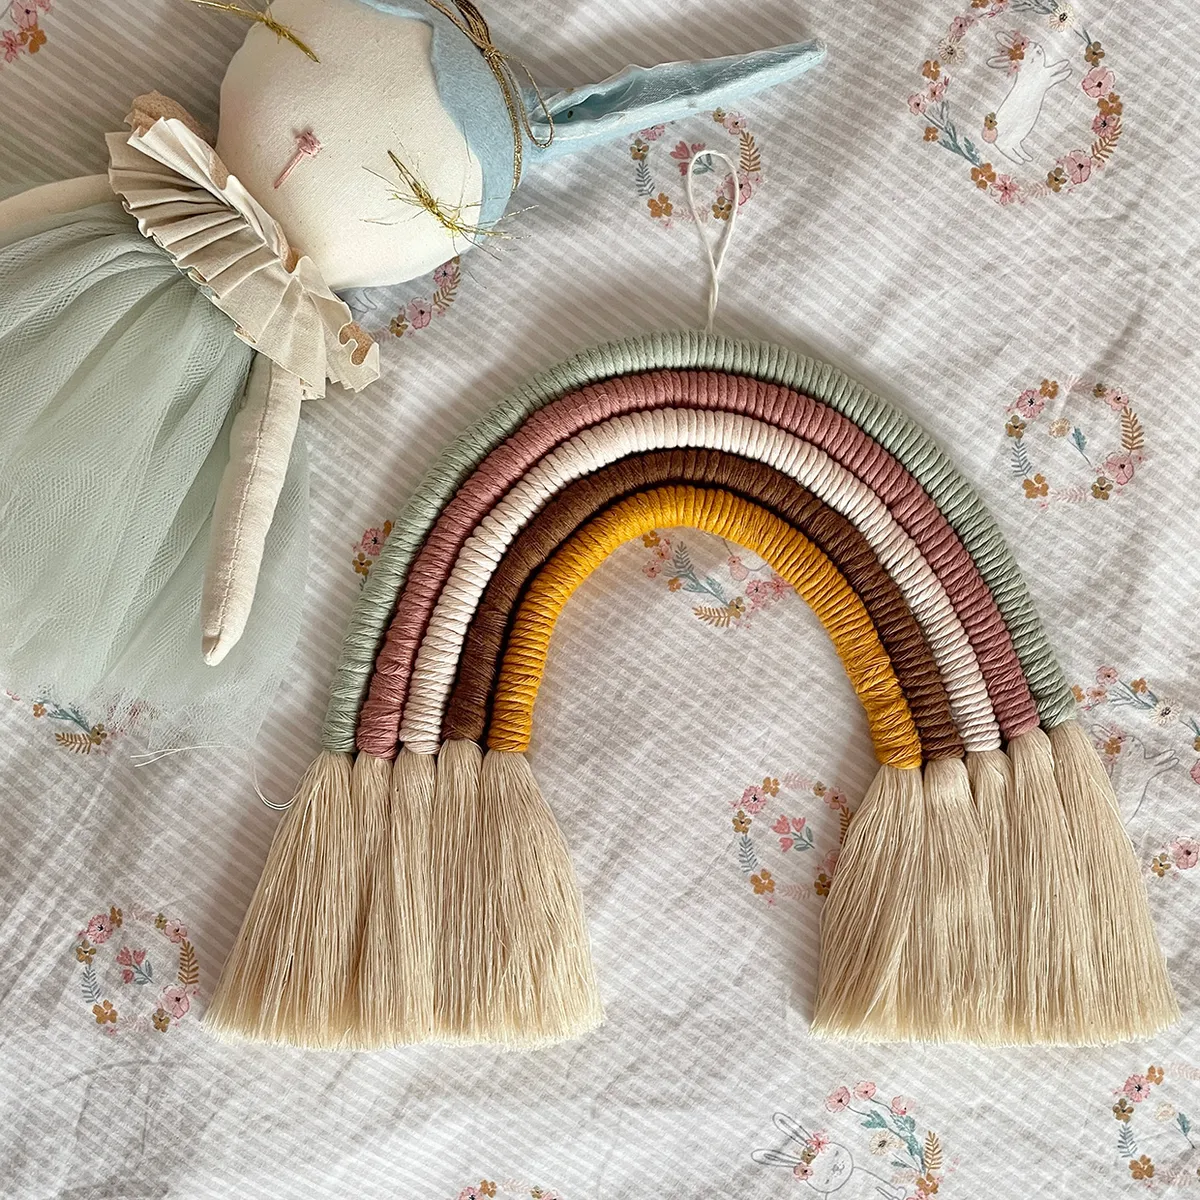
These macramé rainbows are simple to make, incredibly cute and trendy. You can make them as small or large as you want and you can mix up the colour scheme to suit your own style. They also make a great present for any occasion – from baby showers to new homeowners, or as gifts for teenagers and any boho-style lovers.
Put aside some relaxing crafting time and have a go a making a macrame rainbow. By following the macrame rainbow pattern below you will be making a macrame rainbow 28 x 22cm in size.
You can make it bigger by adding more coloured rays or increasing the length of the thicker cord. Alternatively, you can make a smaller version by reducing the length of the cord or the number of rays. Small rainbows are great as a matching pair to a bigger rainbow, keyrings or a car diffuser (you could even add a few drops of essential oil to enhance your piece).
You will need
Material
2.45 meters of 12mm natural cord (we used Artsy North East recycle cotton cord)
Coloured strings (strings used in this tutorial are by The Fibre Folk Studio)
- 35 meters of 3mm in Sage
- 35 meters of 3mm in Vanilla
- 35 meters of 3mm in Rose Tea
- 35 meters of 3mm in Mustard
- 35 meters of 3mm in Chocolate
10cm of thin string (we used 1mm string in natural colour)
Want to know more about Marcamé cords? Isabella has also done a round-up of 10 of the best Macramé cords to buy!
Equipment
Craft Wire
Weaving needle
Glue gun
Sharp Scissors
Measuring tape
Masking tape
Brush or comb
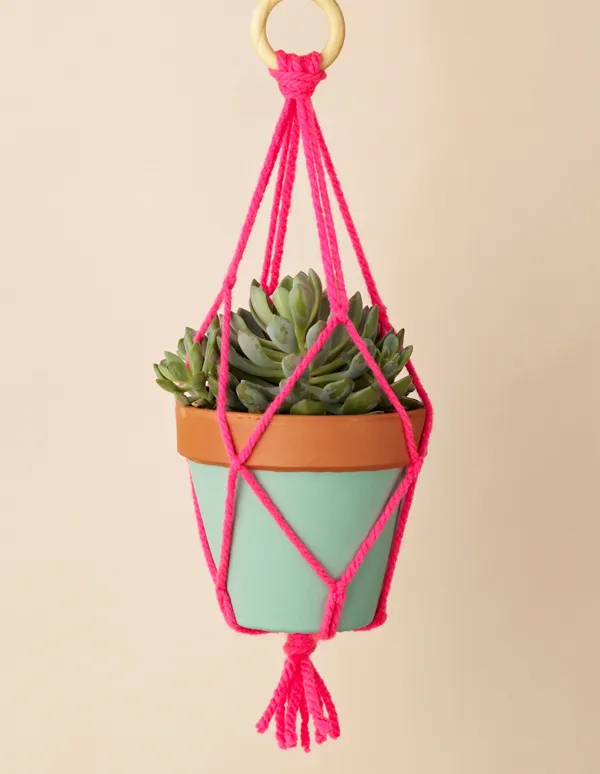
If you just can’t get enough of Macramé, then we’ve got more fun free patterns for you to try! Learn how to make a macrame bracelet or how to make a macrame belt for awesome accessories, or give your hourseplants a makeover with our how to make a macrame plant hanger tutorial.

How to make a macrame rainbow wall hanging

Step 1
Cut the 12mm cord in the following lengths:
- 1 x 40cm
- 1 x 44cm
- 1 x 48cm
- 1 x 53cm
- 1 x 57cm
Place your thick cords in a rainbow shape starting from the shorter in the middle.
Step 2
Take a piece of cardboard or a ruler and mark where you want the coloured ray to end and the fringe to start.

Step 3
Cut a piece of wire a bit shorter than the length of your ray and attach it to the cord with some masking tape. You can also use some thin string to fix the wire to the cord.

Step 4
Take the coloured string, place 2cm inside your mark and fold it in on itself.

Step 5
Start wrapping your coloured string around the cord making sure there are no gaps between the string.

Step 6
When you reach the end, cut the string and with the help of a weaving needle feed it back through the cord and trim any excess.

Step 7
Repeat steps 2-6 with all the rays.

Step 8
Once you are happy with the rainbow, turn the rays. Start with the shorter one, add glue around and glue the next ray on it, making sure the ends of the coloured strings align.

Step 9
Once the glue is dry, take a piece of thin string and with the help of a weaving needle place it in the middle at the top of the penultimate ray. Make a simple knot to create a loop.

Step 10
Brush the fringes with a comb or brush, a pet brush works very well too, and trim at the desired length with sharp scissors. You can use a piece of cardboard to help you trim a straight line.

We hope you’ve enjoyed this free Macrame Wall Hanging pattern. If you fancy really getting into your Macramé, then make sure to check out our library of Macrame knots, or you could treat yourself with our pick of the best macrame books or the best macrame kits. Looking for even more macrame projects? Take a look at our free macrame patterns.