How to upcycle a chair

Upcycle tired-looking dining chairs, of any shape or size, with a lick of water-based paint and a Scandinavian-inspired stencil.

Try our magazines – get 6 issues from just £9.99!

Published: August 31, 2021 at 6:04 am

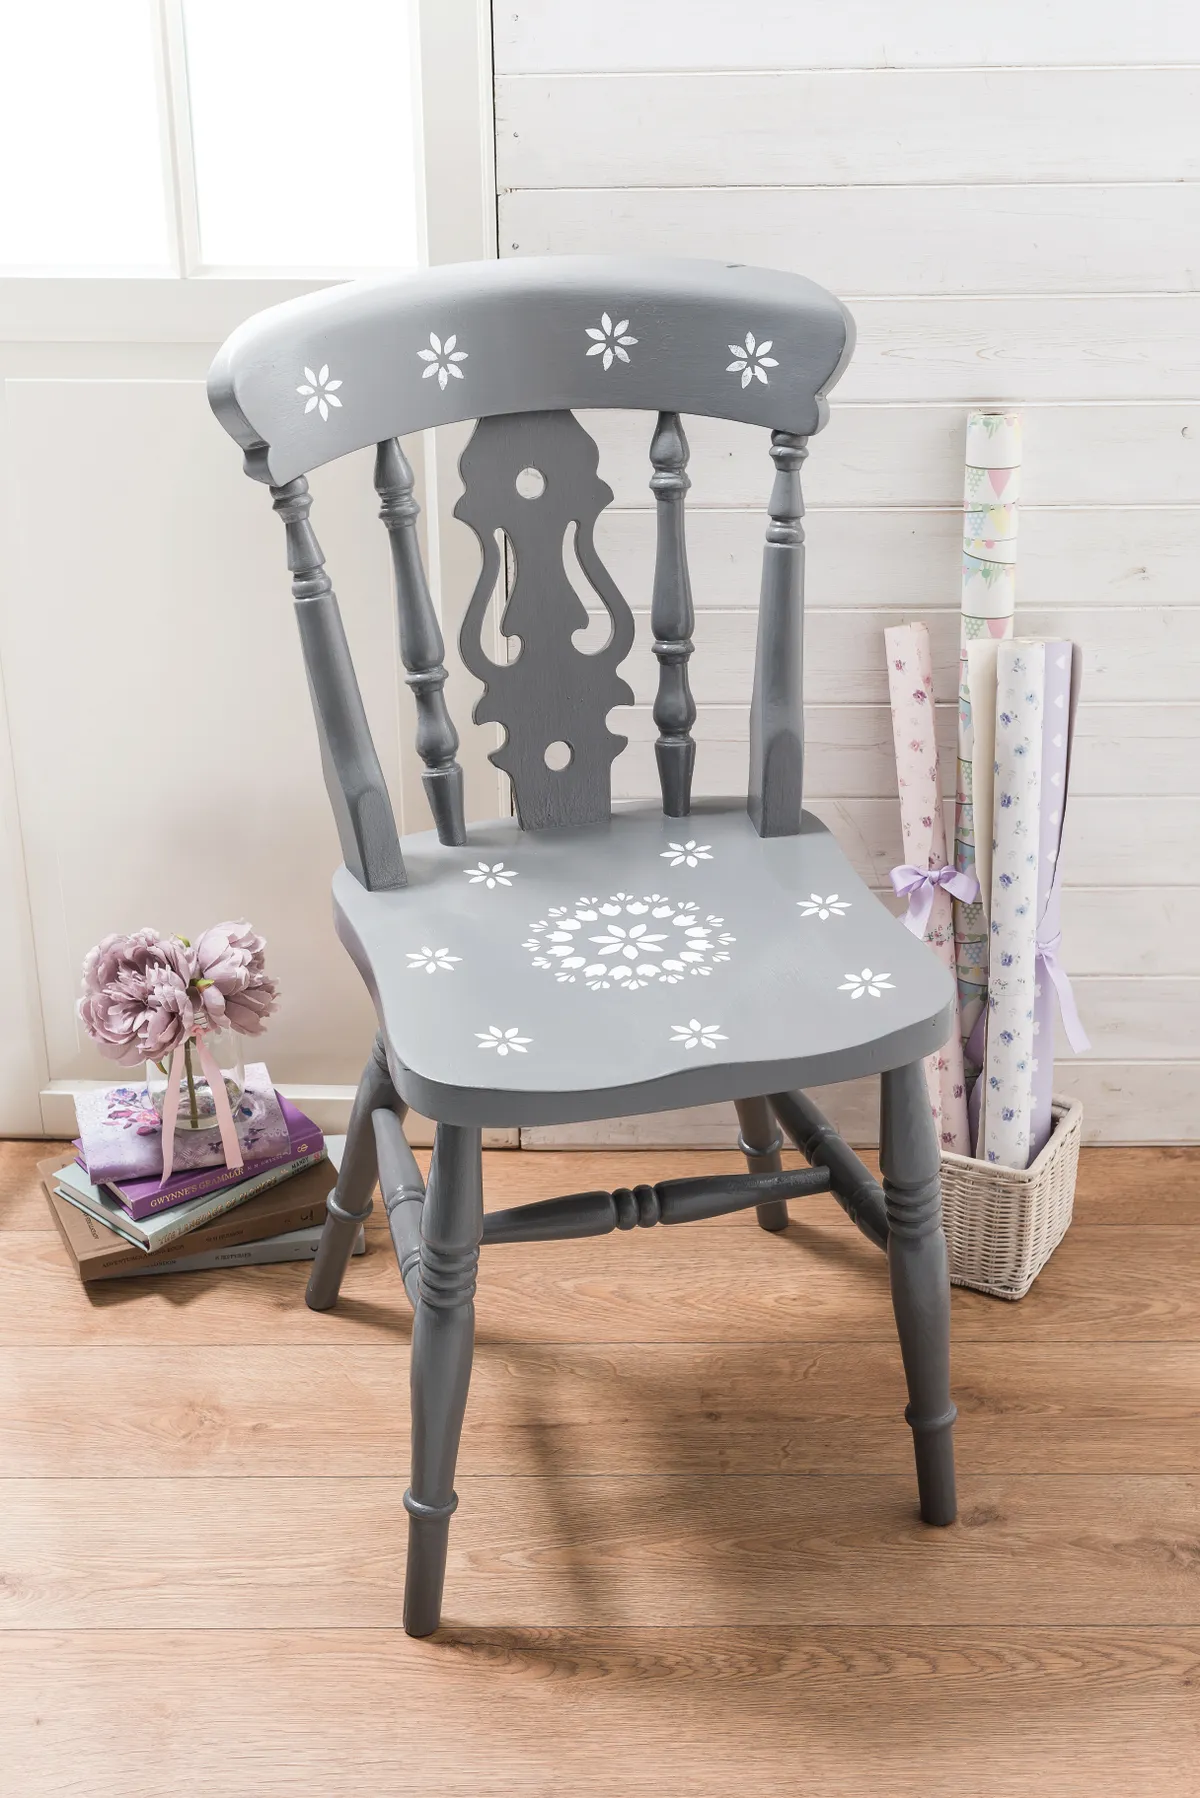
Good-quality wooden chairs can last the test of time, but every now and then we all fancy a change. Painted furniture is an economical and easy way of updating any room in your house. The huge variety of colours and finishes available in wood paint gives you the chance to experiment. So choose your shade, use our gorgeous stencil and create design magic! Here's a top tip for upcycling a chair: practice using the stencil on a piece of paper before placing it on your chair.

Check out our other upcycling projects for more inspiration, we love this upcycled corkboard, or how about learning how to paint geometric patterns (there's a free template, too!), we love this decoupage table project and this how to reupholster a stool project!

We love seeing what you make, so don’t forget to share your upcycling or craft projects with us on Instagram, Facebook or Twitter, too!

How to upcycle a chair 1

You will need

  • Sandpaper
  • Water-based white wood primer
  • Water-based grey silk finish topcoat for wood
  • Water-based pure white silk topcoat for wood
  • Paintbrush
  • Gloss-finish mini roller and tray
  • Scalpel
  • Cereal box
  • Old wooden chair
  • Chair stencil template

How to upcycle a chair

Step 1

Give your chair a good rub down with sandpaper and remove any dust and debris with a damp cloth.

Step 2

Using a paintbrush, apply a coat of white wood-based primer directly onto the chair and leave it to dry for the recommended time stated on the tin.

Step 3

Apply two topcoats of a silk finish in your chosen colour. Grey tends to complement most other colours and will make your upcycled chair versatile for most settings. Make sure to read the instructions on the tin and allow the correct amount of drying time between coats.

Step 4

Choose your design. Stencils can be bought from most good craft shops. If you want to use your own stencil, place a paper version on top of a flattened cereal box and tape the sides to secure it in place. Cut around the edges of the pattern using the scalpel and remove the middle sections to make a stencil.

For this chair, we used a large pattern for the central feature. Then we down-sized the pattern on a computer and used only part of it as a border to complement the main motif.

If you would like to use the same pattern we used, here is the free PDF:

Chair stencil template

Step 5

Place your stencils on your chair, moving them around until you are happy with where they are lying, then secure lightly in place with a dot of easy-peel masking tape (don’t use too much masking tape or there’s a chance you may peel off some of the grey paint).

Step 6

Roll over your stencil using the gloss-finish mini roller lightly coated in a pure white topcoat. You may need to roll from a number of different directions to ensure the whole pattern has been filled in.

Step 7

You can reuse the same stencil until it starts to warp with the wetness of the paint. Then you’ll need to cut out a new one. If you want to create a long-lasting stencil – cut it from acetate! Check out our tutorial on how to make a stencil if you’re keen on making your own.

Step 8

Leave to dry as instructed on the tin and you’re done!

How to upcycle a chair – detail


We hope you’ve enjoyed this easy project on how to upcycle a chair. If you’re looking for more easy upcycling projects, why not make these (super easy) wine bottle lights or these (equally easy) herb pots. Check out our upcycling projects for more brilliant inspiration!