Crochet doilies and colourful felt feathers make for a vibrant Scandi twist on a traditional design. Learn how to make a dreamcatcher-style wall hanging with our step-by-step tutorial created by Erin Black for Mollie Makes magazine – for more easy-make craft projects and creative inspiration, subscribe to Mollie or click here to find out more.
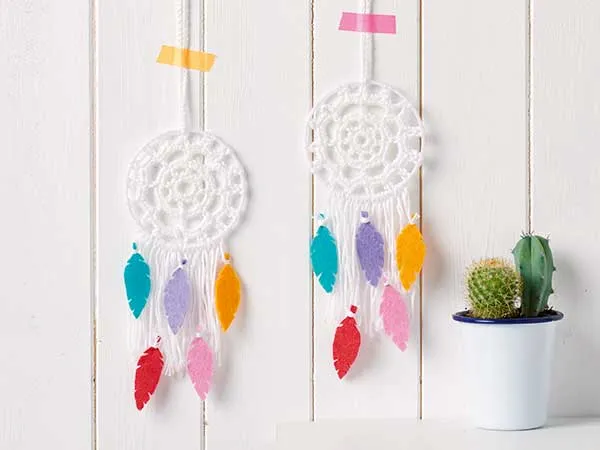
“Dreamcatchers were traditionally used by The First Nations of North America to protect children from nightmares. I loved the idea of celebrating historical traditions while coming up with something new to crochet.
I decided to add a vibrant set of colours to a Granny-style doily to create a simple, pretty design - and colourful felt feathers also add a touch of whimsy. The long adjustable string lets you easily untie and re-tie it wherever you want – hang it from a window, keep it in a nook in your hallway, or display it at your desk. And because it’s so quick and easy, you’ll probably find yourself wanting to whip up more dreamcatchers – luckily your local craft shop should have all the supplies.”
Follow the free crochet dreamcatcher pattern below to make your own, then share your makes using #molliemakers. This crochet dreamcatcher pattern uses only simple crochet stitches, all of which you can find in our how to crochet section, but it will also help if you know how to crochet in the round too!
You might also be interested in our how to make a dreamcatcher tutorial, which uses left-over craft supplies to make a more traditional style of dreamcatcher, as well as more information about traditional uses and how to support indigenous Native American dreamcatcher makers.
You will need:
15m of any 100% cotton DK yarn in white (we'd recommend the Sirdar Happy Cotton yarn) 3mm (UK10, US D/3) crochet hook 10cm (4″) hoop Coloured felt Yarn needle, for sewing ends
You will also need to print out this Feather template from issue 54
Measurements
The finished crochet dreamcatcher is 10cm (4″) diameter with a fringe approx. 12cm (4¾”) long.
Tension
Tension is not important for this project, just aim for a finish you are happy with.
Abbreviations
You can find a full list of all abbreviations we use in our abbreviations and conversions guide. This crochet dreamcatcher pattern is written in UK terminology but you can easily convert it to US terms using the guide.
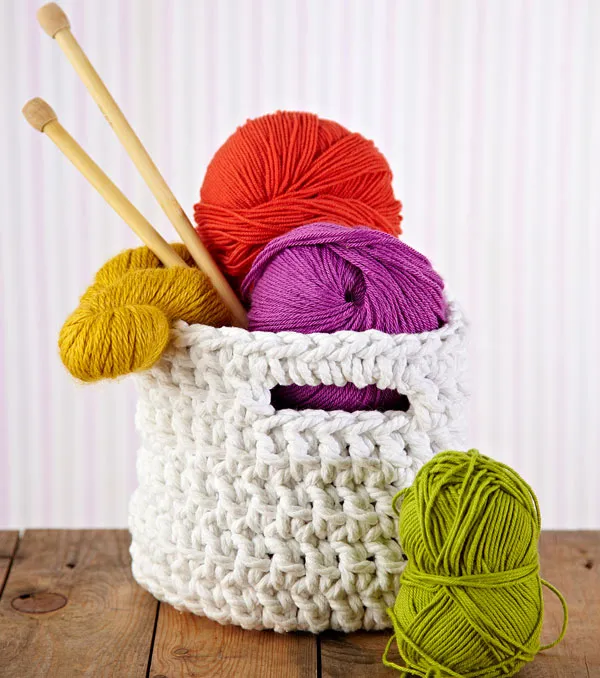
If you're looking for more fab free crochet patterns for the home, why not try hooking up our free Crochet basket pattern or our Free crochet picture frame patterns. Or you could always learn How to crochet chevron cushions or How to make crochet jar covers with our fun tutorials!