All products were chosen independently by our editorial team. This review contains affiliate links and we may receive a commission for purchases made. Please read our affiliates FAQ page to find out more.

Modern botanical embroidery to brighten your day

Add some joy to your home decor with this beautiful botanical embroidery designed by Lou McCarney.

Try 6 issues of Love Embroidery magazine for just £9.99| SAVE 77%

Published: January 8, 2023 at 9:00 am

Feeling positive can be tricky, especially in those darker months (did somebody say January?). This pretty botanical embroidery will brighten up your home and give you a sense of accomplishment every time you see it.

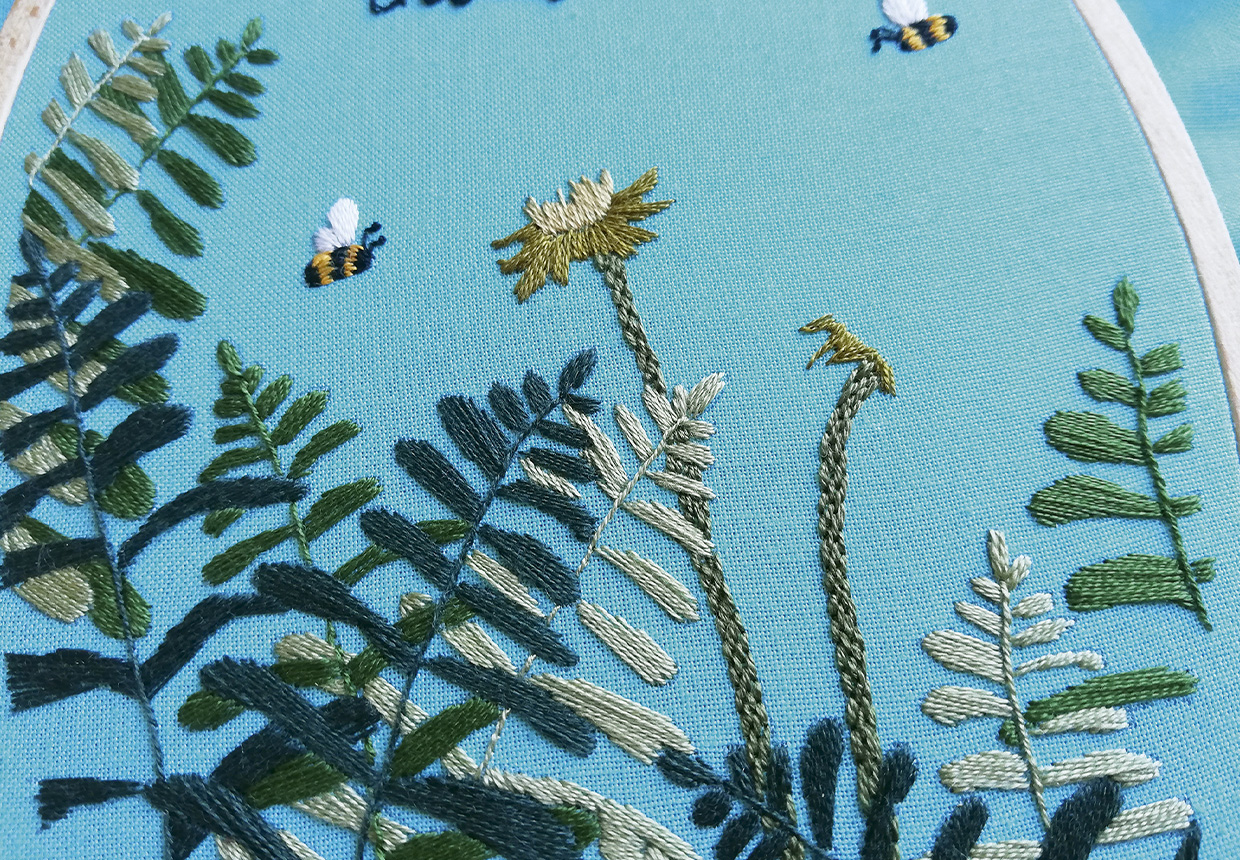
This sweet design is made up of blooms, bees and foliage, all surrounding the sentiment “grow positive thoughts”. There’s not much better for the soul than crafting, it can help lift your mood and even improve your mental health.

Our illustrated guide will ensure you have everything you need to create your own botanical embroidery, along with all the tools and materials plus a free template.

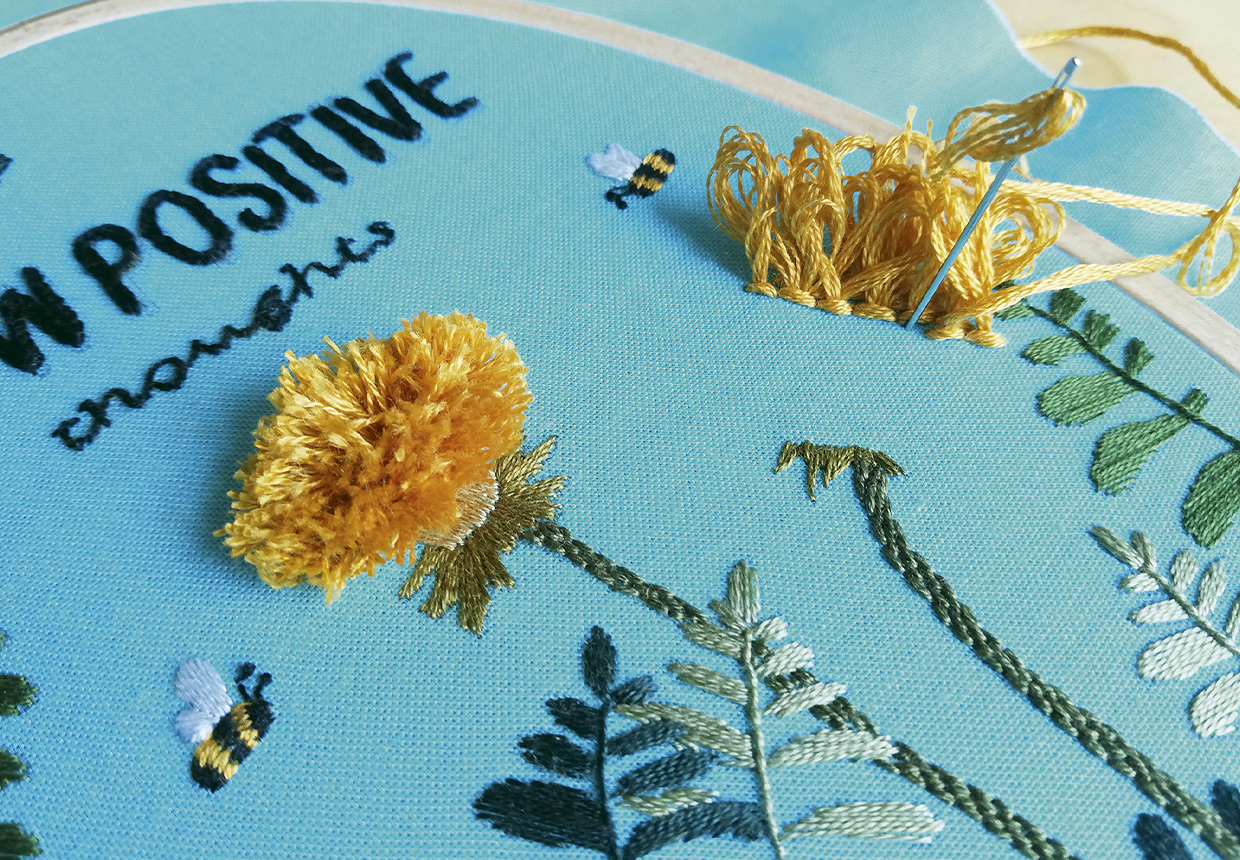
This design is made up of a variety of stitches and you’ll be able to refine your skills with lesser-used stitches such as Turkey Stitch. We have a helpful guide below if you need a hand using this stitch, and any others needed for this project.

The botanical embroidery was designed by Lou McCarney and was originally published in Love Embroidery issue 15.

Stitching the positive botanical embroidery hoop

What stitches will I need to complete the botanical embroidery hoop?

Keen for more tips and tricks to upgrade your stitching? Check out our embroidery stitch library.


What materials do I need to create the botanical embroidery hoop?

  • Cotton fabric: 20x30cm, bright blue
  • Stranded cotton: 1 skein each of black, green, dark green, grass green, light green, light grass green, moss green, white and yellow
  • Oval embroidery hoop: 13x21cm
  • Basic embroidery kit

Download the free botanical template


How to do Turkey Stitch

  1. Leave 5cm of thread on top of the fabric
  2. Take the needle in at 1, out at 2, in at 3 and out at 1
  3. Push the needle back in at 4 and out at 3
  4. Don’t pull the thread all the way through; leave a loop on the front
  5. Continue in this way along the line, leaving a loop of thread each time
  6. When done, cut the loops to your desired fringe length.

How to make the botanical embroidery hoop step-by-step

You will need:

  • Cotton fabric (20x30cm, bright blue)
  • Stranded cotton (1 skein each of black, green, dark green, grass green, light green, light grass green, moss green, white and yellow)
  • Oval embroidery hoop (13x21cm)
  • Basic embroidery kit

Step 1

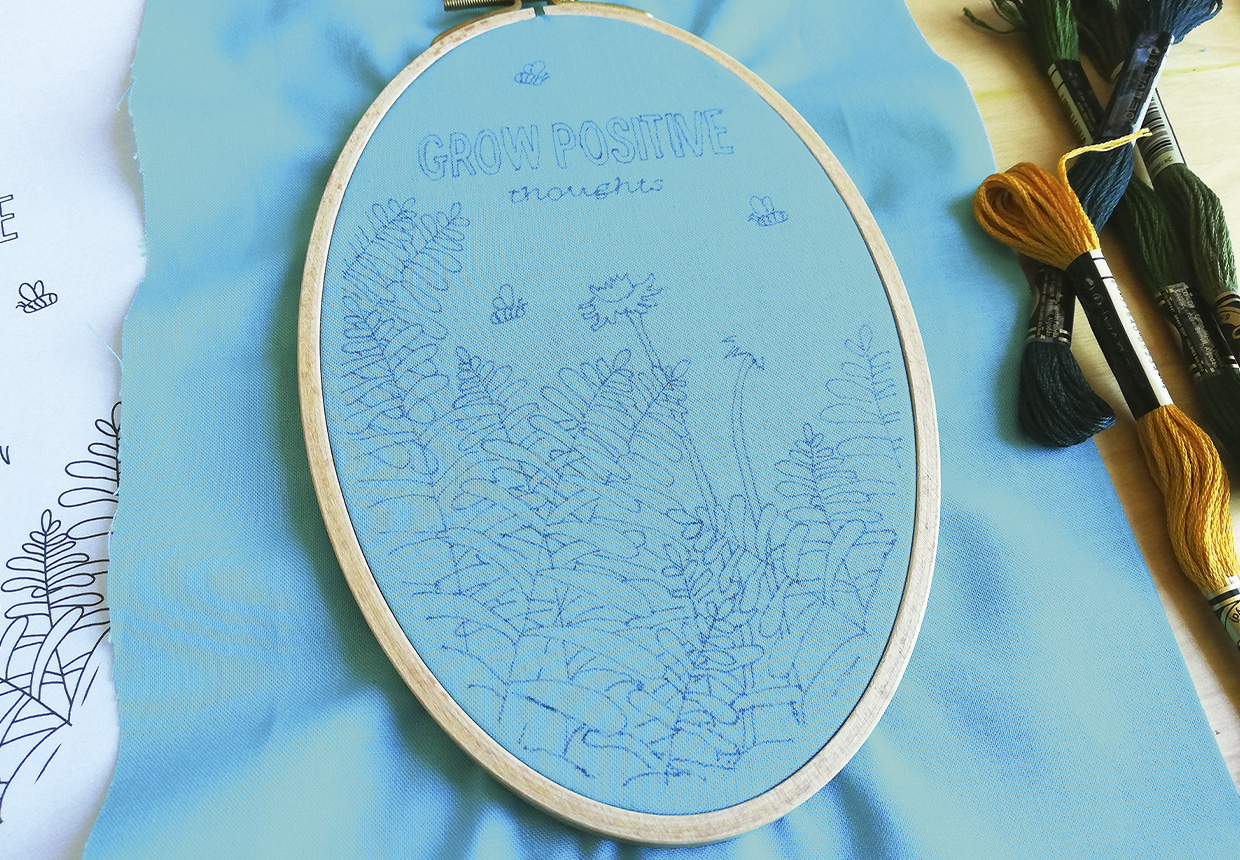
Transfer your botanical design onto the fabric

Transfer the design from the template onto the fabric using your preferred method. We used a heat-erasable pen to trace the design over a window so that the template markings could be removed later on.

We left off the template line for the flower heads and stitched them freehand, but you can transfer them if you prefer.

Mount the fabric into your hoop, ensuring the surface is taut.

botanical embroidery step 1

Step 2

Sew the fern leaves and stems

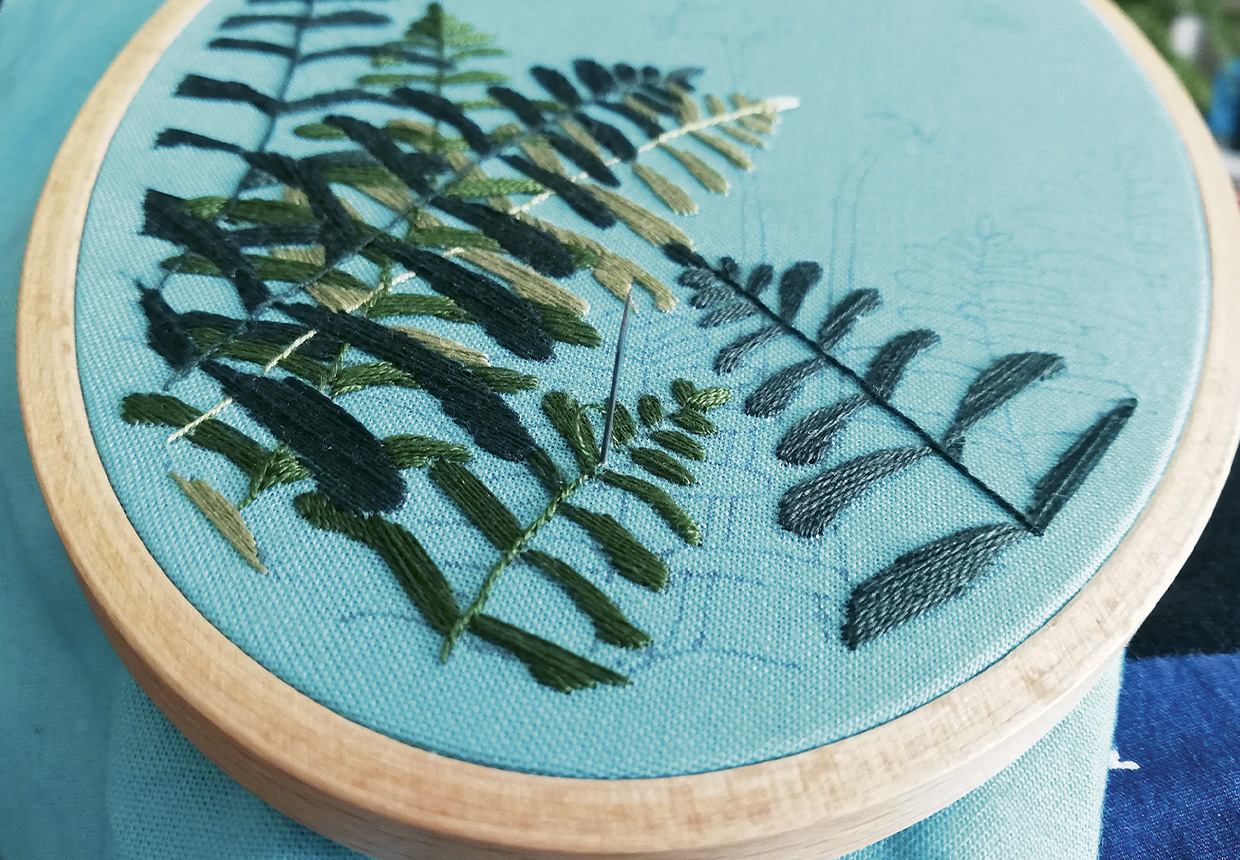
Sew each of the fern leaves using Satin Stitch in one strand of green, dark green or light green, angling your stitches so that they follow the shape of each leaf.

Then, add the stems to each fern using Stem Stitch in one strand of matching green.

botanical embroidery step 2

Step 3

Chain Stitch the wording

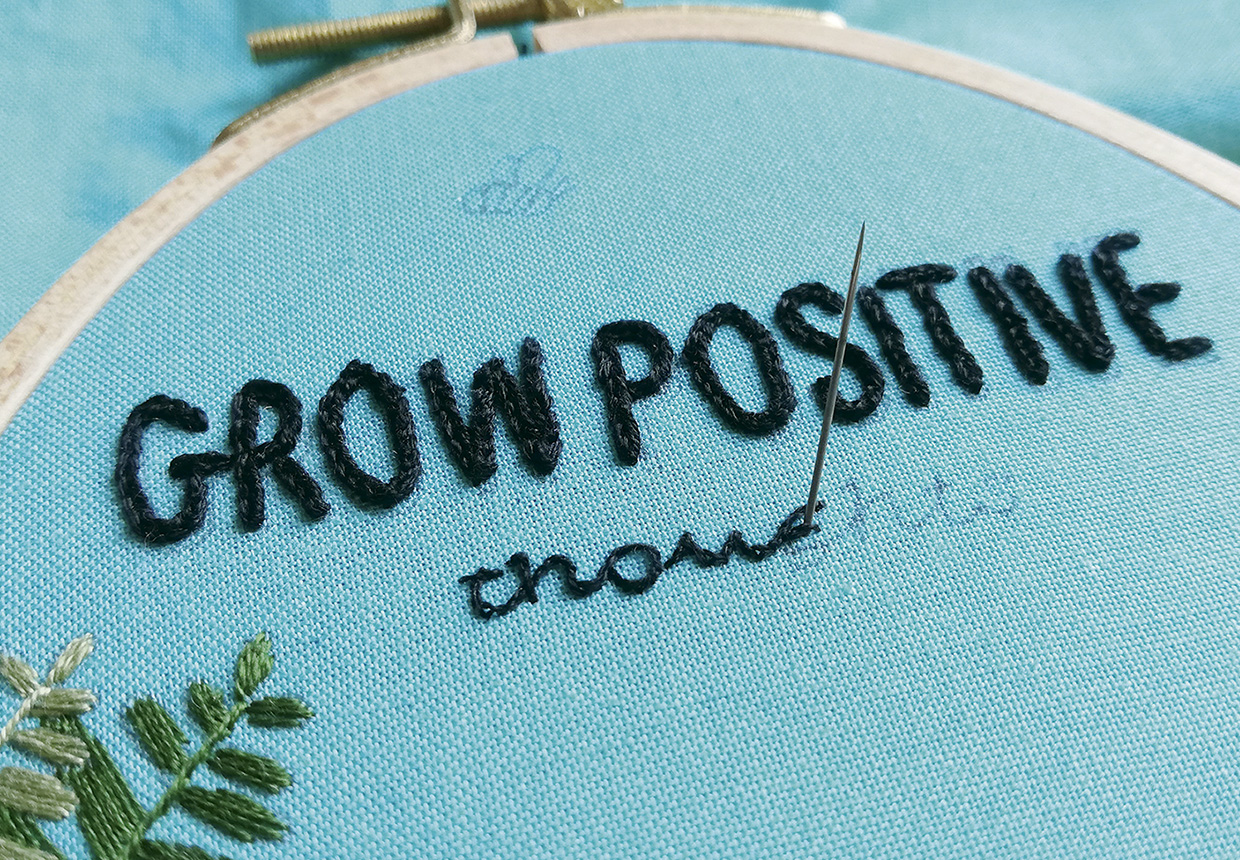
Next, fill in the words ‘grow positive’ using Chain Stitch in three strands of black.

Start with the ‘G’ and make your stitches quite small so you can follow the curve of each letter smoothly. Add the word ‘thoughts’ using Stem Stitch in one strand of black.

Again, make your stitches quite small so that you can follow the curve of the letters. Try to work in continuous lines, then go back and add details like the line of the ‘t’.

botanical embroidery step 3

Step 4

Create the beautiful bees

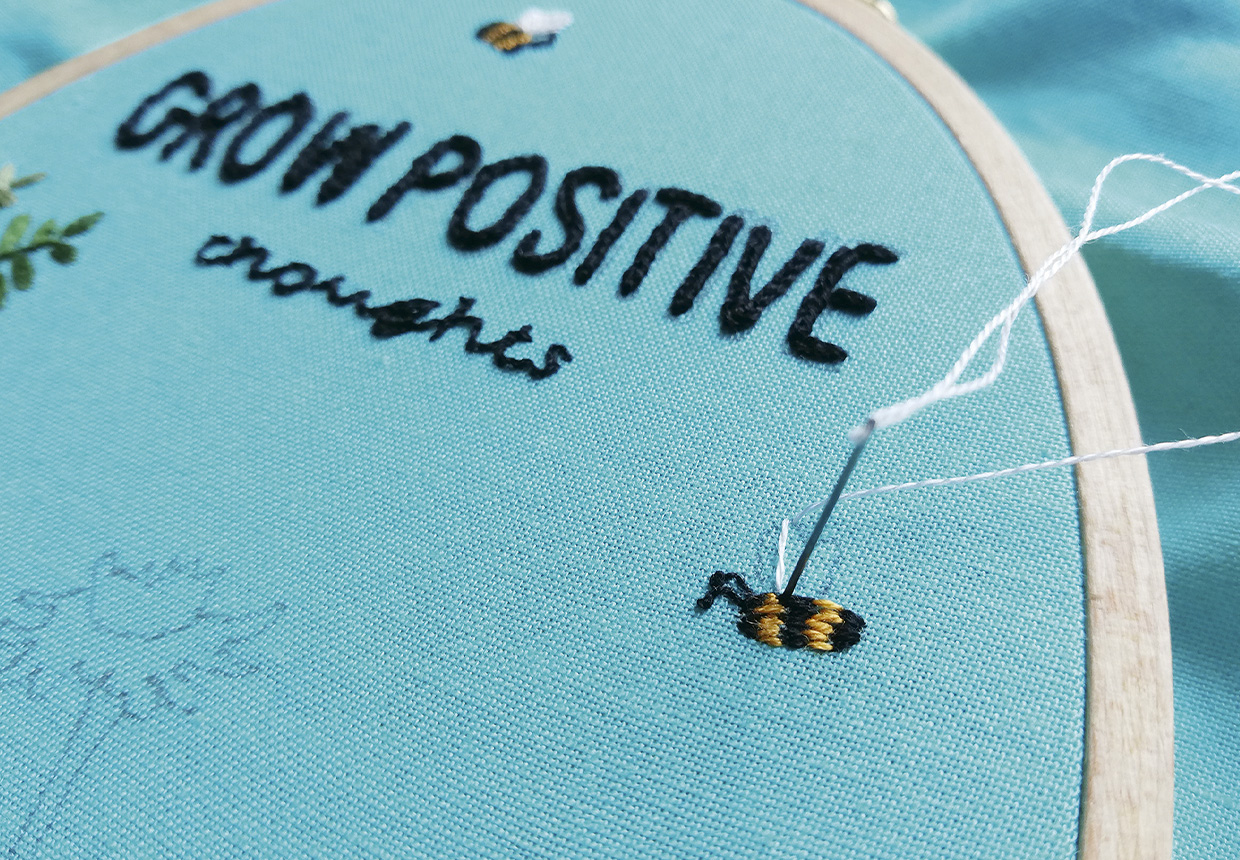
Now, fill in the bees’ bodies. Start by working stripes of Satin Stitch in one strand of black and yellow, angling the stitches to follow the shape of the body.

Then, add Straight Stitches in one strand of black at the front to make antennae and top them with French Knots using one strand of black and one twist.

Finally, add the wings using Satin Stitch in one strand of white.

botanical embroidery step 4

Step 5

Time to stitch the dandelions

Moving onto the dandelions, work the stems in Brick Stitch using two strands of moss green and the sepals in Satin Stitch using either light grass green or grass green.

botanical embroidery step 5

Step 6

Stitch the flower heads

To add the flower heads, work rows of Turkey Stitches using six strands of yellow – start at the top of each flower to make seeing your stitches easier.

botanical embroidery step 6

Shine bright with botanical embroidery

This positively beautiful embroidery hoop will add a touch of joy to your home! It’s a great way to start your day by looking at a positive sentiment.

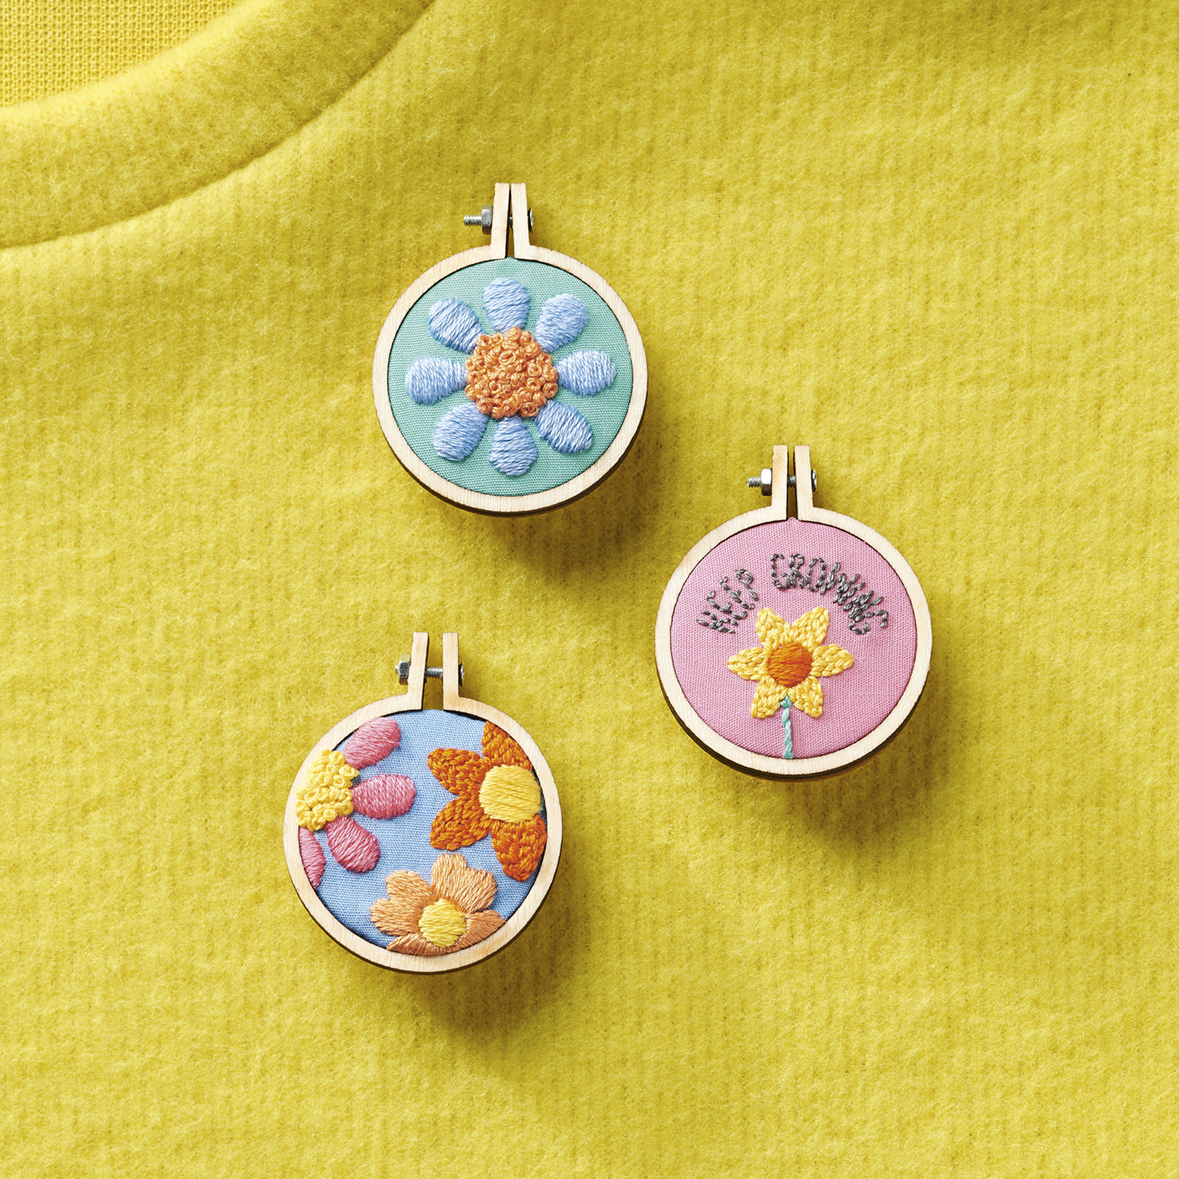
Keep upbeat with positive embroidery badges

Positivity can sometimes be difficult, but a sure way to put a smile on someone’s face is by making them a positive embroidered badge. That way whenever they need a little pick me up, they can simply look down at their badge.

positive emrboidery hoop trio