All products were chosen independently by our editorial team. This review contains affiliate links and we may receive a commission for purchases made. Please read our affiliates FAQ page to find out more.

Create your own embroidered bag – perfect for summer

Hit the beach with your own embroidered bag. Follow along with our simple step-by-step tutorial designed by Chloe Hardisty.

Try 6 issues of Love Embroidery magazine for just £9.99| SAVE 77%

Published: June 10, 2023 at 7:00 am

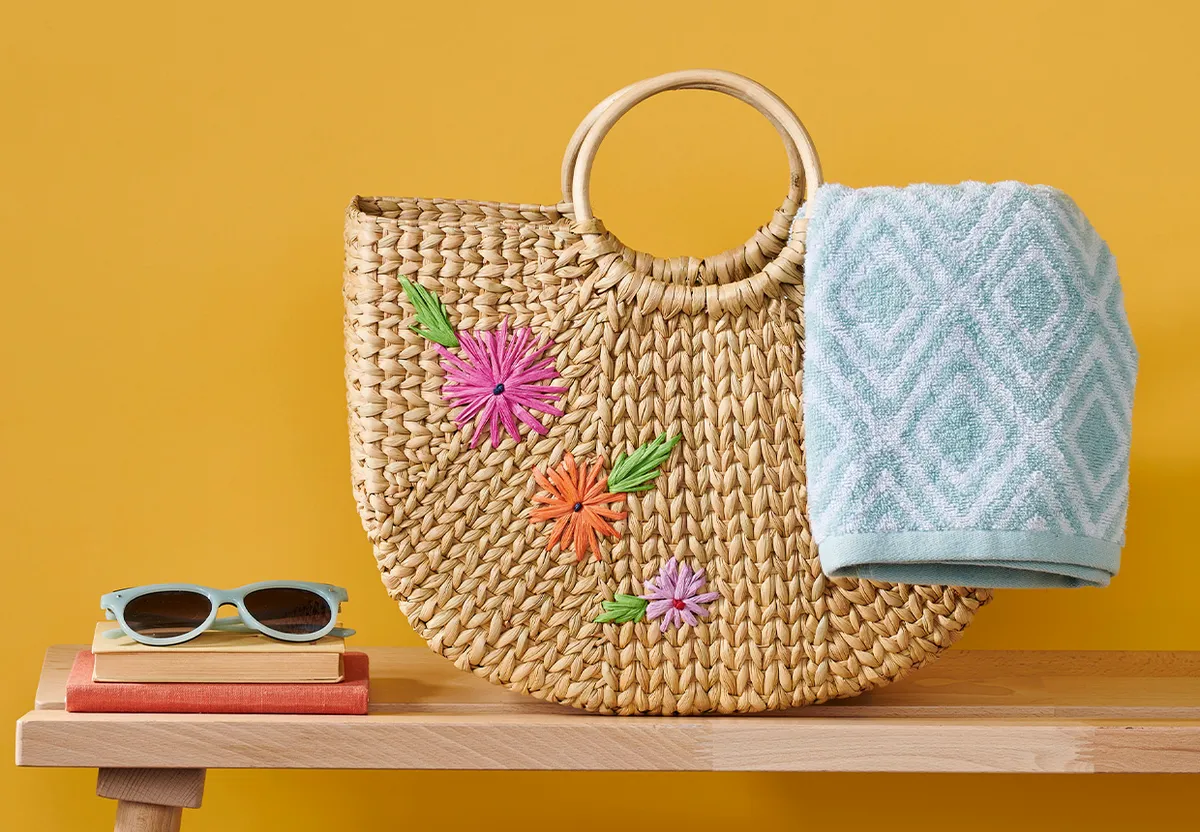
Switch your embroidery thread for tactile dyed raffia to personalise a simple straw bag with colourful blooms. This stylish embroidered bag is ideal for sunny beach days or shopping trips.

We’ve chosen to use bright pink, purple and orange raffia to embroider the flowers, but you can use any colours that suit your style.

We’ll show you how to stitch the raffia to build each of the flowers. We’ve stitched three flowers but you can always get creative! Adding your own twist to the design will ensure you have a unique bag.

Never stitched with raffia? Find out more about this lovely eco-friendly material below.

This project was designed by Chloe Hardisty and first published in Love Embroidery issue 4.

What stitches will I need?

Are you looking for more tips and tricks to improve your stitching? Check out our embroidery stitch library.

What materials do I need?

embroidered bag

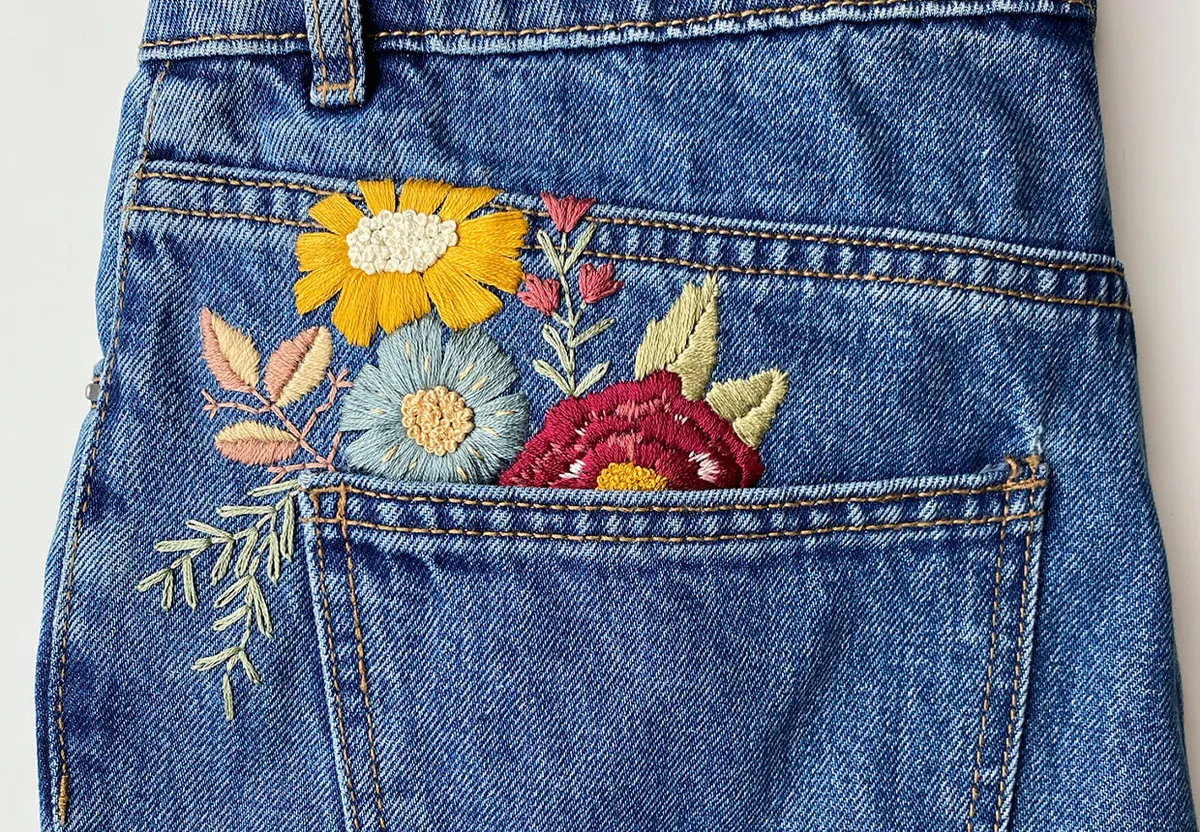
How to embroider clothing

We’ve rounded up some of our favourite ways to add embroidery on clothes so you can refresh your wardrobe for free with Gathered.

You will need:

  • Straw bag
  • Raffia
  • Basic embroidery kit

Step 1

Map out where you’d like your flowers to go

Trace around and cut out the leaf templates. You’ll need to draw three circles with diameters of 5cm, 6.5cm and 7cm to use as templates for the flowers.

Plan the positioning of the flowers and leaves on your bag by placing the templates on top of it and taking a photo to remind you.

Make four pen marks around the edge of one circle. Remove the paper and mark the circle centre. These marks are used as a guide for the embroidery.

embroidered bag step 1

Step 2

Split your raffia

Take a length of raffia for the first flower and split it in half lengthways, as it makes it much easier to work with.

Step 3

Create your first flower

Thread the raffia through your needle and push it through the centre of the traced circle to the inside of the bag.

Pull the needle all the way through to see where the centre of the circle is on the inside and secure the end of the raffia with a few stitches on top of each other.

Bring the needle back through to the bag front in the centre to start filling the circle. Use one large stitch starting at the centre and reaching out to the four marked points.

embroidered bag step 3

Step 4

Finish the flower and add a French Knot

Fill in the gaps with more Straight Stitches until you have created a full flower. You’ll be going up and down through the same central hole each time.

Work with the weave of the bag and don’t worry about making the shape a perfect circle. Secure the end of the raffia in the same way you started, then trim off the end.

Work a French Knot in the centre of the flower using different coloured raffia.

embroidered bag step 4

Step 5

Repeat the steps for the other flowers

Work all the flowers in the same way, referring to your photo for positioning, and choosing a range of colours.

embroidered bag step 5

Step 6

Add the leaves

Make the leaf shape by using one long Straight Stitch as the base stitch, then coming up through the same hole at the bottom of the stitch and making three or four stitches in decreasing lengths on each side, all fanning out from that bottom point.

Finish the remaining leaves in the same way.

embroidered bag step 6

Create chunky embroidery with raffia

Raffia will create a beautiful natural look in your projects. It works particularly well for summer garments (it’s made from the raffia palm after all).

Summer blooms aren’t just for bags!

Embroidery will give any garment a colourful boost. Try upgrading your jeans with summer flowers in our easy embroidered jeans tutorial.

embroidered jeans main image