Cultivate kindness - cute embroidery pattern!

Cultivate kindness with Liz Stiglet's cute embroidery pattern! Stitch your way to happiness today.

Try 6 issues of your choice of craft magazine from just £9.99

Published: October 18, 2021 at 8:40 am

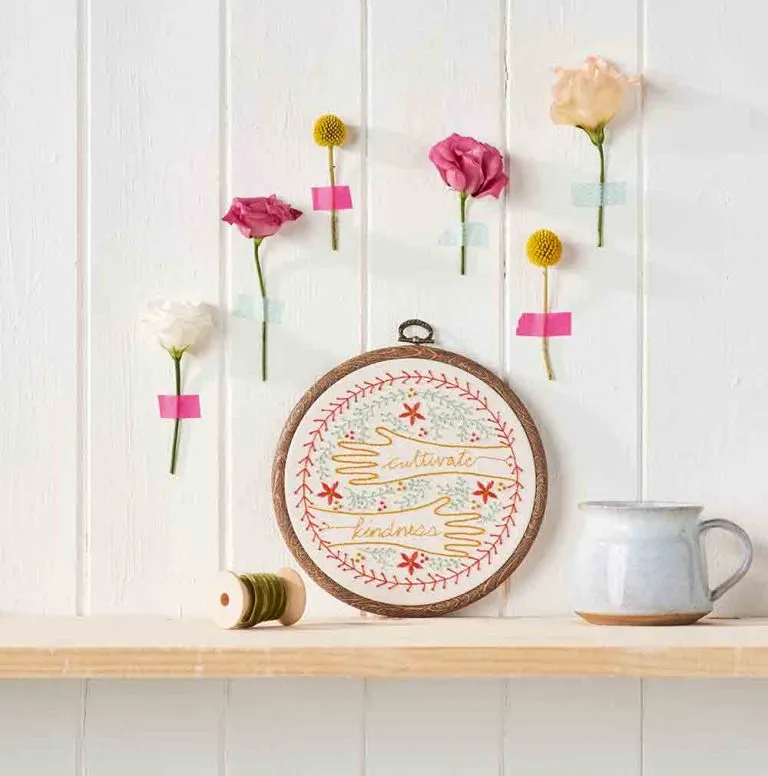
Stitch your way to positivity with Liz Stiglets’ cute embroidery pattern! There’s something so soothing about embroidery. From the repetitive action of pulling the needle and thread up, down, then up again through the fabric, to the pattern slowly growing stitch by stitch, it’s a craft to relax into. We wrote all about why crafting is good for your mental health here on Gathered so when we saw Liz's cute embroidery pattern we just had to upload it for you all. We like the idea of an uncluttered mind absorbing Liz Stiglets’ positive mantra while we sew, too. If you’re not familiar with any of the embroidery techniques used, have a look at our library of embroidery stitches and our embroidery for beginners guide.
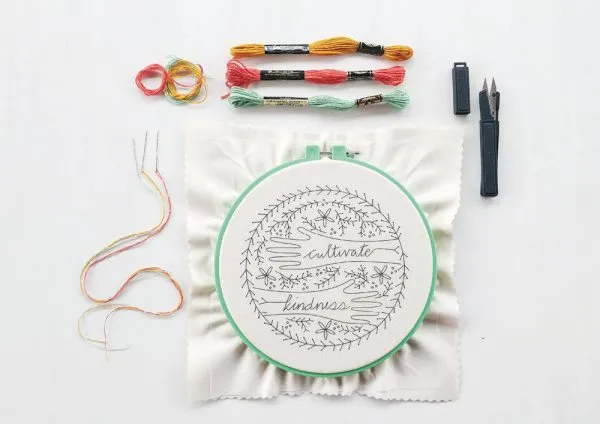
Floral embroidered hoop art

You will need

  • Printable water-soluble stabiliser
  • Cotton fabric, 25 x 25cm (98 x 98″)
  • Embroidery hoop, 15cm (6″)
  • Tapestry needle
  • Embroidery thread (we used DMC Stranded Cotton in 351 (coral), 966 (mint) and 3852 (mustard)
Floral embroidered hoop art materials

Cute embroidery pattern

You will need:

  • Fabric
  • Thread
  • Needle

Step 1

Floral embroidered hoop art template

Transfer the design above onto the fabric. We used a printable, water-soluble stabiliser, scanned the template onto our computer, then printed it directly onto the stabiliser. You can then peel off the paper backing and stick it centrally onto your fabric. If you prefer, though, you could trace the design onto the fabric using a water-soluble pen.

Step 2

Floral embroidered hoop art step 1

Separate the embroidery hoop by loosening the screw, then centre the fabric between the two pieces. Tighten the screw back up, adjusting the fabric to keep it taut. Using two strands of mustard thread and split stitch, stitch the outlines of the hands, going through the fibres, and not just in between the strands of thread. When stitching the curves of the fingers, use smaller stitches to help create the shape.

Step 3

Floral embroidered hoop art step 2a
Floral embroidered hoop art step step 2b

Using two strands of thread and the main image as a colour guide, stitch the vine border and the vine sprigs using backstitch and colonial knots. Embroider the berries using colonial knots and four strands of thread.

Step 4

Floral embroidered hoop art step 3

To fill in the flowers, use satin stitch and two strands of coral thread, then add a tiny mustard star in the centre using straight stitches. Work each stitch from the outside in, so your needle goes down at the centre of the star – this will help keep your stitches neat.

Step 5

Floral embroidered hoop art step 4

Embroider the words using a single strand of mustard thread and small backstitches to finish.

Step 6

Take the fabric from the hoop and soak for 30 minutes to dissolve the stabiliser or pen. Gently rinse with cool water, lay the fabric on a towel, then gently press with another towel to remove any excess water. Leave to dry, then mount in the hoop to finish.

We hope you loved our cute embroidery pattern! For more cute embroidery designs check out our bee embroidery, floral embroidery hoop and our deer embroidery pattern.