Free plant embroidery
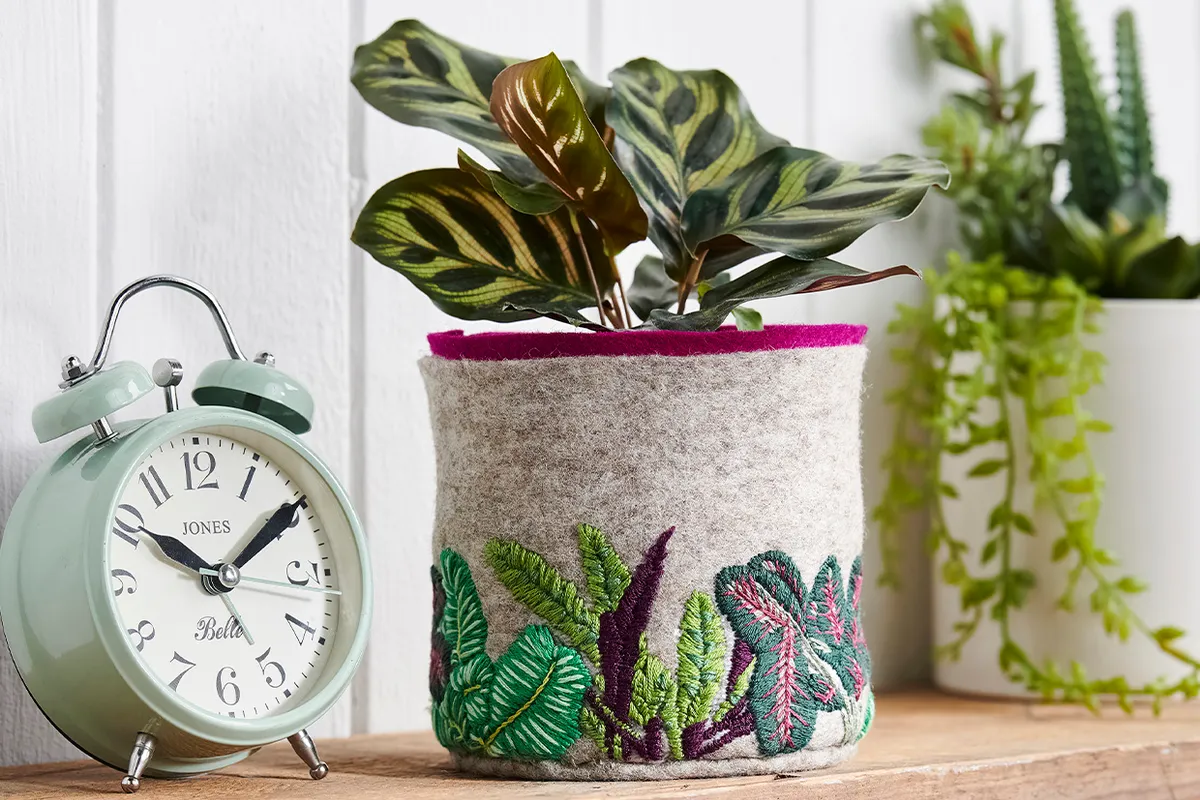
Spruce up your plant pots with this beautifully modern plant embroidery pot cover designed by Lou McCarney. This delightful project is stitched on felt using a variety of embroidery techniques, resulting in a rustic, yet modern plant pot cover.
Using only 4 different stitches, this is a fabulous project for beginners to take on giving not only stitch practice but practice stitching on a different material. Usually, the majority of our embroidery projects are worked on cotton or linen, whereas this pot cover is made using felt.
If you are completely new to embroidery or would like to refresh your memory, ensure you take a look at our embroidery for beginners guide, which will give you all the information and tips you'll need to confidently start your next project. We have a great stitch guide too, one to keep up your sleeve for upcoming projects.
Stitches key for the plant embroidery
- Satin stitch how to do satin stitch
- Backstitch how to backstitch
- Straight stitch straight stitch embroidery
- Stem stitch how to do stem stitch
Plant embroidery materials:
- Wool felt: 1mm thick, 12x46cm, grey and magenta
- Stranded cotton: 2 skeins each of leaf green and dark green; 1 skein each of black, light green, light moss green, medium green, pale light green, very dark green, pink and purple
- Tear-away or water-soluble stabiliser
- Basic embroidery kit
Notes:
- We used 12x90cm 1mm wool felt in Mother Rabbit and Berry Pie from Cloud Craft
- Use four strands of thread throughout the design, unless stated otherwise.
- RS = right side(s)
If you’re also looking to delve into machine embroidery or would like to find out more about it take a look at our guide to the best embroidery machine.
Free plant embroidery template and guide
You’ll also need the free plant embroidery template.
Step 1
Transfer the design onto the stabiliser using your preferred method, repeating the pattern twice with the short edges lined up. Cut your grey felt into one strip measuring 11x34cm and one circle using the base template.
Repeat this with your magenta felt. Tack the stabiliser onto the centre of your grey felt, 1cm up from the bottom. Work over these tacking stitches or snip them as you go.

Step 2
Fill the maranta leaves with Satin Stitch in very dark green for the outer sections and light green for the inner. Radiate the stitches outwards from a central line.
Add veins using Straight Stitch in two strands of pink. Work the stems using Stem Stitch in two strands of light green.

Step 3
Next, fill the orbifolia leaves with Satin Stitch in leaf green, radiating the stitches as before. Then, add stripes of pale light green to each leaf using Straight Stitches.
Work the stems in Stem Stitch, using light moss green, and continue halfway up each leaf. Work the background leaves before the foreground.


Looking for a relaxing project?
Try this beautiful yet easy wildflower design.
Step 4
Now, fill the front-facing rattlesnake leaves with Satin Stitch using medium green, again radiating your stitches out from a central line. Fill in each of the leaf markings using small Straight Stitches in dark green.
Fill in the remaining rattlesnake leaves using Satin Stitch in purple, radiating your stitches from a central line when possible.

Step 5
Remove the stabiliser by tearing or washing it away. With the RS together, sew the shorter ends of felt together, lining up your design. Sew the bottom edge to the circle of felt, leaving a 1cm seam – the final base should measure 10cm across. Repeat this process with your magenta felt pieces and trim all seams to around 2mm.

Step 6
Turn the grey pot RS out and coat the inside top inch with fabric glue. Insert the magenta pot and press together.

Stitch our free plant embroidery pattern and celebrate the beauty of nature
If, like us, you adore greenery and plants in your home, this will be the ideal project for you (and excuse) to buy yourself a beautiful new plant to complement your new creation!
The plant in the photo (a calathea makoyana, AKA a peacock plant) is actually from the same family as the three plants featured around the pot: a maranta, an orbifolia, and a rattlesnake calathea.
More like the plant embroidery
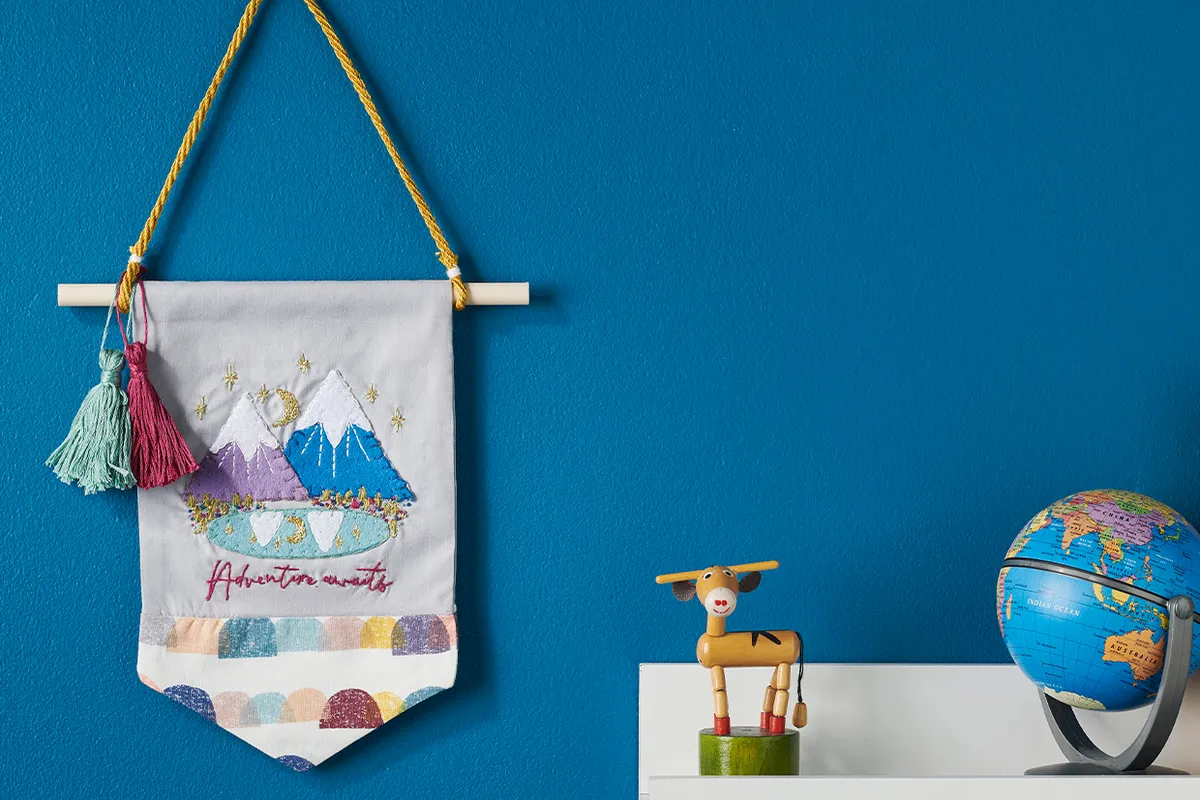
We hope you loved this gorgeous plant embroidery pattern. Are you looking for similar projects? Don’t miss our lovely embroidered wall hanging.