Step 1

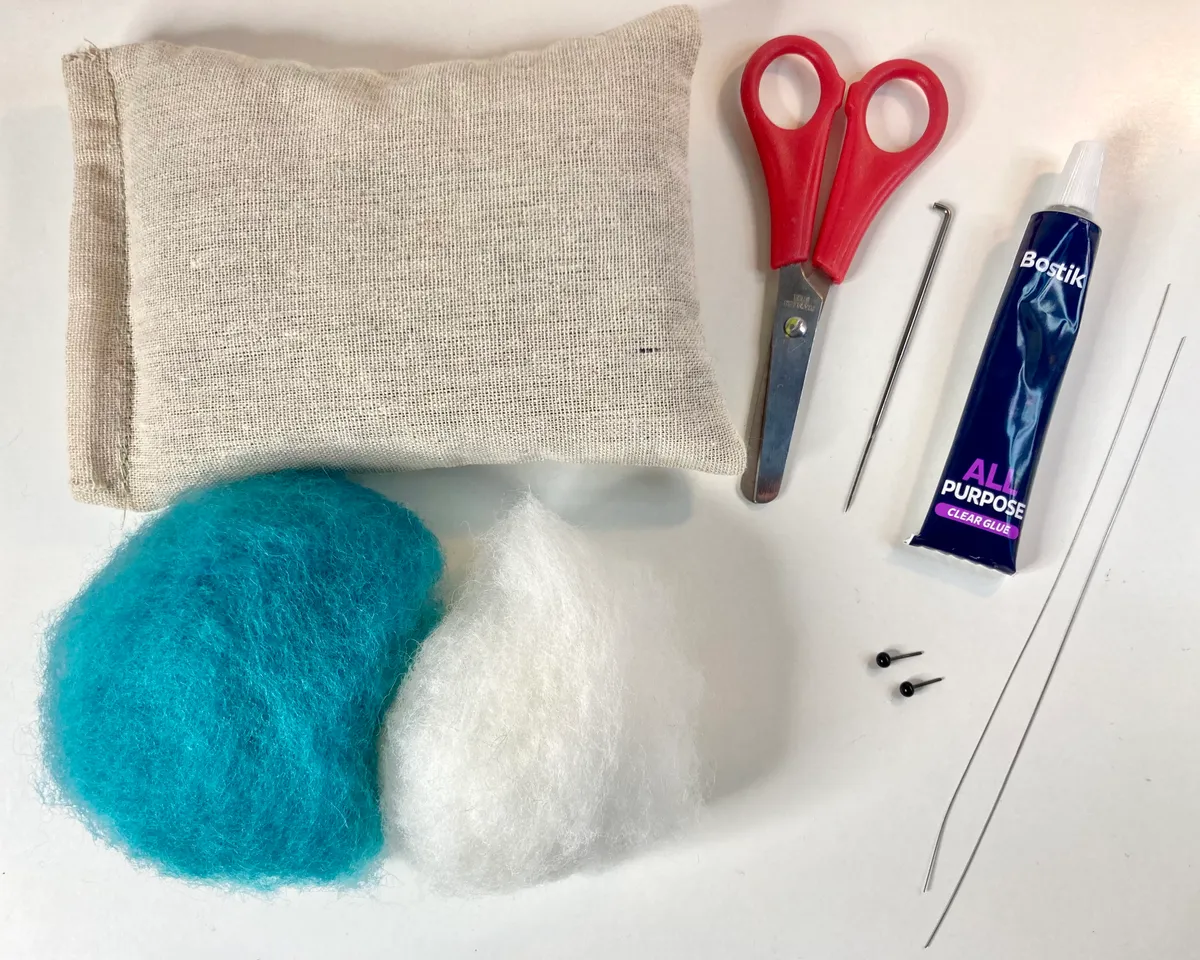
Start with approx 8g turquoise carded wool. Take off approx 1/3 and put aside for later.
Step 2


To make a ball shape for the body, fold wool over thumbs. Take out thumbs and fold up the bottom.
Step 3

Now fold in the left and right so all sides together.
Step 4


Felt all the edges in together to hold. Now felt around the sides to unflatten the shape.
Step 5

Continue to felt all over until you have a sphere. If there’s any cracks, patch over with a small pinch of wool. Your finished felted ball should be firm & not too squishy.
Step 6

For the tale, take off half the rest of wool, flatten onto mat.
Step 7

Fold up the top and the bottom to make a thin strip (about 3cm).
Step 8

Fold the right side over and felt down.
Step 9

Cut from the right side along its length (about 3cm).
Step 10

Pinch in the ends of each cut piece and felt to hold that shape.
Step 11

Pinch the top & bottom, (at the cut ends) and felt there to hold shape.
Step 12

Felt through this piece, (leaving tail protruding), and into the bottom of sphere to attach.
Step 13

For the fins, take two small pinches of the wool. Make each size slightly bigger than the end of a finger.
Step 14


Tuck 1 piece of wool under finger at the top, left and right. Pulling finger slowly down wool, felt this shape to hold.
Step 15

Gently take the wool off the mat and felt on each side at the top to make a point.
Step 16

Now pinch the sides together (about 2cm from top), and felt to hold.
Step 17

Make the other in the same way and trim the shape with scissors if needed.
Step 18

Attach the fins by felting through them into the bottom where the tail is. Leave ends protruding.
Step 19

Use straight and hard felting stabs to flatten the bottom and front of the whale (face). To improve surface
of the face area, use a small pinch of extra wool and gently tap it on to smooth appearance.
Step 20

Felt a long groove for the mount, just under 1cm from the bottom. Finish the groove with a curve up (like a smile), ending where the fin starts.
Step 21


Felt in an eye socked just above end of the mouth, then felt a deep hole in the middle. Pop in the stem of the eye into the deep hole and push in all the way to sit in the socket.
Step 22

Felt a deep hole in the top of the whale for the spout.
Step 23

Make a thin length of white and turquoise wool. Cut thin wire into 5” lengths & cover 4” with glue.
Step 24

Wrap both colours around the gluey covered wire, leaving 1” bare. Do the same with the second wire, then insert both bare ends into the spouts.
Step 25

Felt through the bottoms of the wire felt into the whale to attach.
Step 26


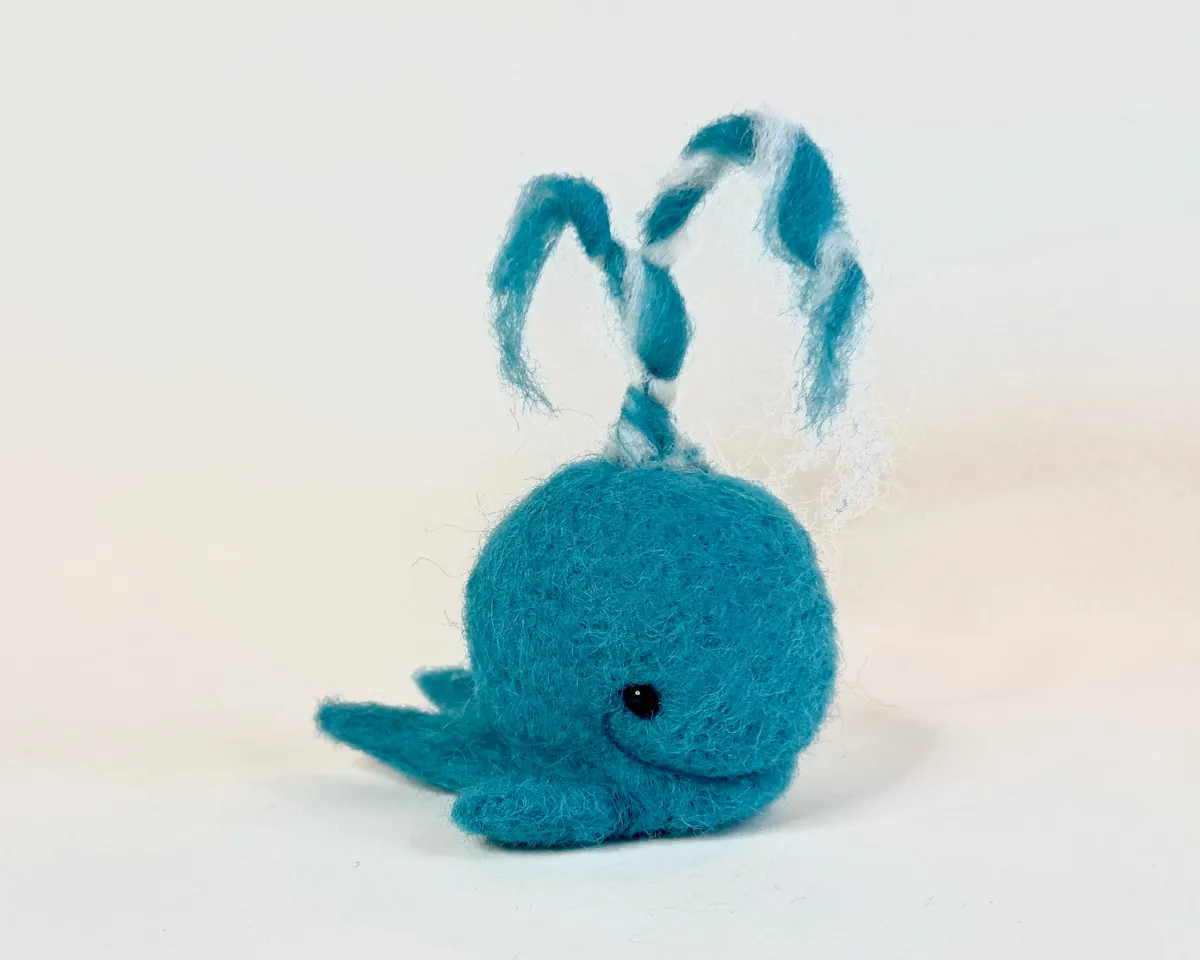
Bend the wire over your thumb so it cascades down. You can make it waves for extra water effect. Trim off any excess water and tidy up fuzzy parts of the whale to finish.
Step 27

Now your whale is finished, time to make a splash on social media! Don’t forget to tag us!