If you live in an old Victorian house, you might be very lucky and already have your own stained glass windows. But what if you want to bring that look to your home, even if its was built in the wrong period? There are brilliant artisans you can commission to craft a stained glass window for you, but it will be a costly business. Far better, we think, to craft your own DIY stained glass using a few simple techniques and your own skills to give you the look without the costs – no historical terraced home required!
DIY stained glass materials
You don't need a whole host of materials to craft your own DIY stained glass - here is your basic shopping list for crafting faux stained glass projects.
- Black stained glass outliner - we used Pebeo cerne relief outliner, black from Amazon
- Glass paints - we used Hapree glass paints, 12 colours from Amazon
- Design template - we used Colour Wheel template from Love Embroidery
- Rubbing alcohol - we used Ican London isopropyl rubbing Alcohol 70% from Amazon
- Wooden cocktail or kebab sticks
- Glass to be painted
- lint-free cleaning cloth
- Craft knife or scalpel
DIY stained glass tips and tricks
You'll often have to cut the tip off your outliner tube nozzle yourself the first time you use it. Try to cut this tip as near to the end as possible, to make the hole in the tube narrow for controlled application.
If your outline ends up blobby in some places, don't panic! You can tidy it up by trimming off the blobs with a craft knife. Make sure you let it dry fully first, though.
Never use a brush to spread your glass paints, as this will introduce bubbles into the colour. Spread and blend with a pointed stick like a wooden cocktail or kebab stick instead. If you do get any bubbles, pop them with the point of your spreading stick
You can mix glass paint colours together separately to create a different colour, but experiment with mixing in situ too, where both colours are poured and then swirled together with your stick. You get some brilliant swirls and patterns this way, which look so impressive with the light shining through them.
Make sure you take the stained glass paint right up to the raised relief without any gaps. The glass paint will shrink as it dries, so any gaps will become more pronounced as time passes, so try not to leave any.
Your glass paint will typically be dry enough to add a second coat after around 24 hours, but you'll need to leave it for approx. 7 days to dry fully. You can speed up this process by baking your faux stained glass item in an oven at 80C for 2 hours.
If your DIY stained glass is going to be on an exterior windows, always have the painted side facing away from the weather, so inside the home rather than exposed to the rain.
How to make DIY stained glass
Whether you want to decorate a window, or simply paint on a wine glass or a jam jar to make a tea-light holder, the basic technique is the same. Follow our simple step-by-step guide and you'll soon be creating faux stained glass without any of the worry.
Step 1
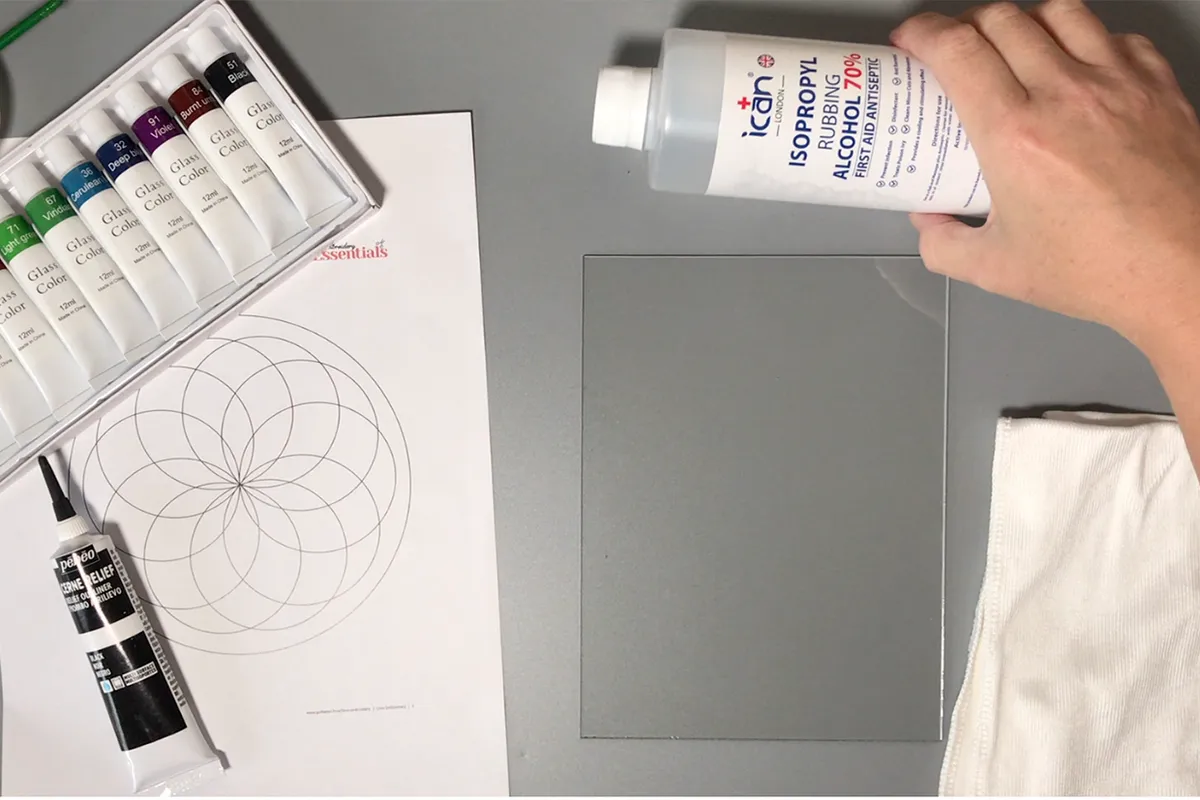
Ensure you get good adhesion for your colour by thoroughly cleaning your glass sheet using a lint-free cloth and rubbing alcohol to remove all grease and fingermarks, and leave your faux stained glass surface sparkling clean. Once clean, allow the alcohol to dry thoroughly before you move on to step 2 of our DIY stained glass tutorial.
Step 2
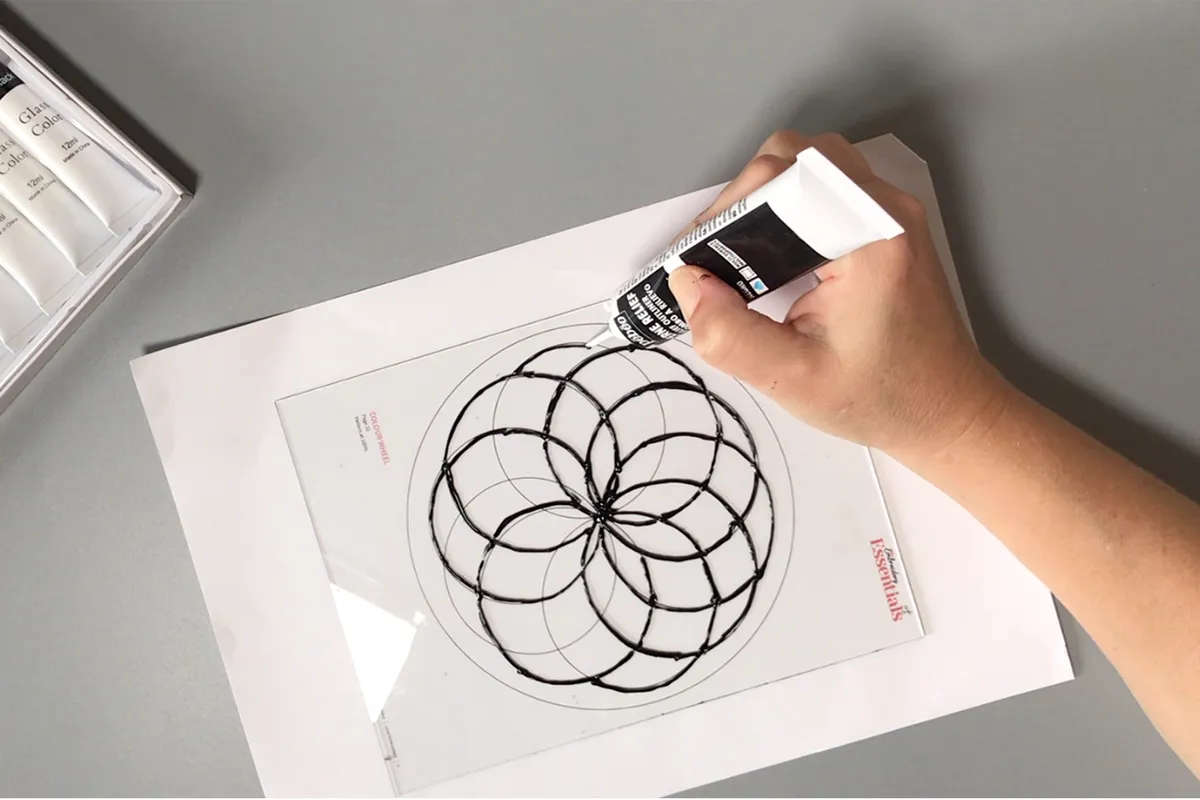
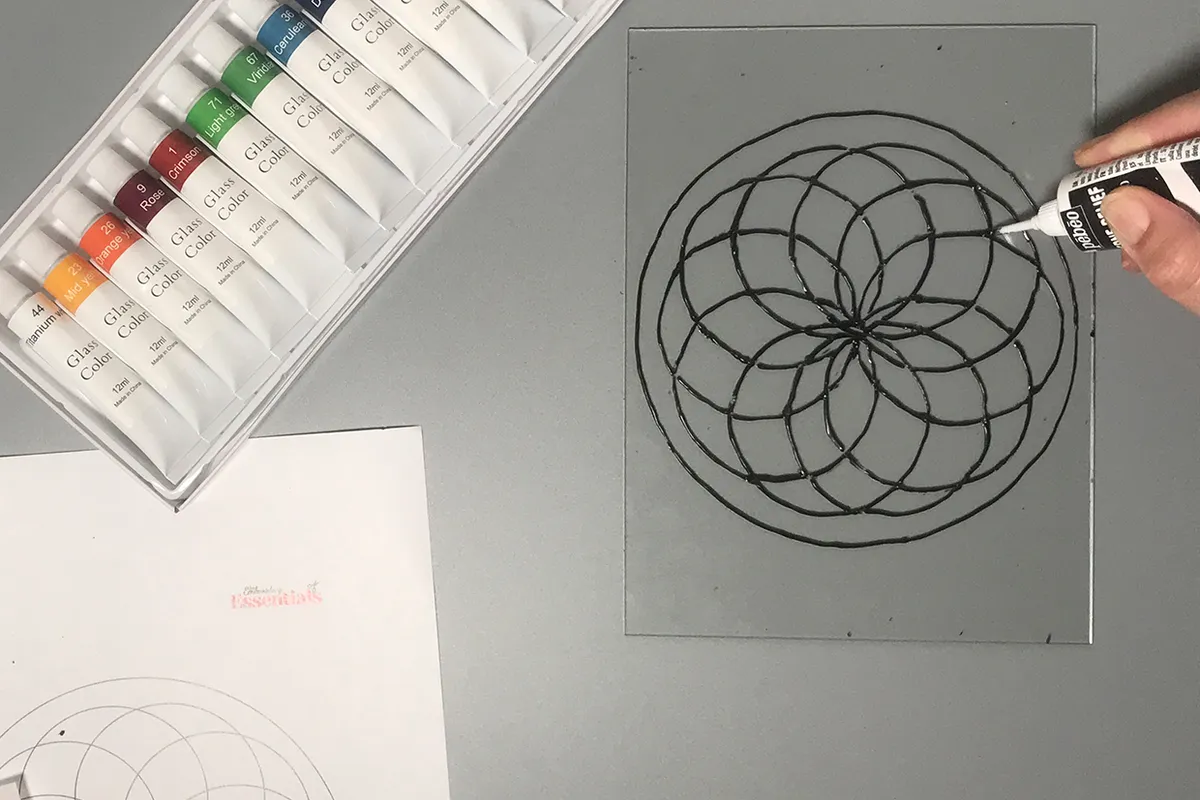
Begins by using your relief outliner to mark in the 'leading' of your faux stained glass. You can do this freehand, but we find it easiest to place a template of your chosen design below the glass and follow this to guide your outliner. Even if you want to draw your own design, it is still a good idea to sketch it on paper and use that as your template to guide your outline. Hold with the tip of the tube just to the glass and apply very gentle pressure moving the tip along the outline of your template. Try to keep your lines thin but don't worry if you get the odd blob of outliner - we'll be tidying this up in step 3 of our faux stained glass tutorial.
Step 3
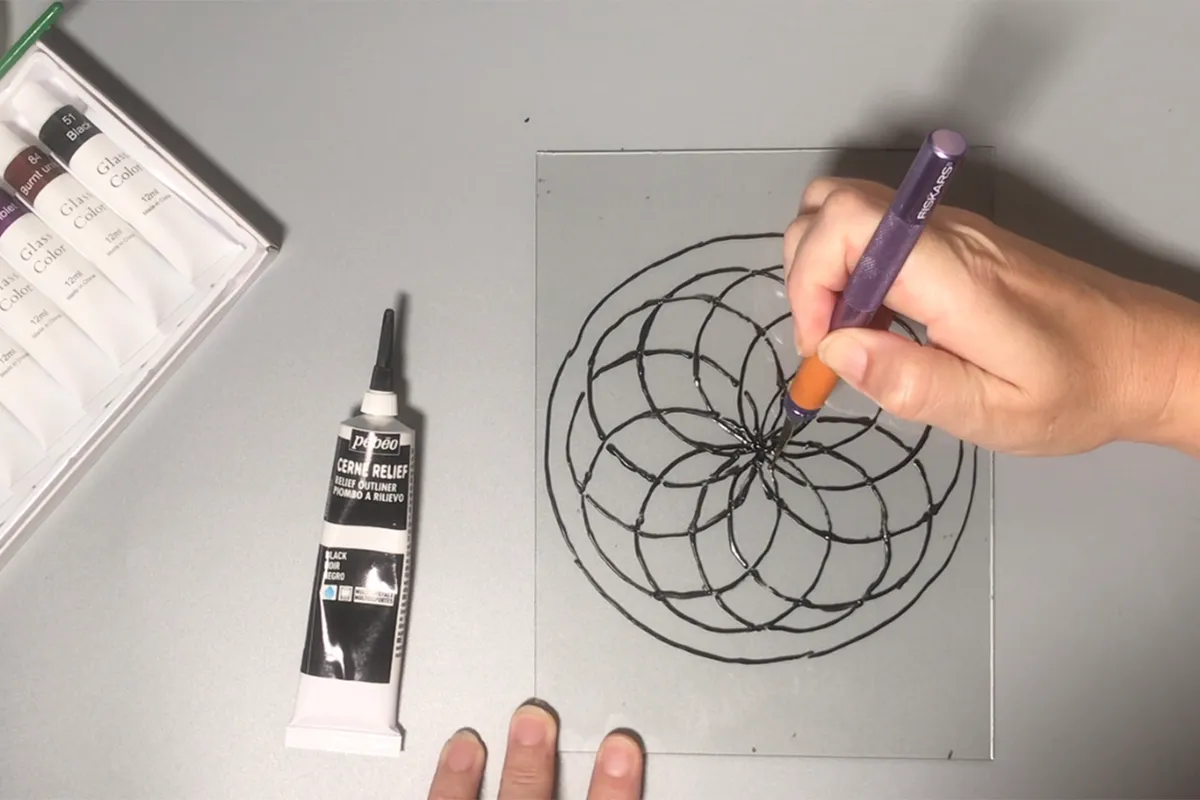
Allow your outliner to dry fully, which will take between 12-24 hours, deepening on the thickness of your application. Once it is fully dry, use a craft knife to trim off any blobby sections and gently peel the black outliner away from your glass – it will behave a lot like acrylic paint with a plastic-like finish once it is dry. If there are any sections or lines that have gone very wrong, you can remove them completely. Taking your time and perfecting your outline in this way will make a huge difference in the overall finish of your DIY stained glass design.
Step 4
Use your relief outliner to go back over any sections you have had to remove, or add in any lines that look a little sparse once the blobs have been trimmed off. Leave the outline to dry again before you move on to step 5. You can repeat steps 3 and 4 as many times as you like until you are happy with the finish of the outline to give you a realistic 'leading' effect on your DIY stained glass design.
Step 5
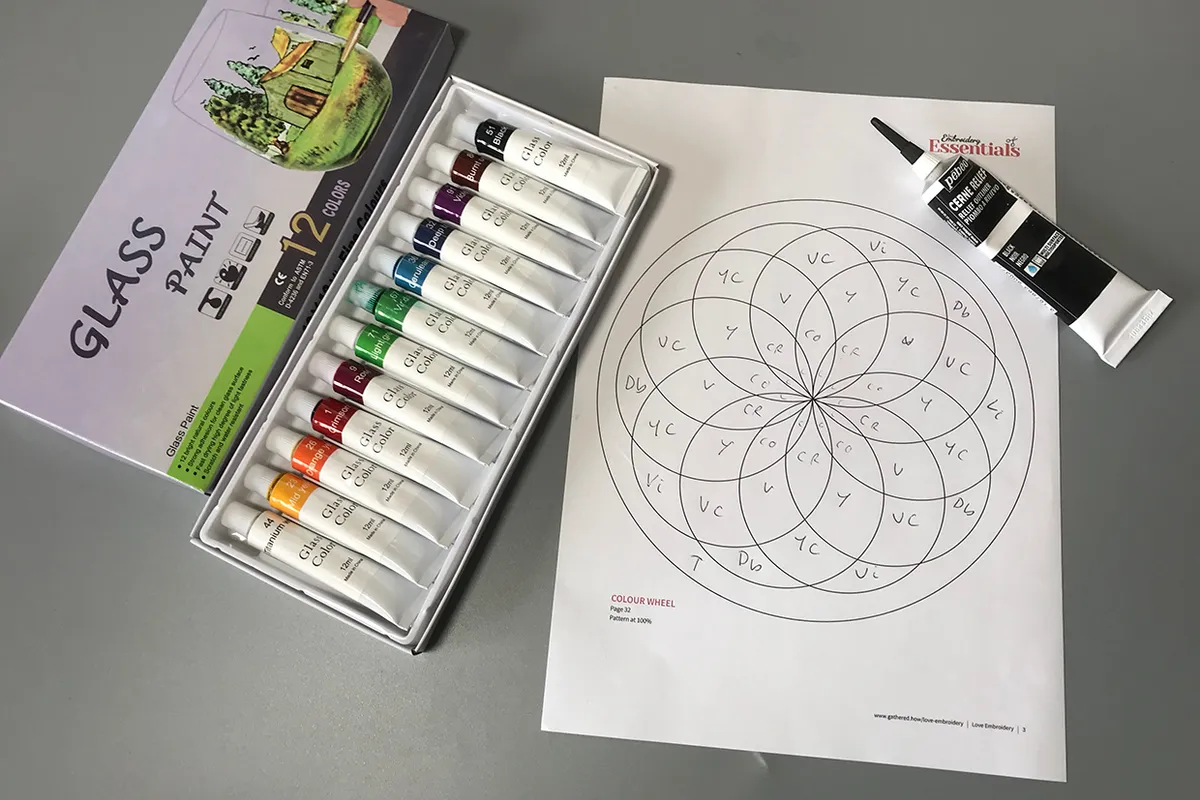
While you are waiting for your outline to be dry, it's a good idea to plan out the colours you are going to use in your faux stained glass design. Take a look at the colours you have in your paints and see which ones would work best together. We've found we get the best results by using a mixture of both solid colour element and blended colour elements in our DIY stained glass projects. The blends look spectacular, but too many of them without the solid colour sections can detract from their overall effect in your faux stained glass design. We used our template to plan out which colours we would use in the different sections of our DIY stained glass window panel.
Step 6

Apply your colour directly from the tube, squeezing a blob into the centre of your outline and teasing it out the the edges of the outline using your stick. The amount you need to apply will vary depending on the size of your section. You want to flood the area so that the colour sits right up to the edge of the 'leading' without being thin, but not so much that it spills over into the next section of the design. It is best to start with too small an amount, as you can always add more if you work quickly and top up the colour while the glass paint is still completely wet. Once it has started to dry, you'll need to allow it to dry fully before adding more colour or you'll loose the glossy finish which will spoil your faux stained glass effect.
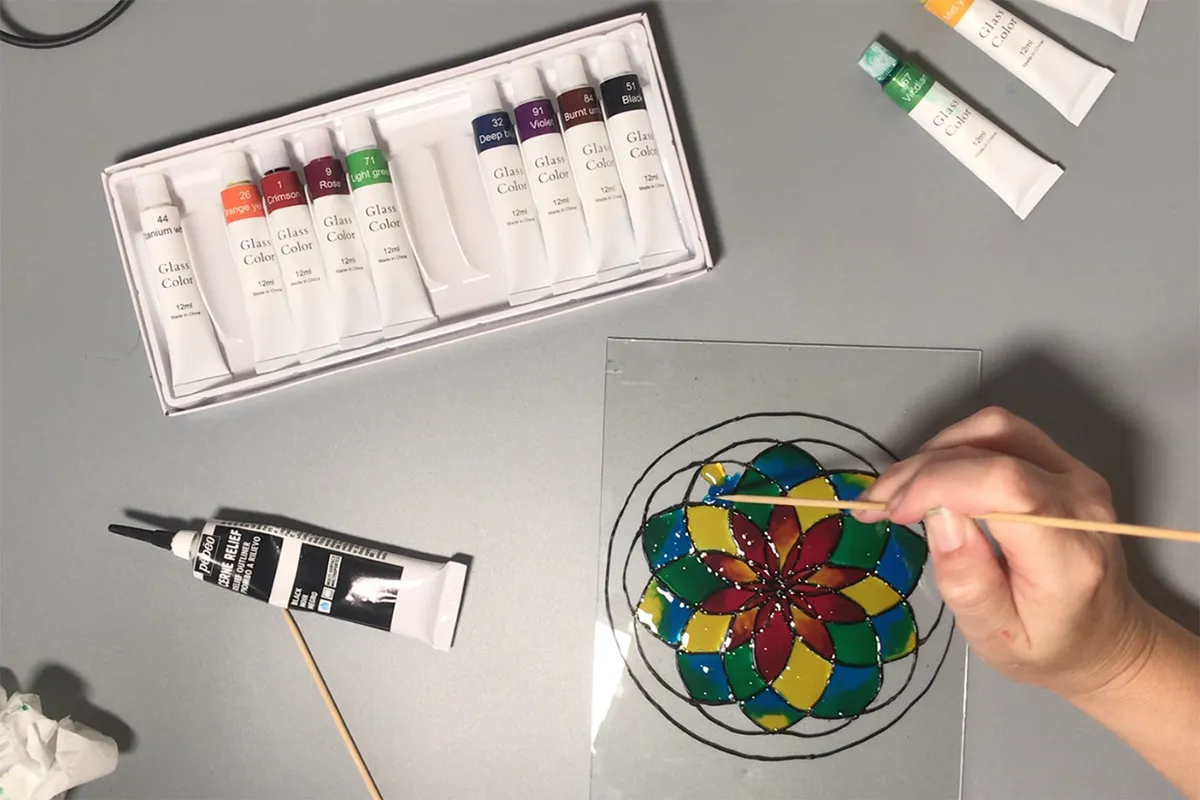
Step 7
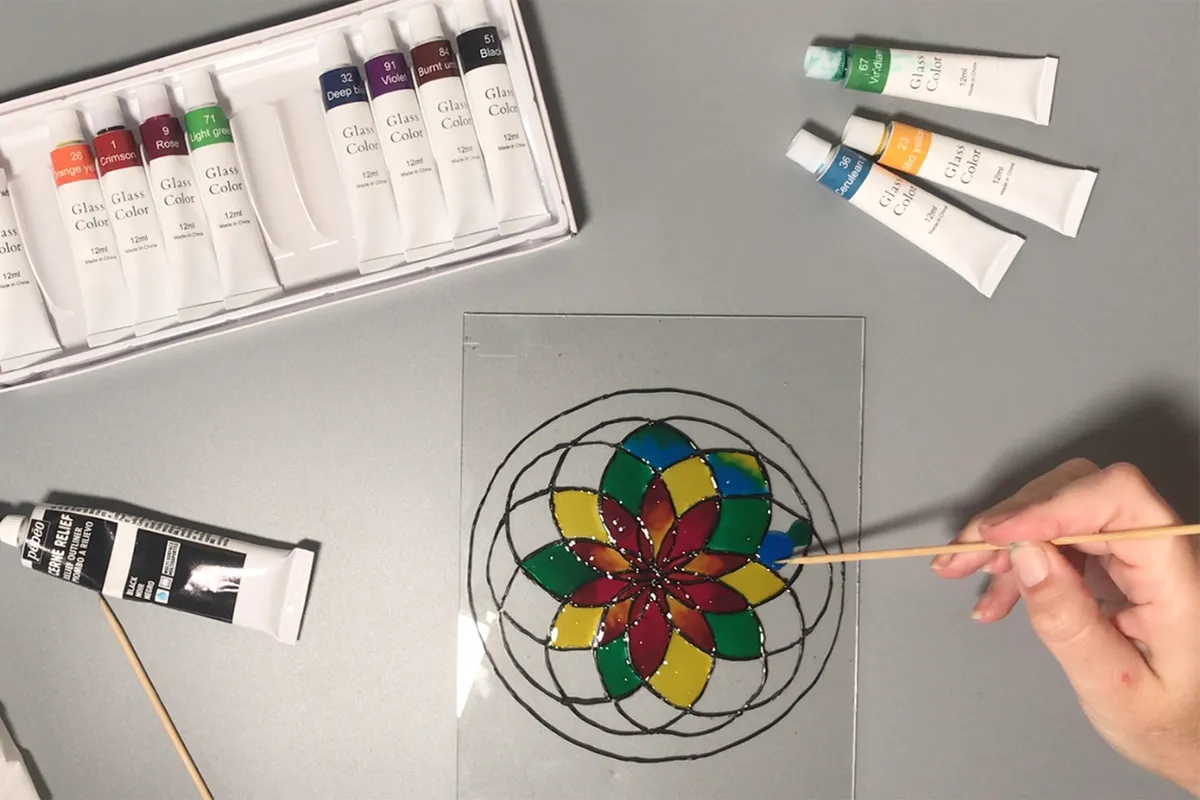
For the areas you have planned to be worked in blends of colour, put blobs of both colour side by side within your outline. Use your stick to pull the colours out towards the 'leading', and, where they overlap, swirl the edges together to give you a swirling change of colour with your faux stained glass element. If you introduce any air bubble while swirling, pop these with the point of your stick, or, if they won't pop, pull them on to the leading at the edge of colours so they cannot be seen.
Step 8
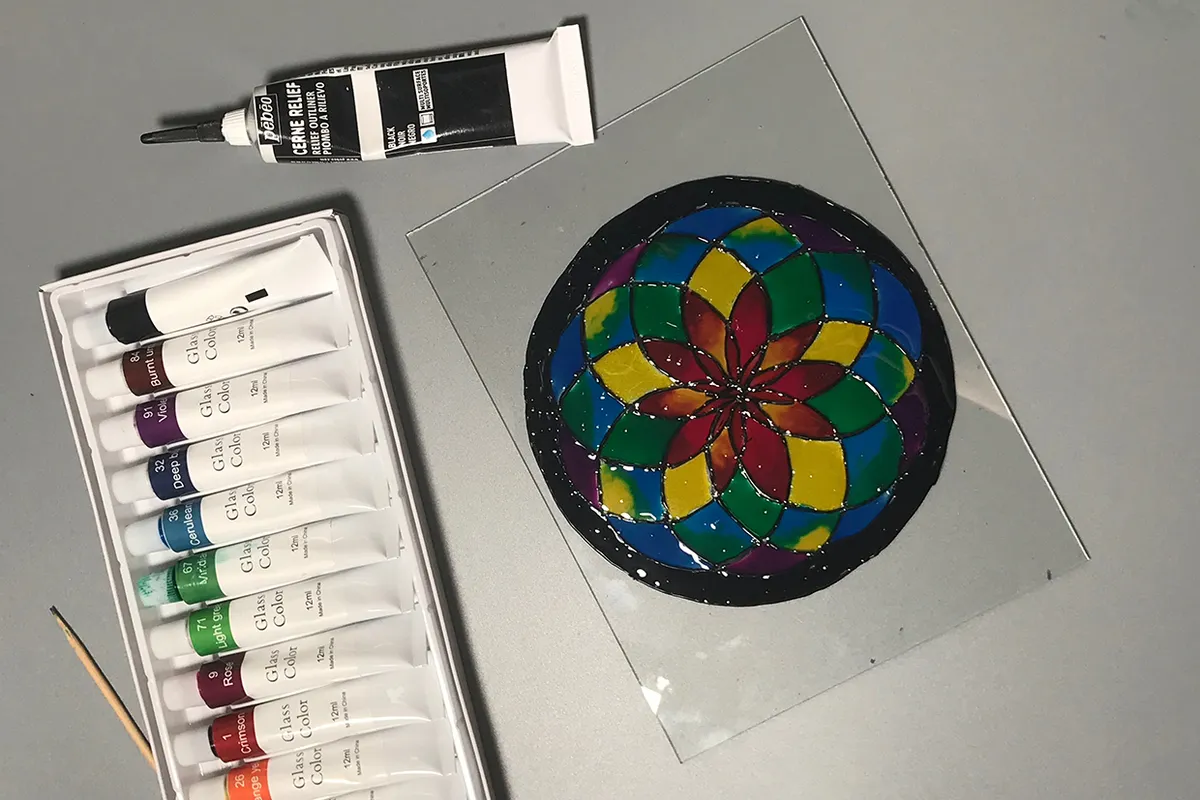
Once you've added in all your colours, leave your project flat for 24 hours to allow it to dry fully before you tip it up on to its side. The glass paint will be dry enough to move after 24 hours, when you can add another layer if you need to, or else place in a low oven at 80C for 2 hours. Alternatively, you can skip this oven setting step by leaving your panel to dry fully for 7 days instead.
More DIY stained glass projects
If we have whetted your appetite for faux stained glass with this project, why not try one of these other ideas for your DIY stained glass creations?
House of Crafts creative glass painting kit
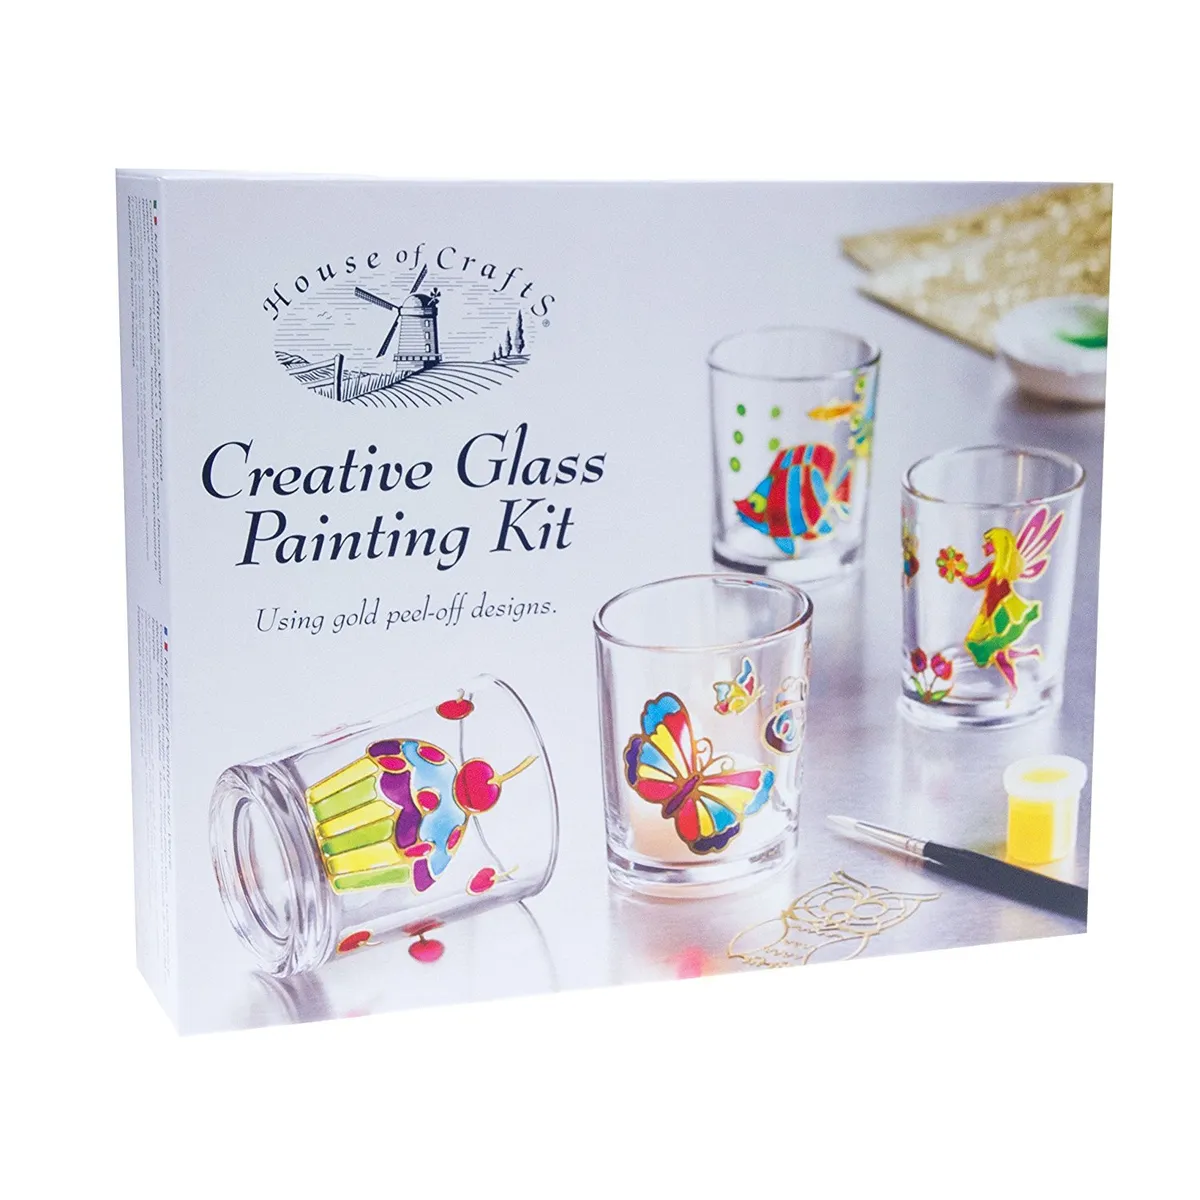
Here's a taster kit that will let you perfect your painting and swirling without having to worry about outlining your leading, as this kit with pre-cut outline stickers, which are great if you want to paint something curved like a glass.
Fused glass picture kit
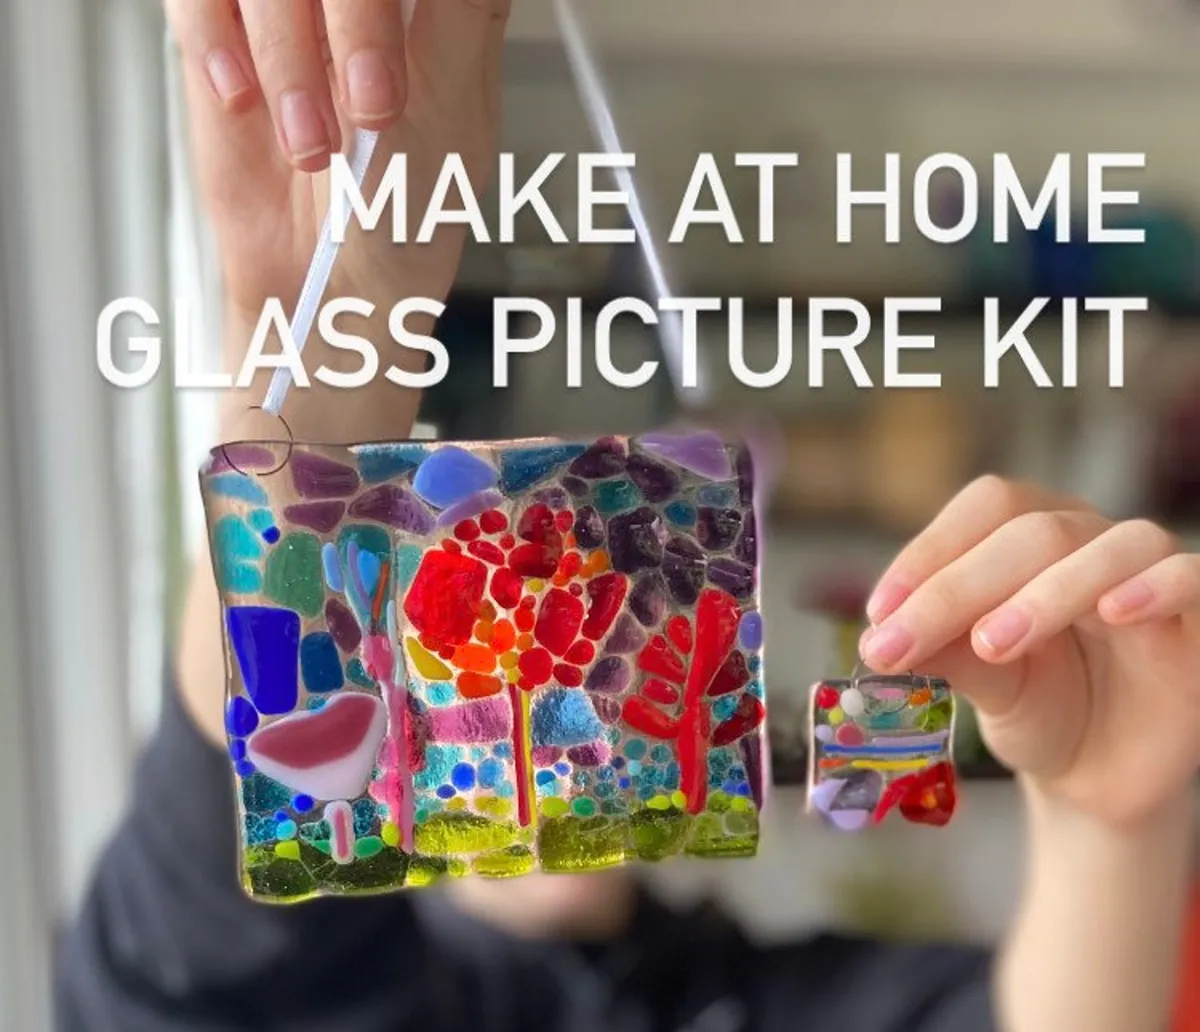
For a different look to your DIY stained glass projects, try a fused glass kit! You get a modern finish that is totally striking. We like this kit from the MoltenWonkeyGlass Etsy store.
Buy the DIY stained glass kit on Etsy (£30)
If you're in need of some supplies, check out our round-up of the best glass painting kits to buy this year. Some include brushes and storage boxes.
More to make on Gathered
If you've enjoyed our faux stained glass tutorial, check out some of the other creative ideas were have for you on Gathered! try our glue gun crafts ideas or our how to make beeswax wraps tutorial. Learn another skill with our resin crafts tutorial or take our craft hobbies quiz to find out which craft is right for you!