How to make foil cards

Create a luxe look by adding foil to your cards - we show you four different ways!

Try our magazines – get 6 issues from just £9.99!

Published: September 1, 2021 at 6:34 am

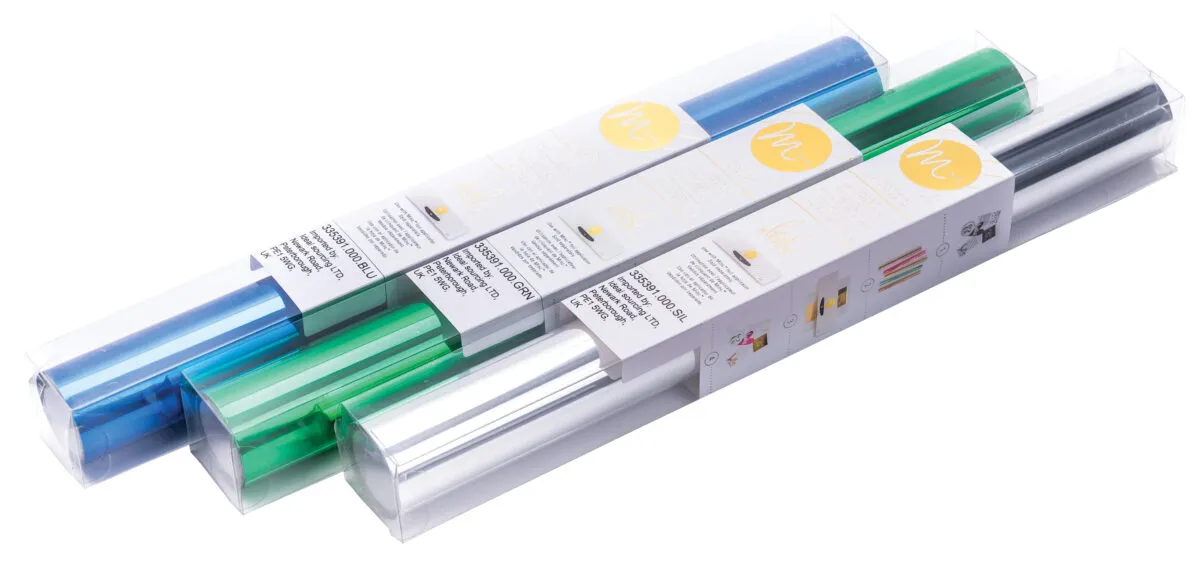
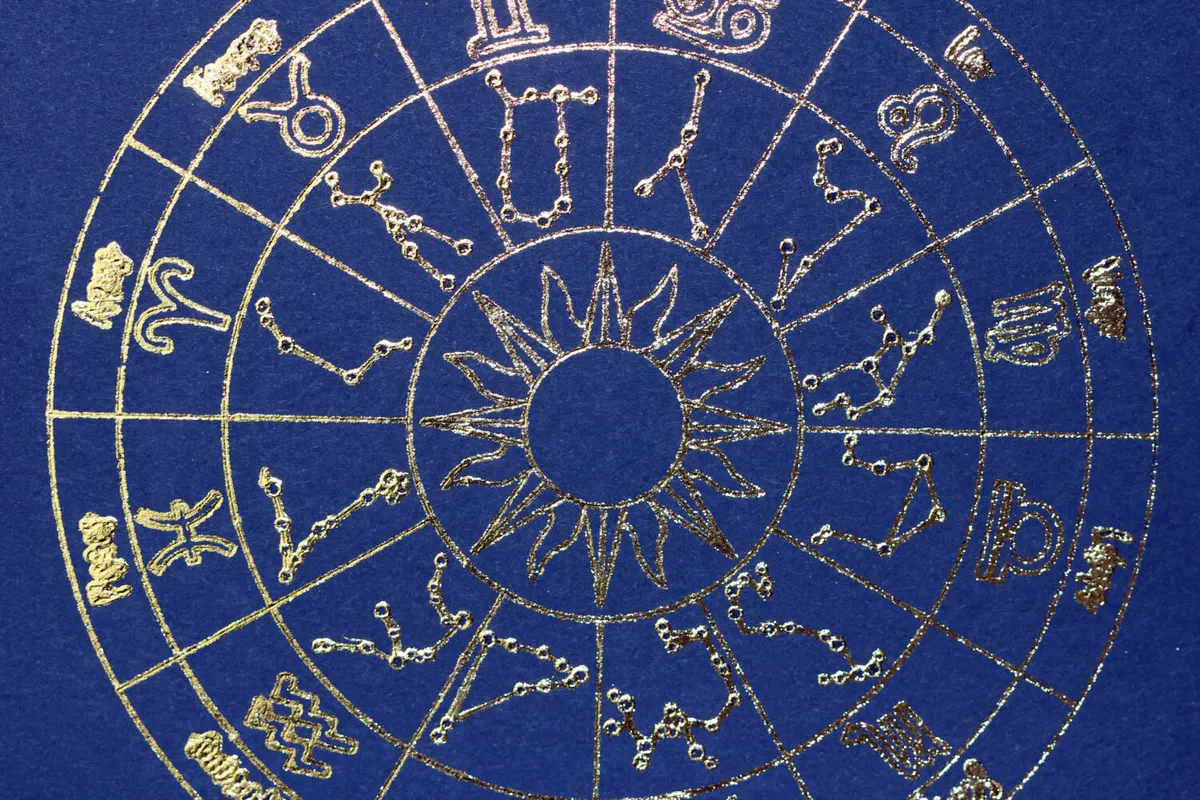
Foiling is a great way to add pops of metallic colour and shine to your craft projects. Although it is by no means a new concept, foiling is enjoying a welcome resurgence at the moment and is currently one of the hottest trends in the paper crafting world.

Transfer foils consist of three layers – a dull coating on the bottom, a middle colour and a top layer of clear plastic. To successfully foil, the bottom layers of the foil need to adhere to the surface you are foiling, so that when you peel the sheet away, the foil stays stuck to your project. You can use adhesive to transfer foil, or you can transfer foil to laser printed designs with heat using foiling machines, such as the Heidi Swapp Minc foiling applicator. Laser printers use toner rather than ink, which becomes sticky when heated, so if you lay the foil on top of a laser-printed design and run it through a foiling applicator, the heat from the machine will melt the toner and allow the foil to stick to it, leaving you with a beautifully foiled project!

In this article, we outline four different ways to add foil to your cards, business cards and papercraft projects. You don't need expensive hot foiling machines to get started - just grab some double-sided tape (or glue) and add the foil on top. Scroll down to find out how to foil with double-sided tape, how to use a hot foiling machine, how to foil with your favourite dies and how to foil with the ScanNCut!

If you like this project, why not have a look at some of our other ScanNCut projects? Download your free bullet journal printables, we’ve also got how to make stencils, this realistic paper rose, a gorgeous daffodil wreath, an easy paper lantern or these flowers in a jam jar!

If you’re in a crafty mood, why not check out the best glue gun and best die-cutting machine. Wondering what the best printer is for hot foiling? Check out our review of the best printer for card making.

We love seeing what you make, so don’t forget to share your craft projects with us on Instagram, Facebook, or Twitter, too!

How to make foil cards with the ScanNCut

The Foil Transfer Starter kit works with all models of the ScanNCut, and it comes with a library of exclusive designs for you to foil.

Watch our video tutorial!

You will need

  • Brother ScanNCut
  • Brother adhesive mat (standard tack or low tack)
  • Brother Foil Transfer Starter Kit
  • A design to foil
  • Card or paper you want to foil

Step 1

How to make foil cards – step 1

First, choose a single line design you would like to foil. You can choose one from the Foil Starter Kit, or from the machine library itself (look for single line designs) If you like the design we’re using, download the SVG files here:

SVG Files: How to foil cards – SVG zodiac template

PDF files: How to make foil cards – PDF zodiac template

Step 2

How to make foil cards – step 2

Next, decide what type of material you are going to foil and stick onto your Brother adhesive mat – I’ve opted for a smooth finish piece of navy card. Burnish it down well, using a brayer of you have one.

Step 3

How to make foil cards – step 3

From the touch screen menu on the ScanNCut, select the Foil1 option. The machine will ask you how much glue is in your glue pen – so look at the scale on the pen, and adjust the machine to match.

You don’t need a ScanNCut to use the Brother foiling kit, so if you are using this kit freehand without a ScanNCut – then simply draw out your design (or print out the PDF zodiac template), then use the glue pen to trace over the lines. Wait 20 minutes until the glue is dry, then lay the foil on top using your hands. Press down well, use the brayer if you have one – and peel off the foil to reveal your design!

Step 4

How to make foil cards – step 4

Once you’ve told the machine how much glue is in your pen, select OK, remove the cap from the glue pen and load the glue pen into the Glue Pen Holder that came with the kit. Make sure the glue pen is secured properly – you’ll hear a click when it is in place. Go ahead and remove the cutting blade from your ScanNCut machine, and replace it with the glue pen holder.

Press start to start the machine – it will draw out your design.

Once the machine has finished, instructions will appear on the ScanNCut screen. Follow the instructions and unload the mat.

Step 5

How to make foil cards – step 5

We need to wait 20 minutes for the glue to dry, so while we’re waiting, remove the glue pen from the machine (be sure to put the lid back on the glue pen).

Take one of the foil pressing tools from the Foiling Starter Kit, and push it into the bottom of the Glue Pen Holder.

Re-load the Glue Pen Holder into the machine.

Step 6

How to make foil cards – step 6b

After 20 minutes the glue should be dry, so take your foil, and lay it shiny side up over your design. Trim it to size, and make sure none of the foil sticks to the adhesive mat – or you’ll end up with a foiled mat.

Step 7

How to make foil cards – step 7

Next, add the clear blue protective sheet (part of the kit) on top of the foil. Tape the protective sheet down onto your adhesive mat – but don’t put any tape over the edge of the black markers around the edge of the adhesive mat as the machine needs to be able to read them.

Step 8

How to make foil cards – step 8b

Load the mat back into the machine, press OK, the SELECT, then choose Foil2, OK and START.

The machine will burnish the foil down onto the glue.

Step 9

How to make foil cards – step 9a

Unload the mat from the machine, remove the blue protective sheet and peel the foil back from the card to reveal your design!

How to make foil cards – step 9b

Step 10

How to make foil cards – step 10

Build up your card by matting and layering, then add any finishing touches you wish to complete your foiled masterpiece! I’ve added a loop of contrasting ribbon in the bottom right-hand corner as a finishing touch.

How to make foil cards with the ScanNCut a


How to make foil cards with a hot foiling machine

First print your design using a laser printer, before cutting foil to cover your design. Place white A4 paper on the top so that no foil is visible. Pre-heat your foil applicator machine and pass the design through the machine, before removing the paper cover and foil to reveal your foiled design! Looking for the best printer for hot foiling? Check out our round-up of the best printer for card making.

You will need

  • Hot foiling machine – we’re using the Minc Foiling Machine
  • Minc Foil, gold
  • Card
  • Laser printer
  • Embellishments

Minc Machine – hot foiling machine

Use a hot foiling machine with designs printed from a laser printer to add stylish metallic elements to your cards.

Here’s a top tip: If you don’t have a laser printer, simply print your designs at home and then use a photocopier to make copies – they use the same toner as laser printers.

How to use a hot foiling machine

Step 1

How to use a hot foiling machine – step 1

Use a laser printer to print a spotty pattern onto a piece of card, and a few stars. Trim the printed card to 105 x 122mm. Reserve excess card for making the tag.

Step 2

How to use a hot foiling machine – step 2

Turn on Minc machine and set to heat setting 4. Insert printed cards into carrier sheet, designs facing up. Cut pieces of gold foil approximately 5-10mm bigger than corresponding card pieces and lay them colour side up on top of the card.

Step 3

How to use a hot foiling machine

Close carrier sheet and smooth out any wrinkles in the foil. Insert into the Minc machine. Allow rollers to grab carrier sheet and pull all the way through. Then open it and peel off the foil sheet to reveal the foiled design.

Step 4

How to use a hot foiling machine – step 4

Attach the pink foiled panel to a 105 x 145mm white base card. Add strips of washi tape to the top and bottom. Add gold crochet thread as shown to hide the joins.

Step 5

How to use a hot foiling machine – step 5

Cut a 76mm circle from some white card and attach it to the base. Cut out a large foiled star and attach it to the circle using sticky fixers. Cut the word ‘birthday’ from some black card (we’re using a die) and attach. Add printed ‘wishes’ sentiment to finish.

Step 6

How to use a hot foiling machine – step 6

To make the tag, add washi tape to the edges of a 70 x 105mm piece of white card. Trim foiled card to 58 x 105mm and attach. Trim to a pennant. Add white circle, foiled star, die-cut greeting and sentiment. Punch a hole and tie it with gold thread to finish the tag. 

Foiled tag using hot foiling machine


How to make foil cards with double-sided tape

This is the easiest way to make foil cards. It’s quick and super easy to do and gives you perfect foiled lines. This method is ideal for adding borders of creating geometric designs.

You will need

  • Double-sided tape
  • Card to foil onto
  • Foil

How to make foil cards using double sided tape

Step 1

First, draw out the design that you would like to foil. Use straight lines for best results – it doesn’t matter if you use a pen or a pencil as we’ll be covering these lines up.

Step 2

Cover your lines with double-sided tape.

Step 3

Peel off the backing of the double-sided tape and lay your foil over the top, colour side upwards. You can also dust on foiling flakes if you prefer. Make sure you cover up all of the tape with foil.

Step 4

Peel off the excess foil and admire your work! This method is brilliant for adding borders to cards, tags or journaling.


How to make foil cards with dies

Turn your favourite dies into foiled masterpieces by cutting them from double-sided sticky sheets! Word dies work really well for this technique – we love these friendship cutting dies from Amazon.

You will need

  • Double-sided sticky sheets
  • Card to foil onto
  • Foil
  • Dies
  • Die-cutting machine

How to make foil cards using dies

Step 1

First, choose a die that you would like to turn into a foiled image.

Step 2

Get a double-sided sticky sheet, and cut it to size – it only needs to be as big as the die you’re cutting.

Step 3

Make a sandwich as per the instructions for your specific die cutting machine and run the sandwich through your die-cutting machine.

Step 4

Peel off one side of your die-cut shape, and stick it into position on your card or tag.

Step 5

Lay a piece of foil over the top (colour side up) of your design, and press down well, making sure it sticks well to your die-cut shape. If you want to achieve a mottled or antique effect, use foiling flakes instead of foil sheets.

Step 6

Peel off the excess foil and admire your work! If you’re using foiling flakes, grab a brush and dust off the loose flakes before putting them back in the tub (no point wasting them!).

How to make foil cards with dies – Hello detail


We hope you’ve enjoyed reading up on how to foil cards. If you’re after more papercraft inspiration – check out these fab bullet journaling spreads (with free printables) or the best washi tape crafts!