Make a crop top with our free sewing pattern
Get ready to discover your new go-to pair of sewing patterns. Learn how to make a crop top to give instant style impact to high-waisted jeans and skirts (above) with our free crop top pattern and step-by-step guide.
In this free sewing pattern, we'll show you how to make a boxy top with our free crop top pattern from Simply Sewing magazine. This modern make is one of our most popular patterns here on Gathered – it can be easily lengthened if cropped styles aren't your thing.
It's perfect for summer days out on the beach, or layered over jeans and a simple tee for a quick outfit update. For more summer sewing patterns, head to our roundup of the best summer sewing patterns.
If you're new to sewing, check out our how to use a sewing machine guide, beginner's guide to sewing and sewing patterns for beginners.

Free crop top pattern
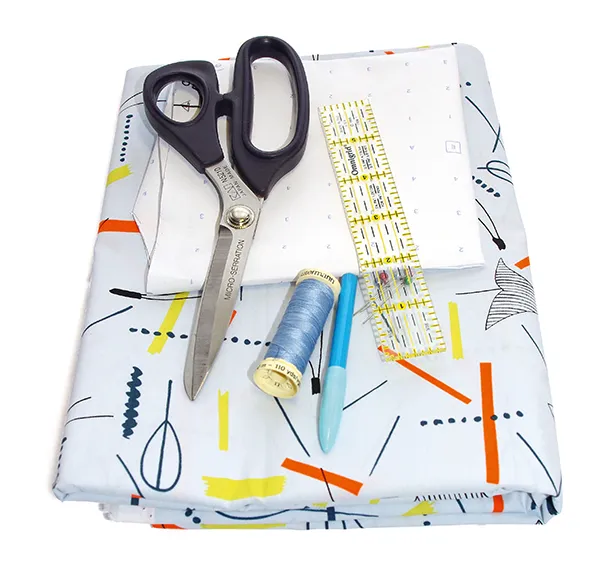
You will need
- Crop top sewing pattern – from Simply Sewing issue 3 – you'll need to download our Two Piece Top sewing pattern and this pattern layout diagram
- Fabric, 1 metre (based on fabric 150cm (60in) wide, for sizes UK 8-10)
- Matching thread
- Basic sewing kit
- Sewing machine
- Fabric marker
- Scissors (Fabric scissors or rotary cutter)
- Iron (For pressing)
Notes
- Use a 1.5cm (5⁄8in) seam allowance throughout unless otherwise stated.
- The pattern is for UK sizes 8-10, but can be easily altered to fit other dress sizes. Add extra width at the dashed line on the pattern piece, approx 5-10cm per sizing bracket.
- Check the size of the new pattern against your body measurements to ensure it will fit comfortably.
How to make a crop top
Step 1
Download our Two Piece Top sewing pattern and pattern layout diagram from Simply Sewing issue 3. Trace the two-piece top pattern piece twice to create two pattern pieces: the top front and top back.
Step 2
Fold your fabric in half right sides (RS) together. Place both pattern pieces on the fold, pin in place and cut out.

Step 3
Place the top front and back RS together. Pin then stitch together along the shoulder seams from the neckline to the sleeve hem, and along the side seams from the sleeve hem to the hemline. Press the seams open and finish with a machine zigzag stitch or overlocker.

Step 4
To create the turn-up sleeve, first turn under the raw edge of the cuff by 1cm (3/8in) to the wrong side (WS), then again by 4cm (1.5in). Press, pin and then sew in place, keeping as close to the fold as possible.
Step 5
Fold the turn-up to the RS of the top and stitch in place at the side seams by hand using invisible stitches to hold the turn-up in place.

Step 6
Turn raw edge of the hem under to the WS by 1cm (3⁄8in), then turn under by 1cm (3⁄8in) again. Pin then sew into place to hem the top. Press.
Step 7
Carefully clip the neckline curve, cutting approximately 1cm each time. This will reduce bulk and help the neckline to lie flat.

Step 8
Turn the raw edge of the neckline to the WS by 1cm (3⁄8in), then turn under by 1cm (3⁄8in) again. Press and pin in place. Stitch around the neckline neatly using matching thread. Alternatively, use bias binding as a facing to finish the neckline.

Love your new summer top
Your crop top is now ready to wear! Share our crop top pattern sheet with your friends and whip up a new summer wardrobe.
Make a matching hair accessory
Why not complete the look with some matching hair accessories? Learn how to make a scrunchie with our easy tutorial.