Raglan sleeves are a fashion staple – even if you don't know what they are, you've probably worn a garment made using this technique. Raglan sleeves are often used in garments such as sweatshirts and hoodies.
So what is a raglan sleeve? The raglan sleeves we see in garment designs today have an interesting origin story! The term ‘raglan sleeve’ was first coined after the battle of Waterloo and is named after Lord Raglan, the 1st Baron Raglan, who began wearing a coat featuring this style of sleeve after the loss of his arm in battle.
Designer brand Aquascutum created the cut as it allowed for extended movement in his remaining arm, meaning he could still use his sword in battle. As a result, raglan sleeves became very fashionable.
In this guide, we're going to look at how to use raglan sleeves in your sewing projects – with expert tips to help you get started. This is such a useful skill to have when you're making your own clothes – it may look tricky, but it's worth learning, we promise!
If you're new to sewing, we'd recommend taking a look at our sewing guides for beginners before you get started. Check out our sewing for beginners and how to use a sewing machine guides, or stock up on supplies with our sewing kits for beginners and best sewing machines for beginners guides.
This guide was first published in Simply Sewing Magazine. Simply Sewing is a practical magazine for anyone who sews or wants to learn – it's packed with advice and beautiful patterns to sew.
Are you a fan of creative TV shows? Check out our guides to The Great British Sewing Bee, The Great Pottery Throw Down and Interior Design Masters.
10 tips for sewing raglan sleeves
At first it might feel like fitting a raglan sleeve is going to be tricky – but with a brief understanding of garment construction, all becomes clear. Make it easy with our top tips and tricks for sewing a raglan sleeve pattern.
1. What is a raglan sleeve?
'Raglan' is the name given to the style of sleeve that reaches all the way up to the neckline of the garment, incorporating the shoulder into the top of the sleeve. It’s a comfortable design that allows for a much greater range of movement, making it ideal for sports clothing – such as the classic baseball T-shirt, which is perhaps one of its most iconic uses.
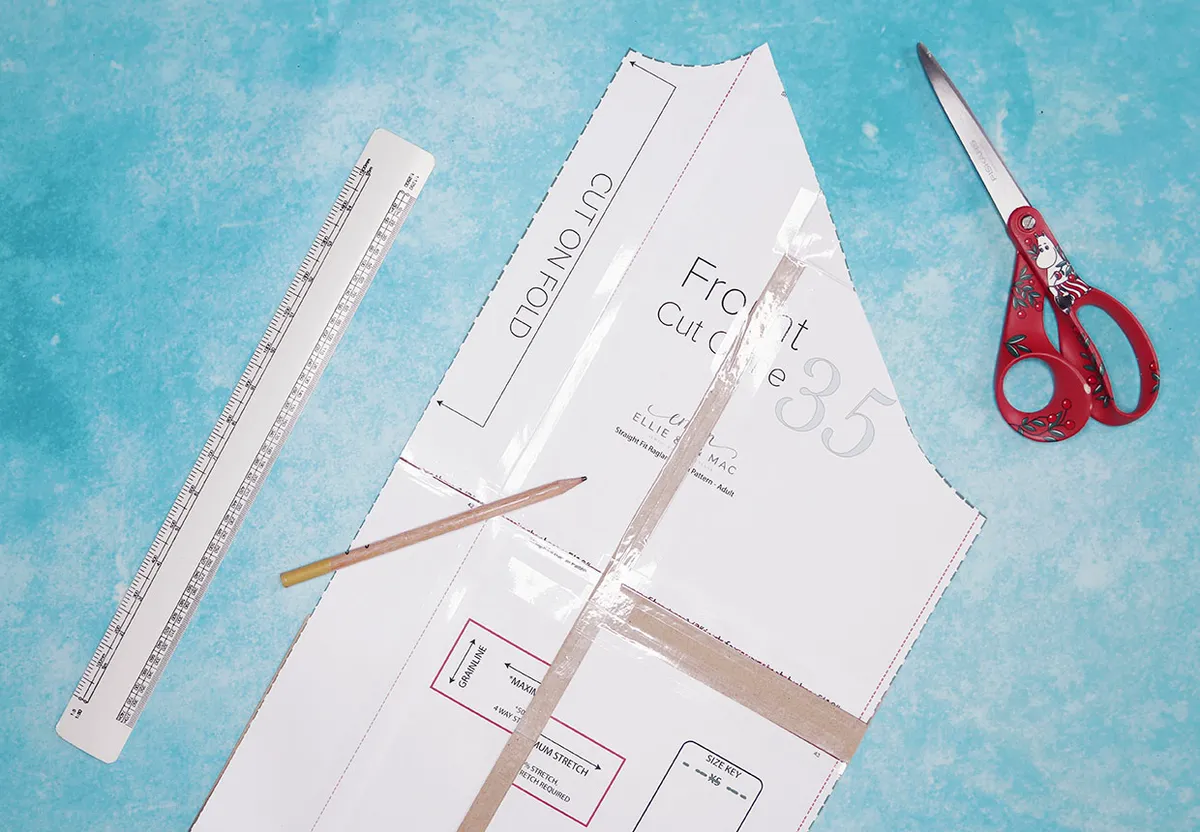
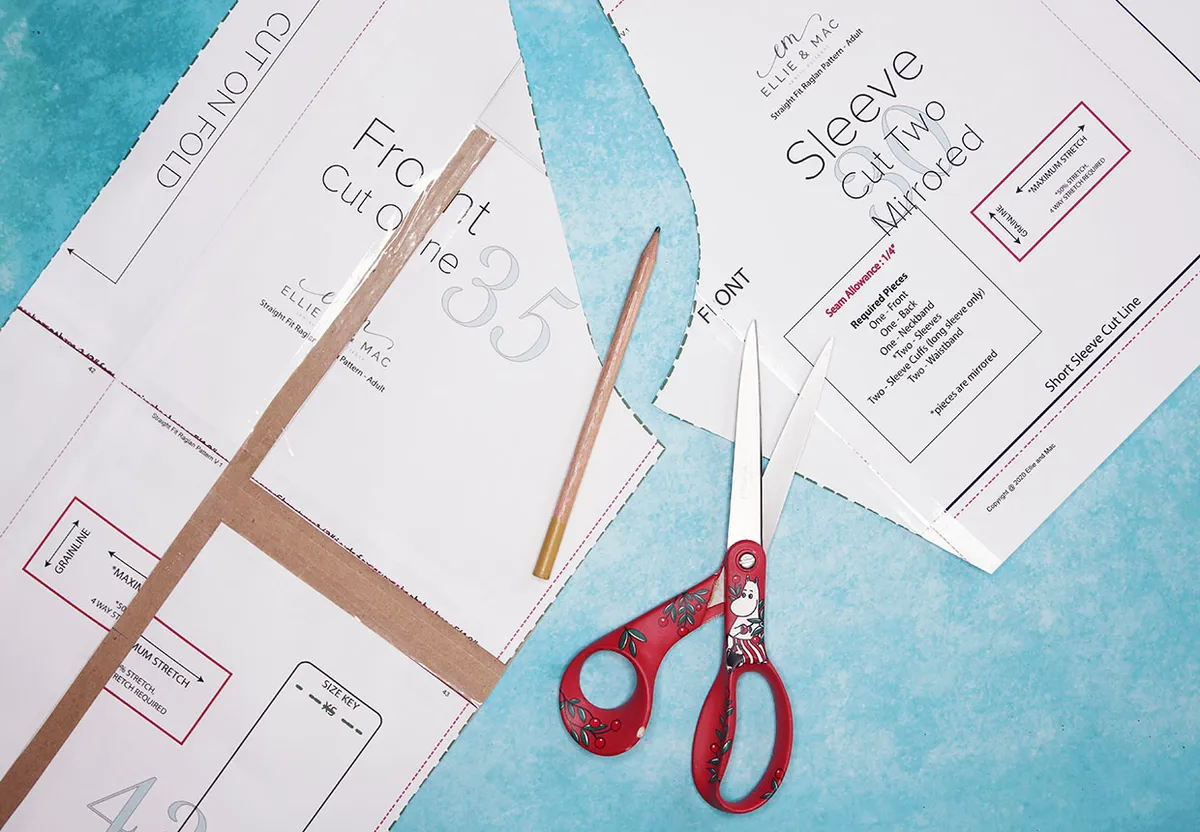
2. How to draft a raglan sleeve
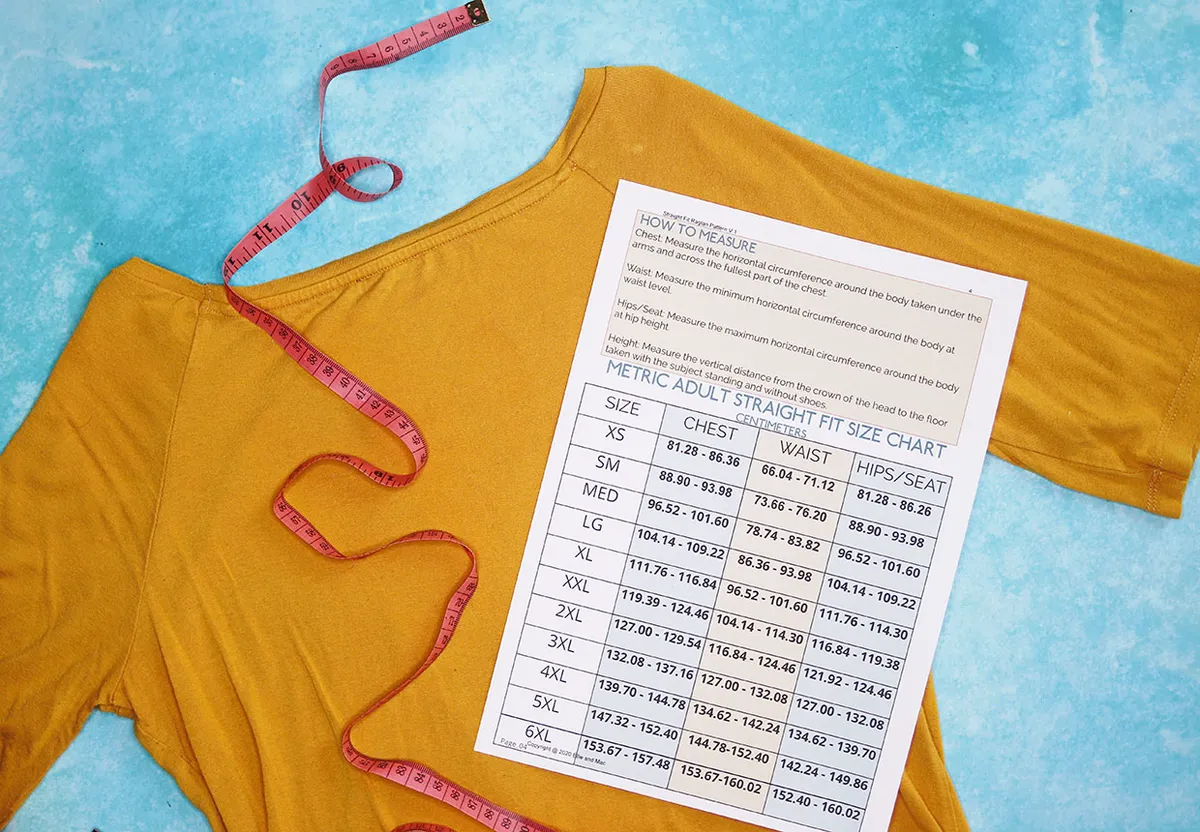
Because a raglan joins together the neckline, back, shoulders and front of a garment, it’s essential that you take accurate measurements before you draft this sort of sleeve. You may need to make several pattern adjustments in the early stages, but the comfortable fit you achieve will be worth the extra hassle. Broadly speaking, raglans can actually be easier to draft and sew than an inset sleeve overall because the curves on both sides of the sleeve and torso seam match up.
3. Pick your fabric
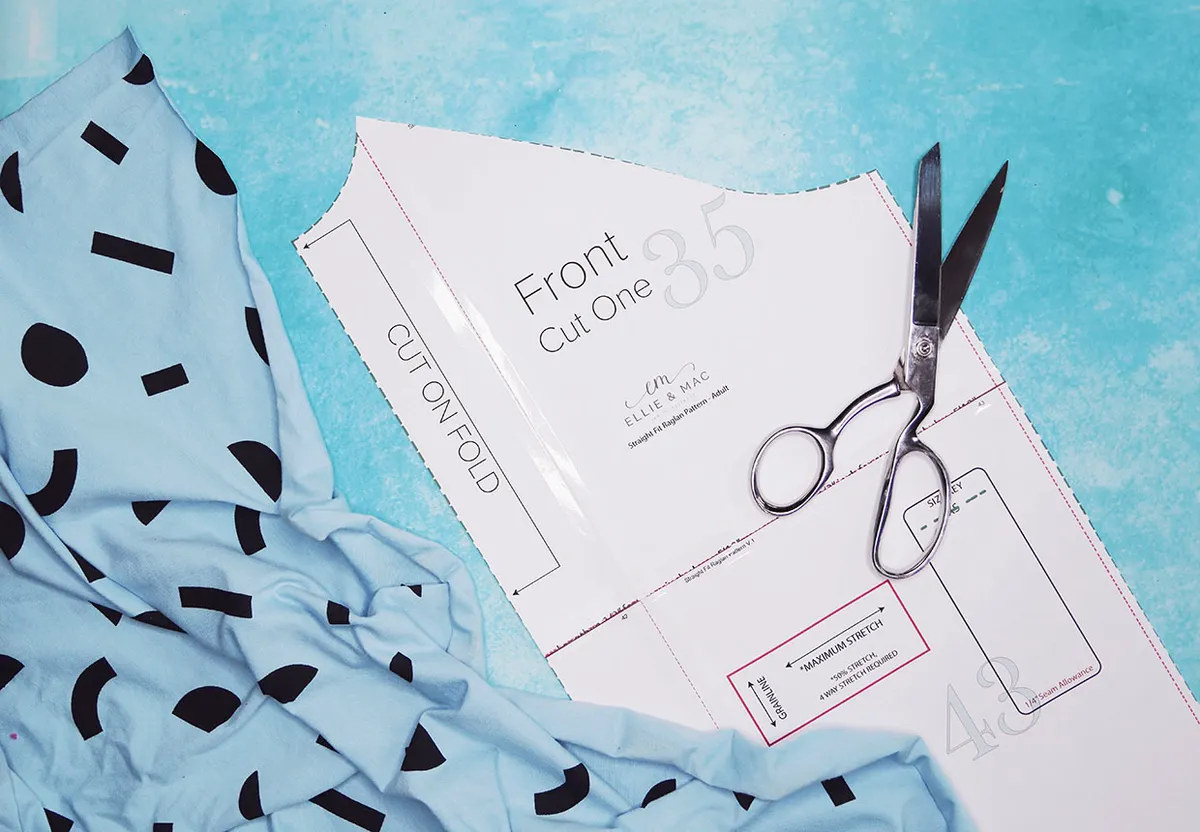
Before you begin, consider how you’d like your finished garment to look and feel. Different fabrics carry very different qualities and weights and it can make or break your project. Typically, raglan shirts are made from stretchy fabrics such as jersey and loop-back sweatshirt material, owing to their casual nature. In actuality, raglans look great in both stretch and woven fabrics. Gather swatches and sketch out your designs before you begin to make sure you’ve chosen the right one for you.

4. Mix and match
When choosing a colour palette for your garment, why not opt for contrasting sleeves? Many raglan shirts feature this classic design element and the symmetrical nature of the garment lends itself well to the idea. Try to use two different colourways of the same fabric to ensure a good match.

5. Make a toile
When you're trying out a new pattern, it's always wise to make a toile from spare fabric before you cut into your precious stash – and this is especially true when learning a fresh technique, such as fitting a raglan sleeve. Use a fabric with the same qualities as the one you plan on making your finished garment from to mimic the way it will behave. For example, if you're planning on using jersey, make your toile from a knit. If you’re using a thick cotton, go with a woven fabric instead. It’s worth it, we promise!
6. Check for problems
With your basic toile made, how will you know if your garment fits and sits correctly on your body? The classic signs of an ill-fitting raglan are as follows: shoulders that pull, bunch or hang too low; a gaping neckline; a tight (or baggy) bust; and biceps that feel too tight, or too loose. All of these problems can be sorted with just a few tweaks, as detailed in the following steps. You might also decide that you want to make general garment adjustments such as lengthening or shortening the hem and taking the side seams in or out for your preferred fit.
7. Bust adjustments
With patterns typically being designed to fit a B–C cup bustline, there are many stitchers out there who may need to perform a full bust adjustment (FBA) to achieve a perfect fit. Equally, others may need to perform a small bust adjustment (SBA) instead. Traditionally, both the SBA and FBA are achieved by adjusting darts around the bustline, but the method for a raglan sleeve top is slightly different.
Raglans offer a more casual fit than set-in sleeves and the garments they’re used on are often made from knit fabrics such as jersey, so darts often aren’t used. Instead, you’ll need to draw your own lines across the pattern to denote the areas that need adjusting and open them up instead. Typically you’ll need to mark out the bust point, the armscye notch, the side seam, and a vertical line reaching down to the hem – though this may vary by pattern. Many pattern makers actually give instructions on their websites for working FBAs and SBAs on their designs, so make sure to take a look when you’re researching your latest project.
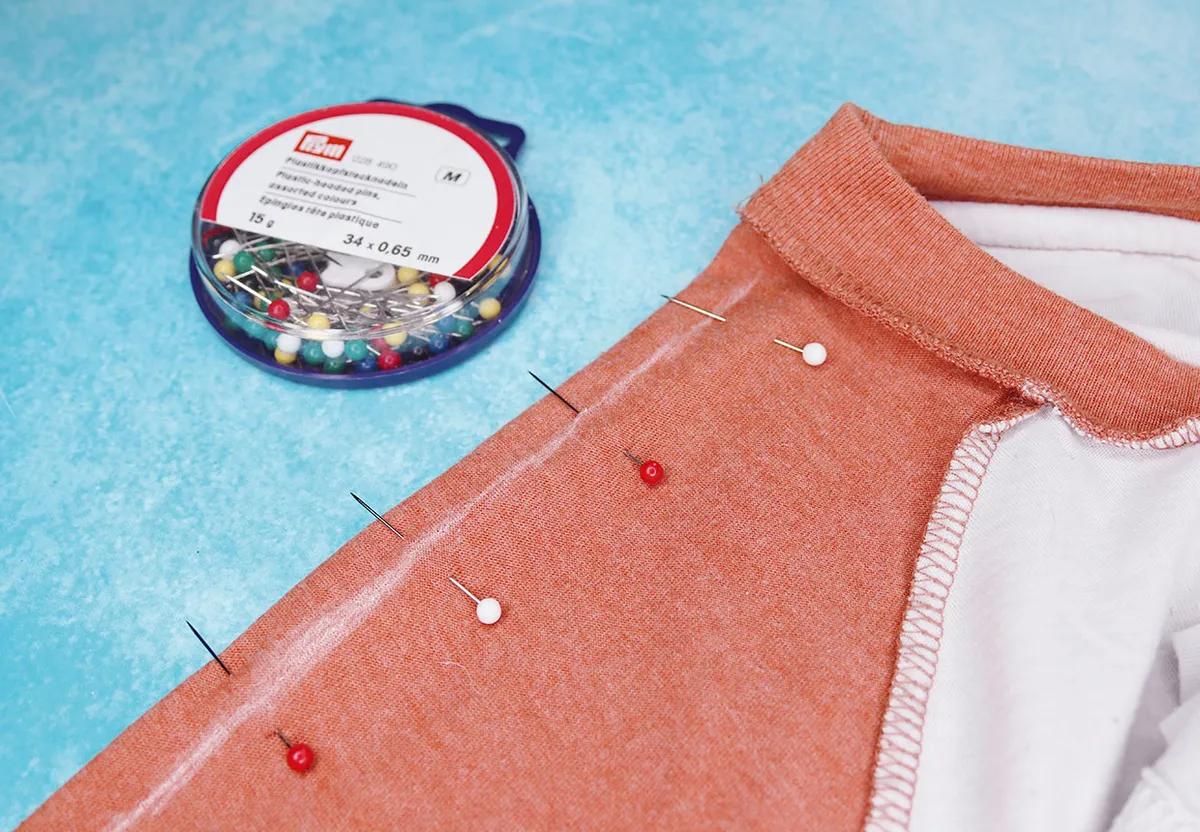
8. Match the seams
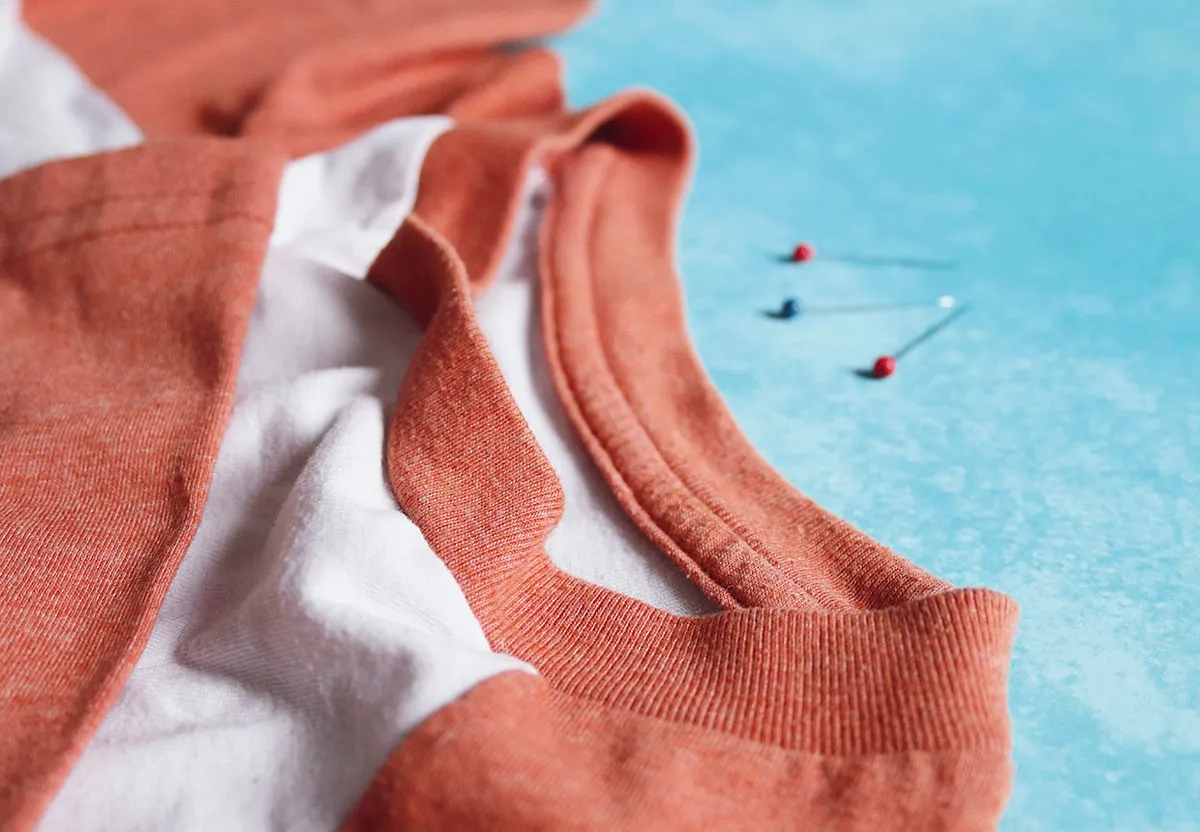
If you’ve made an FBA or SBA and have adjusted the shoulder seam on your bodice pieces, make sure that you adjust the shoulder seam at the head of the sleeves to match. Without this step your sleeve won’t ease into place any more and the entire fit of the garment will be off – if it goes together at all. Be sure to add the relevant amount of seam allowance to any adjusted pieces too; it may be worth re-toiling the sleeve/shoulder section only, just to make sure the pieces line up and sit as they should.
9. Sharp shoulders
Some raglan patterns will feature one-piece sleeves, and others will be made from two. If you’re making a two-piece sleeve, you may find that you need to make a slight adjustment to the curve of the shoulder seam to get a good fit. To do this, simply re-pin the shoulder curve into the correct shape (or open and let out the seam, if more fabric is needed) then use this adjusted toile to redraw the shape of the shoulder seams on your paper pattern.
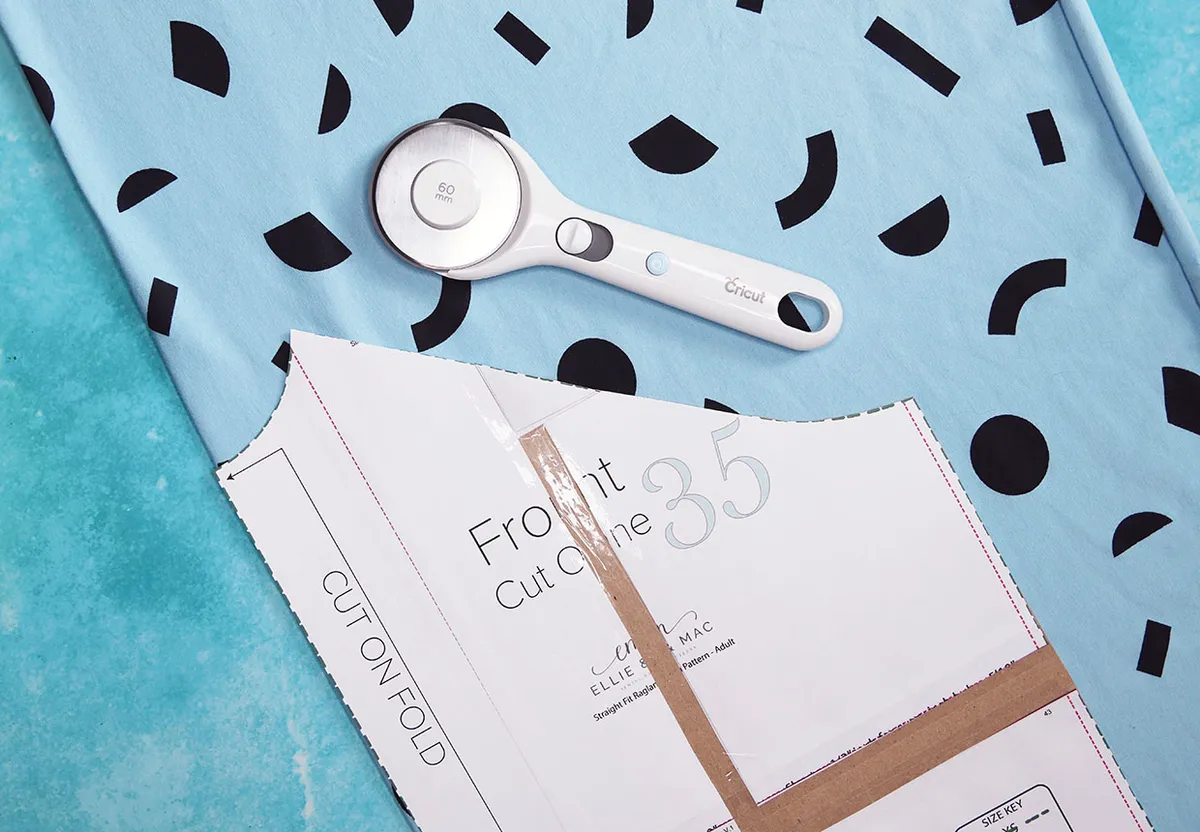
10. Accuracy matters
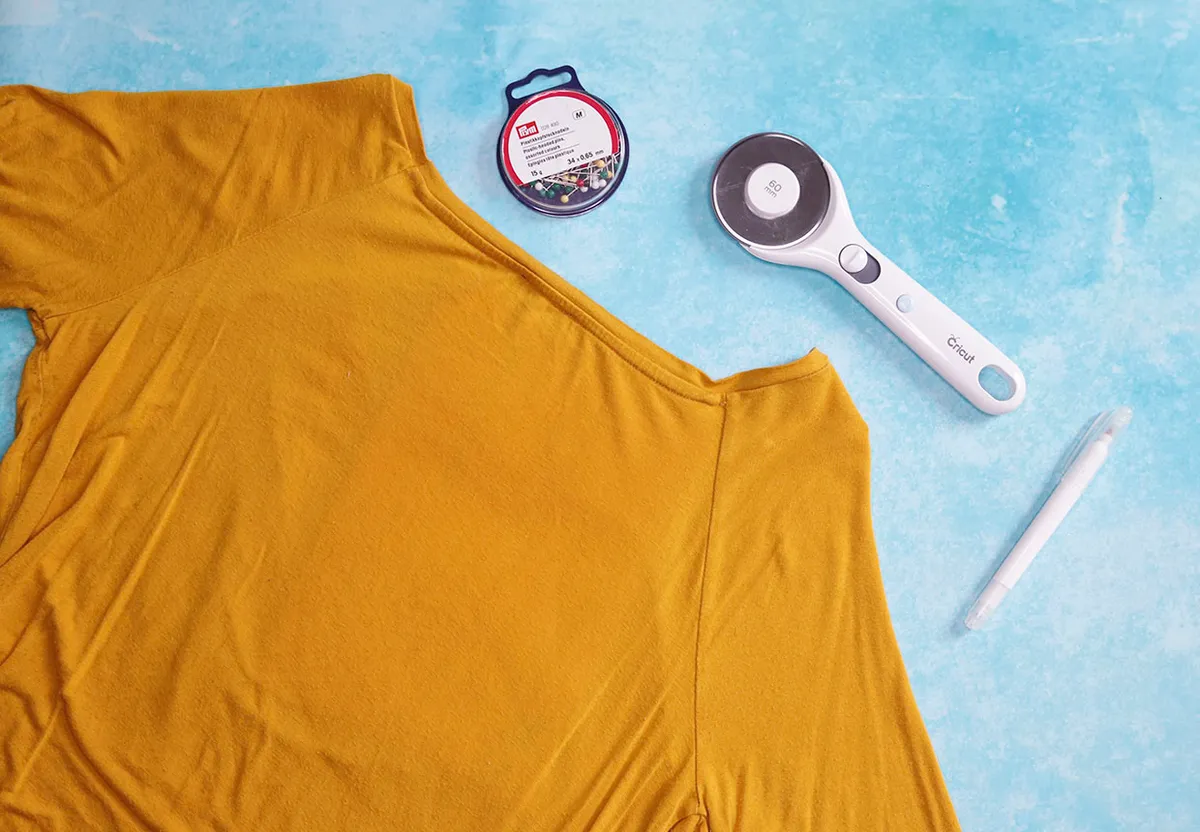
With the previous fitting advice in mind, it’s all the more important to make accurate cuts when creating raglan sleeves. You don’t want to go to all that trouble of fitting and adjusting your pattern only to get a bad result anyway because your cutting skills were slightly off. Get a high degree of accuracy every time by using pattern weights instead of pins, and a sharp rotary cutter instead of scissors.
We hope you found these tips useful! Looking for more sewing projects? Check out our sewing patterns for beginners, wrap skirt pattern and pleated skirt pattern.