Everything you need to know about acrylic painting
Acrylic painting is a hugely versatile medium to use in your art. It can be applied thickly to produce textured paintings or diluted to create thin washes of paint.
You can use your acrylic paints for everything from realistic portraits to abstract designs – the choice is yours!
Acrylic paints are popular with both beginners and experienced artists and it’s easy to see why. They come in rich colours, dry incredibly quickly and don’t have a strong odour (unlike oil paints!).
You’ll be able to produce impressive paintings in a relatively short space of time and your mastery of acrylic painting techniques will only improve the more you practise. In time, you’ll be amazed at what you can do with a simple set of acrylic paints.
In this guide, we’ll talk you through what to expect if you're using acrylic paint for the first time – the pros and cons to consider and what you need to get started. There’ll be acrylic painting tips for beginners as well as advice for more experienced artists.
We’ll also cover some frequently asked questions to make sure you get the most out of this satisfying painting medium. Read on for our full guide, or use these handy links to head to a specific part.
- What is acrylic paint?
- What is acrylic paint used for?
- How to use acrylic paint
- How to blend acrylic paints
- How long does acrylic paint take to dry?
- How to prepare a canvas for acrylic paint
- How to varnish an acrylic painting
- How to get acrylic paint out of clothes
- Acrylic painting pros and cons
- Essential equipment for acrylic painting
What is acrylic paint?
Acrylic paint is essentially pigment mixed into a binder, similar to other types of paint. With oil paint, those molecules of pigment are suspended in an oil-based solution; with acrylics, they're suspended in an acrylic polymer.
That’s as scientific as we’ll get: the important difference is that acrylic paints can be mixed with water, while oil paints need to be blended with turpentine and other oil-based liquids.
What is acrylic paint used for?
Acrylic paint is primarily used for creating works of art, but it can be used in other ways too. For example, you can use it to decorate furniture or to paint plant pots.
They can be applied to a variety of surfaces including wood, metal and fabric. Some types of acrylic paint can be even used for screen printing when mixed with a special printing medium.
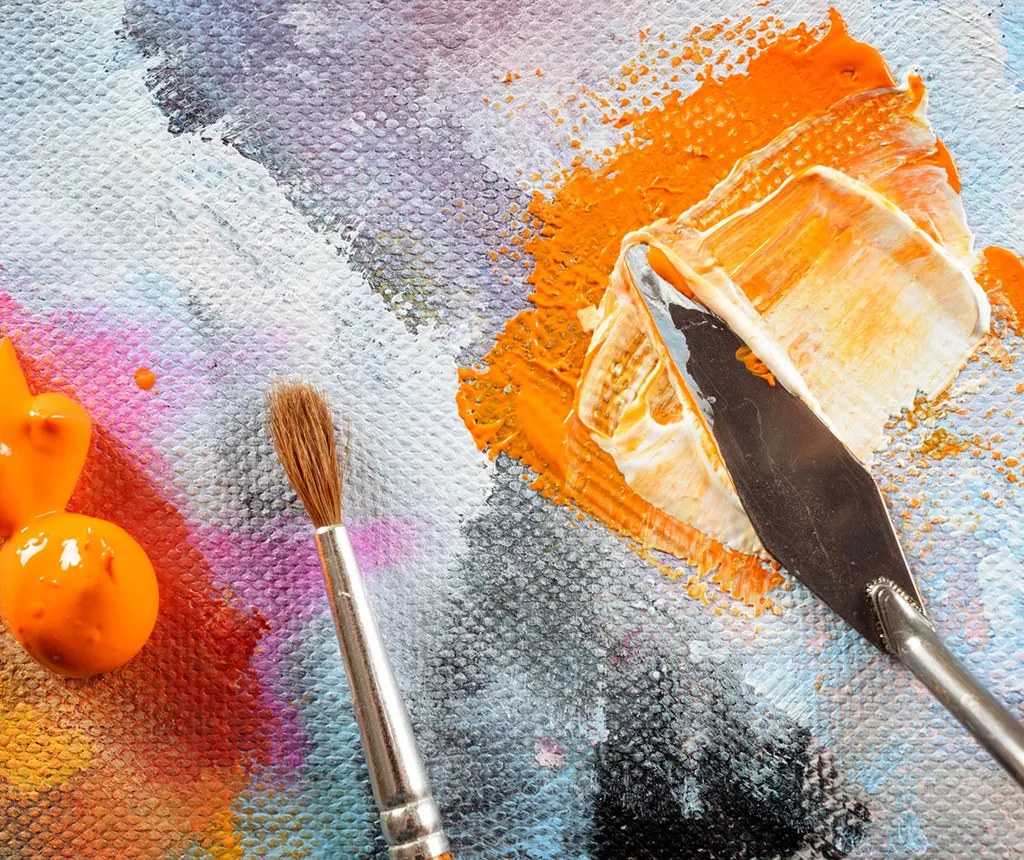
How to use acrylic paint
Acrylic paint is a remarkably versatile medium, and can be applied with any degree of thickness: you can dilute it to a wash with water, or use it straight out of the tube. (Like oils, acrylic works best 'fat-over-lean', which means each succeeding layer you apply should get thicker.)
As well as with brushes, you can apply it in thick dollops with a palette knife. Take a look at our palette knife painting guide to try it for yourself.
Indeed, if you want to work in thick, textured layers, acrylic is a particularly good choice, since the speedy drying time lets you build layer upon layer quickly. But if you want to paint images with smooth gradients of colours – a sunset painting, for example – you might find the fast-drying properties of acrylic prevent you from achieving the flawless transitions that you’re after.
With acrylics, you can bypass one of the problems that oil painters run into, which is overworking a surface covered in still-wet paint, until the colours become churned and muddy.
Acrylic tends to shine when it’s applied in discrete, broken strokes of colour (which is why we’d happily bet that the Impressionists would have used acrylics, had they been available back in the 19th century).
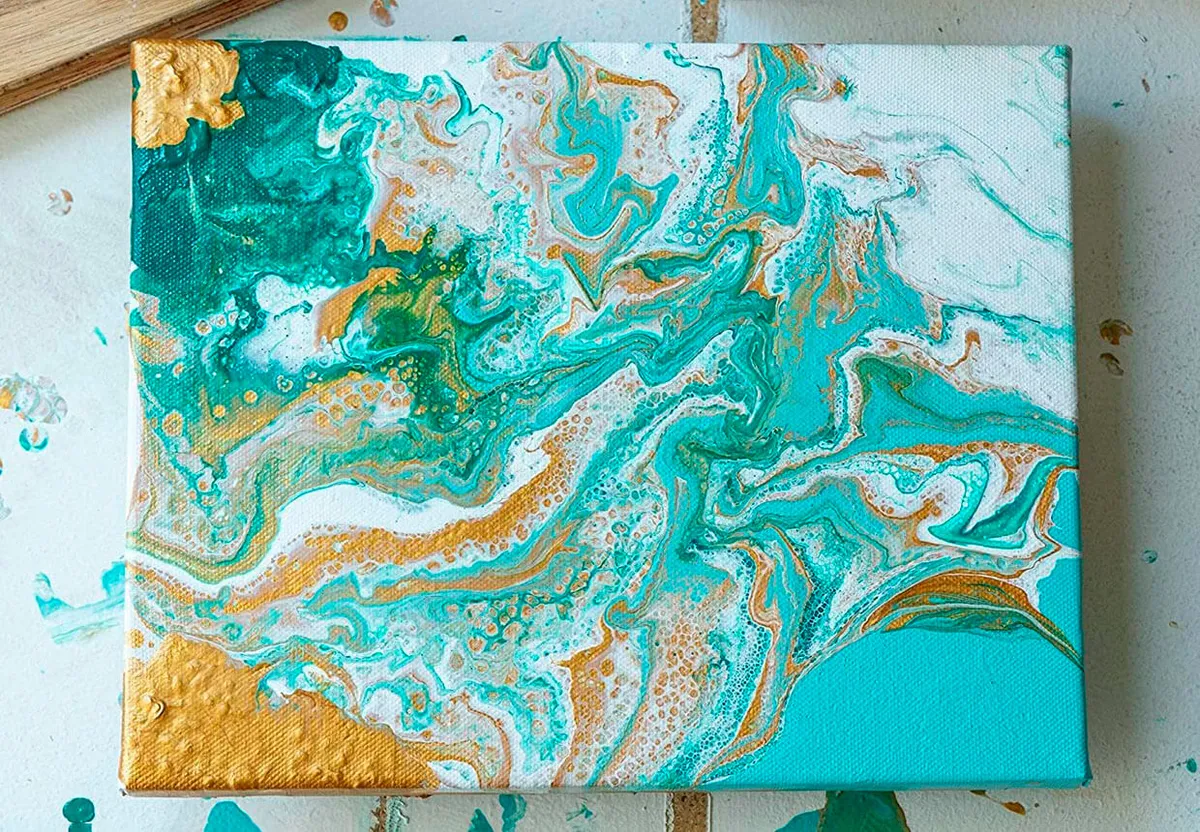
Acrylic paint pouring is proving an increasingly popular activity – and one that’s great to do with kids. This is where highly viscous acrylics are poured over a surface and left to dry in sumptuous, marbled patterns. This is great fun, and you can get eye-catching results fast - but you’ll need to invest in some pouring medium in order to make the paint behave the right way.
How to blend acrylic paints
Blending acrylic paints is a crucial skill for artists to master and it can take some time to perfect.
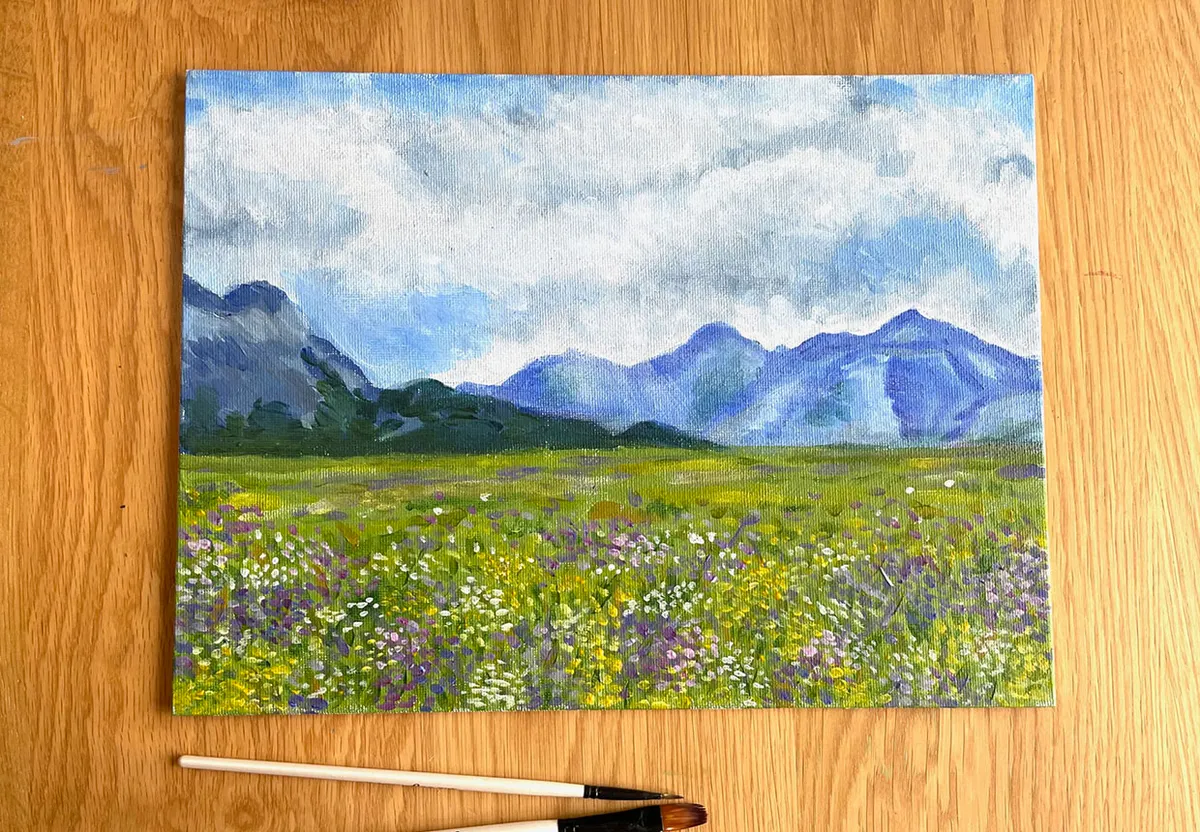
The easiest blending technique for beginners to try is wet-on-wet. Start by applying your first colour, then start to paint your second shade overlapping the first colour, moving your brush back and forth to produce a smooth gradient. You can mix the in-between middle tone on your palette or blend the colours directly on the canvas. You can see this technique put into practice in our acrylic landscape painting and how to paint a rose tutorials.
You can also blend your colours using a wet-on-dry method, where you paint over a dry initial layer of paint. As you pull the colour across the canvas using the same back and forth brush movement, the paint will gradually come off the brush to create a tonal effect.
You can also smudge paint on the canvas using a soft brush or a sponge to layer colours on top of one another.
It’s also worth trying the glazing painting technique, where you apply thin washes of colour on top of one another. This is a good way to even out or tone down any areas of your painting where the brush marks are too rough.
Acrylic paint mediums can make blending much easier. Some mediums can be used to make the paint dry more slowly or thin it down to allow you to apply fine layers of colour to your canvas.
How long does acrylic paint take to dry?
Acrylic paint dries very quickly compared to oil paint. A layer of oil paint might take anywhere between several hours and several months to dry, while acrylic paint, depending on the thickness, will dry in 5 to 20 minutes.
Be aware that some acrylic paint brands may take longer to dry. For example, the Professional Acrylic paints from Winsor and Newton can take up to two hours to dry if they’ve been applied thickly.
If you find that your paints are drying out too quickly, you can mix them with a retarder fluid to keep them wet for longer. Stay wet palettes will also slow down the drying process and buy you more time to paint.
These tools can be useful for those occasions when you’ve mixed a specific shade that you’ll struggle to match again. You’ll also use less paint, which will reduce waste and save you money!
How to prepare a canvas for acrylic paint
When you start using canvases, you may need to prepare them before you begin painting. This process is called priming.
If you prefer, some canvases can be bought already primed and ready to use – check the packaging when you buy them to find out.
Before you begin painting you can apply a layer of gesso to your canvas if it hasn’t already been primed. Gesso gives your canvas a surface that the paint can grip well and prevents the colour from sinking into the weave of the canvas.
If you like, you can add some colour to your gesso so that you’re not starting with a completely blank canvas. Some artists like to begin with an underpainting – an initial outline of their painting in one colour which they can build on with washes of colour.
How to varnish an acrylic painting
Varnishing your painting adds a protective layer and prevents the colours from fading over time. It can also make colours appear more vivid and smoothly blended together.
You’ll need to wait at least six weeks before varnishing your canvas, as it can take that long for the paint to dry out completely.
Before applying the varnish, wipe the surface with a lint-free cloth to remove any dust or hair.
Next, add an isolation layer. This is to provide a barrier between the painting and the varnish, as you may need to replace the varnish at a later date. Will Kemp has produced a useful guide to isolation layers, which is worth reading before you get started.
Choose your varnish and apply it using a broad brush. It can be tempting to pour the varnish directly onto the canvas and you’ll often see artists on social media doing just that. However, this can make it harder to varnish the painting evenly and you can end up wasting varnish.
How to get acrylic paint out of clothes
Acrylic paint can be difficult to get out of clothes, so we’d recommend wearing an apron or some old clothes while using them.
If you do get acrylic paint on your clothes, there are a few things you can do to remove it. When the paint is still wet, you may be able to get it out with some dish soap and warm water. Scrape off as much paint as you can with a knife or spoon before you begin.
If that doesn’t work, there are a few other options you can try such as paint thinner, nail varnish remover, hair spray or rubbing alcohol to get the stain out. Rubbing alcohol works well for older dried-in paint stains.
Test your cleaning products on a small area of the fabric first to make sure it’s not going to damage the material.
Some of these products can have strong fumes, so we’d recommend checking the packaging before use. You may need to use them outside or in a well-ventilated area.
Acrylic painting pros and cons
What are the advantages of acrylic paint?
Acrylic’s greatest strength is its rapid drying time, which means that acrylic painting is perfect for beginners. Also, the fact it’s water-mixable means you can avoid the toxic, odorous substances required for oils.
It’s child-friendly, too, although younger kids will need to be supervised, and dressed up in overalls. Because acrylic doesn’t rehydrate with water, it’s almost impossible to get out of carpets and clothes. You can generally peel fallen splotches of acrylic off non-porous surfaces, but we don’t suggest you risk it.
Lastly, its flexibility when dry means it can be applied to nearly anything – and we really do mean nearly anything. Canvases, boards, scrapwood, old furniture – providing the surface is dust-free and primed, it’s good for acrylic painting.
What are the disadvantages of acrylic paint?
Acrylic’s main disadvantage is also its drying time, and it’s chiefly this that has earned the medium such derision over the years.
Nearly every single newcomer to acrylic painting will find themselves frustratedly sending a brush through claggy passages of half-dried paint at some point.
Similarly, brushes are often one of the first casualties in acrylic painting. All too often, they’re left to one side covered in paint, only to be discovered later: dried, hardened and useless. This is why all unused brushes need to stay submerged in a jar of water.
When you’ve finished painting, remember to remove your brushes from the water and dry them before putting them away.
Unlike oils, acrylics dry to a slightly darker colour when they dry, which is something you’ll need to factor in when mixing colours.
If this all sounds a bit tricky, that’s often how it is for beginner acrylic painters. But with a little practice, you’ll start to remember all these things.
If you’d like to know more about how acrylic paint compares to oils, take a look at our acrylic vs oil paint guide.
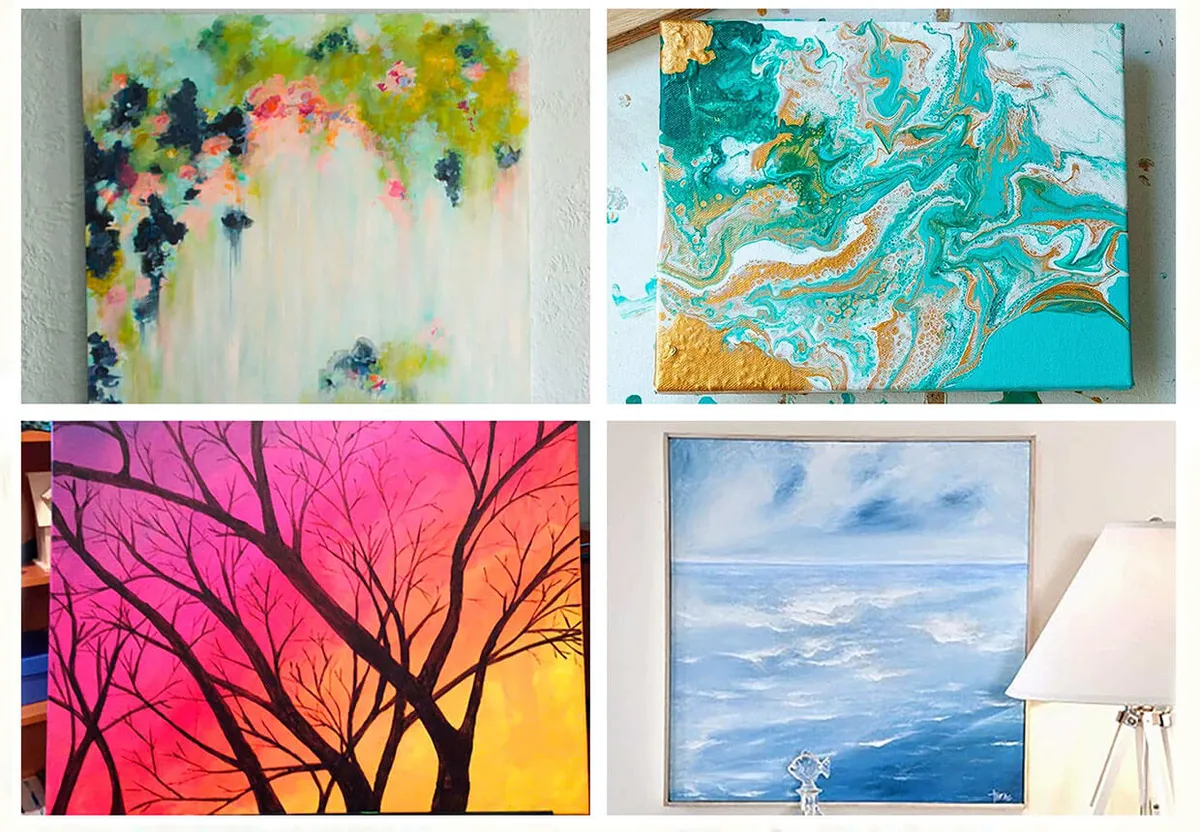
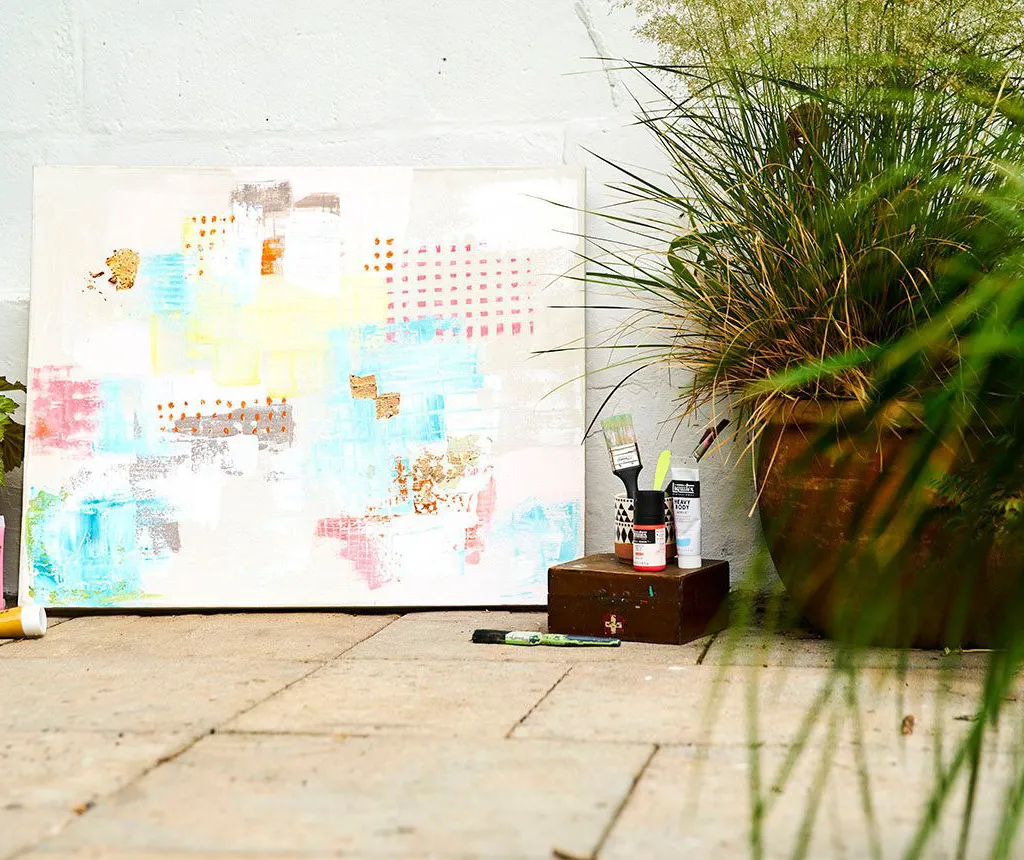
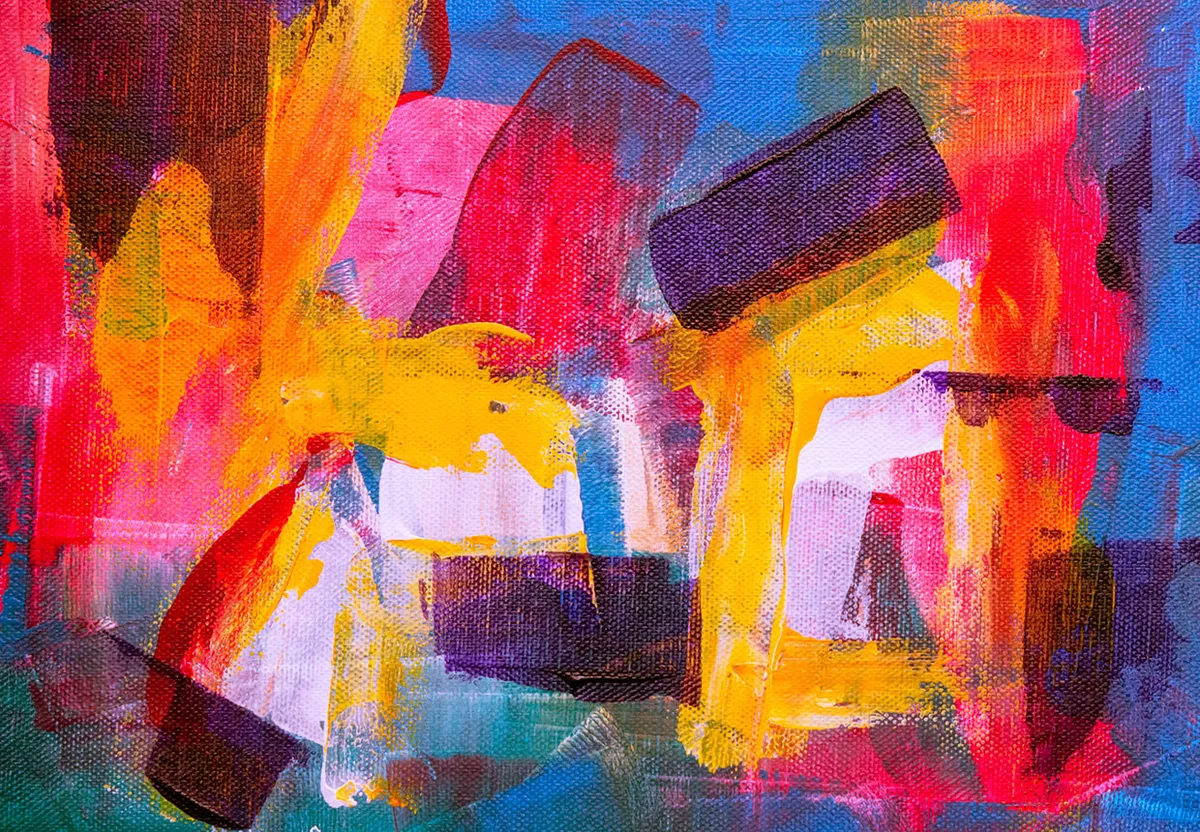
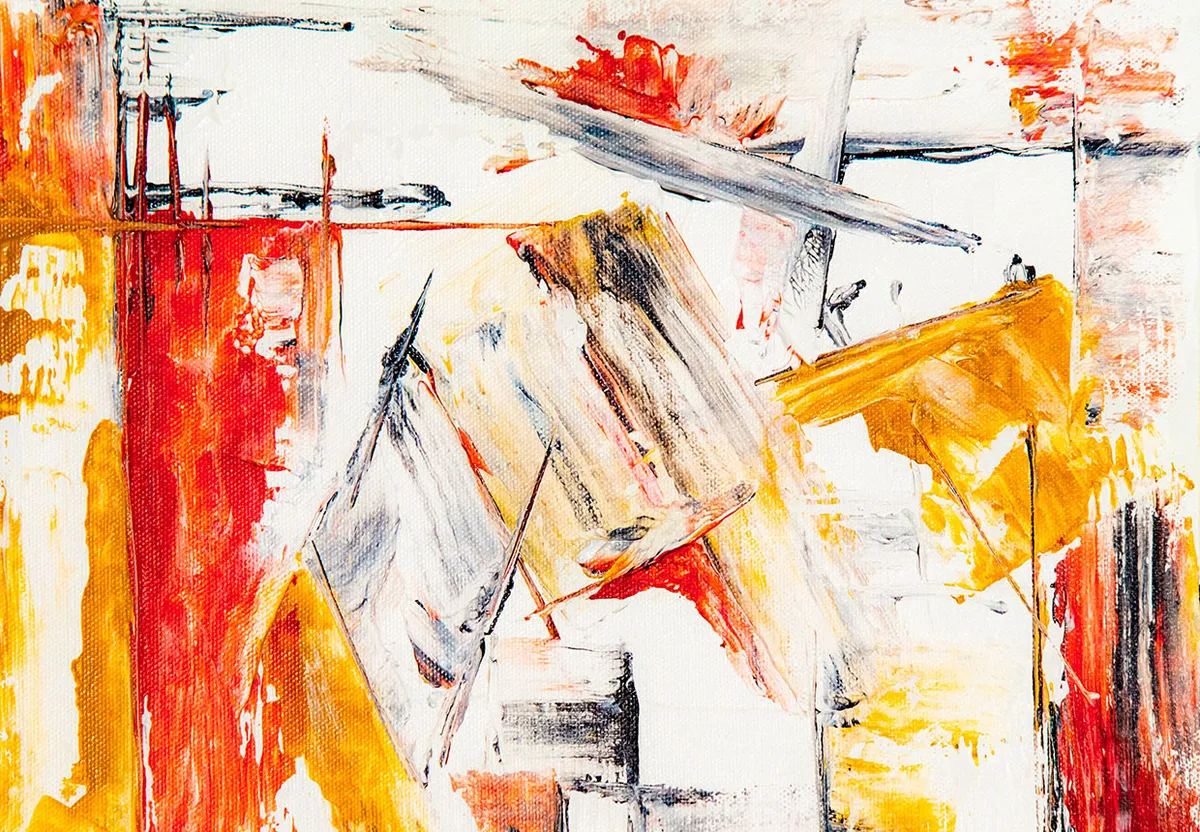
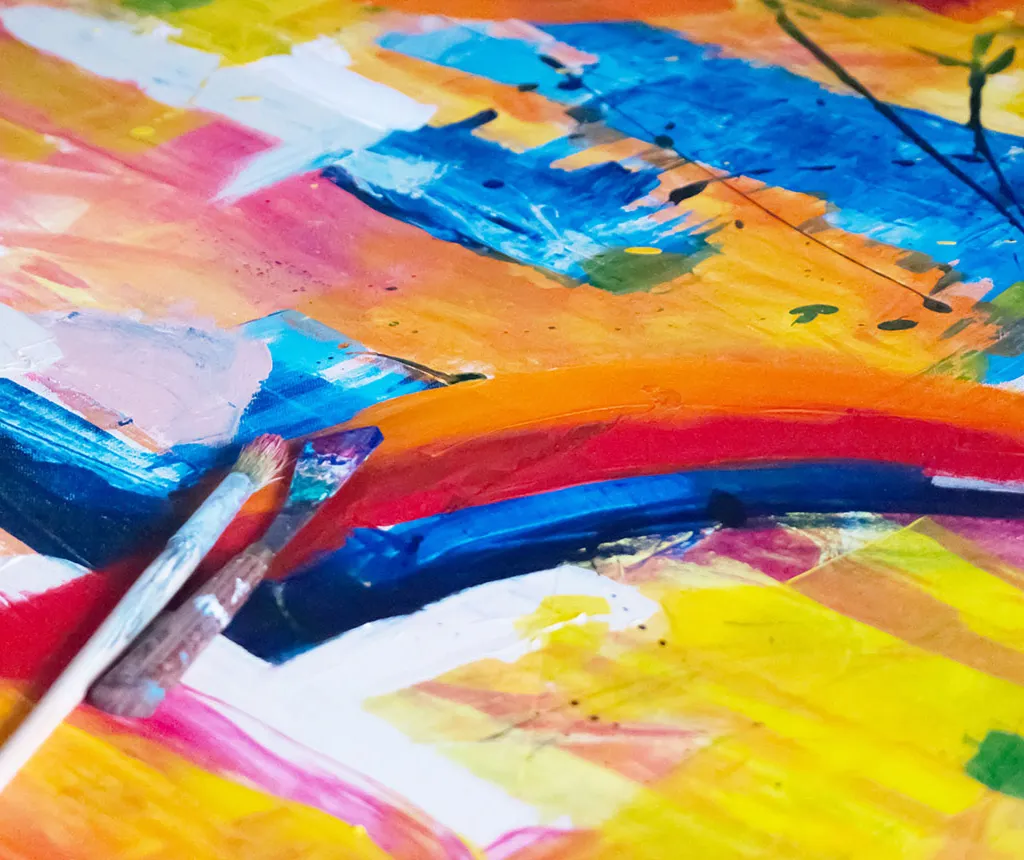
How to create an abstract painting
Abstract painting can be a fun way to familiarise yourself with acrylic painting techniques and gives you the opportunity to experiment with textures and colours.
Have a go at making your own stunning artwork with our abstract painting tutorial.
Essential equipment for acrylic painting
Before you start acrylic painting, it’s a good idea to familiarise yourself with the equipment you’ll need.
The basics
Have you got a rag? This will become your best friend: you’ll use it for everything from taking the excess paint off your brushes to wiping mistakes off your painting.
Two old jars? Fill them both with water: you’ll want one for cleaning out your brushes and one for diluting your paints.
Acrylic paint
If you’re a newcomer to painting in general, you’ll want to kick off with anywhere between four to ten colours. Acrylic paint manufacturers have dozens upon dozens of different colours in their ranges, and it might be tempting to buy them all – but you won’t learn to mix colours that way, and you’ll be overwhelmed by sheer choice.
At the very least, you can kick off with white and the three primaries (red, yellow and blue), but black, green and a couple of earth colours will probably come in handy too. Be prepared to get through lots of white.
A 60ml tube of acrylic paint will cost anywhere between £2.50 and £7 – it will largely depend on whether you're buying student- or professional-grade paints. The pricier the paint, the more pigment-rich and vibrant it will be. It will also be more lightfast, which means it is less likely to fade over time. The acrylic brands to look out for are Daler-Rowney, Winsor & Newton, Golden and Liquitex.
If you're seeking out an affordable student-grade paint, Daley-Rowney's System 3 range is a great choice. But even if you're trying to keep your spending to a minimum, avoid the own-brand ranges sold by high-street stores: they're typically low in pigment and poor-quality.
Our advice for newbies is to simply spend what you can afford: you’ll reap better results, and you'll learn faster. The two sets below are both our favourite choices for acrylic beginners.
If you’re looking for more recommendations, check out our guide to the best acrylic paint sets.
Palette
Because acrylic paint dries so quickly, it can’t be wiped off your palette like oil. One thing you don’t want is to prise layers of acrylic away with your fingernails at the end of every session. There are tear-off pads with pages of disposable palette paper available, but these can prove pretty costly in the long term. You could always buy a stack of disposable paper plates, but that's a little wasteful.
Your best bet is to buy a stay-wet palette, such as the Masterson Sta-Wet. Alternatively, you can make a DIY version by lining a tray with a damp layer of a sponge or J-cloth and topping that with a layer of parchment paper. The paper is porous enough for the acrylic to absorb the damp cloth’s moisture, which keeps it wetter on the palette for much longer. Trust us: this one’s a game-changer.
Another way to keep your paints wet is to give them regular spritzes of water with an atomiser and to cover them with clingfilm at the end of the day.
Brushes
Newcomers should adopt a ‘posh paints, cheap brushes’ mentality. Acrylic brushes tend to take a battering, so we don’t suggest you invest in any expensive ones when you’re a beginner. Look for a selection of rounds and flats of varying sizes.
Unless you’re working in miniature, don’t buy any brush below size 0, since small brushes are no guarantee of intricate detail. In fact, a great way of developing your mark-making is by limiting yourself to one or two larger-size brushes – you’ll be surprised by the delicacy you can achieve.
For easel-scale painters, Cass Art’s synthetic starter set is a sound choice, and if you do want some detail brushes, there’s also Daler-Rowney’s Taklon set.
- Buy the Cass White Synthetic Brush set from Cass Art Buy the Daler-Rowney Gold Taklon 6-piece set from Cass Art
Your brushes will need some TLC at the end of your painting session. They’ll need to be patiently and thoroughly cleaned with detergent since any acrylic that’s left to dry in their bristles won’t be removable. Gently splaying your brushes against a bar of soap under running water is the best method we’ve found.
Take a look at our best paint brushes for artists for more recommendations.
Support
Your support is the thing you’re painting on. You’ll find a range of ready-made canvases online. Cass Art stocks a range of highly affordable triple-packs in a variety of sizes.
- Shop the Cass 19mm Cotton Canvas triple pack range at Cass Art
Apprehensive beginners might be better off buying a pad of canvas boards or acrylic paper: which are pre-primed and ready for painting. Canvases have a habit of cluttering spaces; early (and possibly disastrous) efforts on paper can be tucked away easily.
One great way to throw yourself into painting is to paint on scrap material: think about the cardboard in your recycling bin. Since you’ve spent nothing on the support, there’s far less pressure to create a masterpiece. You’ll just need to prime it first... which brings us to the next essential.
Primer
Just like oil, acrylic works best on a well-prepared primed ground of gesso. In principle, shop-bought canvases won’t need priming, but they often benefit from one or two extra layers of this runny, chalky and absorbent white paint.
Gesso can be smoothed over with fine-grain sandpaper, or left to have a little tooth (texture).
Try mixing a red or earth acrylic colour such as burnt umber into your gesso, so you can create a warm-coloured ground for your painting. You’ll find it much easier to build your painting this way – and it’s less intimidating than a blank white surface.
Acrylic paint mediums
As you become a more confident painter, you can start to experiment with acrylic mediums. Acrylic mediums can be used for a variety of purposes, from thickening paint to adding a glossy sheen to your artwork.
These mediums can help you to develop your painting style and even transform your approach to acrylic painting.
Here are a few different acrylic paint mediums and their uses:
Retarder medium
Acrylic retarder medium is designed to be mixed with your paints to extend their drying time. This allows you more time to paint, so you don’t have to work quickly. As a result, your paints will behave more like oil paints.
A word of warning: check the packaging before you mix this medium into your paint. If you add too much then your paints will dry extremely slowly – or may never dry at all! For example, if you’re using Winsor & Newton’s Galeria fluid retarder it won’t dry if you use over 25% of the medium in your paint.
Flow medium or flow aid
Flow medium or flow aid is a medium used to thin your paint without losing any of the intensity (unlike when you add water). Like the retarder medium, it also slows down the drying time so you don’t need to rush.
This medium will make it easier to apply paint to the canvas too – if you haven’t tried it before, it’s definitely worth giving it a whirl.
Moulding paste
Moulding paste or modelling paste is used to add texture to a painting. It thickens your acrylic paints without making the colours less vibrant.
If you don’t want to buy an expensive set of heavy body acrylics, opt for moulding paste instead. You can mix it with any colour on your palette and apply it to your canvas.
- Buy Golden molding paste from Cass Art
Gels
Gels can be blended into acrylic paints to make them thicker. Using a gel is good for when you want to have visible brushstrokes on your painting.
There are lots of different gels available to buy and some can also give your art a glossy sheen. If you’re not a fan of the shiny finish of gloss medium, then choose a matt medium instead.
Glazing medium
Glazing medium thins acrylic paints and makes them more transparent. This medium can be used for a painting technique called glazing, where you apply thin layers of paint on your canvas over thicker layers.
This painting technique was traditionally practised by artists using oils, but it can be used effectively on acrylic paintings as well.
Crackle paste
Crackle paste is a fun medium to use in your acrylic paintings. As it dries, it creates cracks on the surface of your painting, which produces some very interesting textures.
You can mix your colours into the crackle paste before using it or paint over the top once it has dried.
Textured gels
If you love the look of rough or textured acrylic paintings, you’ll enjoy playing with textured gels. There are lots of different kinds of textured gels to try, including coarse pumice gel, sand gel, glass bead gel and granular gel.
- Buy Golden coarse pumice gel from Cass Art
- Buy Golden clear granular gel from Cass Art
- Buy Pebeo sand texture gel from Cass Art
There are, of course, other mediums and additives to experiment with such as iridescent medium, but these are some good examples to kickstart your acrylic painting journey.
Varnishes
Once you’ve completed a painting, add varnish for a truly professional finish. Varnishing your painting can make the colours more intense, make the painting look more blended and provide it with a protective layer.
Don’t varnish your painting as soon as it’s finished as the paint may not be fully dry. Many artists recommend waiting six weeks before varnishing an acrylic painting to be on the safe side. If you’re interested in the technical side, this guide to acrylic paint drying by Golden explains the drying process in more detail.
Varnishes can be sprayed onto your painting or applied using a wide brush. Here are a few recommended varnishes for you to use on your acrylic painting:
Acrylic painting ideas to start painting right away
Don’t worry if you’re having trouble deciding what to paint – we’ve found lots of brilliant acrylic painting ideas to inspire your art.
Why every artist should try acrylic painting
Acrylic paint is a brilliant medium for artists of all levels to explore. It can be applied in thick layers to create effects very similar to oil paints or thinned to a more watery consistency.
These paints are fast-drying and come in a range of vivid colours – suitable for any painting project. Unlike oil paints, they don’t have a strong odour, which some people can find off-putting.
Acrylic painting is great for beginners who want to improve their painting skills, as you can produce stunning artwork in a very short period of time. Over time, you can develop your painting technique and master this satisfying medium.
While acrylic paints have their pros and cons, we’d recommend every artist add acrylics to their repertoire.
Make eye-catching artwork for your home
Painting your own canvases for your home means that you can match your decor perfectly. It also gives you the opportunity to showcase your creative flair in each room.
Not sure where to begin? Take a look at Gathered’s canvas painting ideas to find your next painting project.