All products were chosen independently by our editorial team. This review contains affiliate links and we may receive a commission for purchases made. Please read our affiliates FAQ page to find out more.

Beginner’s Guide to Chinese Brush Painting

Discover how you can create your own Chinese brush painted flowers in this easy to follow, step-by-step tutorial.

Try our magazines – get 6 issues from just £9.99!

PandaHall

Published: August 8, 2022 at 9:11 am

Chinese brush painting isn’t just about creating art, it’s about the process itself. It’s a calming and relaxing form of art, with many people describing the process as spiritual. This traditional form of art is steeped in history, and each piece of artwork you create will be in your own ‘handwriting’, each stamped unconsciously with your own style. In China, it’s very fittingly described as ‘writing the picture’.

In this free tutorial you will learn:

  • The supplies you need to start brush painting
  • How to grind ink using an inkstone
  • How to hold the brush for Chinese brush painting
  • How to do the Centre Stroke, aka Vertical Stroke
  • How to do the Side Stroke, aka Horizontal Stroke
  • How varying pressure and speed create different strokes
  • How to do the Grass Stroke
  • How to do the Bone Stroke
  • How to do the Side Bone Stroke
  • How to create dimensional dots
  • How to paint simple leaves
  • How to paint a poinsettia
  • Expert tips and advice

We hope you like this article, a beginner’s guide to Chinese brush painting. If you do, why not check out some of our other beginner’s guides, right here on Gathered? If you’re into painting, why not try your hand at paint pouring with our beginner’s guide to acrylic paint pouring or how about learning how to paint a watercolour galaxy? You might also enjoy learning how to paint a watercolour cactus, watercolour pebbles or these easy watercolour flowers.

We love seeing what you make, so don’t forget to share your craft projects with us on Instagram, Facebook, or Twitter, too!

What is Chinese brush painting?

Chinese brush painting is about capturing the essence, or spirit of something; it’s a symbolic expression of a plant, landscape, animal, tree, or figure, using minimal brushstrokes. It can help you centre your mind, and is especially useful if you’ve found some success with mindfulness through art.

The art form can be traced back as far as the Palaeolithic when rocks in the Yin Mountains and the Yunnan Province were decorated with animals, battles, ceremonies, and scenes of village life.

But it wasn’t until the Song Dynasty, from 960 to 1271 AD, that it would really take off. It’s thanks to Zhao Ji, who would later become Emperor Huizong, and his passion for the arts, that Chinese painting developed at that time.

Top tips for Chinese brush painting

  • Unlike other some painting techniques, in Chinese brush painting, we always start with a wet brush. Start by wetting your brush in some clean water, then get rid of the excess by pulling the tip over the side of your water container.
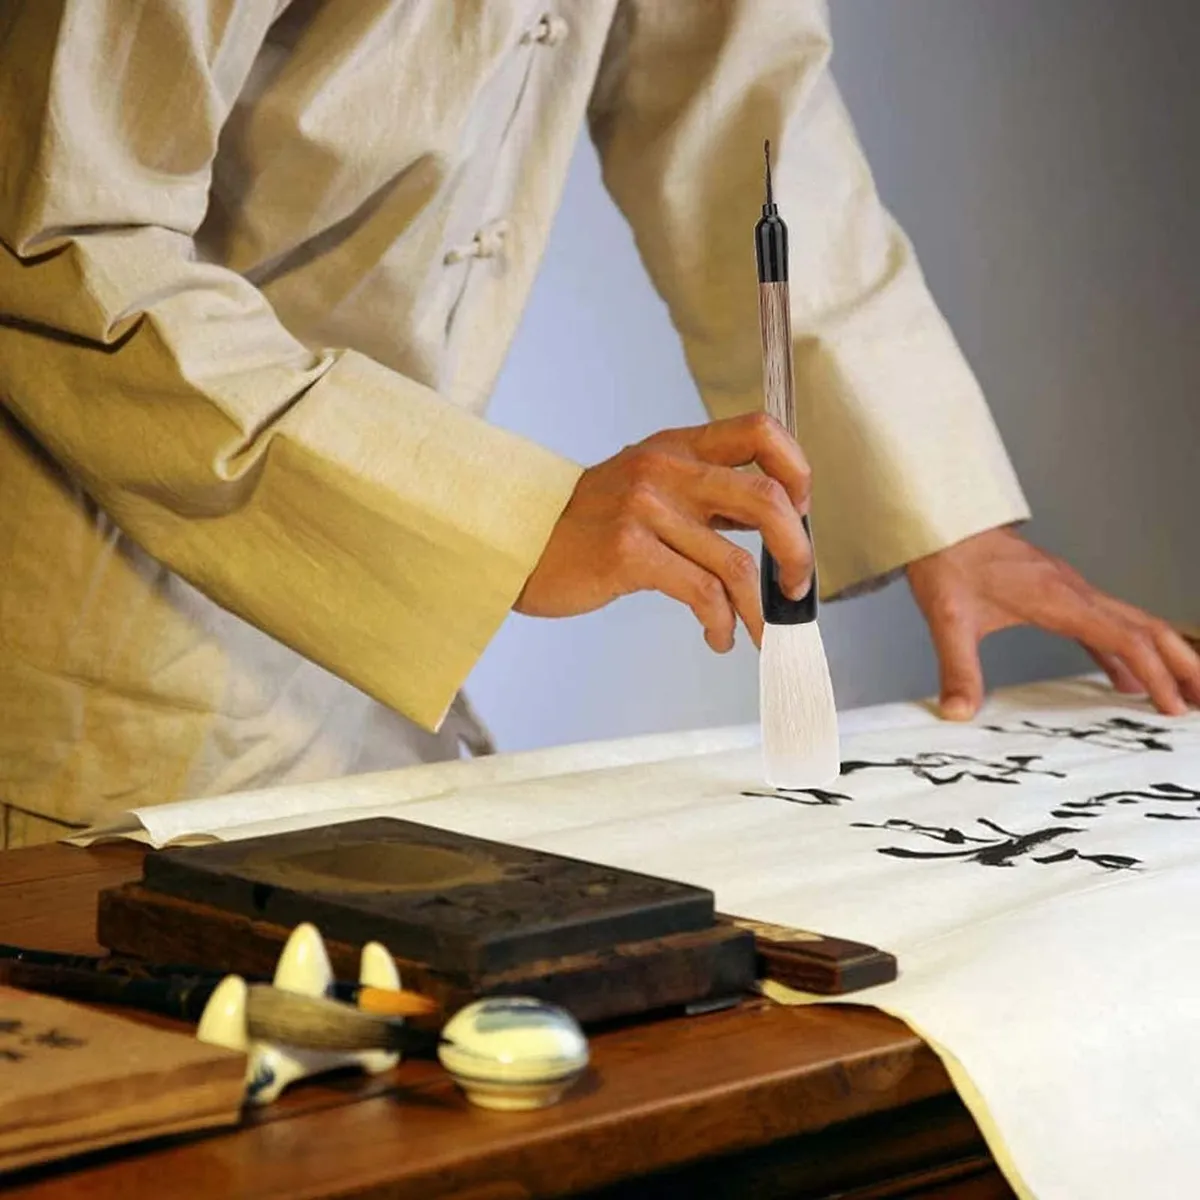
  • When starting out, begin with a basic grip on the brush. Hold your brush as you would a pen or pencil, but position it vertically, at a 90-degree angle to your paper. Let the brush rest on your middle finger, anchor it with your thumb, and manipulate it with your index finger.
  • Try to keep the heel of the brush (the part of the brush tip closest to the handle) free of colour. The water held in the heel will migrate down and create some interesting variation in your work. This is useful if you’re painting flowers or leaves.
  • Chinese brush painting often utilises the artist's feelings or emotions (that’s you!), so think about capturing the spirit of the subject, rather than going for absolute scientific accuracy. For example, the delicacy of cherry blossoms, the dramatic nature of branches as they swoop into the frame, or the elegance of an orchid.
  • Don’t be afraid to leave white spaces in your work. In Chinese brush painting, empty space can convey information through a lack of imagery, depicting vast skies, rivers, lakes, or seas. In Chinese literature, much is gained through what is unsaid, and so empty space in Chinese brush painting can become a crucial component in itself.
  • To save wasting precious rice paper as you’re practising, standard newspaper is a brilliant alternative. I like to choose those pages of ads with lots of white space, but it doesn’t really matter which you go for.
  • If you’re creating your own scene, consider using the rule of thirds for a pleasing composition.
  • If you want to speed up drying time, use a heat tool in the lowest setting, but be careful not to over-dry.
  • Consider adding outlines to emphasise areas of your artwork. For example, outlining flower buds in light ink can differentiate them from the other flowers in bloom.
  • Experiment with varying the pressure, angle, and speed of the brush as you lay down ink for different effects. For example, a short-stroke will create short leaves, such as baby leaves or peach tree leaves, and a longer stroke will create longer leaves, such as willow or bamboo.
  • Lay something padded underneath the paper you're working on. This could be a newspaper, or a lot of artists will use more sheets of paper, or a large sheet of felt.

Chinese brush painting supplies

You’ll often hear references to ‘the four treasures’ in Chinese brush painting. These are the four most important objects for artists and consist of:

  1. Brush
  2. Paper
  3. Ink
  4. Inkstone

However, you only need a brush and some ink to get started. Use what you have, but if you’re looking to buy new, here are our recommendations for Chinese brush painting supplies:

Chinese Brush Painting Supplies: Brushes, 9 pack

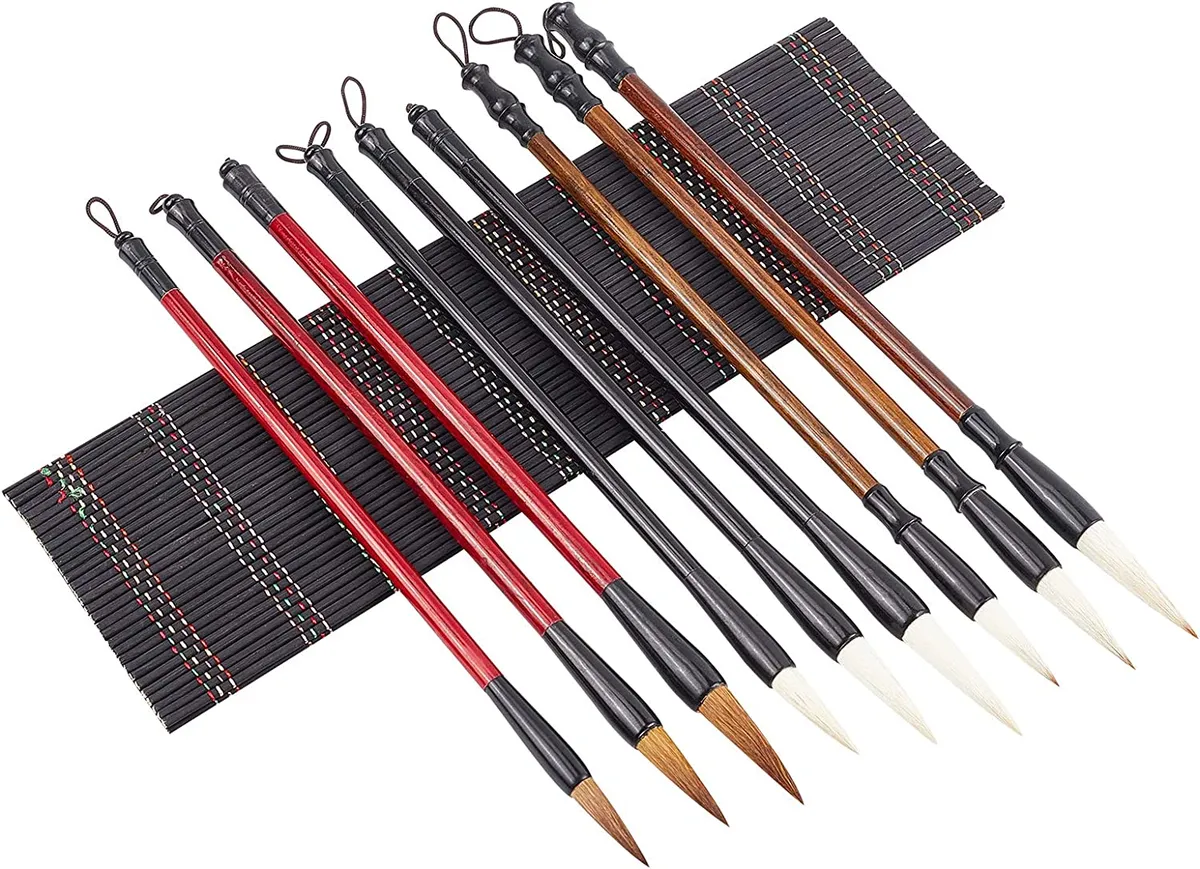
Brushes used in Chinese brush painting are usually fuller than the ones you might use in watercolour or acrylic painting. They’re either flat-tipped (for example Hake brushes which are often used for background washes), or round-tipped, and are made from natural materials. Hake brushes are a flat brush.

This brush set from PandaHall contains 9 brushes that are fairly uniform in size, which is great if you're keen to try some calligraphy alongside Chinese brush painting.

If you're looking for more calligraphy supplies, check out our round-up of the best calligraphy kits for beginners.

Chinese Brush Painting Supplies: Brushes, 7 pack

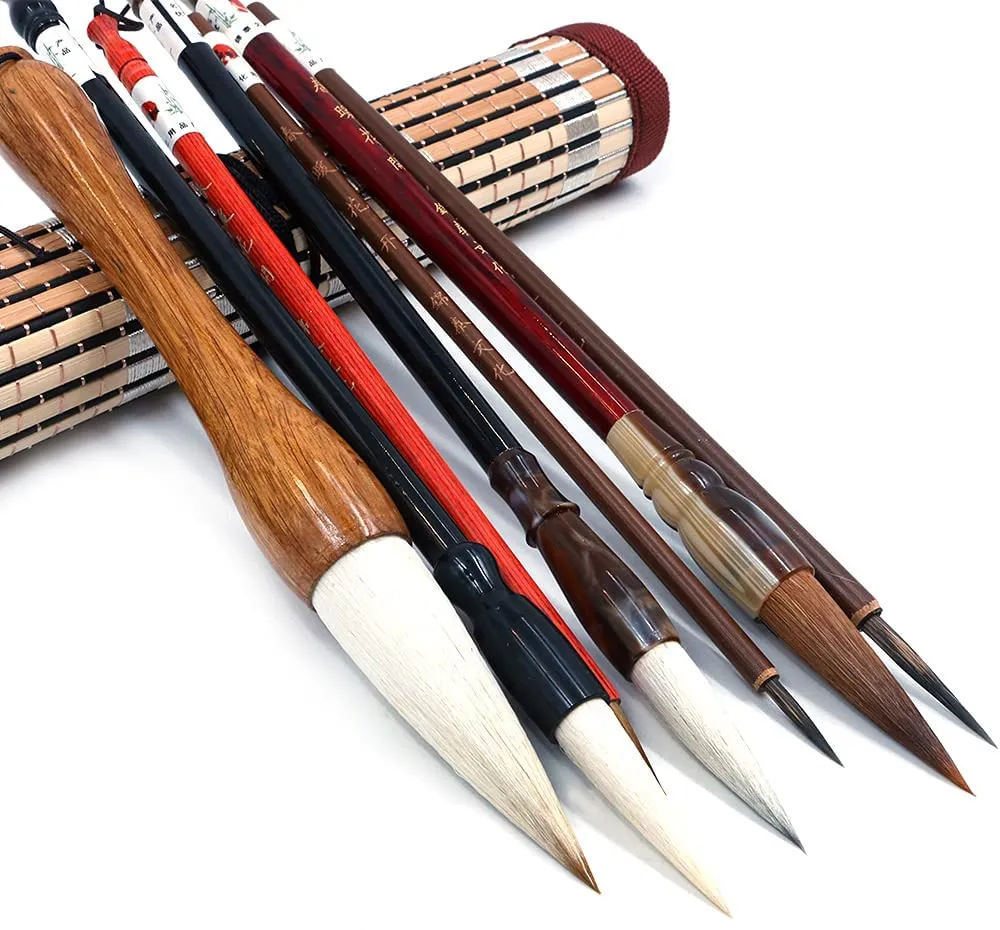
Chinese painting brushes can be split into three broad categories: soft, hard and combination. Soft brushes are very absorbent, so they can carry a lot of moisture, hard brushes are more resilient and ‘bounce’, and combination brushes are made with an outer layer of soft hair, and an inner core of hard hair.

This brush kit contains seven different in the most popular sizes for beginners, and comes with a nice brush roll to store them in. There is more variation in sizes than the previous set (above), but if you're looking to dive into just Chinese brush painting and more illustrative paintings (as opposed to wanting to use them for calligraphy), then this is a great set to have, and certainly recommended for those starting out. You'll soon get an idea of which size brushes are your favourite.

Chinese Brush Painting Supplies: Ink

Traditionally, an ink stick and ink stone is used in Chinese brush painting. The ink sticks themselves are made of the soot that comes from burning wood chips and plant oil. The soot is blended together with glue, kneaded to a dough-like consistency before being put into moulds and left to dry over the course of a few months.

By the time we come to use it, the ink has been cleaned and polished, and often decorated. The ink is then used by grinding the stick against a surface (ink stone), with a small amount of water.

Chinese Brush Painting Supplies: Inkstone

An inkstone is usually made from nonporous slate, carved into a rectangular or circular well shape. It is essentially the stone mortar that is used for grinding the ink onto. To use an ink stone, hold the ink stick vertically and rub it on the inkstone, using a circular motion.

As grinding the ink is part of the process, take it slow and try to be mindful as you’re grinding. Take notice of the feel of the stick on the ink stone, how the ink stone gradually grinds down releasing tiny particles of ink, and the sound of the ink on the stone. You might even experience the calming effect that many artists enjoy.

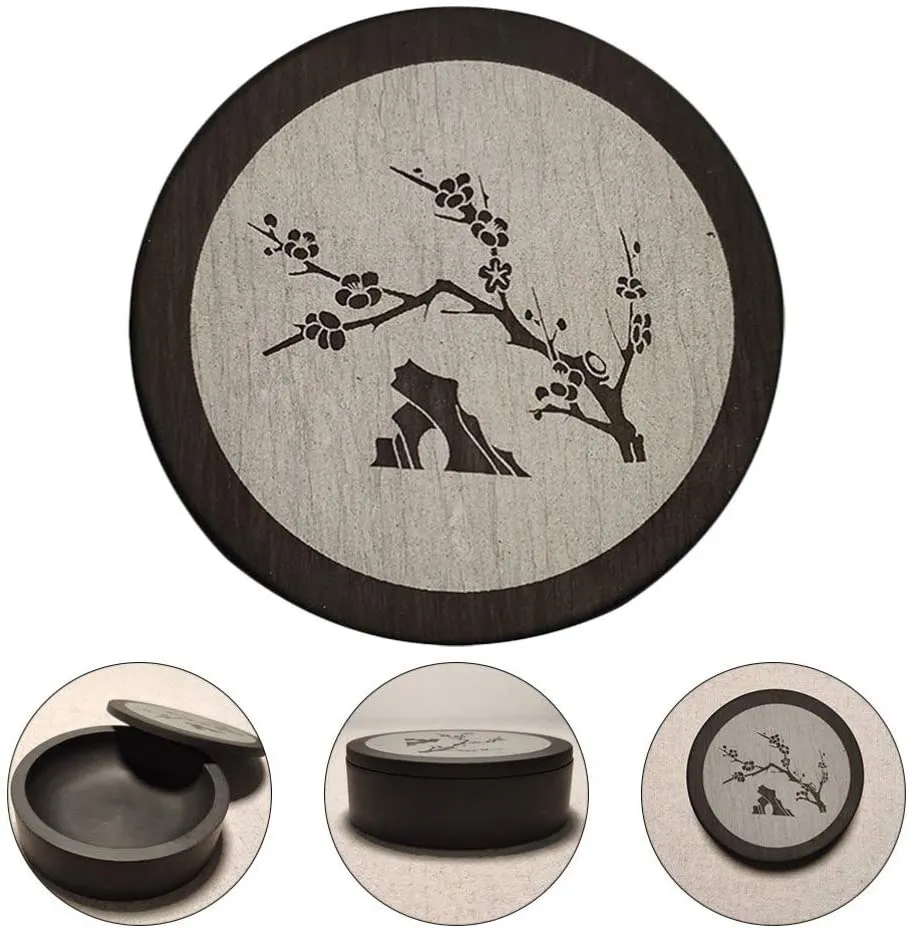
Chinese Brush Painting Supplies: Chinese calligraphy ink and inkstone

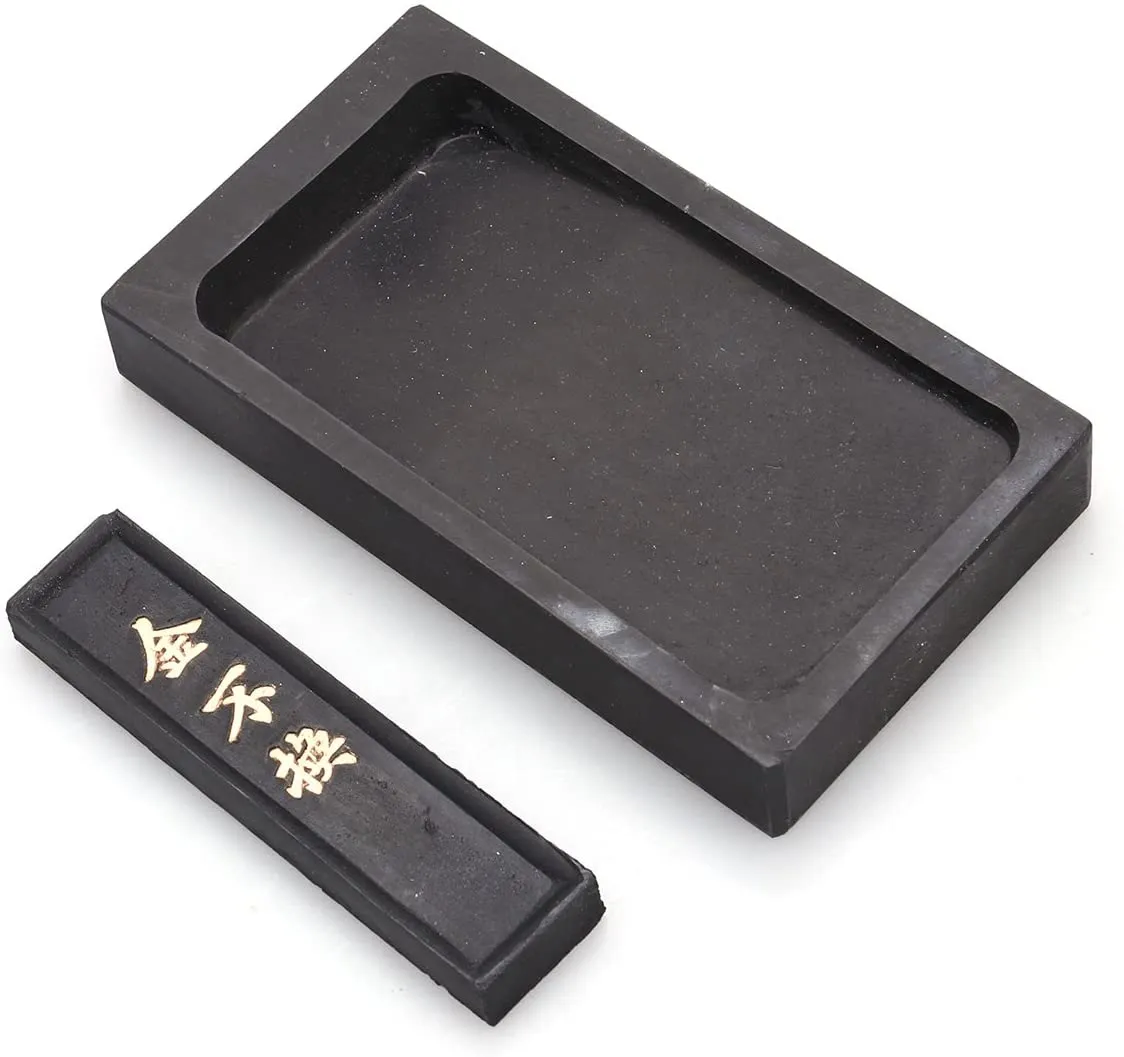
If you’re just starting out, you don’t need to buy your ink and ink stone separately, and there are some nice kits you can get hold of on Amazon. Of course, once you have the ink stone you will very rarely, if ever, need to replace it. So a kit like this one is a great place to start.

Chinese Brush Painting Supplies: Liquid ink

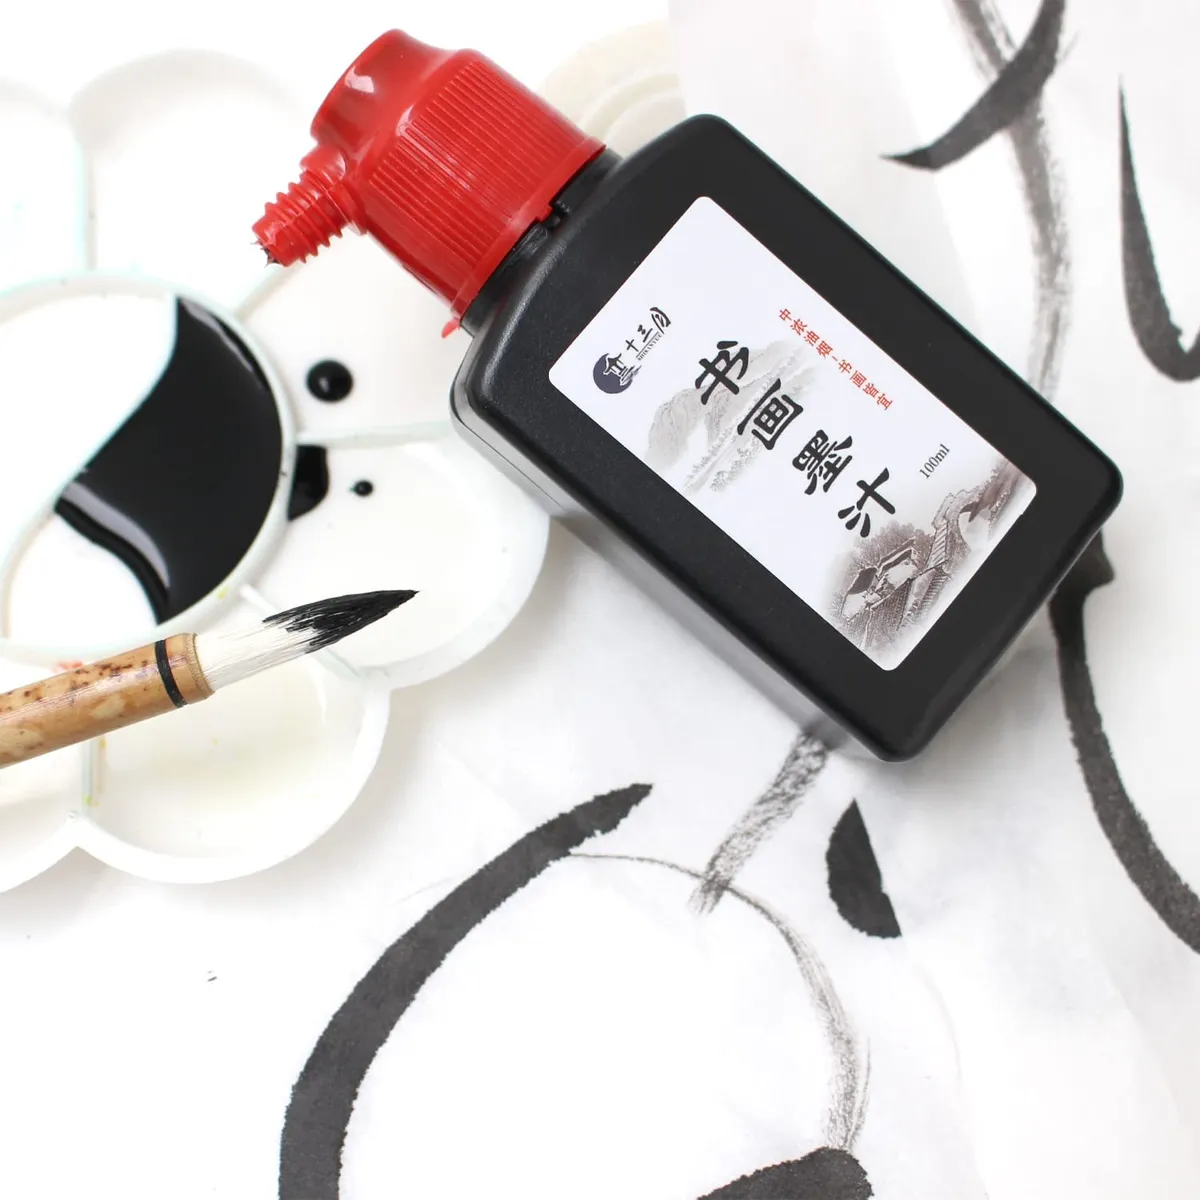
Grinding the ink on the ink stone is part of the mindful process to Chinese brush painting, but there are plenty of alternatives if you would prefer to just get painting. If you’re keeping it simple, then look for Chinese black ink (be sure it’s not Indian ink as the coverage is too solid to create the graduated effects).

This Chinese Sumi ink is made in the Jiangxi Province of South East China and is made from the traditional recipe – but in liquid form. Use neat for calligraphy and letter work or mix with a little water for brush painting and gradient effects.

Chinese Brush Painting Supplies: Rice paper

Despite the name, rice paper is not actually made of rice. It’s commonly made from reeds, elm, bamboo, cotton, grass and/or hemp, and is usually very lightweight, translucent, and absorbent. It often comes in rolls, or sizes larger than A4 but it’s easy to cut down for practise.

Chinese Brush Painting Supplies: Brush rest

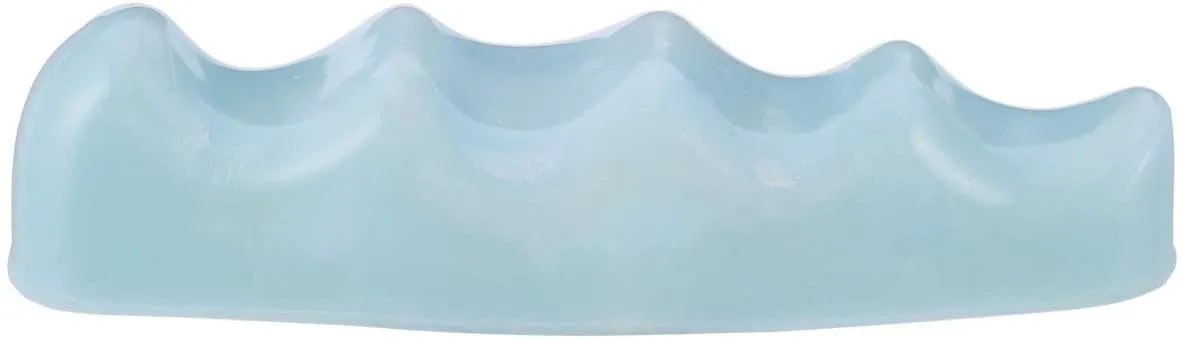
Keep your ink or water-laden brush free from contamination with a brush rest. It’s useful for when you just need to quickly pop the brush down for a moment and don’t want to overload it with water by putting it fully into the water container.

There are all sorts of brush rests you can buy, but we really like this resin one, as it’s simple and does the job without adding clutter to your desk. Being made from resin (instead of the traditional porcelain), means it’s less likely to sustain damage, as well as being light and portable.

Chinese Brush Painting Supplies: Alternative brush rest

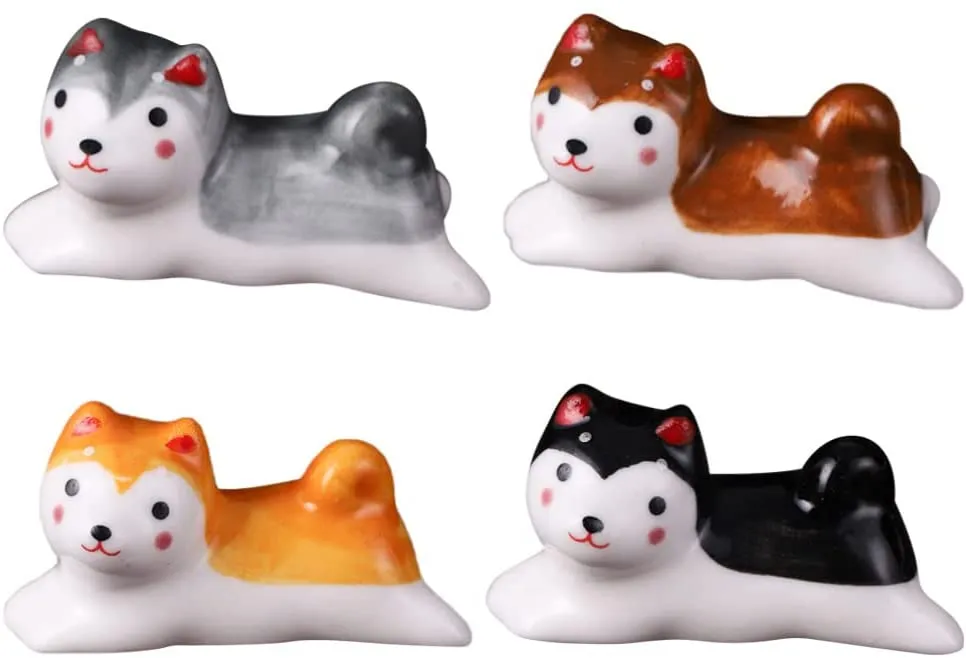
If you’ve only got one or two brushes, then be sure to check out chopstick rests as an alternative to the traditional paintbrush rests. We absolutely love these Shiba Inu rests! There are all sorts of other fun alternatives too, like these ceramic vegetable rests or these adorable cat rests!

Chinese Brush Painting Supplies: Chinese brush painting kit

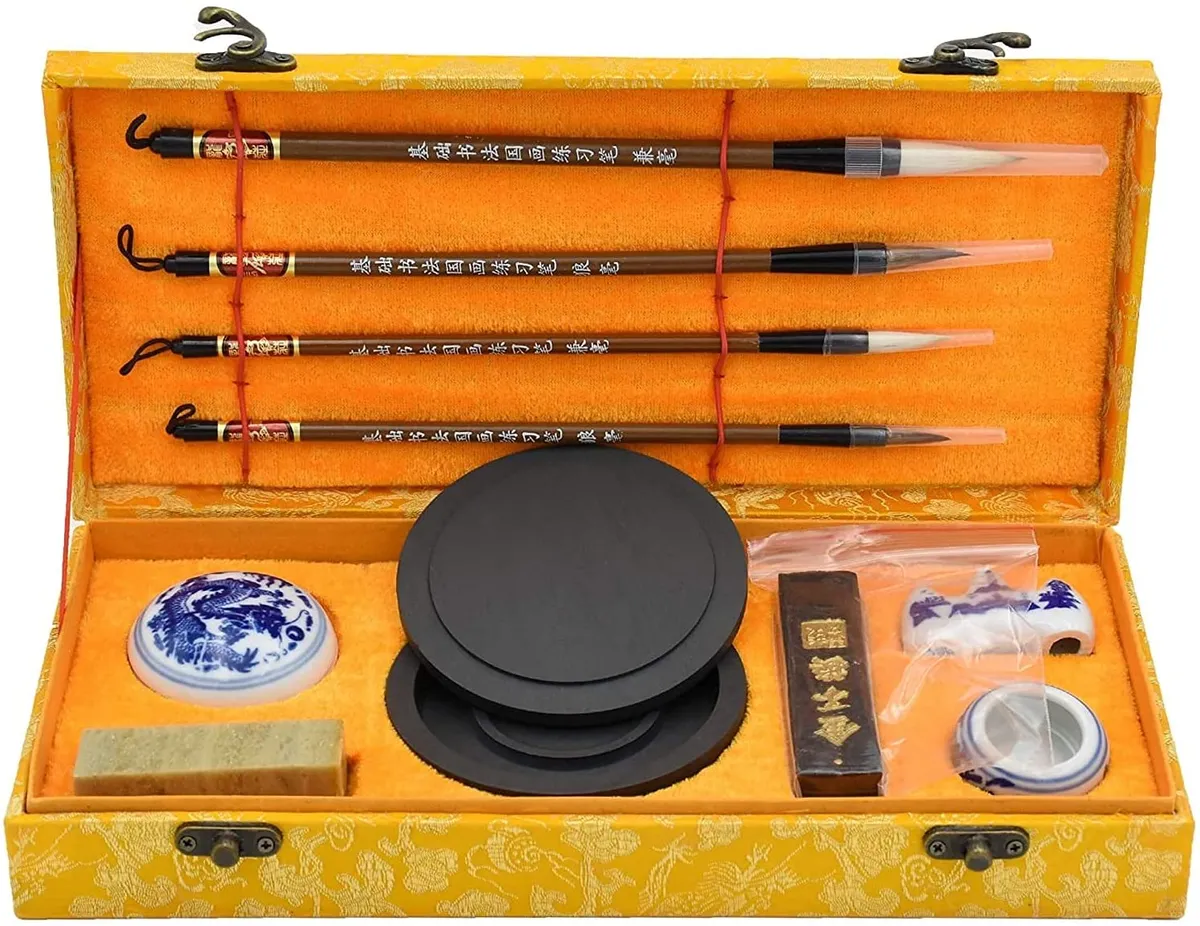
Don’t want to buy everything separately? Or perhaps you’re reading this article and thinking that a kit would make a nice gift for a craft friend or family member? Then we like this Chinese Calligraphy Writing Kit from Amazon, and it’s the one we’re using in this tutorial, so scroll down to see it in action.

It comes with everything you need to get started: four brushes, ink, an ink stone, brush rest and small bowl, presented in a lovely (sturdy) yellow box that looks great in your craft room.

Chinese Brush Painting Supplies: Technical pencil

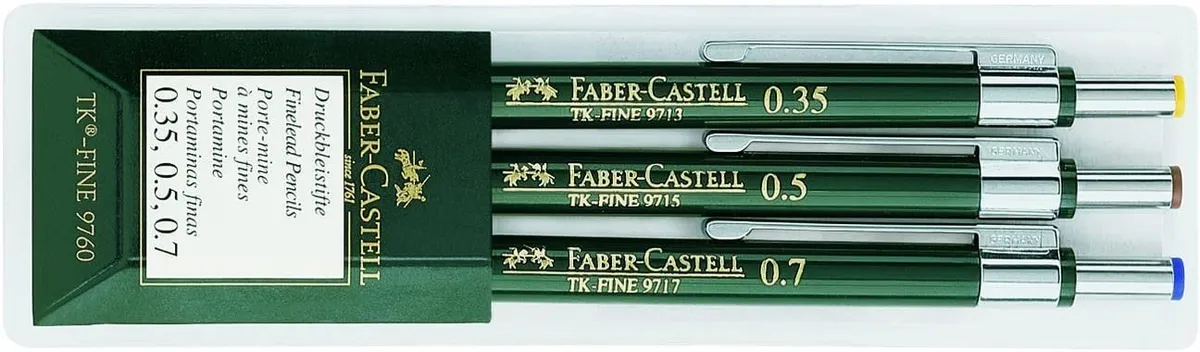
You can get some beautiful effects in Chinese brush painting, by just ‘going for it’. But, if you prefer to plan your work in advance, lightly sketching the placement of the different elements of your design can help you become more confident as you build up your skill set.

A simple technical pencil, like these ones from Faber-Castell will do the trick. Not quite what you’re looking for? Check out our round-up of the best mechanical pencils for drawing, to find the best one for you.

Chinese Brush Painting Supplies: The Chinese Brush Painting Bible

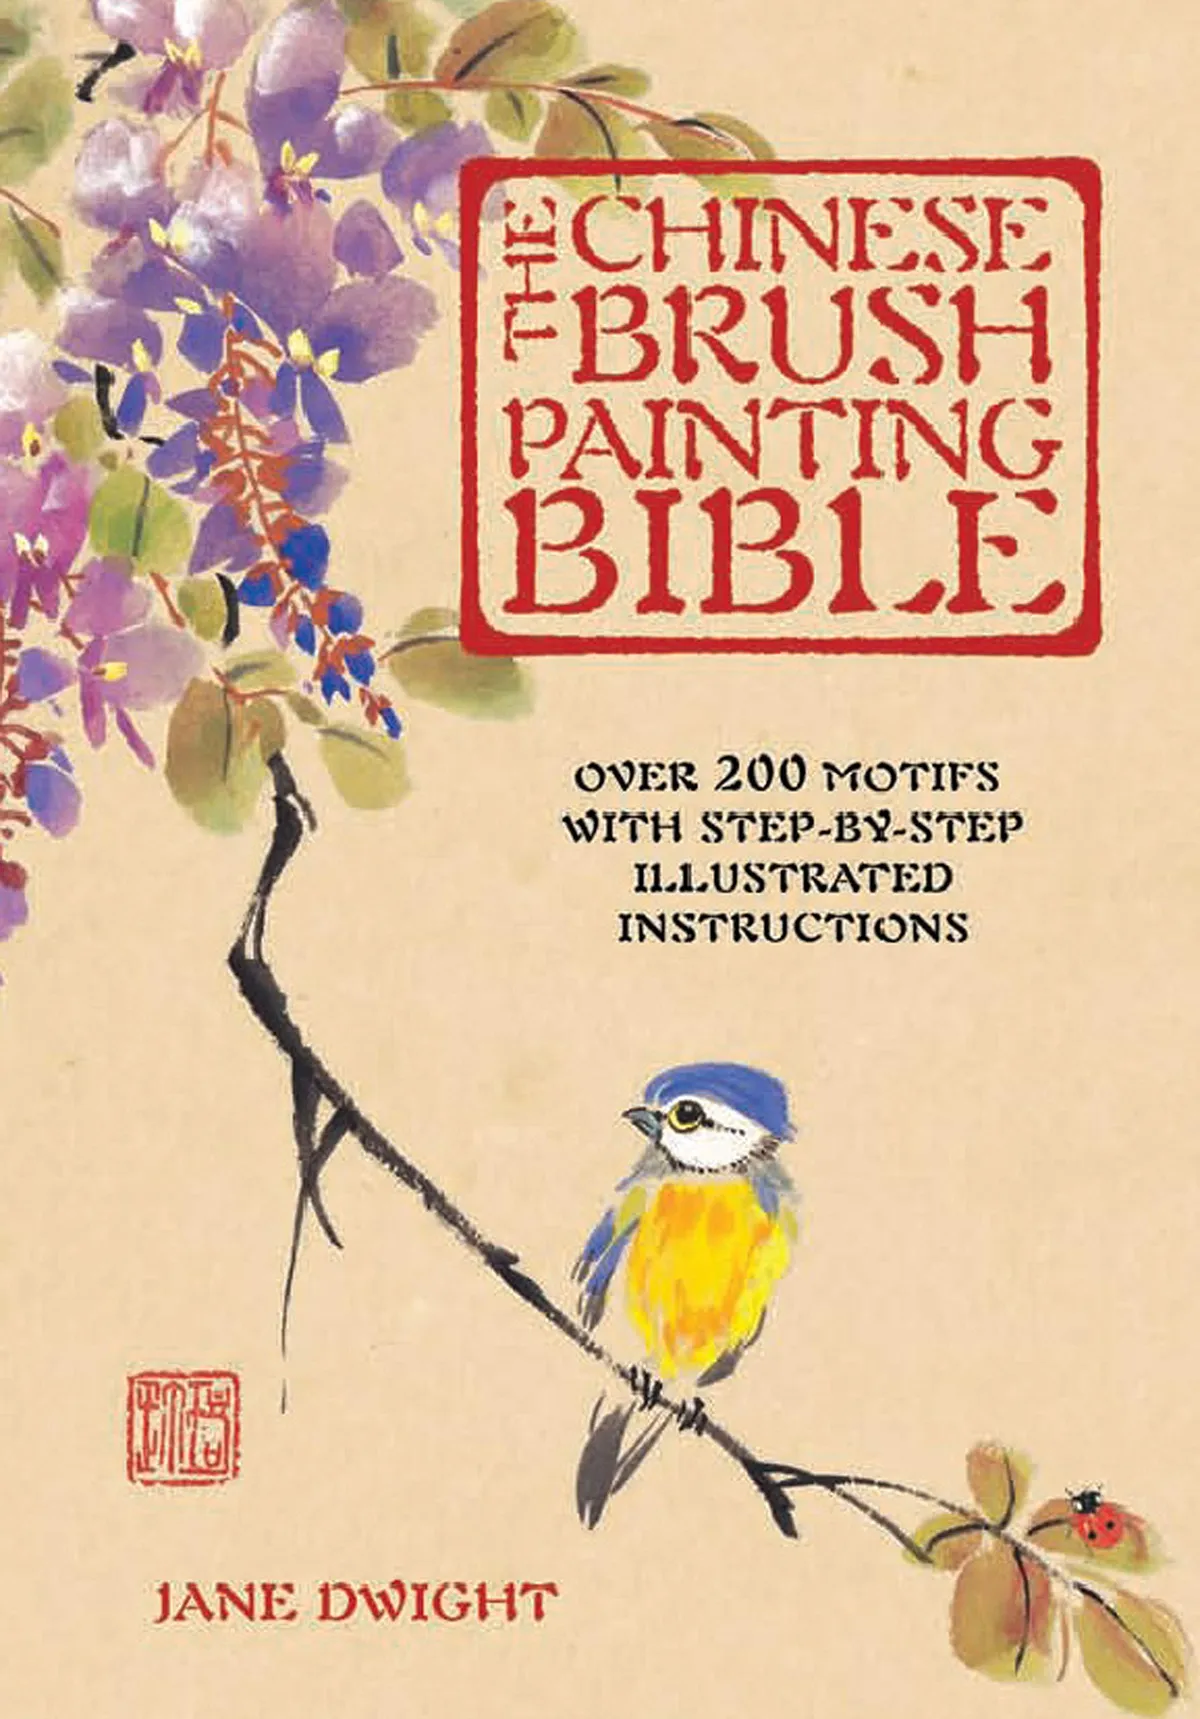
Feeling inspired to try out Chinese brush painting, or take an even deeper dive into the subject? Then you might like to take a look at The Chinese Brush Painting Bible. It comes with over 200 designs to try, with simple and clear steps all the way through, from flowers and fruits to wildlife and scenery. It even comes spiral-bound, so it will lie flat as you’re following the tutorials.

How to do Chinese brush painting

Step 1

First, gather your materials and set up your workspace. As well as actually creating the art, Chinese brush painting is about getting into the mindset needed in order to capture the essence of a thing. So it’s important to start with a clear, uncluttered workspace – if you can.

We’re using the Chinese brush painting kit (listed above), and some rice paper (also listed above).

How to do Chinese Brush Painting – step 1, equipment

Step 2

Since your grip on the brush will be slightly different to the way you would hold a brush for watercolours or acrylics, let’s start by practising some simple brush strokes.

For the basic grip, hold the brush vertically between your index and middle finger, keeping the brush anchored with your thumb.

Basic grip
Basic grip

If you want to add a bit more stability to your grip, try this: slide the brush down between your middle finger and your ring finger, so that your index finger is higher up. This type of grip is ideal for drawing contours and lines but is also great for beginners.

Calligraphy grip
Calligraphy grip

For washes, or wide areas, hold the brush between your index finger and your thumb, allowing the handle to rest on the end of your middle finger in an oblique position. This also helps you to roll the brush and rotate it on its axis, which useful for if you’re loading the brush with multiple colours for gradients.

Wash grip
Wash grip

Step 3

First, we need to make the ink. Do this on the same day that you’re planning on painting – it doesn’t take very long and the soothing, repetitive motion helps melt away the tensions of everyday life.

How to do Chinese Brush Painting – step 3, ink stick and ink stone

Step 4

Add a little water to the ink stone. The stone we’re using has a well around the outside, and the central part is used for grinding the ink. Dip the ink into the water, then move it to the dry part of the ink stone, and hold the ink stick vertically while rubbing it in circular motions. Use the whole of the surface of the ink so that over time it will wear down evenly.

You’re aiming to create an ink with the consistency of honey, and you’ll probably find yourself needing to re-grind some more ink over the course of your painting session.

How to do Chinese Brush Painting – step 4, grinding the ink

Step 5

In Chinese brush painting, it’s better to start with a wet brush, so wet the brush with clear water and get rid of the excess by scraping the brush on the side of the container, or on some kitchen roll. If you have blotting paper to hand, you can also use this to absorb the excess – just be sure to run the brush along the paper in the same direction as the bristles.

How to do Chinese Brush Painting – step 5, wetting the brush

How to do a centre stroke

Step 1

The centre stroke is one of the simplest (and most common) strokes in Chinese brush painting. It requires only a very light touch to the paper, and the brush is held vertically for the most part.

Hold the brush upright, at a 90° angle with the paper, so that only the tip of the brush is touching the paper. As you place the point of the brush on the paper, press down, and pull through and up and the same time. As you move the brush, slightly increase the pressure before decreasing the pressure and finally lifting the brush off the page. The result is a stroke that is tapered at both ends, and fatter in the middle.

The Centre Stroke is a petal-type stroke, which is also often used to create leaves, including the classic bamboo leaf.

Here is an infographic explaining how to do the centre stroke in Chinese brush painting:

How to do Chinese Brush Painting – step 6a

And here is what the centre stroke will look like:

How to do Chinese Brush Painting – step 6c

The grey background is an offcut of a piece of felt. In Chinese brush painting, you can often achieve more satisfying strokes by laying something like felt, newspaper or foam underneath the rice paper as you work.

How to do a side stroke

Step 1

As well as the pressure applied, the angle between the brush and the paper will determine the thickness of the line. This is an ideal stroke to use to show the graduation of ink or different colours in the same stroke.

Instead of holding the brush vertically, the side stroke is done with the brush held at a slanted angle. The more slated you hold the brush, the thicker the line will be. Hold the brush at an oblique angle to the paper, make contact with the paper and pull the brush along on its side. This is a really great type of stroke to use to create colour gradients.

Here is an infographic explaining how to do the side stroke in Chinese brush painting:

How to do Chinese Brush Painting – step 7a

And here is what the side stroke will look like:

How to do Chinese Brush Painting – step 7b

Practise, practise, practise

Step 1

Now that you’re familiar with the two basic strokes, like warming up for a musical performance, in Chinese brush painting it’s a great idea to start off with some practice strokes. Not only does this help to loosen your hands and wrists, but it also helps to clear your mind, which is part of the mindfulness in this ancient art form. If you don’t want to use rice paper for practice, watercolour paper or newspaper is a great alternative!

Here, we’ve varied the pressure and speed to create different strokes:

How to do Chinese Brush Painting - step 8b

i. Light pressure, fast speed

ii. medium pressure, medium speed

iii. heavy pressure, slow speed

iv. alternating light and heavy pressure, medium speed

v. light pressure with little ink, fast speed

vi. medium pressure, medium speed, brush held in oblique position (see step 2 for grips)

vii. medium pressure, medium speed, brush loaded with ink on either side with less ink in the middle

Here’s the same exercise on newspaper and watercolour paper:

How to do Chinese Brush Painting - step 8c

How to do a grass stroke

Step 1

By combining pressure and speed with direction (or more precisely, changes in direction), there are a number of easy basic strokes we can learn. These strokes can be combined to build up paintings, particularly of flowers or the things in the natural world.

The first type of stroke is a Grass Stroke. This is a stroke that trails off at one end, just like a piece of grass that tapers at one end. It’s typically a longer stroke, and – no surprises – is typically used to paint grass.

Here is an infographic explaining how to do the Grass Stroke in Chinese brush painting:

How to do Chinese Brush Painting - step 9a

And here is what the Grass Stroke will look like:

How to do Chinese Brush Painting - step 9b

How to do a bone stroke

Step 1

Next, is the Bone Stroke. This is typically used for bamboo stems, branches and various types of foliage as, like a bone, it has a thicker part on either end of the stroke: it has a very distinct beginning and end.

Wet your brush and remove the excess. Dip your brush into the ink, so that around a quarter of the brush is loaded with ink. Keep the brush more or less in a vertical position as you move through the stroke.

Press the down on the paper at the start of your line and pull the brush to the end of your line. Then, at the end of your line, press again and lift your brush off the paper, tucking the end of the line underneath the main line as you finish the stroke.

Think of the Bone Stroke as almost a squashed-S-shape, with the two ends of the S tucked under the main line, to contain the energy of the stroke and give it a distinct beginning and end – i.e., it doesn’t taper off like the Grass Stroke.

Here is an infographic explaining how to do the Bone Stroke in Chinese brush painting:

How to do Chinese Brush Painting - step 10

And here is what the Bone Stroke will look like:

How to do Chinese Brush Painting - step 10b How to do Chinese Brush Painting - step 10c

How to do a side bone stroke

Step 1

The Side Bone Stroke is similar to the Bone Stroke above, but instead of holding the brush vertically, the brush is held in a horizontal hold, and the result is a thicker stroke.

Like the Bone Stroke, the ends of the Side Bone Stroke are tucked underneath the main line, so that the top and bottom of the stroke are contained, and it doesn’t taper off.

Let’s start at the bottom of the stroke. Load your brush with ink, then place the side of the brush onto the paper, pull the brush towards you slightly (creating the ‘bone’ part at the bottom of the stroke) then push the brush up (creating the main part), then pull the brush down again for a few millimetres, then lift the brush off. The result is a wider Bone Stroke, that has a distinct beginning and end.

Here is an infographic explaining how to do the Side Bone Stroke in Chinese brush painting:

How to do Chinese Brush Painting - step 11a

And here is what the Side Bone Stroke will look like:

How to do Chinese Brush Painting - step 11c

How to do dimensional dots, type 1

Step 1

Painting Dimensional Dots are a great way to help your hands learn how to easily rotate and manipulate the paintbrush. There are two basic types, one where the darker part is on the outside, and one where the darker part is one the inside. But don’t be fooled by the word ‘dot’ – they are not a dot, like you might do with a pencil or ink pen, more of a filled circle, around an inch in diameter.

For the first variety of dimensional dot, load up your brush so the ink is only on the tip. Then, place the brush down onto your paper, and using the heel of the brush as your pivot point, swirl the brush around in a circle, keeping the heel in one place. The result will be a ‘hard’ dimensional dot with a light centre and a dark perimeter.

Here is an infographic explaining how to do Type 1 Dimensional Dot in Chinese brush painting:

How to do Chinese Brush Painting - step 12a

And here is what the Type 1 Dimensional Dot will look like:

How to do Chinese Brush Painting - step 12c

How to do dimensional dots, type 2

Step 1

The other type of Dimensional Dot is simply a reversal of the first. Like before, load your brush so that the ink is only on the tip of the brush, then place the paintbrush down on your paper.

This time, instead of using the heel as the pivot point, use the tip as the pivot point, and swirl the brush round in a swift motion to create a filled circle, keeping the tip in one place. The result will be a ‘soft’ dot, where the dark ink on the inside gradually fades outwards to a lighter perimeter.

Here is an infographic explaining how to do Type 2 Dimensional Dot in Chinese brush painting:

How to do Chinese Brush Painting - step 13a

And here is what the Type 2 Dimensional Dot will look like:

How to do Chinese Brush Painting - step 13b

How to paint leaves in Chinese brush painting

Step 1

Next, we’re going to show you how to paint leaves. These are generic leaves which can be tweaked and added to a range of different plants. Drawing leaves is remarkably simple (it only takes one or two seconds) and once you have the motion down, you’ll love painting them, too!

These leaves are made up of short, stumpy Grass Strokes. Place your ink-loaded paintbrush down lightly onto the paper, and gradually apply more pressure as you pull the paintbrush through the stroke, before lightening the pressure and lifting the brush off the paper.

Don’t press too hard, you’re aiming for around 1/3 of the brush to be pressed down in the middle of the leaf. Too much pressure means you risk losing control of the tip, and it’s more difficult to lift off the paper.

Next, do a second, short Grass Stroke mirroring the first. Keep the approximate dimensions the same – there’s your leaf!

Using this same motion, add a couple more leaves and finish by adding a stem. The stem is also made using a Grass Stroke, but thinner than the stroke we used to create the leaves.

Here are the three steps that you’ll need to do to paint leaves in Chinese brush painting:

How to do Chinese Brush Painting - step 14a

How to paint a poinsettia in Chinese brush painting

Step 1

Poinsettias are an ideal flower for the beginner to paint. This one is made up of only two different strokes: Dabs and Grass Strokes.

We’ve not covered Dabs yet, but it’s just what it sounds like. Load your brush with ink, then using just the tip dab it down onto the paper. The result is very small, flame-like strokes.

Using the Dab motion, create a semi-circle of dots, orienting them so that the tips of the dots are all pointed upwards. This will be the small flowers on the inside of your poinsettia!

How to do Chinese Brush Painting - step 15a How to do Chinese Brush Painting - step 15b

Step 2

Next, load up your brush with ink then dilute it by swilling the brush in water (or you could start with diluted ink). Using the Grass Stroke, draw several longer lines downwards, and several shorter lines at the top. By varying the length of these lines, it helps give dimension to your poinsettia. These are the leaves that form the bottom of the poinsettia.

How to do Chinese Brush Painting - step 16

Step 3

Load up your brush with darker, non-diluted ink and continue adding wide Grass Strokes around the poinsettia. Like before, use longer strokes at the bottom and shorter strokes at the top.

Finish by adding some small, disconnected Grass Strokes to fill in the gaps between the leaves.

How to do Chinese Brush Painting - step 17a

Once you practise and become more confident with the Grass Stroke, painting a poinsettia like this will only take a very short while.

It’s a technique you can transfer to watercolour painting, so make sure you check out our beginner’s guide to watercolour painting if you’re keen to make the most of your new hobby.


We hope you’ve enjoyed our beginner’s guide to Chinese brush painting. For more brilliant craft tutorials, check out our beginner’s guide to batik arthow to tie-dye or our beginner’s guide to acrylic paint pouring.