All products were chosen independently by our editorial team. This review contains affiliate links and we may receive a commission for purchases made. Please read our affiliates FAQ page to find out more.

Guide to wet felting

Learn how to create mini-masterpieces with our guide to all things wet felting, from essential supplies to all the best project inspiration!

Try our magazines – get 6 issues from just £9.99!

Published: September 1, 2022 at 12:45 pm

Felt is an incredibly versatile material, it's warm and oh-so-soft to the touch, but with persistence, it can be worked and manipulated so that it becomes the same density as wood! In this article, we take you through the basics of wet felting and all the essential wet felting supplies you need to buy to get started.

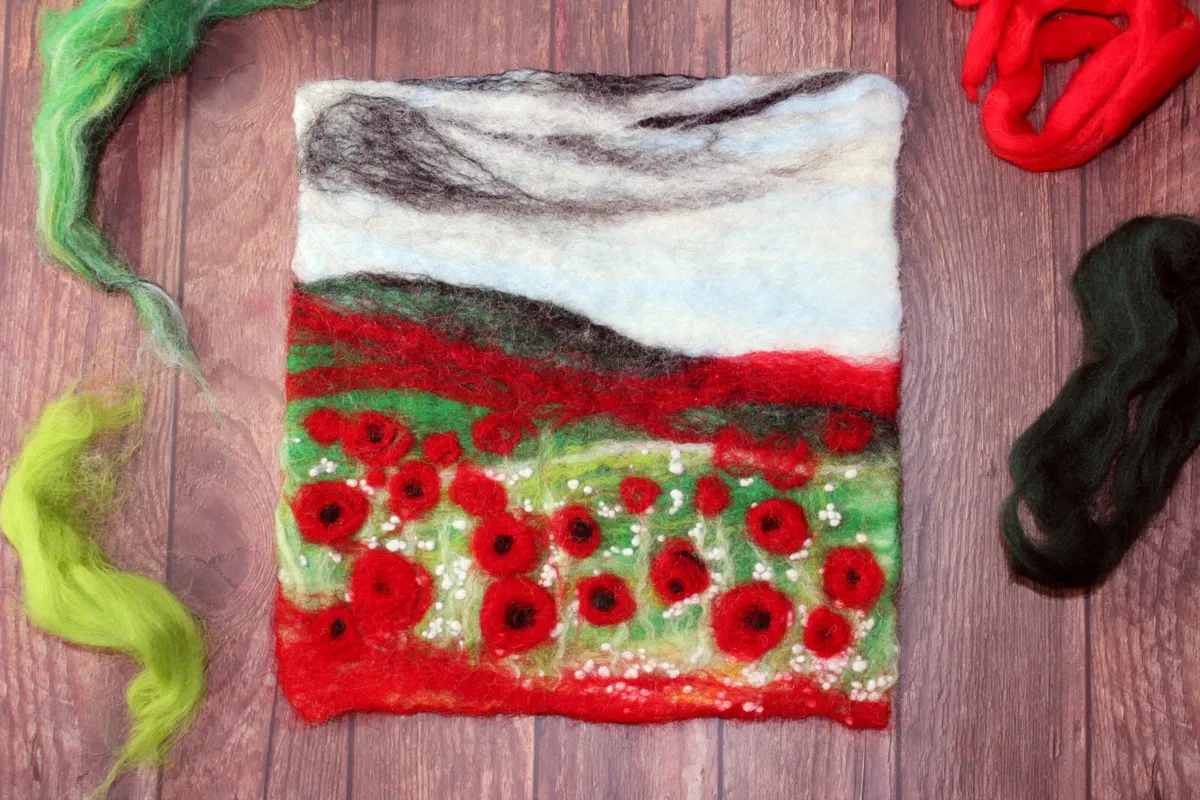
We also have an exclusive step-by-step, easy-to-follow tutorial of how to make this wet felted poppy field scene, plus bring you all the best wet felting inspiration from around the web. Do you have any top tips for wet felting? Let us know in the comments below!

If you fancy checking out our beginner’s project, check out our Beginner’s Guide to Needle Felting – created by needle felting superstar, Gretel Parker.

If you’ve made any of the wet felting projects in this article, why not share a picture with us on Facebook or post them on Instagram, we love to see what you make!

What is wet felting?

Wet felting is the process of making felt by applying friction, heat and water to a mass of loose fleece fibres or roving. These fibres are then worked into a pattern or design, essentially 'painting' with the fibres, to create 2D or 3D piece of work. Once the fibres are felted together, you can use this felt in other projects, like home decor, accessories or clothing items to create truly unique works of art.

Wet felting supplies

Merino wool tops

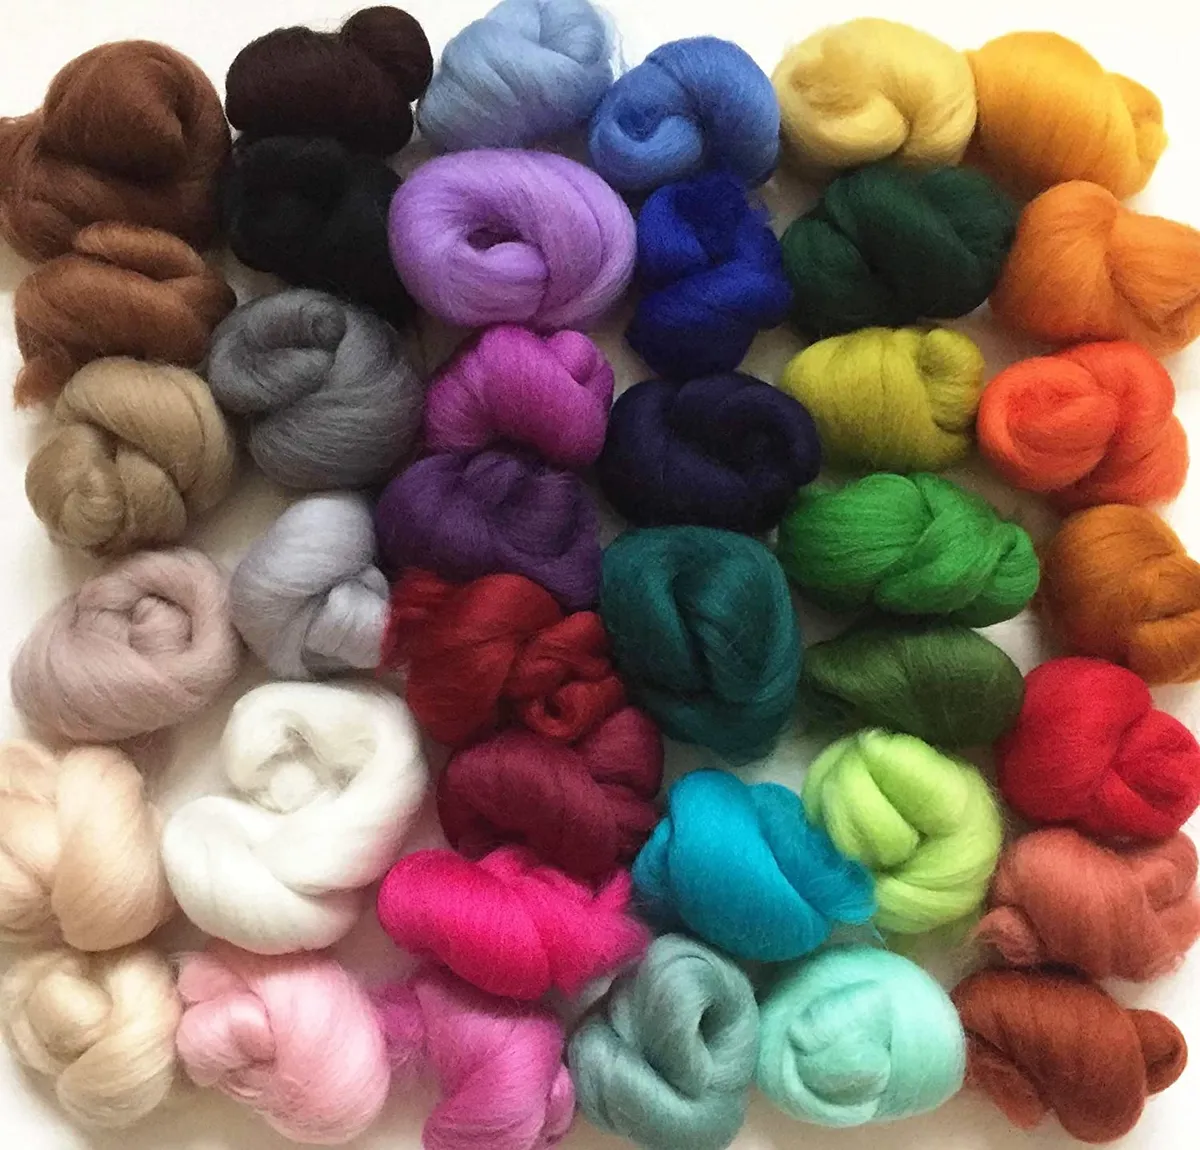
Merino wool tops are a great choice for wet felting. They come in a rainbow of different colours and can be picked up from most craft stores. If you know what design you're going to make beforehand, you can buy larger amounts of the exact colours you need, otherwise, a multipack like this one is a great place to start and build up your stash.

You can use your merino wool for a huge range of felting projects including our mini felted whale or our wet felting project below.

Cream fleece

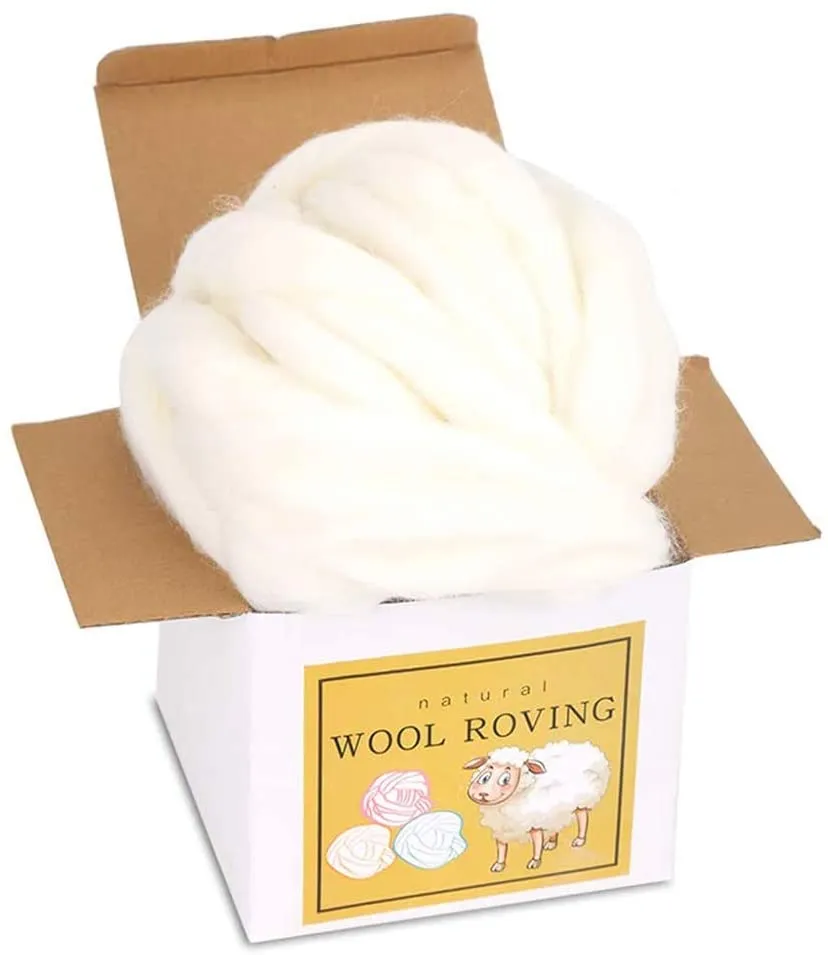
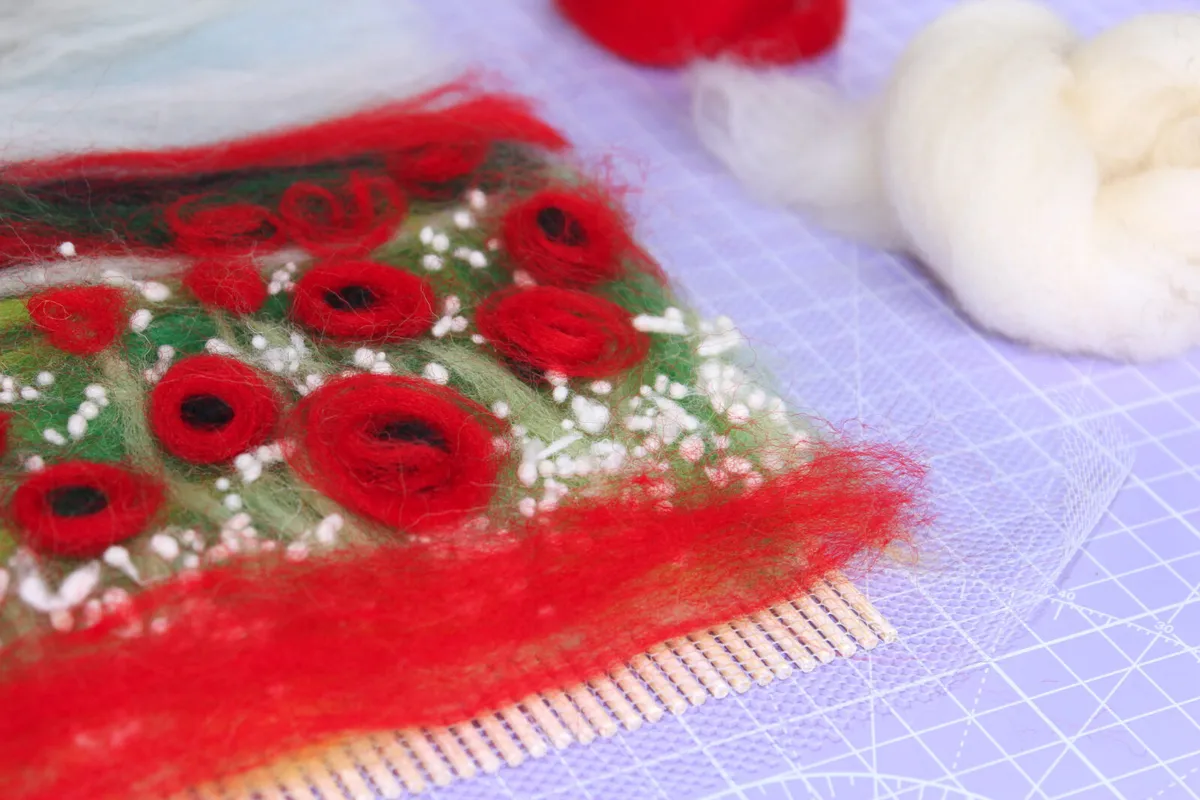
Cream (or white) coloured fleece is useful for sealing your design. Once you've made your design, spread a very, very thin layer of cream fleece over the top and this will help to keep everything in place during the felting process. The thin layer will matt into the felt and you won't be able to see it once you've finished!

Hand carders

Buy now: £14, Elf Kendal Fairies on Etsy

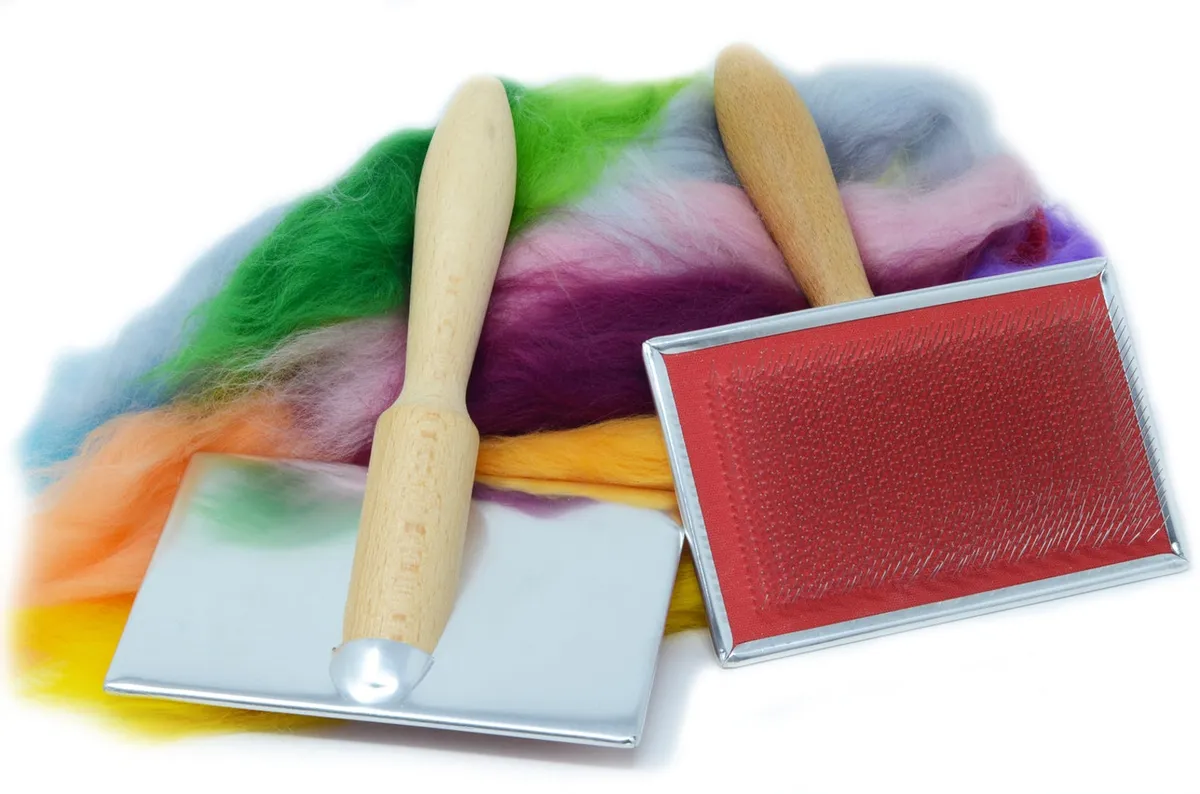
Hand carders are needed in wet felting to manipulate the fibres so that they lie in the same direction. It can take a bit of work, but using hand carders allows you to use a wider range of fibres in your work. If you don't have any hand carders (and don't want to buy any), just be sure to use pre-carded fibres.

Net

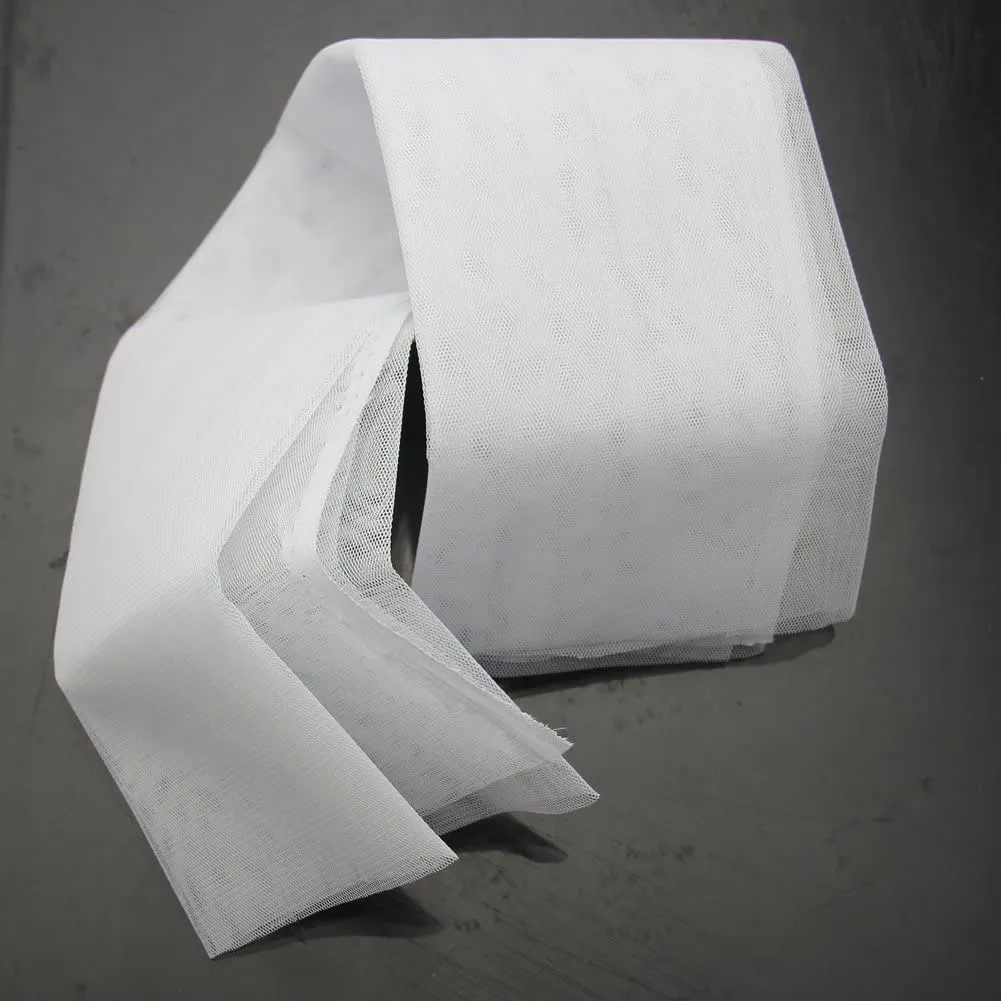
Netting is used to lay over your felted design, through which you apply soap. The coarse texture of the net stimulates the production of the suds, as well as helps to matt the fibres together. You might have some lying around the house (tulle is a great option), or you can pick net up cheaply at your local fabric store.

Bamboo mat

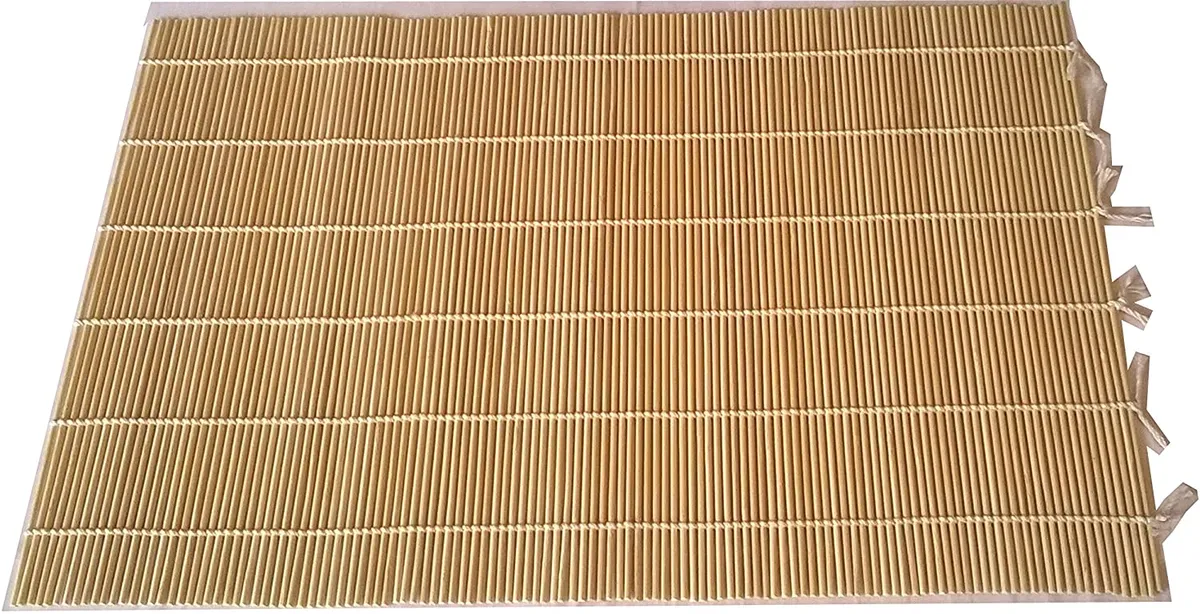
Bamboo mats are used in wet felting to allow you to roll your wet felted piece while maintaining its structural integrity. The water can drain out and the natural bamboo provides the friction needed to felt the fibres together. The type of bamboo mat used for rolling sushi is ideal, or you can also use a bamboo blind.

Olive oil felting soap

Buy now: £3.99, Heidi Feathers

Applying soap during the felting process helps to reduce the felting time (and therefore work!) needed to matt the fibres together. It also means that if you have a complicated design, the reduced felting time helps keep your design in place and reduce warping. Olive oil soap is often preferred by felters, as it's gentle on the hands as well as being low foaming - but wet felting will also work with any bar or liquid soap you have to hand.

Waterproof container

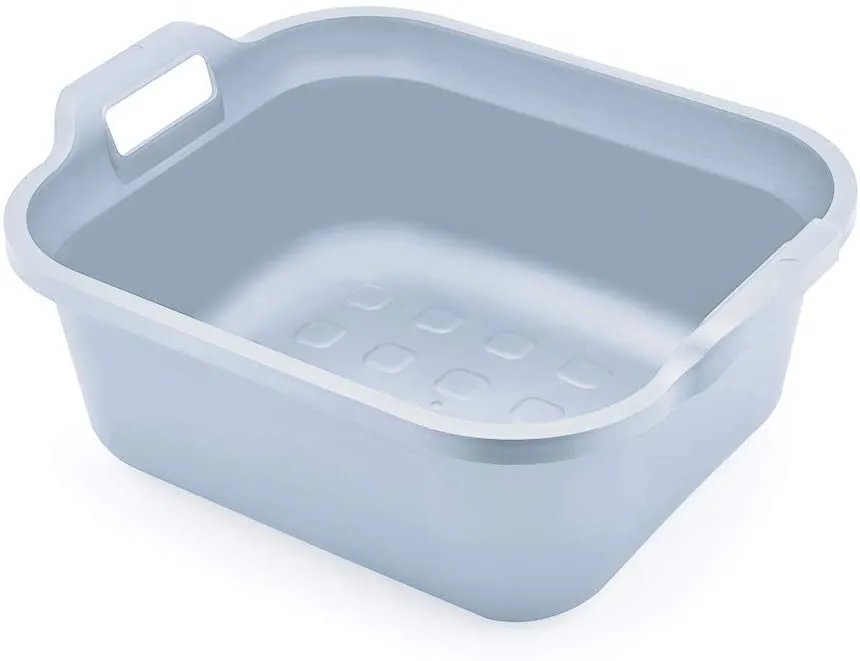
Things could get messy when wet felting, and you'll need to keep the (boiling) water contained. A container like this washing up bowl is ideal, as there is plenty of room to manipulate the felt in the bowl. This one is made from 100% recycled materials, too.

Bubblewrap

Bubblewrap is not essential for wet felting (I made the wet felted poppy field design without using bubblewrap), but it does have its uses. Bubblewrap helps to spread the moisture out evenly across the fleece, removing the air and aiding the felting process. If you don't want to mess up your design, using bubblewrap is a great way to pre-felt. You've probably got some lying around your house, but if you haven't, this small roll is ideal - and perforated for ease of use.

Wet felting kit

Don't want to buy everything individually? Treat yourself to a wet felting kit - this one from Artfelt has all you need to make this beautiful sunset vista, complete with woolly sheep. We love it!

How to do wet felting

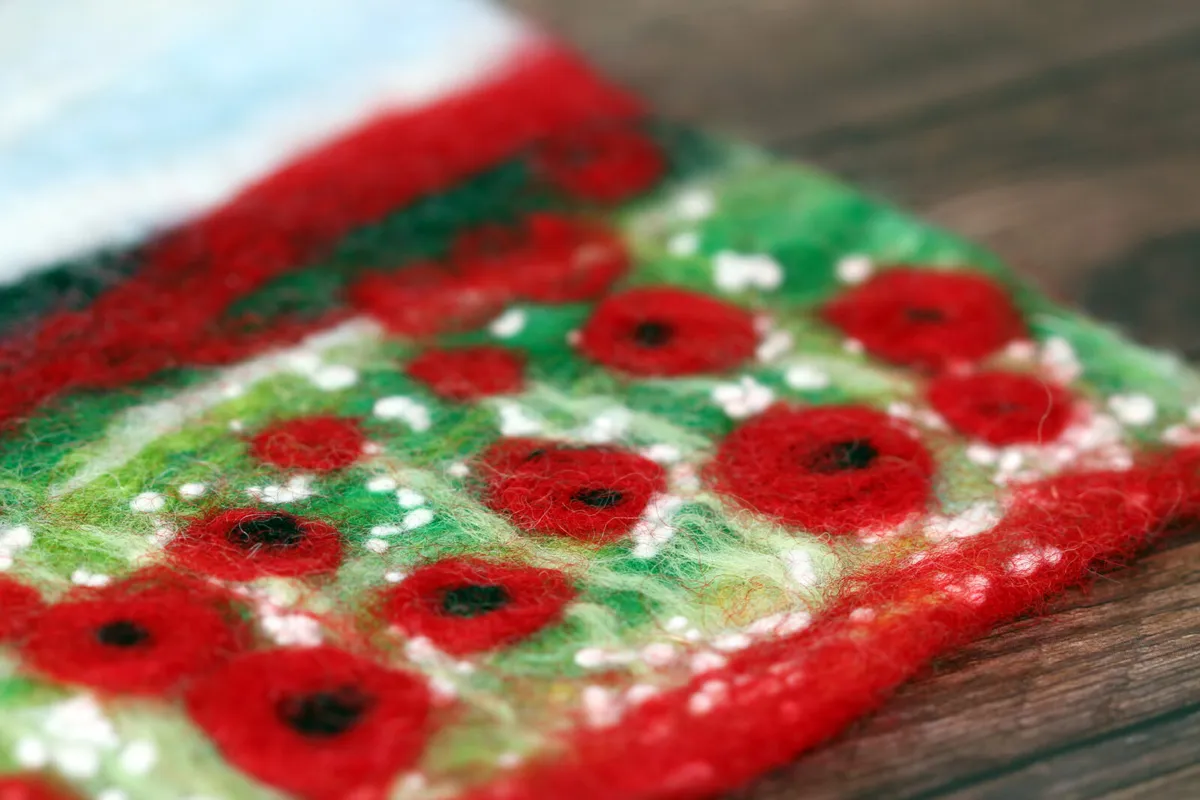
Follow our simple step-by-step tutorial and make this easy wet felted poppy scene!

You will need:

  • Cream fleece (I'm using alpaca)
  • Hand carders (2)
  • Bamboo mat
  • Soap (I'm using good ol' Palmolive soap)
  • Tray
  • Net
  • Water
  • Green
  • Red
  • Black
  • Light Blue

Step 1

Wet felting step-by-step tutorial

For this tutorial on how to do wet felting, I’m going to build up a design of a poppy field on a white background. It helps to be as sparing as possible with the coloured roving, and the white background helps the colours pop.

First, we need to brush the fleece fibres (I’m using alpaca) so that they all face the same direction. Start by spreading a handful of fibres out onto one of your hand carders and start brushing.

Wet felting step-by-step tutorial

If you don’t have a pair of carders – start with pre-carded fibres and pull them apart (gently) to create a sheet. Do this again with another bunch of fibres, and lay this at right angles on top of the first sheet. Now skip ahead to step 5, and start laying out your design on top!

Step 2

Wet felting step-by-step tutorial

Once your fibres are distributed on one of the carders, pull the other carder across, “brushing" the fibres. Do this several times – you’re aiming to transfer the fibres to the other carder.

Step 3

Wet felting step-by-step tutorial

Use the toe of the carder without the fleece on, and position it at the heel (base) of the carder containing the fleece. Push the carder without the fleece upwards – and the fleece will transfer again to the other carder.

Step 4

Wet felting step-by-step tutorial

Keep repeating this process until you are satisfied that all the fibres are facing the same direction. Add more fibres if you like, and keep brushing until smooth.

If you’re blending colours, the process is the same – just spread the fibres across the carder and keep brushing, transferring the fibres from one carder to the other, until you achieve the desired blend.

Step 5

Wet felting step-by-step tutorial

Set out your bamboo mat, and add a layer of netting on top of this. This is your work area for creating your wet felt. Make sure there is enough spare netting on one side to allow you to fold it over on top of your creation.

If you haven’t already, remove your fleece from the carder (do this by placing the heel of the carder without the fleece to the toe of the carder with the fleece on and push downwards until the fleece comes off), and lay on top of the net.

Arrange your fleece in layers (two or three layers depending on how thick you want your felt) by positioning it at right angles on top of each other. This helps encourage the bonding process between the fibres. For this tutorial, I am using two layers – the first laid vertically, the second horizontally on top of this.

Step 6

Wet felting step-by-step tutorial

With your white carded fibres laid out on your netting, it’s time to add your design. Gently pull apart merino wool tops and start layering up the colours.

I’m starting by laying light blue for the sky and mixing up shades of green for the poppy field in the foreground. Start by adding the background colours, then work your way towards the foreground, gradually adding more detail as you do so.

Wet felting step-by-step tutorial

Here, I wanted to add some more dimension to the sky, so I’ve added some brooding storm clouds – but you might like to opt for a sunny autumn sky or a vibrant sunset.

Step 7

Wet felting step-by-step tutorial

Keep building up your design until you’re happy! The roving is easy to manipulate at this stage, so don’t be afraid to experiment – just pick it off if you don’t like it.

If you feel it needs it, to help keep your design in place during the felting process, lay a very very thin layer of white carded fleece over the top and press down.

For the tiny white flowers in the foreground, I’ve pinched a very small amount of white roving and rolled it between my fingers to create felt balls the size of a pinhead. I created the poppies using loose loops of red roving with black centres, which I laid on top of the scene as the last step in building up the design.

Step 8

Wet felting step-by-step tutorial

Place your felt sandwich in a waterproof bowl or tray.

Wet felting step-by-step tutorial

Fold the remainder of the net over your design, pour on a little warm water and rub the olive oil soap over your felt sandwich. This starts the felting process while keeping your design in place (although there is something to be said for the abstract-distorted look).

Rub the soapy net with your hands for around 10 minutes, gradually increasing pressure.

Step 9

Wet felting step-by-step tutorial

Turn the felt sandwich over (leaving the bamboo on the bottom), and add soap to the other side. Rub the netting as before for 10 more minutes.

Step 10

Wet felting step-by-step tutorial

Depending on how matted you want your felt, keep rubbing until you’re happy with the density. Sometimes I prefer the looser look – particularly if I’m creating a piece of felted art rather than felt for a more practical purpose.

If you want to speed up the process, pour some boiling water onto your felt and keep squashing your felt sandwich down. This is where the bamboo comes in handy – roll up your felt sandwich in the bamboo and wring out the water. Take out your frustration by whacking it against the sink. Jump on it. Throw it around a bit. Or you know, just roll it like you would a rolling pin. Continue the process of pouring on boiling water, rolling, banging – peeking every now and then.

Step 11

Wet felting step-by-step tutorial

You will know when the fibres have turned into felt because you won't be able to pinch any of the fibres away.

Go ahead and remove your felt from the netting, and pour a little more boiling water on the now-naked felt. This helps to finish the felting process - as well as washing out any remaining suds from the soap.

Step 12

Wet felting step-by-step tutorial

Wring your felt to remove as much moisture as you can and leave it to dry. If you feel it needs a bit more felting at this stage - return it to net/bamboo sandwich, roll it up and hit repeatedly on a hard surface.

Leave to dry on a towel or on a sunny windowsill.

Wet felting step-by-step tutorial

Now you’ve mastered the technique you need some more projects to get stuck into. Here’s a collection of fun wet felting projects you can try this weekend.

Wet felting projects to try at home!

1. Felted soap

Wet felting project

Felted soaps make an ideal gift – and they are a brilliant first project if you’re looking to dip your toe into the craft – or spend a relaxing afternoon creating insta-worthy crafts. They also make excellent stocking fillers! Get the full tutorial over at Twig & Tale.

2. Wet felting project idea: Pod

Wet felting project

This wet felted pod by Annie & Lyn over at Rosie Pink is made using a flat resist. It’s a brilliant project to experiment with 3D felting – and a nifty trick is used to turn a 2D project into a 3D project!

3. Wet felting project idea: Pebbles

Wet felting project

These wet felted pebbles by The Magic Onions look absolutely beautiful – and they’re weighted so they feel great to hold. Make loads and display in a bowl to match your room decor. It’s a great project for kids, as it’s easy to get good results for this project.

4. Wet felting project idea: coin purse

Wet felting project

Using a tumble dryer creates a different type of felt – Felt Magnet shows you how with this wet felted purse project!

5. Wet felted beret

Wet felting project

We love this wet felted beret – it’s perfect for the cooler weather! Get the full step-by-step photo tutorial over at This NZ Life.

6. Wet felting project idea: slippers

Wet felting project

These wet felted slippers designed by Eternal Magpie look so soft and comfy – thanks to Claire for designing this brilliant tutorial!

7. Felted sun

Wet felting project

If you don’t have a bamboo mat – don’t worry! You can substitute other items to help the felting process. Erin over at Envato Tuts shows us how to make this gorgeous wet felted sun using a towel instead of bamboo.

8. Wet felting project idea: 3D poinsettia

Wet felting project

Try your hand at this beautiful wet felted poinsettia, designed by felting powerhouse Felt Magnet! There’s a brilliant step-by-step photo tutorial over on the website, packed full of useful tips and tricks for you to make your own.

9. 3D wet felted flower

Wet felting project

3d wet felted flowers are popular makes in the crafting community – we love this beautiful 3D wet felted flower by Sally Gulbrandsen over at Felt Magnet.

10. Wet felting project idea: layered flowers

Wet felting project

These brilliant wet felted decorations are made using cookie cutters to help shape the wet fibres – get the full tutorial over at Kleas.

11. Wet felted clutch bag

Wet felting project

Once you’ve made your felt – what to do with it? Debbs Eliman over at Top Snow Queen has made this gorgeous clutch bag by mixing chocolate and blue shades of roving together.


Enjoy the meditative art of wet felting

Working with your hands has always been a meditative practice for us here at Gathered. And few crafts use your hands more than wet felting!

This calming craft takes your mind away from the stresses of everyday life. Enjoy the repetitive motion of pulling, placing and needling your wool into place. Felting really is a craft you can lose yourself in and is the ideal project to try this weekend.

Discover more felting projects with Gathered

If you would like to try your hand at needle felting, take a look at our pick of the best needle felting kits or make our adorable needle felted animals!