Fun summer holiday lettering project for kids
Looking for a fun summer craft project for kids? Try this fun lettering project from the Modern Calligraphy Co

Published:
Create your own stunning monogram – ‘Initial‘ of your name, to pop on your bedroom door, or give to a friend for their birthday! This simple way of turning a letter into a design is easy to do, eye-catching and certain to impress your friends.
You don’t need a lot of materials to make your own monogram – just some paper, coloured gel pens and a biro. You could use coloured pencils or felt tip pens for this project too.
Read on to learn how to make your own fantastic monogram with our step-by-step guide.
Looking for more fun holiday arts and crafts projects for kids? Check out our pick of the best craft kits for kids, have a go at some popsicle stick crafts or learn how to make a cardboard castle.
You Will Need
- A blank postcard
- Coloured felt tips or gel pens
- A biro
Total time:
Step 1
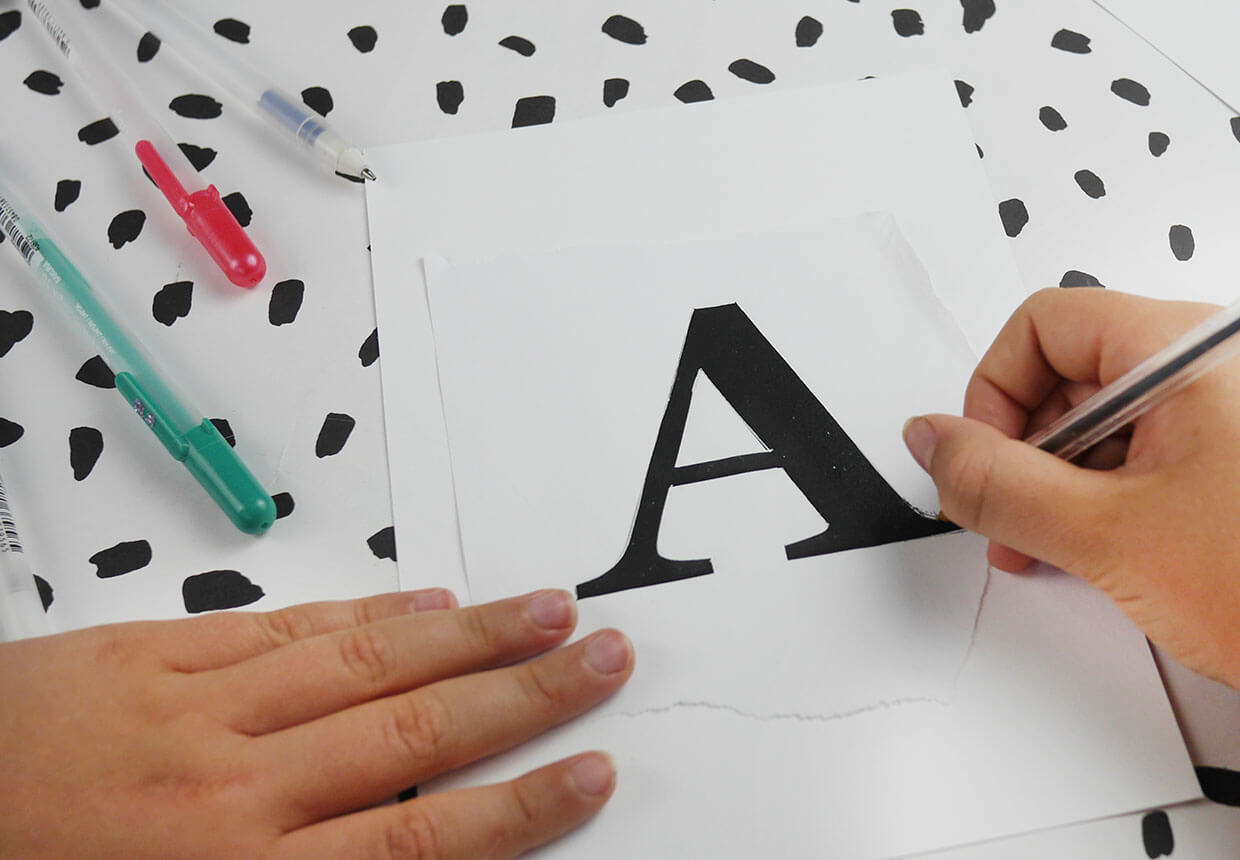
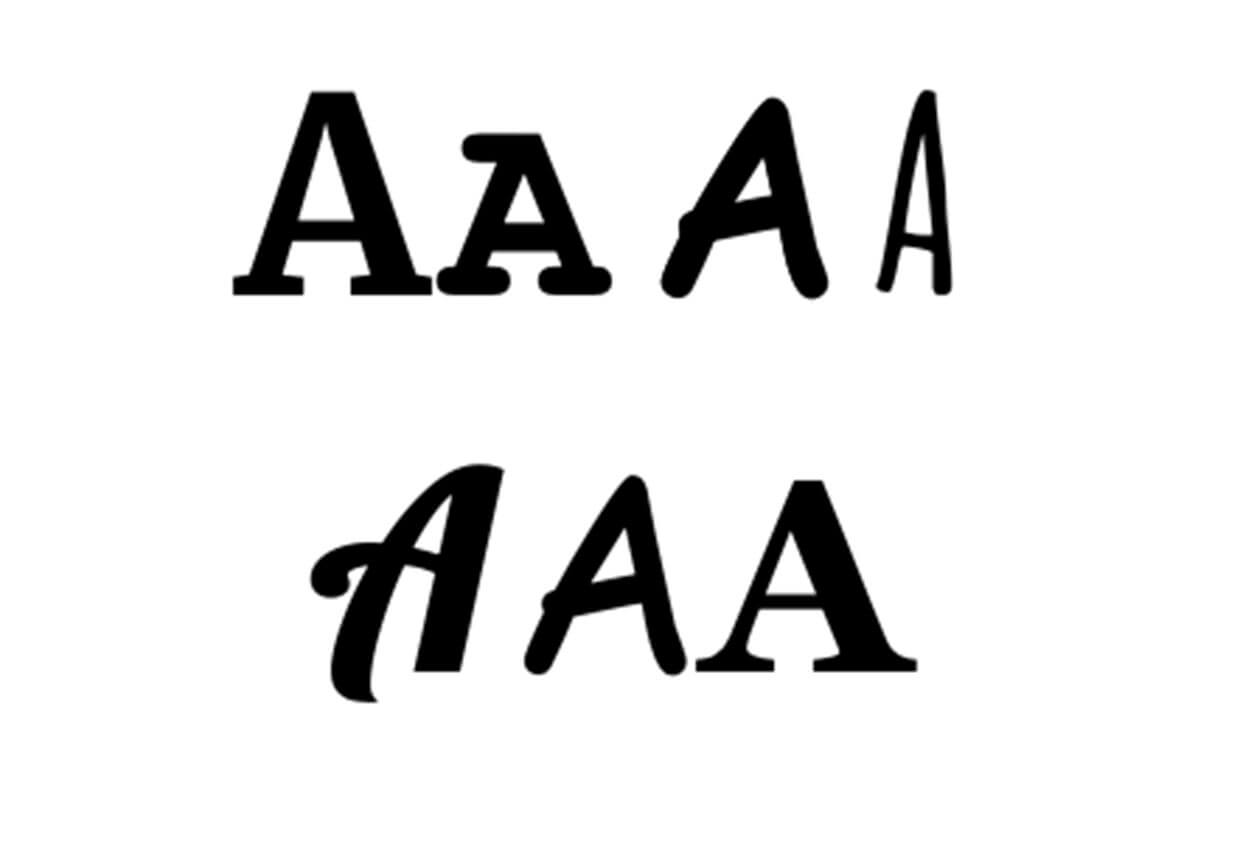
Fonts come in all kinds of shapes and sizes, and for this project you need just one letter in the font style that you like the best. Use Word or Google Docs to type the first letter of your name and change the font style. Decide whether you want a curly handwriting style, or a blocky typewriter styled font and then make it big!! You want the font size to be at least 300 so that the letter is approximately 10 cm high. Now print it onto a piece of paper in black to use as your template.

Step 2
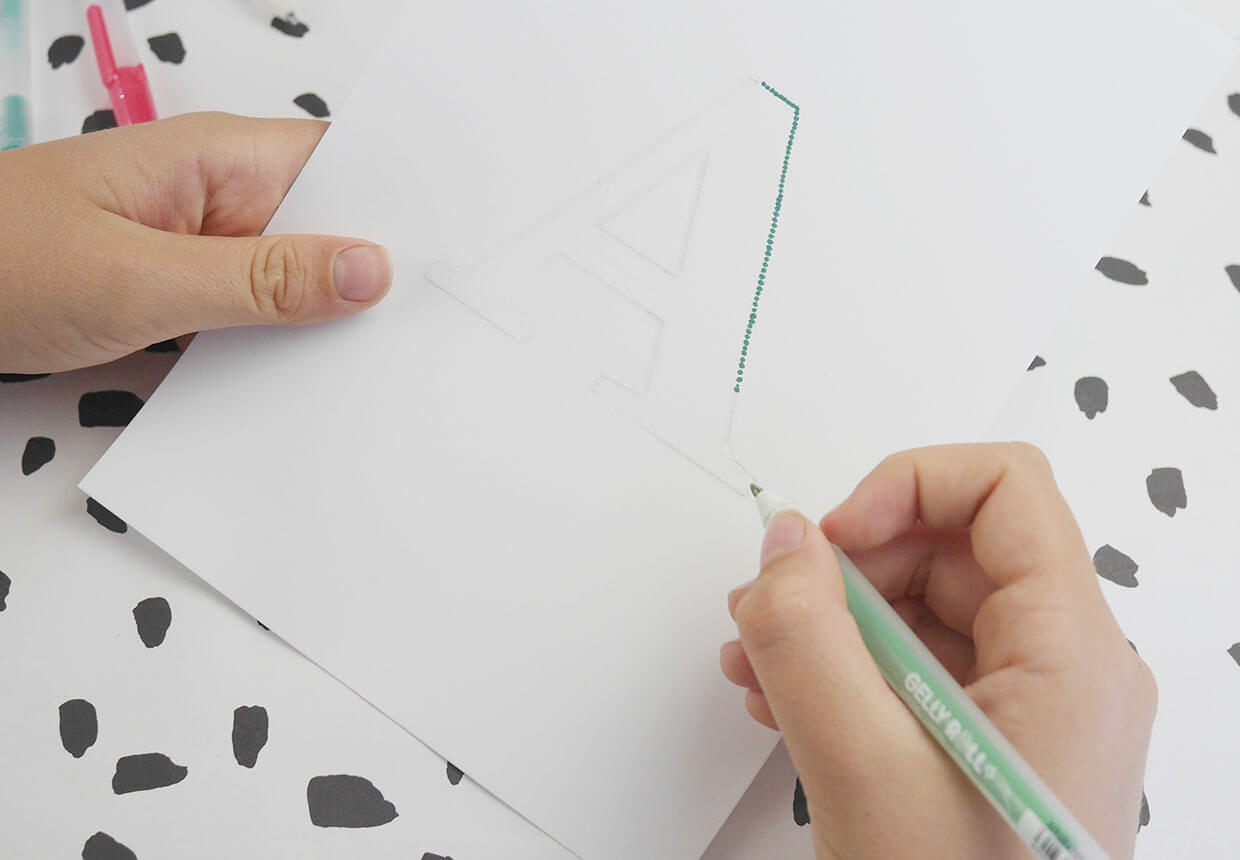
Place your paper with the printed letter on top of a blank piece of card. Position it so that you have space around it so don’t put it too close to the edges. Next, use a biro to draw over the outline of the letter, pressing down hard. The idea is to leave an indentation on the card underneath to use as a guide.

Step 3
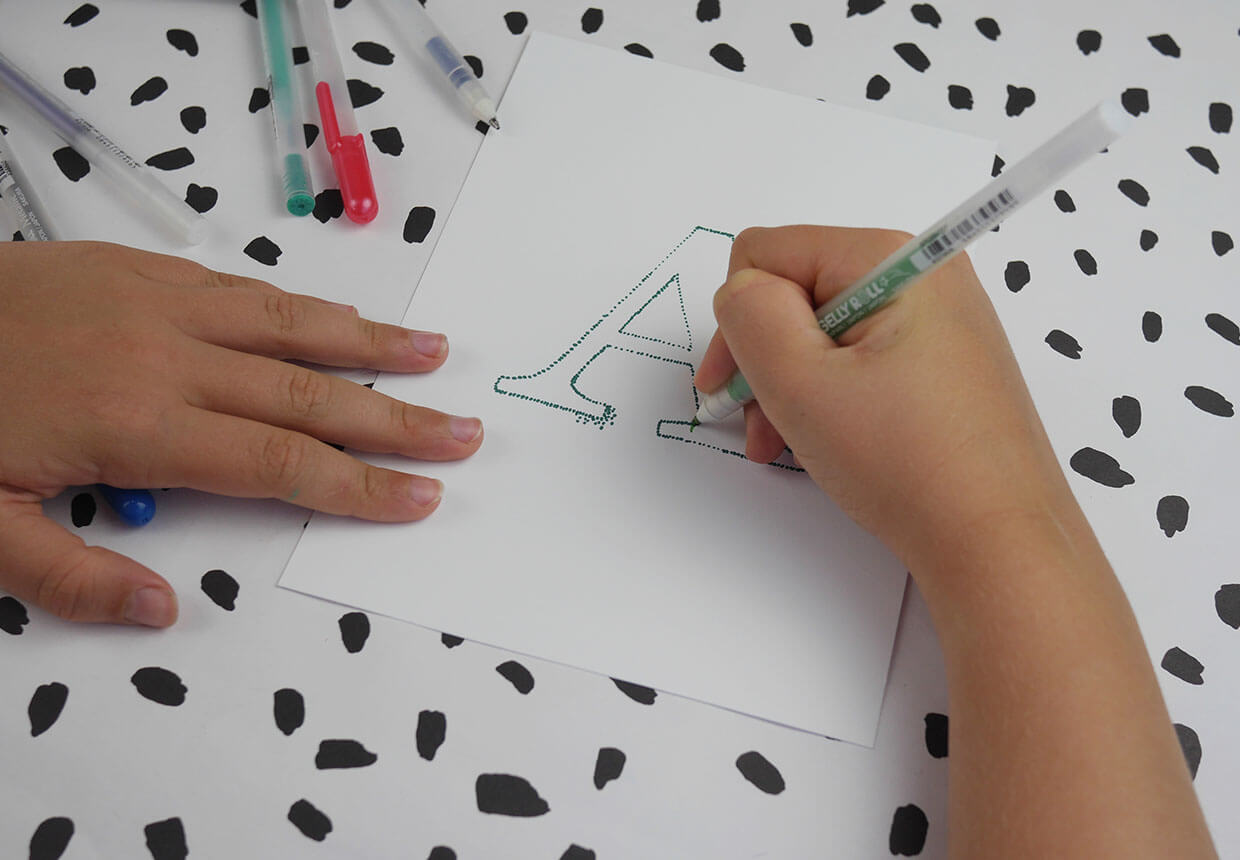
Now you can put the printed letter to one side as your card has your version of the initial on it as an indent. Grab coloured gel pens or felt pens, and start to draw dots around the outside edge of the letter. Keep the dots close to each other and near the edge keeping the inside of the letter completely empty, the dots around the outside will do all the work!

Step 4
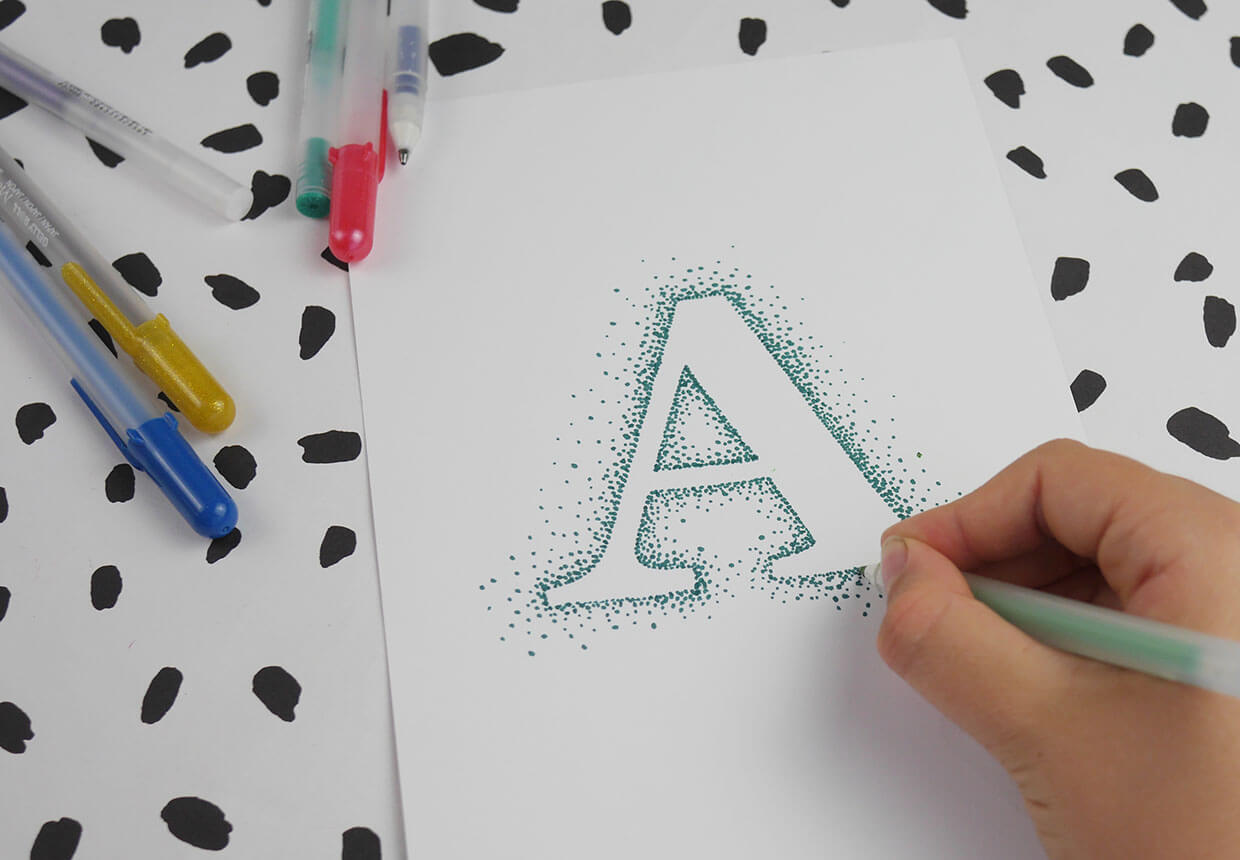
Once you have filled the area around the outside edge of the letter, move further away and now spread your dots out more. Keep moving away from the letter, making less dots the further you move towards the edge of the card. Concentrate on not flicking the pen so that the dots are neat and round.

Step 5
Review your design and if there are areas that look uneven, just add some more dots evenly around your design and that’s it. One stunning monogram design.

Variations
You can add lots of different colours or make your dotty outline and then colour inside the letter – fill it with multi-coloured dots. This idea can be used for words too, perfect for making birthday cards, party signs or Christmas cards. Find loads more advice and ideas for both kids and adults at www.youtube.com/c/KirstenBurkeTheModernCalligraphyCo.
Join the club
If you enjoy the calming quality of calligraphy and would like to continue learning, join The Modern Calligraphy Club – a fun, social, creative and inspiring – with workshops, printable worksheets, monthly projects, mini masterclasses and the chance to share ideas and interact with other enthusiasts and get feedback from our experts. Find your happy place with calligraphy for only £21 per month. https://the-modern-calligraphy-club.mn.co
Scan this QR code for a one-month free trial

Looking for more calligraphy inspiration? Check out our calligraphy for beginners guide to learn more about this fun craft. Alternatively, you can stock up on calligraphy supplies with our pick of the best calligraphy books and calligraphy kits for beginners.