
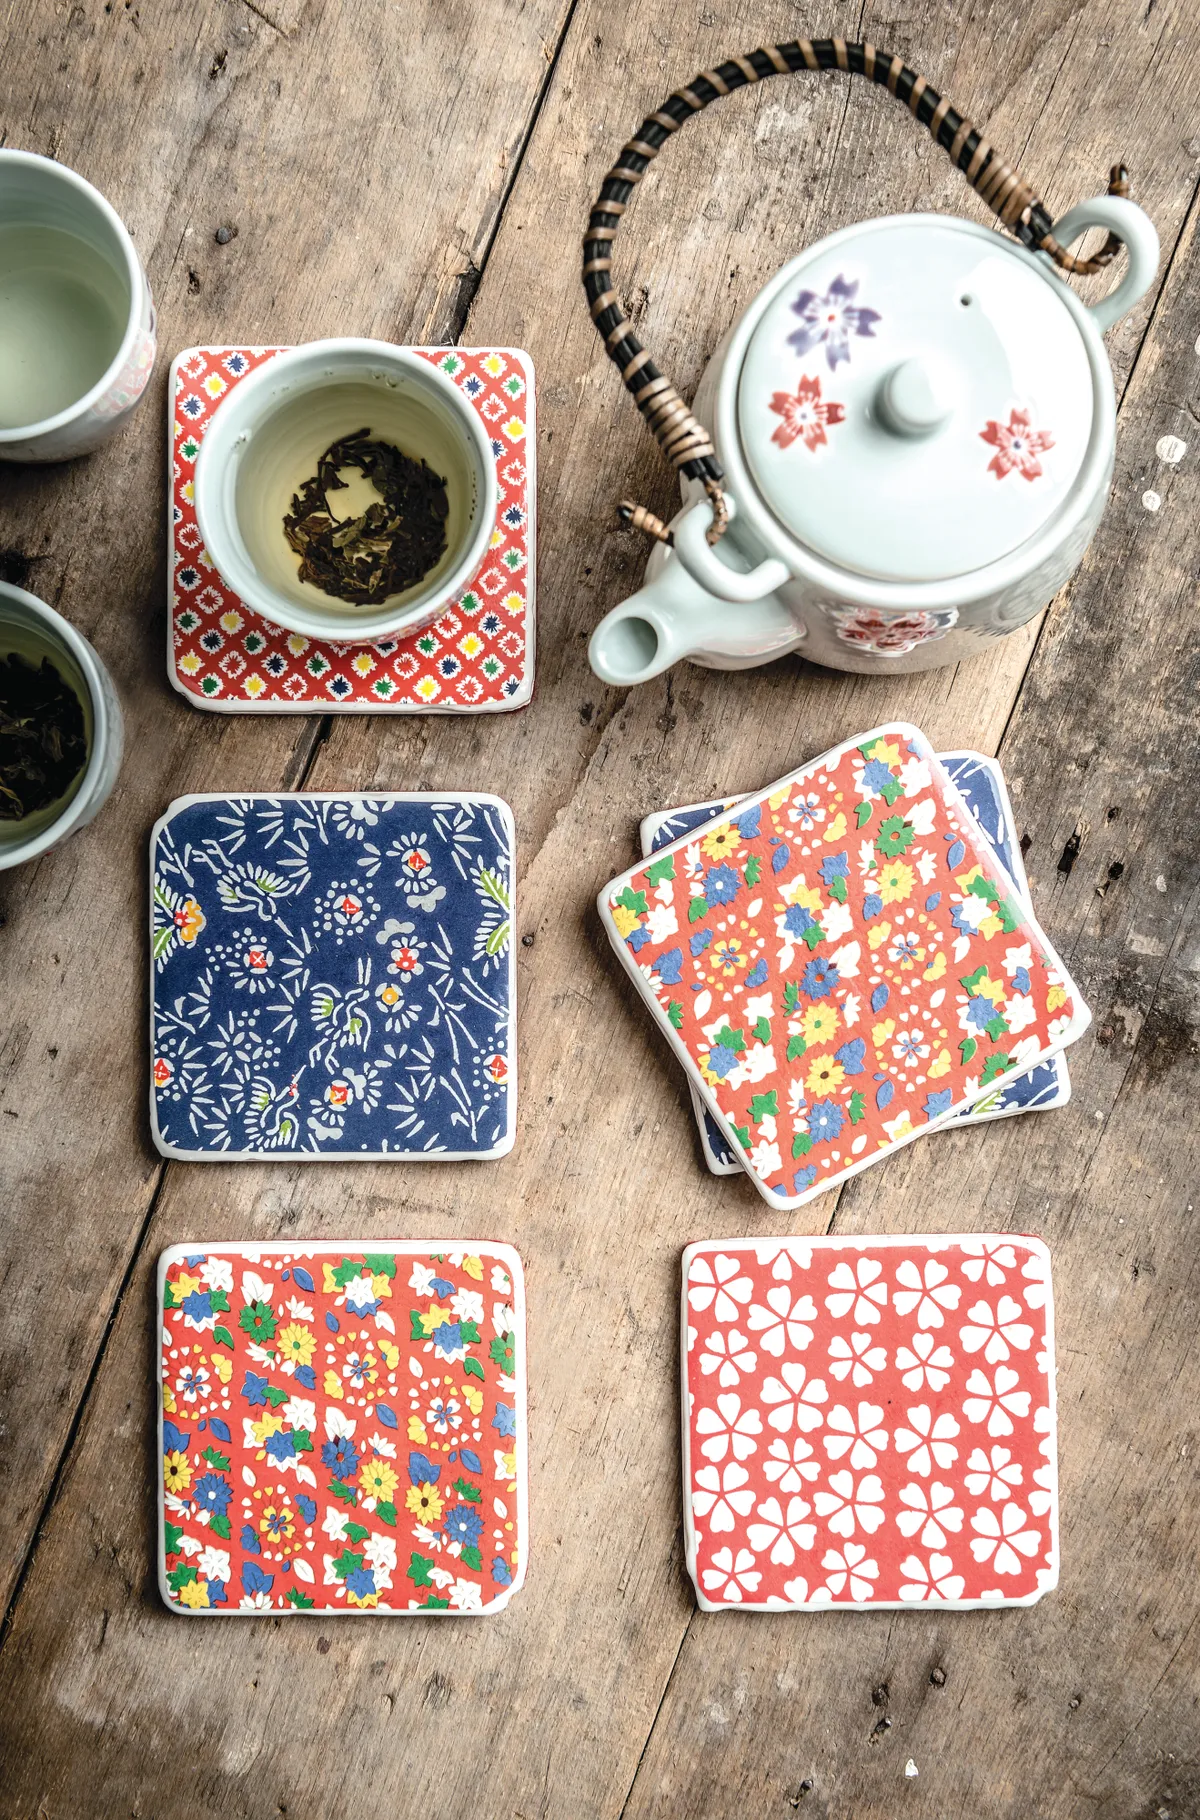
Add some rustic charm to your home by upcycling some old tiles with these exciting colourful coasters. They’re quick and easy to make and with very little outlay, so if you're looking for a side hustle, they’re perfect for profit.
It’s much cheaper to bulk-buy, but sample tiles are a great way to try out a shape or colour before you commit to buying a box.
We used bright origami papers to add a blast of colour to our coasters, but you can use wallpaper or wrapping papers – just choose something smooth for a neater finish.
If you're stuck for patterned paper, we have a huge selection of patterned paper here on Gathered, all free for you to download and print!
Sell your coasters in fours or sixes for a better return – why not offer a pick and mix option so shoppers can create their own unique sets?
Here's a top tip, if you're selling or giving your DIY tile coasters as gifts, tie sets of four with sheer ribbon for a luxe wrap and easy presentation.
The technique used to make these DIY tile coasters is similar to that used in decoupage - so check out how to decoupage for everything you need to know! Like this project - why not make a matching decoupage tray?
Check out our other upcycling projects for more inspiration, like how to upcycle a mirror, or how about making your own DIY birdhouse? Why not check out our round-up of the best sea glass projects, or how about giving your wardrobe a revamp without splashing the cash? We've got all the best upcycling clothes ideas here on Gathered.
We love seeing what you make, so don’t forget to share your upcycling or craft projects with us on Instagram, Facebook or Twitter, too!
You will need
- Patterned paper (wallpaper, origami paper or wrapping paper)
- Pencil
- Scissors
- PVA glue
- Rustoleum Crystal Clear Semi Gloss Finish Spray
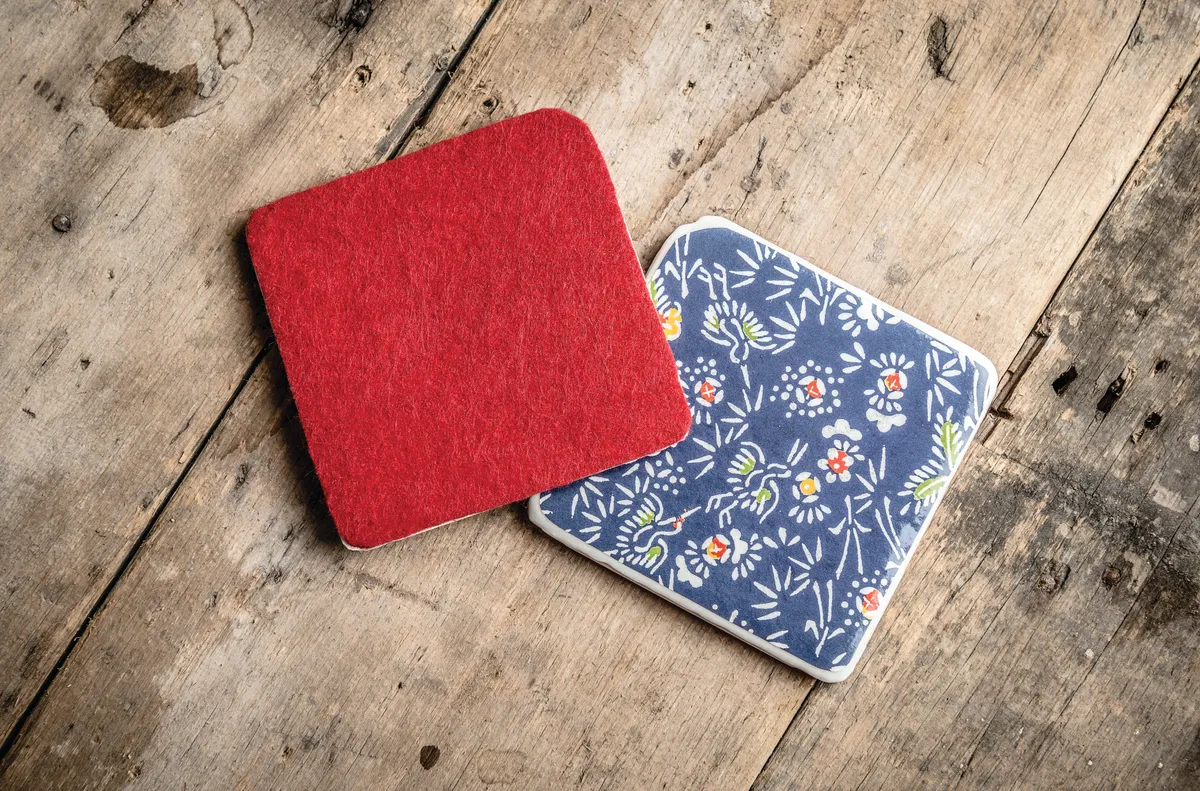
- Felt
- Tailor’s chalk


