All products were chosen independently by our editorial team. This review contains affiliate links and we may receive a commission for purchases made. Please read our affiliates FAQ page to find out more.

How to make an envelope

If you like to make cards, it's nice to finish off your design with a DIY envelope - here, we have five free envelope templates for you to choose from!

Try our magazines – get 6 issues from just £9.99!

Published: March 28, 2022 at 6:07 am

Making your own envelopes is easy - and it's even easier using the ScanNCut! In this article, we show you how to make an envelope out of paper with five different designs - and that means five free templates! You can use the PDF template to cut out your template by hand, or use the SVG files to cut them with a digital cutting machine. We also have a fantastic hidden envelope project.

Want some free patterned paper to decorate your DIY envelopes with? Take a look at our ever-growing collection of free patterned papers, there are lots to choose from and there are lots of different themes suitable for making your own envelopes. We think these vintage stationery papers would be ideal!

If you like this project, why not have a look at some of our paper projects?Cut these out by had using scissors, or download the SVG files to cut with a digital cutting machine. We’ve also got how to make stickers (with free bullet journal printables), how to make stencils, this realistic paper rose, a gorgeous daffodil wreath, an easy paper lantern or these flowers in a jam jar!

You will need

  • Your exclusive templates (download below!)
  • Card
  • Patterned paper

Watch our video tutorial

How to make an envelope out of paper

You will need:

  • Envelope templates
  • Card
  • Patterned paper

Step 1

First, download your exclusive DIY envelope templates. If you’re using a ScanNCut – download the SVG files, otherwise use the PDF versions! Please note that the PDFs are at half-size (so they fit onto an A4 page), so will need to be doubled in size, but the SVG files are at 100% as they are designed to be used with 12 x 12" scrapbook paper. For each envelope, there is a template for the envelope itself and a corresponding insert.

PDF: Free envelope templates (all designs)

SVG: Long envelope (8.5 x 4.5", fits A4 paper, folded in thirds)

SVG: Long envelope insert

SVG: Regular envelope (5 x 7")

SVG: Regular envelope insert

SVG: Small envelope (4 x 6")

SVG: Small envelope insert

SVG: Square envelope (6 x 6")

SVG: Square envelope insert

SVG: Square box envelope (5 x 5")

SVG: Square box envelope insert

How to make an envelope out of paper – step 1

Step 2

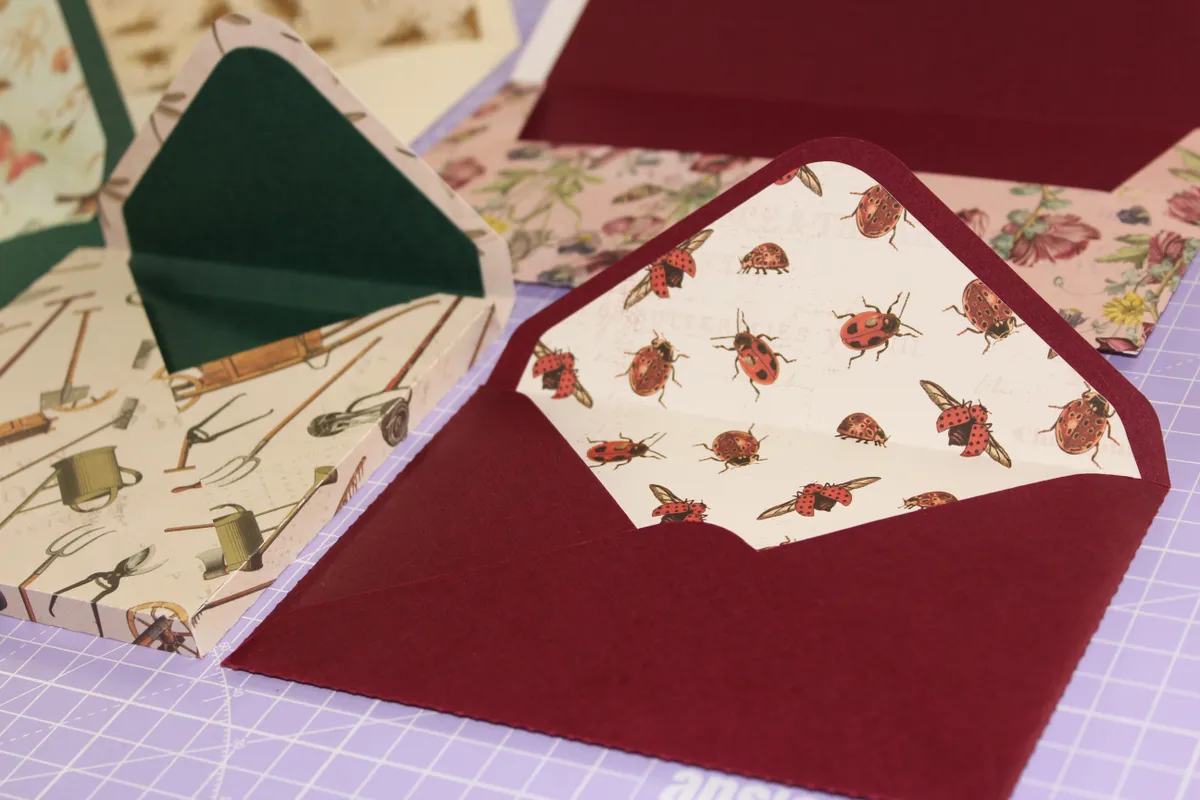
If you’re using a ScanNCut, stick some paper or card onto your Brother cutting mat, and burnish the paper or card down well. For this tutorial, I’m making the small envelope. I’ve chosen maroon coloured paper for the outside and patterned paper from the Gardenia paper pad for the inside of the envelope. If you are cutting by hand, just choose the paper and card to want to use for your envelope.

How to make an envelope out of paper – step 2

Step 3

Cut out the envelope and insert shape from your chosen papers, cutting by hand or using your cutting machine.

How to make an envelope out of paper – step 3

Step 4

Now that you have your DIY envelopes cut out, fold along the dotted lines – but don’t stick it together just yet. Burnish the folds with a bone folder or a ruler to get a nice strong crease.

How to make an envelope out of paper – step 4

Step 5

Next, stick the patterned insert onto what will become the inside of your DIY envelope. It’s easier to do this before you’ve stuck the envelope together – but it can be slipped in later if you forget.

Only apply adhesive on the top part, leaving the part of the insert that sits inside the envelope free to move. As the envelope is opened and closed, you want a little movement, otherwise, the insert will wrinkle at the crease.

How to make an envelope out of paper – step 5

Step 6

Stick your envelope together using the adhesive of your choice – I’m using a tape roller. Leave the top open until you’re ready to use your DIY envelope.

How to make an envelope out of paper – step 6

Step 7

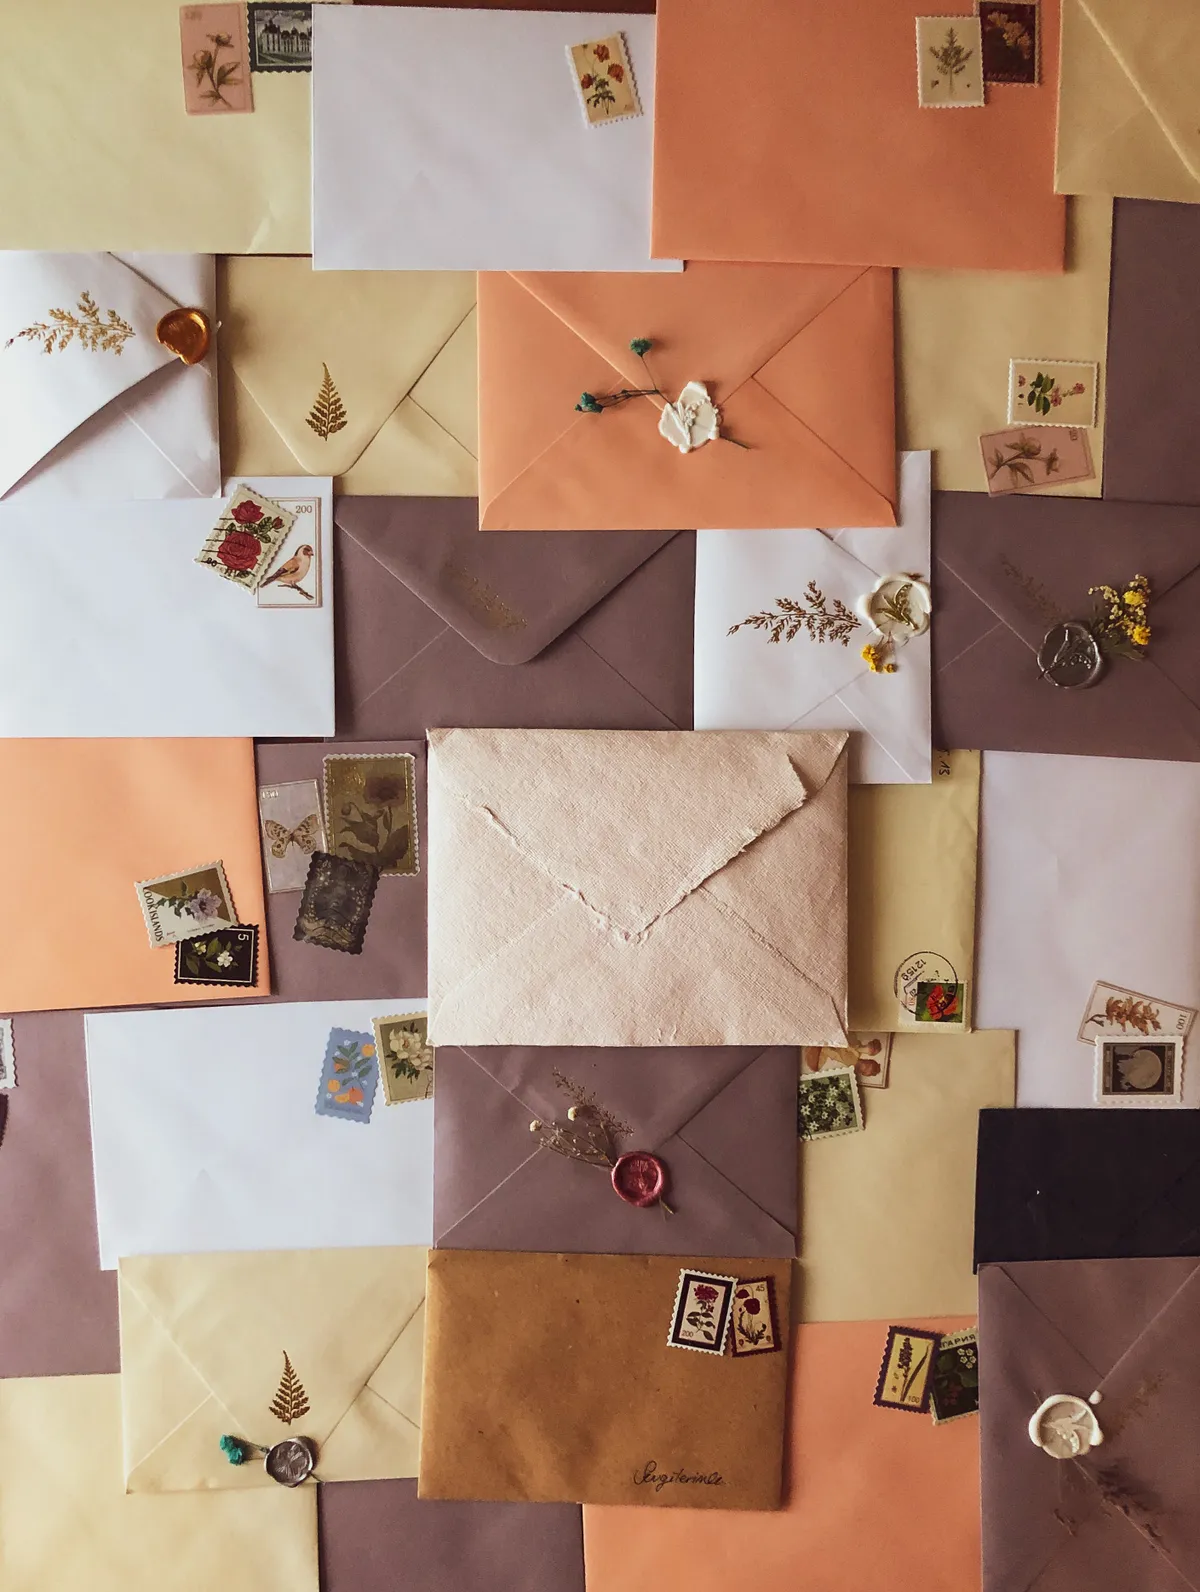
Make a stash of envelopes and have fun playing around with different combinations of patterns and colours.

When you’re ready to use your envelope, slip in your card and seal your envelope using envelope glue or double-sided tape. How about using a sticker from our bullet journal printables across the join – they’re free to download (just print onto sticker paper and cut out)!

How to make an envelope out of paper

Sealing DIY envelopes

If you’re making your own envelopes, you can buy a special ‘envelope glue’ (like this envelope glue from Hunkydory) to paint onto the paper. Once dry, all you need to do is apply water (or lick it) for it to become sticky enough to seal your DIY envelope. If you’re hand-delivering your card, then using a sticker is a quick and easy alternative. It looks cute, too.

DIY Envelope – how to make an envelope – wax seal. Image by Thalia Ruiz

However – our favourite way to seal DIY envelopes is to use sealing wax with a patterned seal. It instantly adds the wow-factor and wax seal sets are relatively cheap to pick up – like this vintage-style wax seal kit from Amazon.


Hidden message envelope

Impress your friends with this clever design – at first glance, it looks like an envelope, but open it up and you’ll soon discover it’s a card that’s full of exciting surprises! It’s easy to create the basic envelope shape – the instructions can be adapted to change the dimensions so you can easily make different-sized cards.
DIY envelope – how to make an envelope
This type of card is ideal for adding interactive elements, like pockets, removable tags, mini envelopes and even shakers, so you can vary the surprises inside. You can leave the outside of the envelope card blank, or decorate it with a hint of what’s to come. We made a sweet band to go around ours, which looks pretty and holds the envelope shut, too! Here’s a top tip for this project: when glueing vellum, only apply glue where it can’t be seen on the finished card.

Step 1

Cut a 20cm square piece of white card. Using a sharp pencil and a ruler, measure and mark the mid-way point along each side of the card, positioned at 1cm in from each edge.
DIY envelope – how to make an envelope

Step 2

Score diagonal lines through the points you marked in step 1. Cut off the little triangles in the centre of each side, trimming them a little bigger than the score lines.
DIY envelope – how to make an envelope

Step 3

Fold the four side flaps inwards, and burnish the folds. Check that all the sides of your envelope will fold up neatly. If they don’t or look uneven, simply trim until they fold neatly.
DIY envelope – how to make an envelope

Step 4

Open out the card. Cut four triangular pieces of pink dotted paper to fit the envelope flaps. Cut a piece of floral paper to fit the centre of the card. Stick all the papers in place, as shown.
DIY envelope – how to make an envelope

Step 5

Follow steps 1-3 to make an envelope from a 15cm square of vellum. Glue the sides and bottom flaps in place, then adhere to the centre of your card.
DIY envelope – how to make an envelope

Step 6

Cut four large, four medium and four small hearts – we used a die-cutting machine and dies to cut ours. Glue pairs of hearts together with a length of twine sandwiched in between. Add die-cut ‘love’ letters and a sparkly die-cut key.
DIY envelope – how to make an envelope

Step 7

Decorate the panels with hearts, scalloped circles, sentiments cut from patterned paper and a die-cut ‘love’ word. Create a pocket on the top flap and tuck two tiny tags inside.
DIY envelope – how to make an envelope


We hoped you enjoyed this DIY envelope project. If you love envelope designs – check out this darling little envelope clutch bag, or how about these fab crochet envelope bags!