How to make a felt doll family
Stuck for present ideas this Father’s Day? Why not make your pa mini felt doll family? Louise Kelly shows you how.
Say goodbye to awkward family photos, and hello to a cute collection of felt mini-mes. We love the idea of making dinky doll versions of ourselves, plus this way you can guarantee your hair and make-up look spot on.
Each doll is constructed using the same basic steps, with different details added to personalise them. Use felt and scrap fabrics to match the hair colour, skin tone and favourite outfits of each family member. And, don’t forget your furry friends, too – sew on patches or embroider features so they look just like the real thing. We’ve used two strands of thread throughout, unless otherwise specified.
This project was originally from Mollie Makes.
You’ll need
- Felt in peach, yellow, brown, red, white, black, grey and pink
- Embroidery thread in black, pink, white, yellow and brown
- Scrap fabrics for the outfits
- Two buttons, 0.5cm (¼”) diameter
- Soft toy stuffing
- Glitter card
- Fabric glue
- Templates
How to make a felt doll family
Step 1
Using the templates, cut out all pattern pieces, adding a seam allowance to the clothing.
Step 2
Position the hair front piece on top of the face piece. Sew in place around the hairline using backstitch and matching thread.
Step 3
Place the neck piece on the wrong side (WS) of the hair back piece, using the face to position it correctly – the base of both neck pieces should line up. Sew together along the base of the hairline using matching embroidery thread.
Step 4
Cut two small ovals of black felt for the eyes. Attach to the face using blanket stitch and matching thread, referring to the main image for placement. Add highlights using French knots in white thread, and eyelashes using straight stitches and matching thread.
Step 5

Using black thread and backstitch, sew the mouth. For the mum, use backstitch and pink thread to create an outline, then fill in the lips with satin stitch.
Step 6

To make the dad and the boy’s cotton body pieces, place a shirt and a jeans piece with right sides (RS) facing. Sew across the waist using a 0.5cm (¼”) seam allowance, then press the seam open.
Step 7

Place a cotton body piece onto a felt body piece, RS up. Position the face piece on top, RS together and aligning the neck pieces. When making the mum, place the Peter Pan collar in between the head and the body, aligning the straight edge with the neck edge. Do the same for the girl, but using the pinafore collar. Sew across the neck, then repeat with the remaining body pieces and hair back piece.
Step 8

Open out the front and back pieces of the doll. Pin together with RS facing, aligning the edges and neck area. Starting at the base of the doll, backstitch around the outside of the felt body and head pieces, using a 0.25cm (1/8″) seam allowance and leaving a 2.5cm (1″) gap at the bottom for turning.
Step 9

Turn through to the RS, stuff firmly, then neatly close the gap using ladder stitch.
How to make the mum
Step 1
Sew the buttons under the centre of her collar using matching thread. To give the top knot a round bun shape, wind matching thread around it a few times, pull the thread tight, then fasten off.
How to make the dad
Step 1
To make a bow tie, sew the short ends of the large bow piece together, then flatten the loop so the seam sits at the centre back. Pinch the middle of the bow, wrap a thin length of felt around it, and secure with a few stitches at the back. Without cutting the thread, sew the bow to the shirt.

How to make the girl
Step 1
Backstitch the pinafore collar to the body. To add the pocket, fold the scalloped edge of the pocket piece to the RS. Sew to the body along the curved edge, RS up, and leaving the top of the pocket open.
How to make the boy
Step 1
Backstitch the pocket piece to the front of the body, leaving the top of the pocket open.
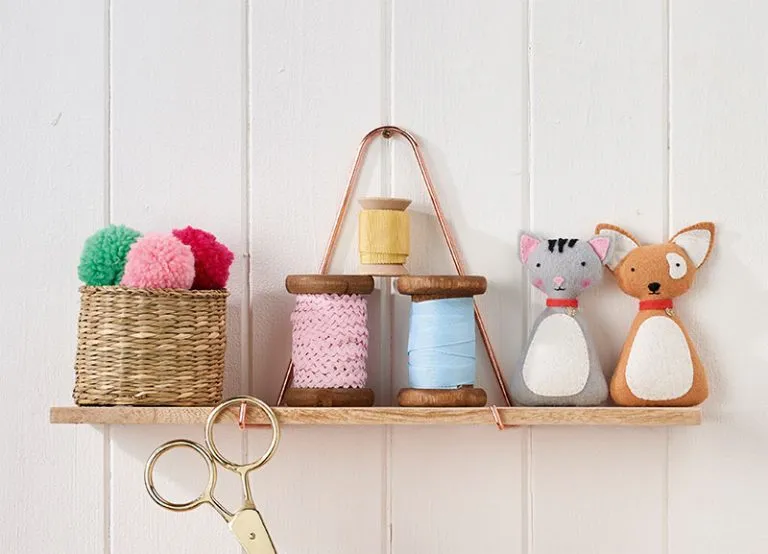
How to make a pet
Step 1
Stitch the pet belly piece centrally onto a pet body piece. Stitch the inner ear pieces onto the outer ear pieces, aligning the bottoms of each ear piece.
Step 2

Sew your chosen details onto a pet head piece to make the face – we added an eye patch and a black nose to the dog, and stripes and a pink nose for the cat. Using black thread, embroider two French knots for the eyes and straight stitches for the mouth.
Step 3
Place the ear pieces onto the face with RS together, aligning the base of the ears with the top of the head. Tack in place close to the edge, so when the pet is turned RS out, the ears will pop out at the top.
Step 4
Repeat Steps 7-9 of the main doll instructions to assemble the pet.
Step 5
Sew a thin strip of felt around the neck to make a collar, securing it at the back with a few stitches. Cut a small round tag shape from glitter card and glue it in place to finish.
Your felt doll family is complete! Give them as a gift to the little ones in your life.
Use our templates to make your own family dolls
Follow along with our easy tutorial and make your own family dolls, switch skin tones, hair styles and colours to match your own. It's a really fun project and makes for a fun gift.
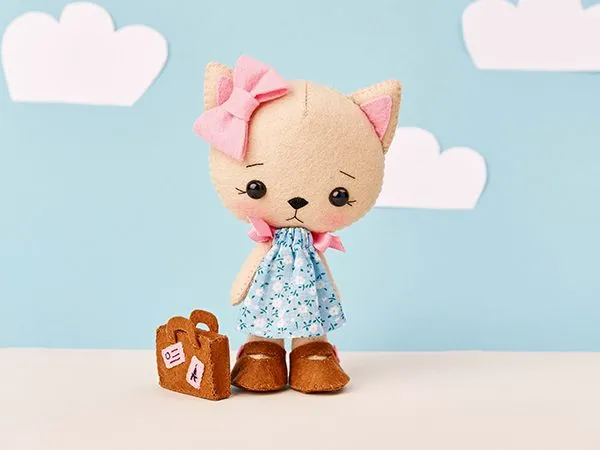
Make a felt doll using your new skills
Keep on felt crafting with our felt cat doll tutorial, where you'll make a cute little cat doll companion any child would love to have.