All products were chosen independently by our editorial team. This review contains affiliate links and we may receive a commission for purchases made. Please read our affiliates FAQ page to find out more.

How to make geode coasters

Make gorgeously bright purple geode coasters with this easy video tutorial.

Try our magazines – get 6 issues from just £9.99!

Published: July 23, 2021 at 8:00 am

Geode coasters are very stylish and look expensive (even though they are fairly low cost to make). That's why we absolutely love making geode coasters, whether to give as gifts or to decorate our own homes, they are always fabulous for any occasion.

With our easy step-by-step tutorial you can find out exactly how to make a geode coaster, we've chosen to make ours purple for an amethyst-style look, but you can choose whichever colours you like. The tutorial will show you how to create a layered effect with different shades of resin colour. It will also demonstrate how to pour resin to make it look like a real geode.

If you're a big fan of resin, check out our complete guide to how to use resin other epoxy resin ideas for more inspiration, we also have a guide to the best resin moulds available for a variety of projects. If you fancy trying something a little bit different we have lots of projects for you, take a look at these paint by number kits for a relaxing hobby or rug making kits for something totally different!

How to make a geode coaster video tutorial

Top 10 resin tips

  1. Mix resin slowly to avoid creating air bubbles
  2. The resin will begin to cure within 45 minutes
  3. When leaving to cure, cover with something to ensure dust doesn't land on the surface
  4. Have paper towels handy as resin can be messy
  5. Wear gloves and avoid getting resin on the skin
  6. Wear a respirator if working in an enclosed space
  7. Do not pour unused resin down the sink, wipe onto kitchen roll and dispose
  8. Wash moulds before use to ensure completely clean for a smooth surface
  9. Protect your work surface (resin is hard to remove once cured)
  10. Have fun and experiment with your designs!

What you'll need to make geode coasters:
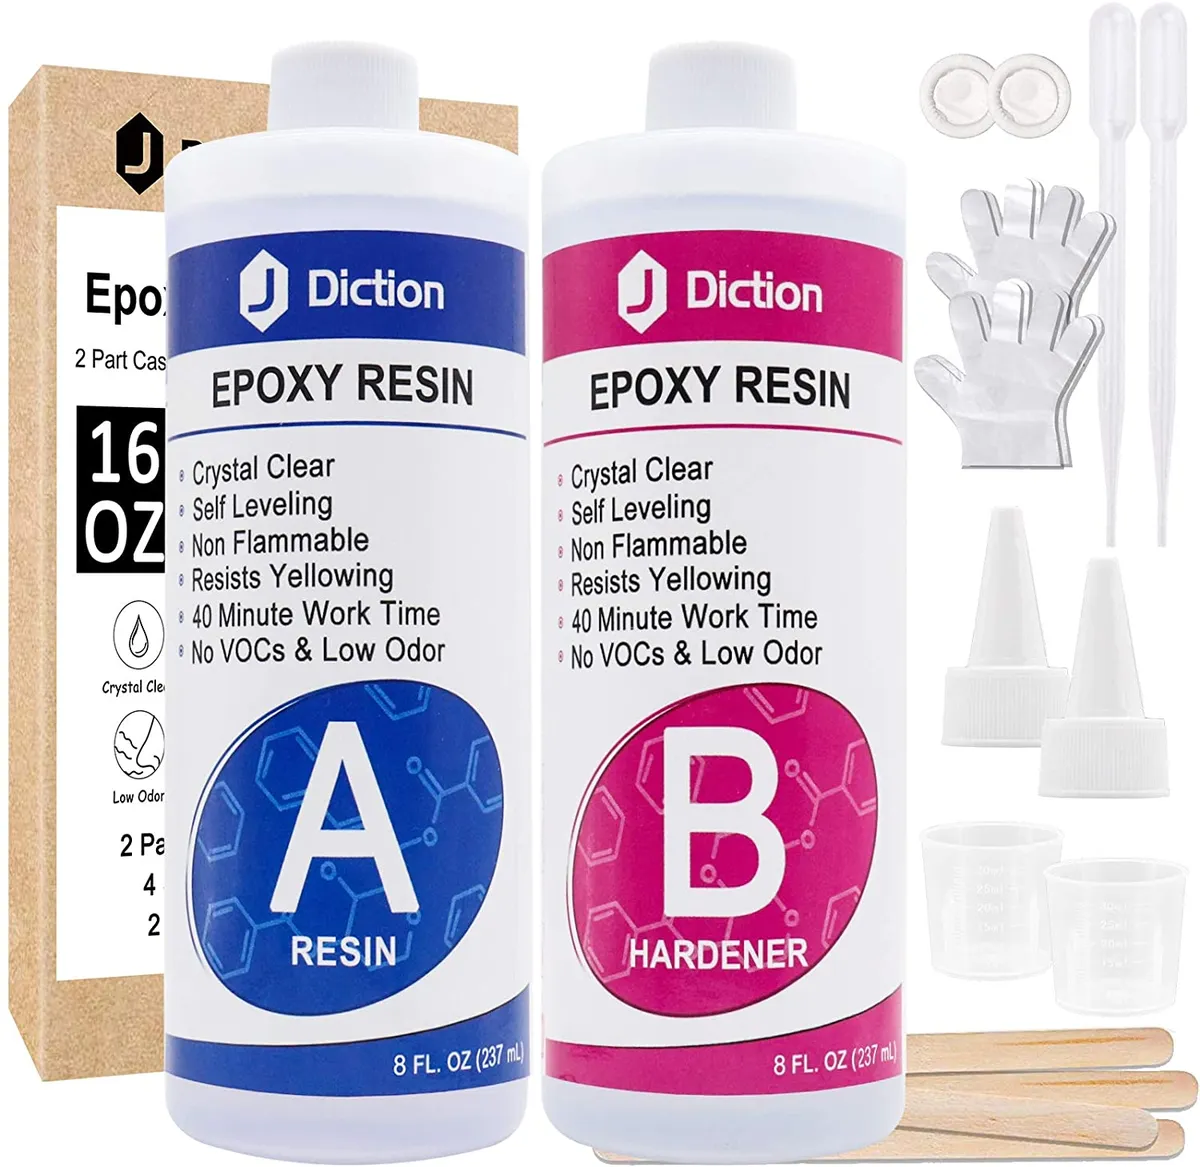
Epoxy resin

We used Diction Epoxy crystal clear resin, it doesn't require any heating or blow torch to be bubble-free, as long as it is mixed slowly and thoroughly for about 3 minutes.

Buy the Epoxy resin kit from Amazon

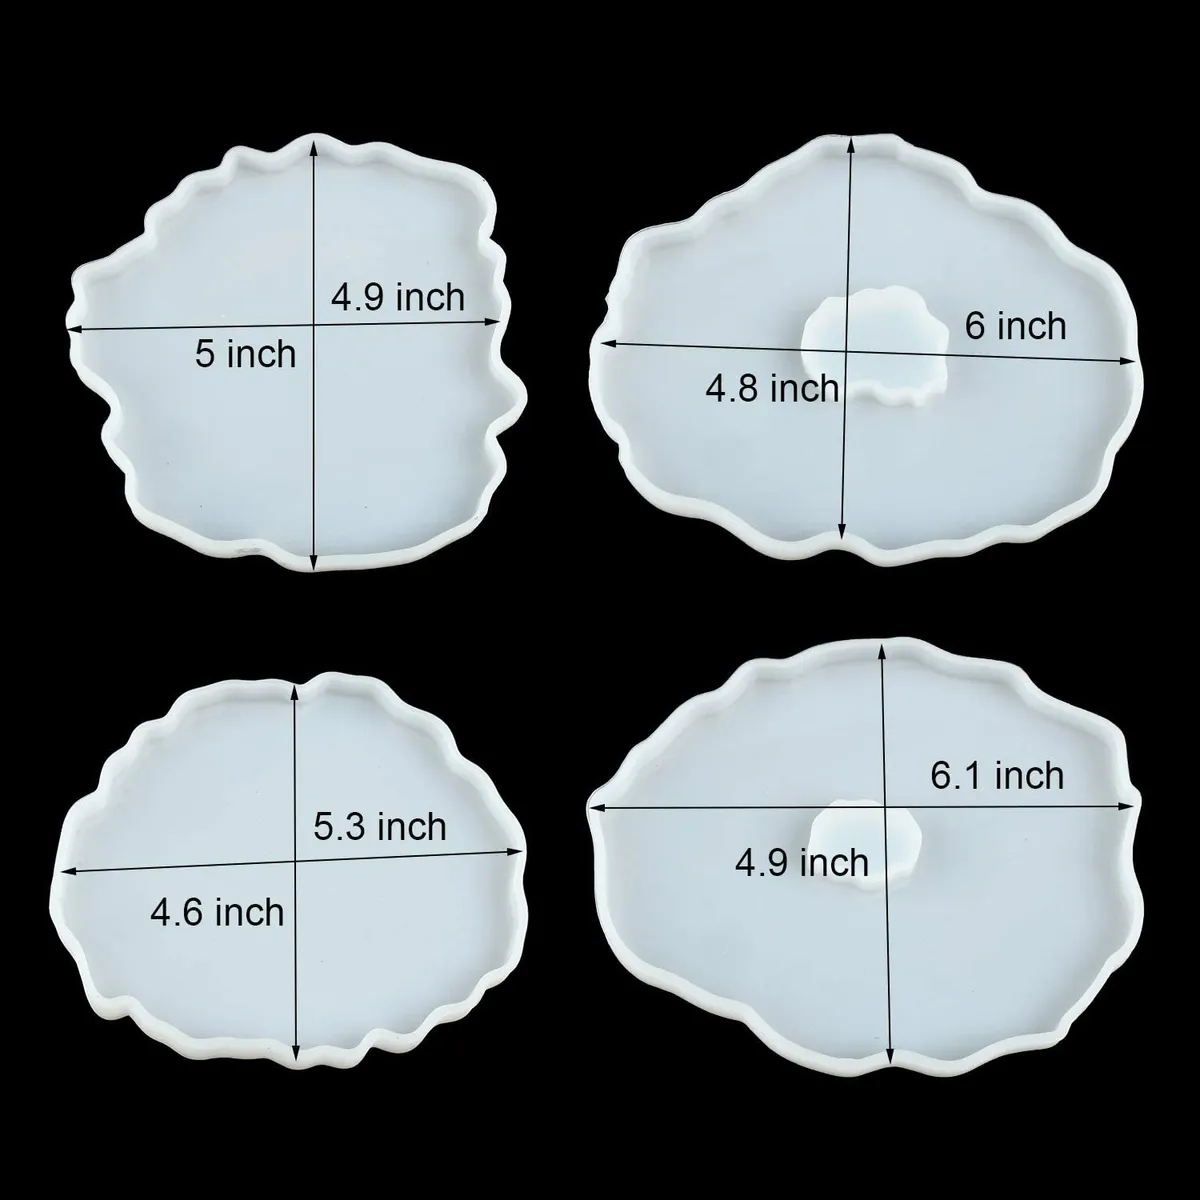
Silicone geode coaster moulds

Any geode coaster mould will work for this one, as long as it is silicone the resin will be easy to remove once it has cured. We love these ones below from Amazon, but you can choose whichever shapes suit your style most.

Buy the geode moulds from Amazon
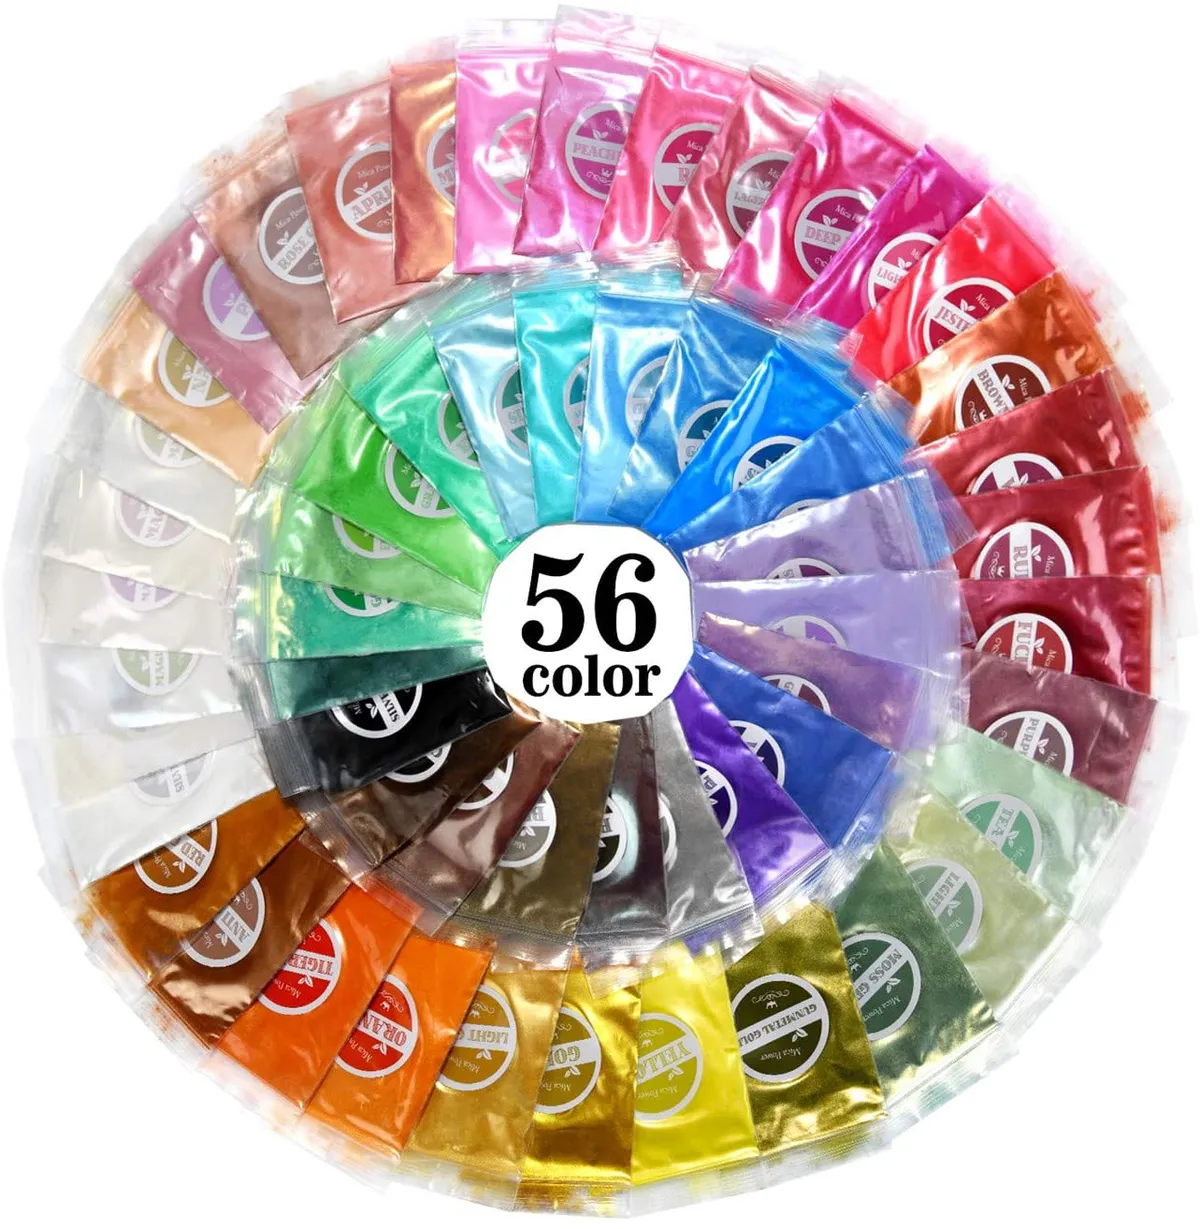
Mica powder

Mica powder is a pigment that can be mixed with resin to create beautiful shimmery colours, perfect for geode coasters. Plus a little goes a long way!

Buy mica powder from Amazon
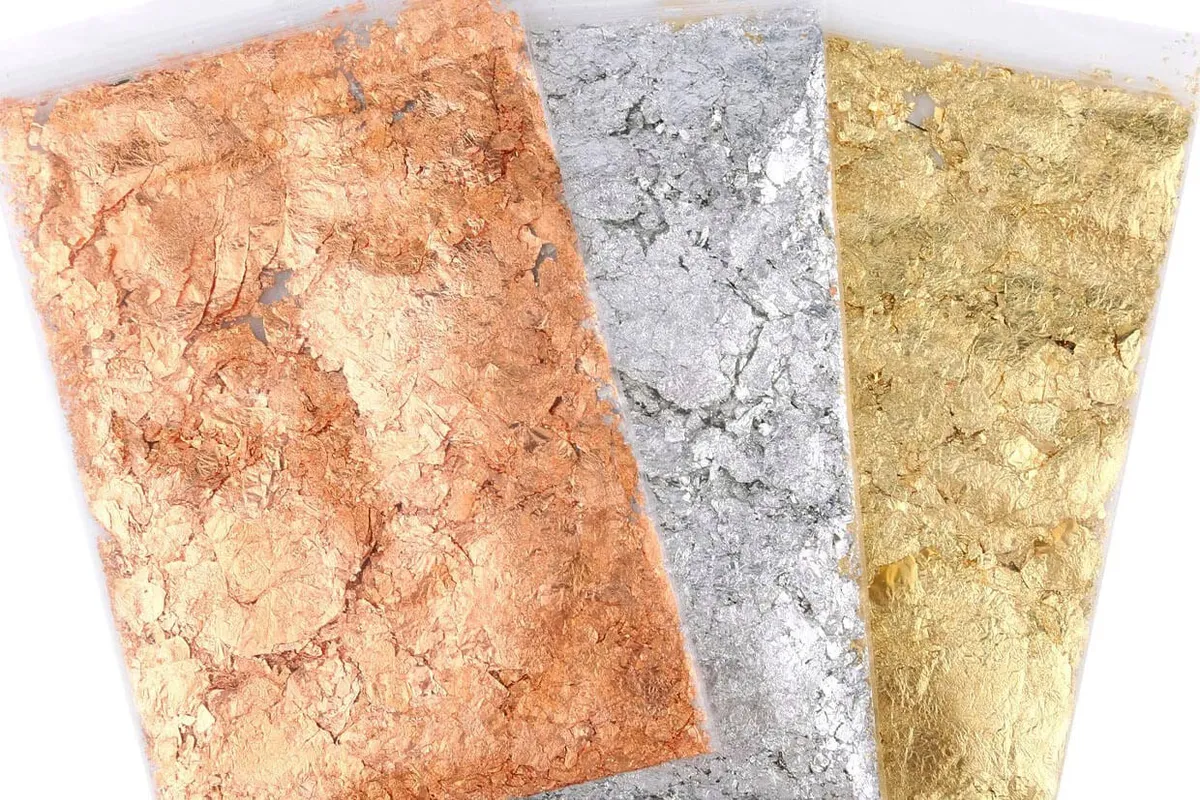
Gold flakes

These imitation gold flakes work perfectly for geode coasters, creating that extra bit of texture for the crystal.

Buy gold flakes from Amazon

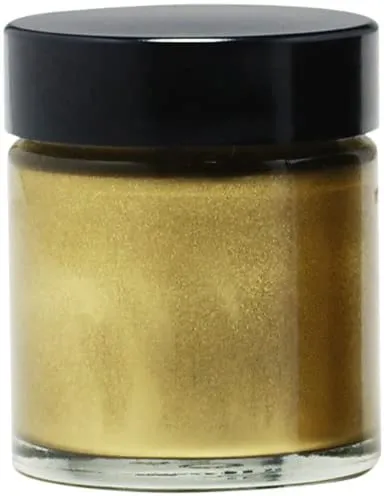
Gilding liquid in gold (optional|)

This step is optional depending on the style of your geode coasters, but we love the gold as a finishing touch, and makes the geodes that extra bit special!

Buy Gilding liquid from Amazon

How to make geode coasters

You will need:

  • Epoxy resin kit
  • Geode coaster silicone mould
  • Gloves
  • lollipop stick
  • mixing cups
  • Mica powder
  • teaspoon
  • Gold leaf
  • Gilding liquid - gold
  • Paintbrush

Total time:

plus 48hrs+ curing time for resin

Step 1

Start by mixing equal parts A and B of your resin together.

For one coaster we used 50ml each of A and B. Depending on how many geode coasters you want to make this is a rough guide.

Slowly combine the resin mixing for about 3 minutes until you can see no swirls on the surface and the resin is clear.

geode coaster step 1


Step 2

Once mixed, divide the resin into smaller containers to add your colour.

For one coaster: we used about 30ml of the resin per colour.

geode coaster step 2

Step 3

Add the mica powder to each container of resin, we used a dark purple and a light purple. Make sure they are mixed well.

geode coaster step 3

Step 4

Pour the darker purple resin around the outer edge of the mould, try to follow the natural edge of the mould to make it look more realistic.

geode coaster step 4

Step 5

Pour the lighter purple resin into the inner part of the geode mould, again following the natural shape of the mould. It doesn’t have to be perfect (in fact it looks more realistic if it is not!)

geode coaster step 5

Step 6

Mix your remaining resin with a pinch of gold leaf and stir.

Add this gold leaf resin mixture to the center of the geode coaster and gently push around using the lollipop stick until you have the desired look.

Note: as the resin cures it may move around a little so expect some change.

geode coaster step 6

Step 7

Cure for a minimum of 48hrs – thinner resin takes longer to cure so it may still be bendy when you remove it from the mould.

geode coaster step 7


Step 8

This step is optional: Using liquid gold carefully paint the edges of the geode coaster. Repeat with another layer if necessary to get your desired look.

Allow the gold paint to dry.

geode coaster step 8

That’s it! We hope you found this easy tutorial for a geode coaster helpful. Geode coasters are wonderful and look very pretty on a coffee table or would make a lovely gift for any crystal lover. They are low cost and easy to make, plus the possibilities of colour and style are endless. So whatever your favourite crystal might be, recreate it today in resin and admire them for years to come. If you’re as crazy about resin as we are, check out some of our other projects to get stuck into, find out how to make resin jewelry or how to make resin earrings with our easy guides. Plus try out another style of resin coasters, with this lovely tutorial from Becki Clarke. If you love resin crafts but not sure what project you fancy taking on next, get inspired with these amazing resin crafts

geode coaster