How to embroider letters like a pro (even if you're a beginner!)
Have you always wanted to find out how to embroider letters? Beautifully embroidered letters can have a multitude of uses, from monograms to personalised jumpers and hoops, there's plenty you can do once you have the know-how.
In this article, we'll give you guidance and top tips from the experts on how to get started on your next embroidery lettering project. Then you'll find our step-by-step guide to embroidering a sweatshirt (including a free template!) so you can put all your newfound knowledge into practice straight away.
Finally, you'll find a number of embroidery lettering kits available to purchase from trusted retailers and talented designers, we have included these because we know as a newbie it is helpful and easier to have all the tools and materials ready to go - plus you get helpful guides and instructions.
Embroidery letters can add that extra touch of personalisation to any embroidery project, making it the ideal skill if you love to give your embroidery away as gifts to friends and family. They can make lovely keepsakes for all occasions; new babies, weddings, anniversaries and birthdays, to name a few!
Jump to:
- All you need to know about embroidery letters
- How to embroider letters on a jumper
- Embroidery lettering kits
All you need to know about embroidery letters
Which stitches to use for embroidery letters?
Before you begin stitching any lettering, think about which stitches will best show off your chosen design and make the words easy to read.
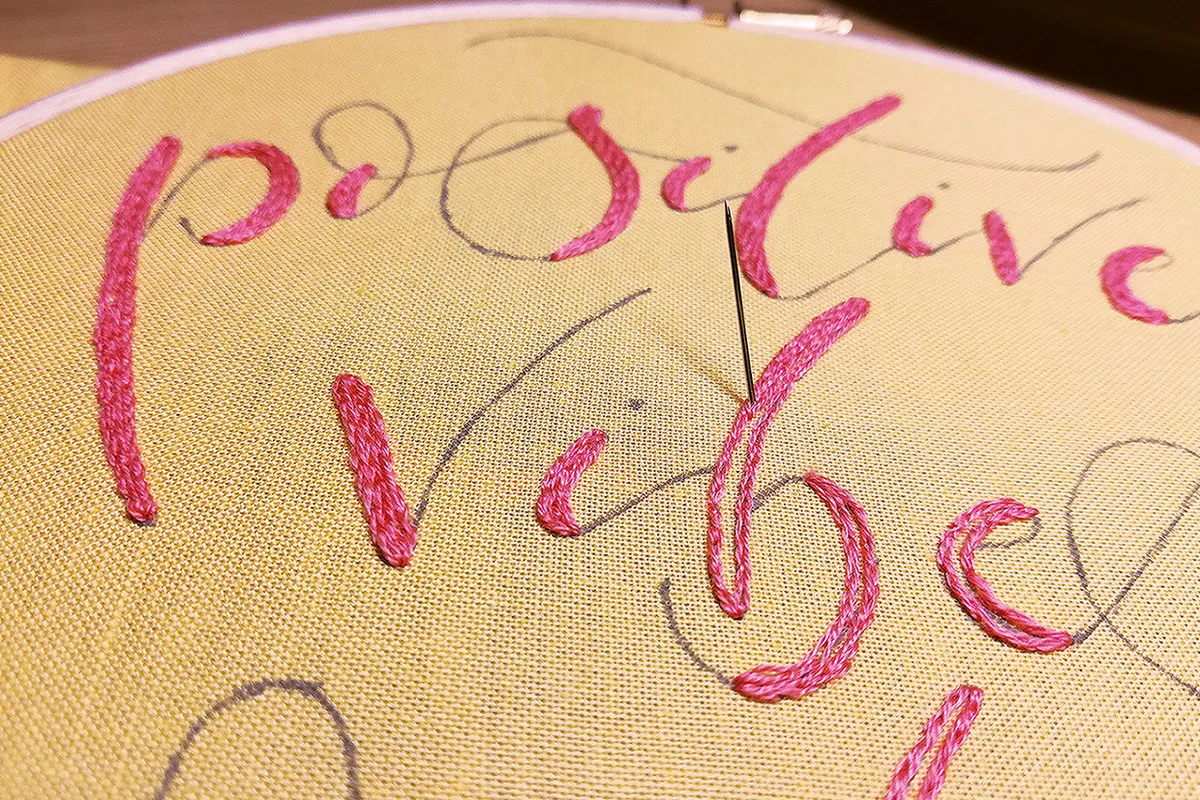
Script fonts, which feature curves and thin lines, are best worked using outline stitches such as backstitch, stem stitch or split stitch. These stitches allow you to create the appearance of one continuous line as if you were writing the letters by hand.
Try to keep your stitch length nice and short when working a script font, this will help you create smoother curves and a neater overall appearance. You can also use these same stitches to fill in slightly thicker sections of the font once you’ve worked the outlines of each area.
For blockier, angular fonts, satin stitch or long and short stitch are the way to go. These stitches allow you to quickly fill larger areas, creating either a smooth texture with satin stitch or a textured appearance with long and short stitch.
Long and short stitch is particularly well-suited to large areas of fabric as satin stitch can become saggy when worked on garments or items not displayed in a hoop due to the long stitch length.
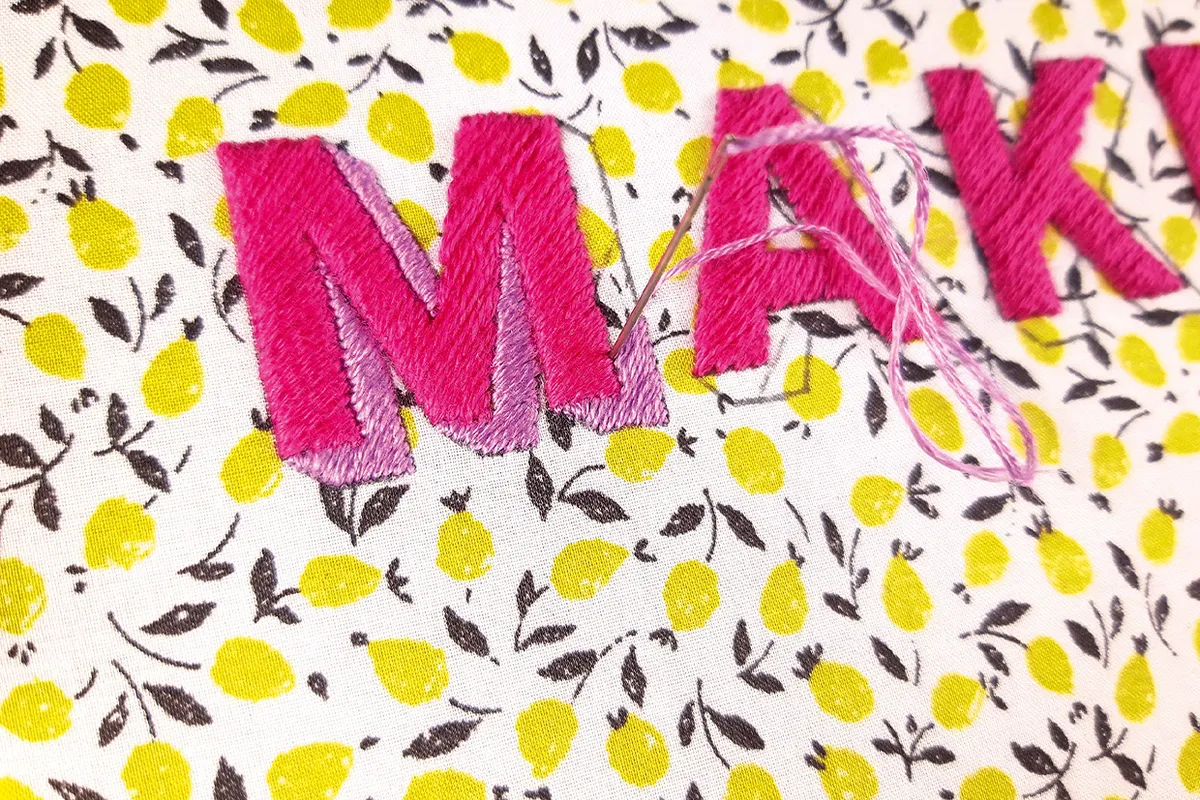
For lettering with a mixture of thick and thin lines, it’s best to first outline the text using backstitch or split stitch - working a single line of your chosen stitch for the thinner lines – and then fill in the larger sections using a filler stitch such as satin stitch, long and short stitch, or even something more open like chain stitch.
By working the outlines of the letters first in this way, you will create a cleaner silhouette that you can fill with any stitch you’d like without losing any of the project’s overall neatness.
Staying in shape
A neat finish starts with an accurate transfer. This is the foundation of your stitching, so make sure your lines are as neat and smooth as possible when transferring the pattern from the template. Don’t be afraid to go back over lines or to erase them and transfer them again if you’re not happy with how they look.
Since an accurate pattern transfer is key to neat lettering, we find it best to use a temporary transfer method such as a heat-erasable pen. This way, you can easily adjust your transfer markings until you’re happy with their placement and appearance.
Mounting your stitching into a hoop makes a huge difference in preventing the fabric from distorting as you stitch - this is particularly important when working on designs with straight edges. If you are stitching onto stretchy fabric you will also need to reinforce the fabric with iron-on interfacing before you start in order to give it more structure.
To achieve crisp-looking outlines, try to be as precise as possible with where you insert your needle. For example, make sure your stitches are worked through the centre of the template lines instead of just next to the line because this can make a real difference to whether your letter edges are jagged or smooth.
Embroidery designs with lots of text
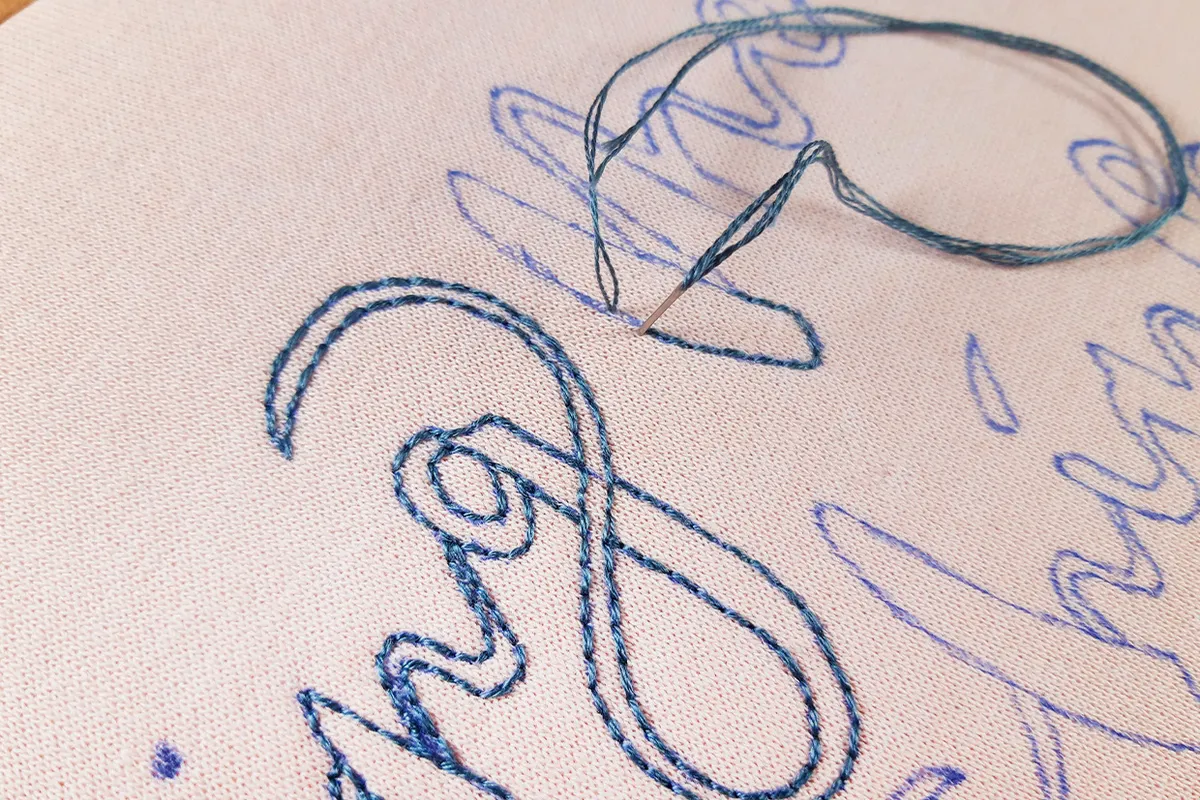
For designs that include quite a lot of text, it is important to keep your stitches short and of an even length. This way, all the curves will be smooth, and the letters will have a uniform appearance.
For example, once you’ve worked one ‘a’ you can work the following occurrences using the same number of stitches. It’s also important to pay attention to your stitch direction when working thicker text that uses filler stitches - you want to work these stitches in the same direction to create a solid appearance.
Do this either by working a series of spaced-out parallel stitches across the area to act as a guide before filling in the gaps or by marking guidelines across the inside of the text using a ruler and pen.
Plan out your design
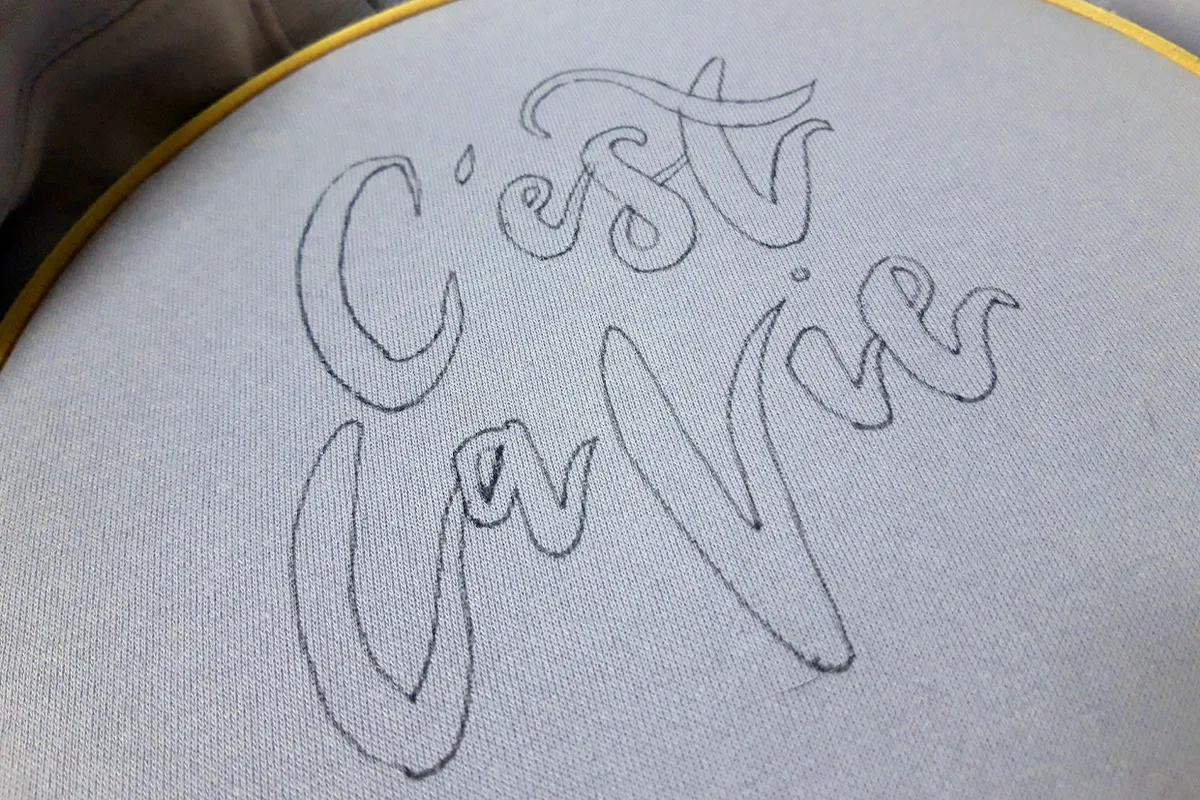
When using an alphabet to create joined-up lettering, words or phrases, you first need to plan out your design. Choose your word or phrase and then double-check the spelling before you continue. Then, using a clean sheet of paper or tracing paper, a pencil, and a light source, plot out the letters. You might find it helpful to draw a line or grid on your paper before you begin to keep the letters evenly spaced.
Once you’re happy with the spacing, begin joining the lower-case letters together if using a script font. The key is to join the endpoint of the previous letter with the start point of the next one, creating the appearance of one continuous line
of handwriting. Go over the design using a pen and then use an eraser to remove any pencil markings. Now you have a template with which you can work from as you normally would when transferring an embroidery design.
For more advanced designs, try mixing up the angle and scale of your letters for a dynamic look. Just make sure that the way you orientate your letters, for example, on a slight diagonal, allows the word to still be recognisable at a glance.
Using negative space
Stitching outside the template instead of the inside can be incredibly impactful when working with lettering. If you’re working a design featuring negative space, then the most important thing to do is make sure your stitch placement is as accurate as possible – stitching over the template line or too far away from it can distort the finished piece.
If you’re stitching using a varying amount of thread strands, bear in mind that six strands will be bulkier than two, for example. So, adjust where you insert the needle on the template line to accommodate for this varying thickness and ensure that all your stitches lay flush with each other, keeping the lettering outlines crisp.
How to embroider letters on a jumper
What you'll need:
- Sweatshirt: pale pink
- Paintbox stranded cotton: 2 skeins each of white (0003)
- Embroidery hoop: 23cm diameter
- Heavy-weight iron-on interfacing
- Basic embroidery kit
Stitches used:
If you are new to embroidery be sure to check out our helpful guide to embroidery stitches for beginners. If you are new to embroidery or simply need a little refresh, take a look at our embroidery for beginners guide which contains everything you need to get started!
Free embroidery letters template
You’ll also need the free embroidery letters template designed by Becki Clarke.