How to make needle felted Easter eggs
The Easter holidays are coming and what better way to celebrate the holiday than with some Easter eggs! These adorable needle felted Easter eggs are the perfect non-perishable decoration for your table.
Whether you hide them among the plants for the kids to find or hang them off your Easter tree, we know you'll love making these Easter eggs. They'll make a great accompaniment to your DIY Easter decorations and are the ideal needle felting project for beginners.
If you're new to the world of needle felting don't worry. We have loads of resources here on Gathered to help you master the technique. Have a read of our beginner's guide to needle felting as well as our round-up of the best needle felting books and best felting wool for needle felting.
Once you've gathered all your materials you can start making these cuties! Now we'll pass over to Nicky for her needle felted Easter eggs tutorial…

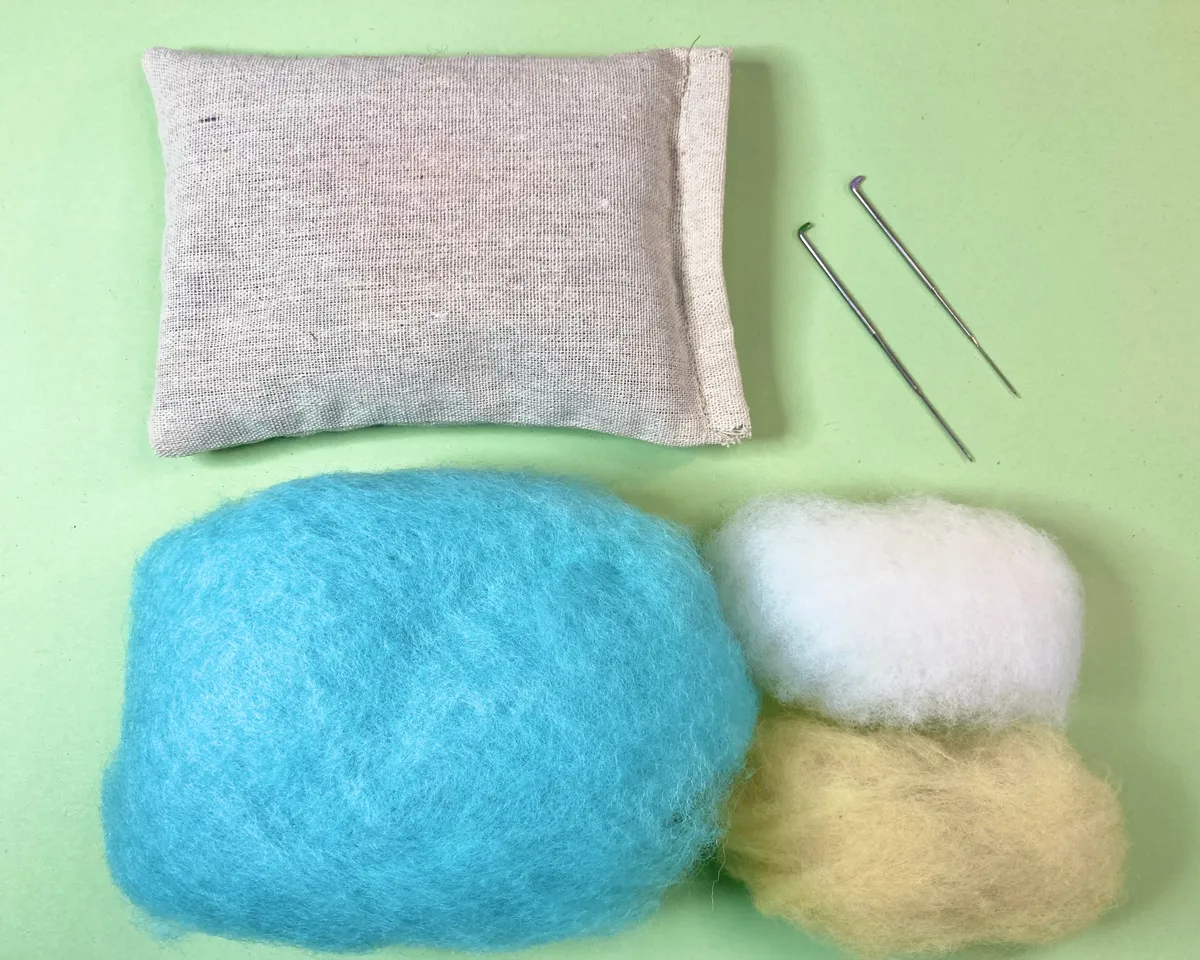
You will need:
- A felting pad/sponge
- Needles: gauge 32 and gauge 36
- 16g carded blue wool (for a large goose egg size)
- 1-2g of white wool to decorate
- 1-2g of yellow to decorate
If you want more traditional Easter egg making then head over to our how to blow Easter eggs and Easter egg decorating ideas posts.