Cutting out
Step 1
From the cotton canvas fabric, cut the follows:
- Two (2) 14in x 18in rectangles for the bag front and back panels.
- Two (2) 30in x 3in rectangles for the bag handles.
Step 2
From the larger fabric scraps, cut three (3) 14in x 1in rectangles on the bias for the branches.
Step 3
From the assorted fabric scraps, cut the following using the templates:
- Eight (8) of flower 4.
- Five (5) of flower 6.
- Five (5) of petal 1.
- One (1) of bird 2 reversed.
- One (1) of wing 2 reversed.
- Three (3) of leaf 2.
Making the branches
Step 1

Fold each 14in x 1in rectangles in half lengthways, WS together. Stitch into a tube using a ¼in seam. Trim away the seam allowance slightly (Fig 1) and then roll the tube with your fingers so the seam is sitting centrally on the back. Press with the seam at the back so the tube lays flat with the raw edges hidden neatly out of sight.
Step 2
Take one (1) of the branch strips and cut it into two (2) lengths; one (1) measuring 5in and the other approximately 9in. Repeat with the two (2) remaining branch strips.
Step 3

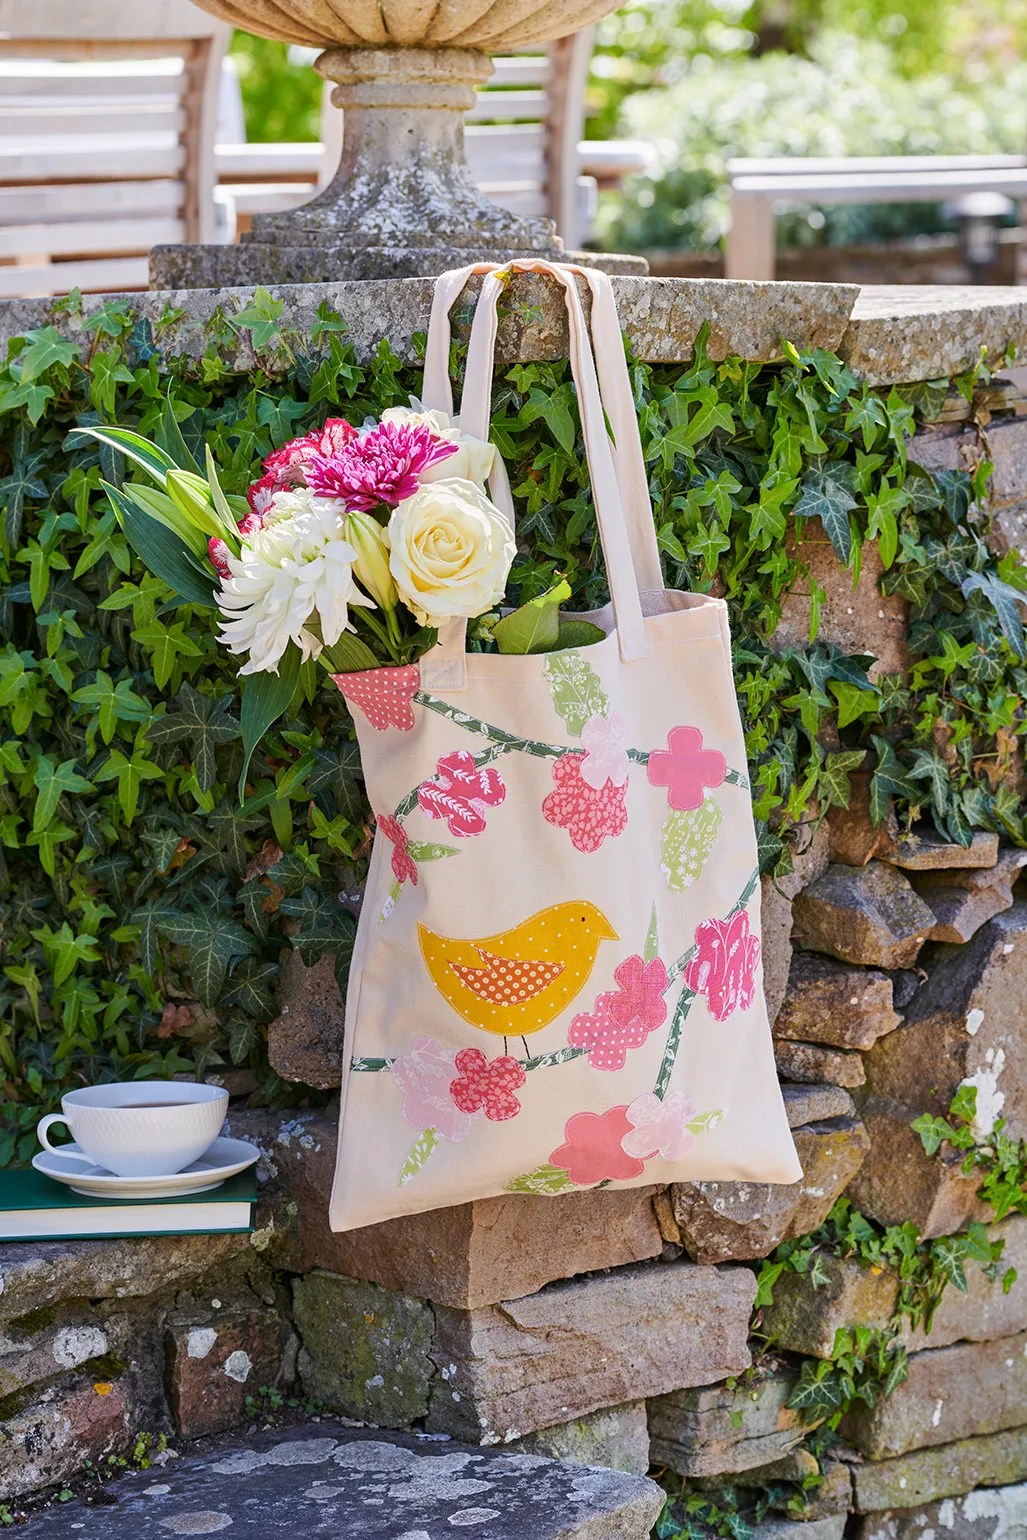
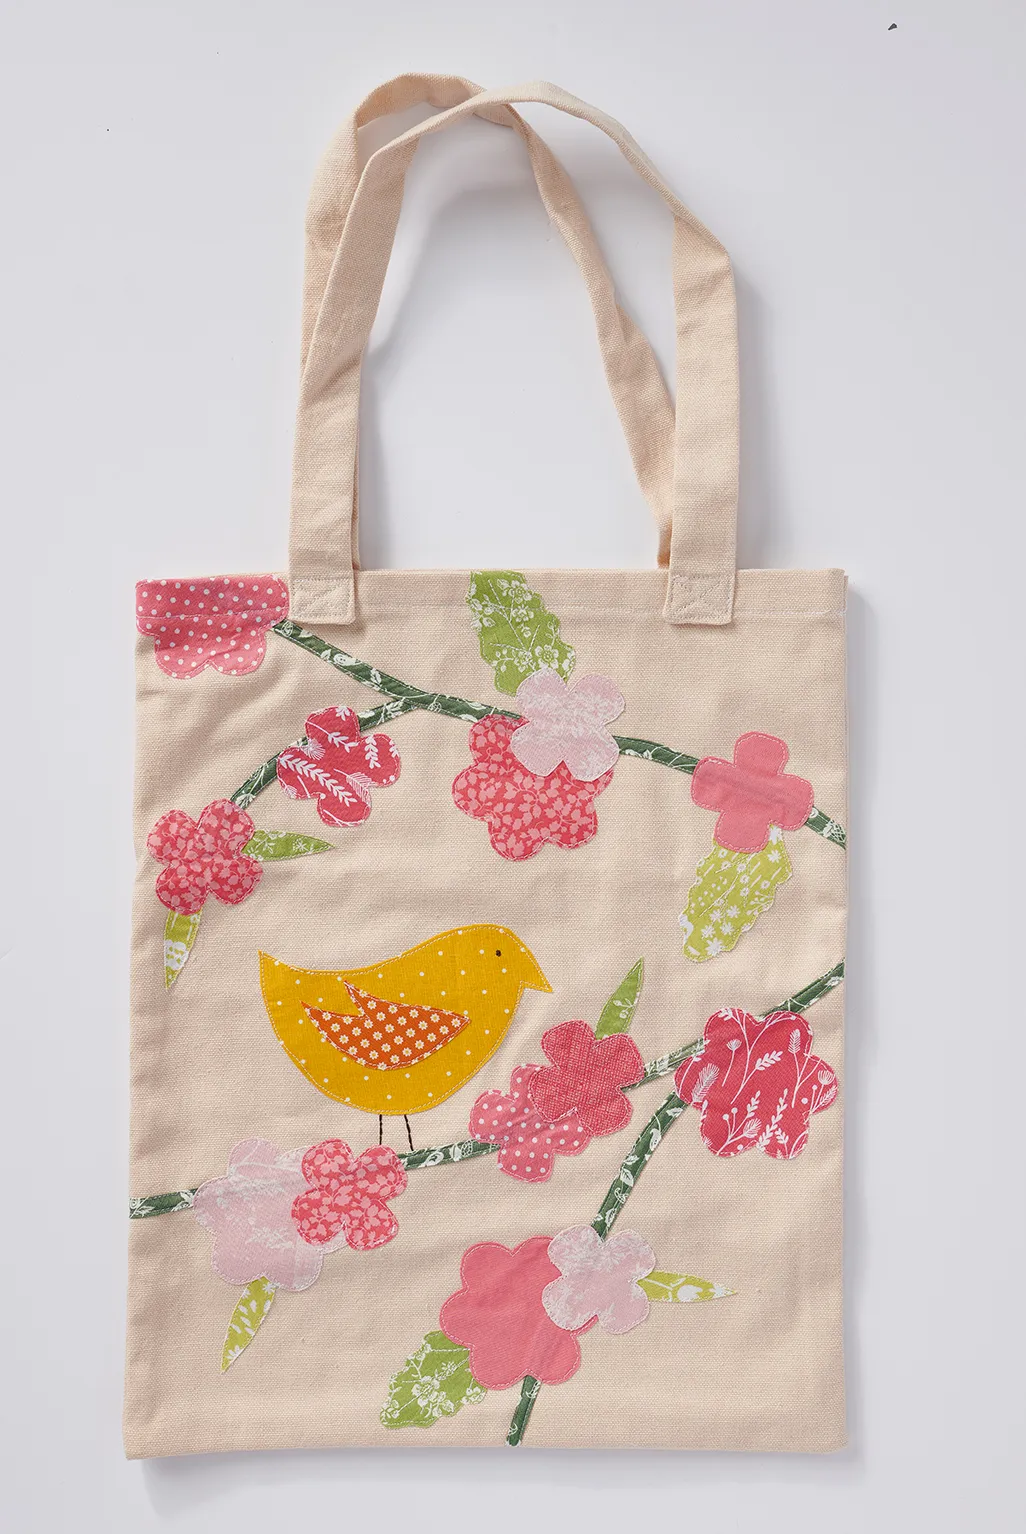
Position the branch strips on the front bag panel, using the main image as a guide for placement, be sure to tuck the raw ends under another branch strip where they intersect. When you are happy with how the branches are positioned, pin in place. Use a machine straight stitch to sew along both long edges of the branch to secure in place (Fig 2).
Raw-edge fusible appliqué method
Step 1
Trace your chosen template pieces onto thin card or template plastic and cut them out.

On the paper side of your Bondaweb, draw around the template edges. Note that you may need to flip the template if it isn’t symmetrical. Heather suggests that you jigsaw all the template pieces required as close together as possible on one large piece of Bondaweb, without them touching, to prevent waste (Fig 3)
Roughly cut out each Bondaweb shape and, with paper side up, fuse them to the wrong side of your chosen scrap of fabric. Usually, this will take a few seconds, but be sure to follow the manufacturer’s instructions.

Allow the piece to cool. You can now cut out the shape accurately along the marked line (Fig 4).
Peel away the paper on the reverse of the shape. If it’s hard to get hold of at the edges, you can score the paper with a pin.
Position the shape on your background fabric as per your design. When you are happy with its location, use the iron to fuse in place as before.
Stitch around the edge of the shape to secure in place. This can be done with free-hand machine embroidery, Topstitching close to the edge or Blanket Stitching by hand or machine, depending on your preferred look. For the freemotion embroidery, Heather only sewed once around each shape. However, you can sew several times, and use different thread colours, if you want to give it a sketch feel.
Needle-turn appliqué method
Step 1
Use the template to mark the shape onto the right side of the appliqué fabric with a removable marker. Wherever possible, position the template so the shape is as much on the bias as possible – this will make edges easier to turn under.
Cut out the shape with a very scant ¼in seam allowance all round. For very small shapes, you could reduce the allowance to ⅛in, or trim back to this as you work.
Pin the shape to the background. Using regular sewing thread, baste with a Running Stitch ¼in inside the marked line (or the same distance as your seam allowance).
Start on a long, straight edge bringing the needle up under the appliqué, and make a couple of Backstitches to secure. Fold under approximately a thumb’s width of fabric so that the edge of the fold follows the marked line. Press and hold in place with your thumb.

Bring the needle up through the very edge of the fold (Fig A). Stitch directly back down into the background fabric at 90-degrees to the appliqué edge, right next to where you came up. Make 2-3 more stitches in the same way. Aim for about 10-12 stitches per inch.
Sweep the next part of the seam under with your needle so that the fold continues to follow the marked line, and press and hold with your thumb. You can refine the edge by pushing and pulling the fabric with your needle.

Continue making a few stitches before sweeping the next section of seam under as you work around the shape (Figs B & C).
Adding the appliqué shapes
Step 1

Start by laying out your leaf shapes and the bird body as these are the lowest layer. Use the main image as a guide for placement. Peel off the paper backing and press the shapes into place using an iron, as shown in Fig 5.
Step 2

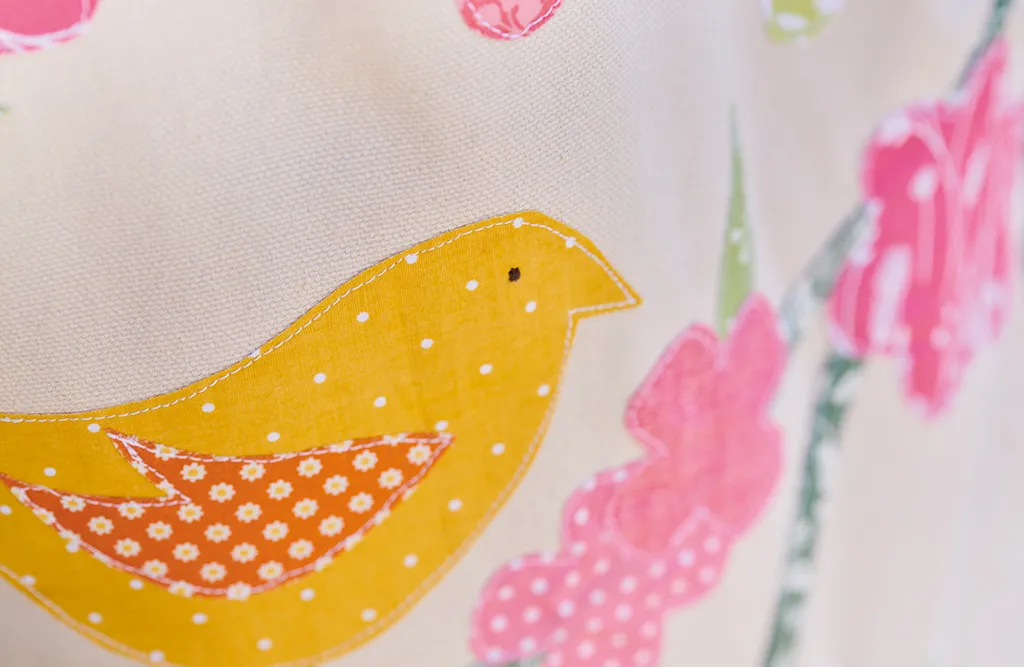
Drop the feed dogs on your sewing machine and use your free-motion embroidery foot to outline the shapes using white thread (or whatever colour you choose). Stitch close to the edges, following the shape of the designs. Add some veins to the larger leaves (Fig 6).
Step 3

Add the next layer of detail – the background flowers and the bird’s wing – again stitching around the edges to secure in place. Finally, add the top layer of flowers, stitching as before (Fig 7).
Step 4

Stitch a French Knot for the bird’s eye then Backstitch the outlines for the bird’s legs using four (4) strands of dark brown stranded cotton (Fig 8).
Making the tote bag
Step 1

Raise the feed dogs on your sewing machine and attach your standard machine foot. Sew a ¼in double hem along the sides and bottom edges of both bag panels, as shown in Fig 9.
Step 2

Fold the top edges over towards the WS on both bag panels, first by ¼in and then again by 1in and press. Topstitch ⅛in from the folded edge to secure in place (Fig 10).
Step 3
Pin both bag panels together with RS facing and then stitch together with a ½in seam, sewing along the side and bottom edges. Backstitch at the beginning and end of the seam, snip off the bottom corners if necessary, turn through and press.
Step 4

Fold one (1) of the handle pieces in half lengthways RS facing and stitch a ¼in seam along the long side and one (1) short side. Trim the corners, press open the seams and turn though using your preferred method, Heather prefers to use a long-handled paint brush (Fig 11). Make sure the corners are pushed out, fold the raw edge into the end and press with an iron. Repeat for the second handle piece.
Step 5

Measure in 2½in-3in from each side of the front panel and position one (1) of the handle pieces along the top edge, pin in place. Stitch the handle in place, first stitching a square outline and then stitching a cross through the centre of the square (Fig 12) – this is important as it will make the handle really secure. Position the second handle piece on the back panel, pin and stitch in place as before.